Redgar Forbidden Lands has more levels and far more Hidden Waddle Dees than any other stage in Kirby and the Forgotten Land. With a grand total of 24 deviously Hidden Waddle Dees to find, the sixth world is by far the trickiest of the game.
Kirby and the Forgotten Land will have you replaying levels, scouring them to get each and every Hidden Waddle Dee squirreled away, especially if you’re a completionist. The more you discover, the more things you can unlock.
Where to Find All Hidden Waddle Dees in Redgar Forbidden Land
This Kirby and the Forgotten Land walkthrough guide will help you find every one of the adorable Waddle Dees Kirby is so intent on saving in Redgar Forbidden Land. If you’re intent on fully completing this world, head over to our Hidden Missons companion guide right here.
Use the links below to jump to each level in Redgar Forbidden Land:
- Enter the Fiery Forbidden Lands
- Conquer the Inferno Road
- Burning, Churning Power Plant
- Gathering of the Beast Council
- Beast Pack’s Final Stand
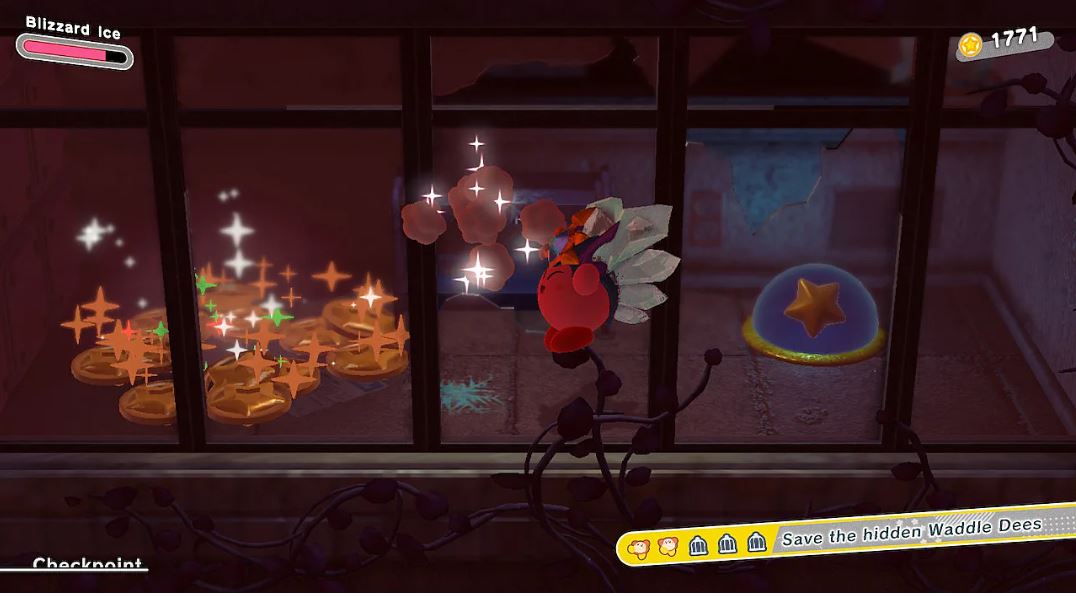
All Hidden Waddle Dees in Enter the Fiery Forbidden Lands
There are four Hidden Waddle Dees in Enter the Fiery Forbidden Land.
Fiery Forbidden Lands Waddle Dee 1
You’ll navigate between two platform sections in Fiery Forbidden Lands where lava balls will begin falling from the sky as the ground sinks into the lava below. To get the first Waddle Dee, you must grab all the sinking Green Star Bits in this section.
- Star Bit 1: Near the torches to the right of the first sinking platform.
- Star Bit 2: In the blue box near the back of the first sinking section.
- Star Bit 3: On the wooden platform as you move forward.
- Star Bit 4: In the blue box on the second platform.
- Star Bit 5: On top of a series of wooden platforms in the second section.
Fiery Forbidden Lands Waddle Dee 2
You’ll find the second one in Fiery Forbidden Lands to the right of the big rock staircase in the second area of the stage. You’ll need the Drill ability to dig under the fence your buddy is trapped behind.
Fiery Forbidden Lands Waddle Dee 3
To get to the third Hidden Waddle Dee, look for a walkway on the side of a cliff. Follow it past some falling ledges and a falling cliff face. The cliff will fall to reveal a hidden door you can go through.
Once inside, grab the Drill ability. From here, you can see a tower of platforms holding Orange Star Bits that are slowly descending into the lava. Use the Drill to quickly grab each one (we advise going bottom to top in terms of which ones to grab first) to unlock this Waddle Dee.
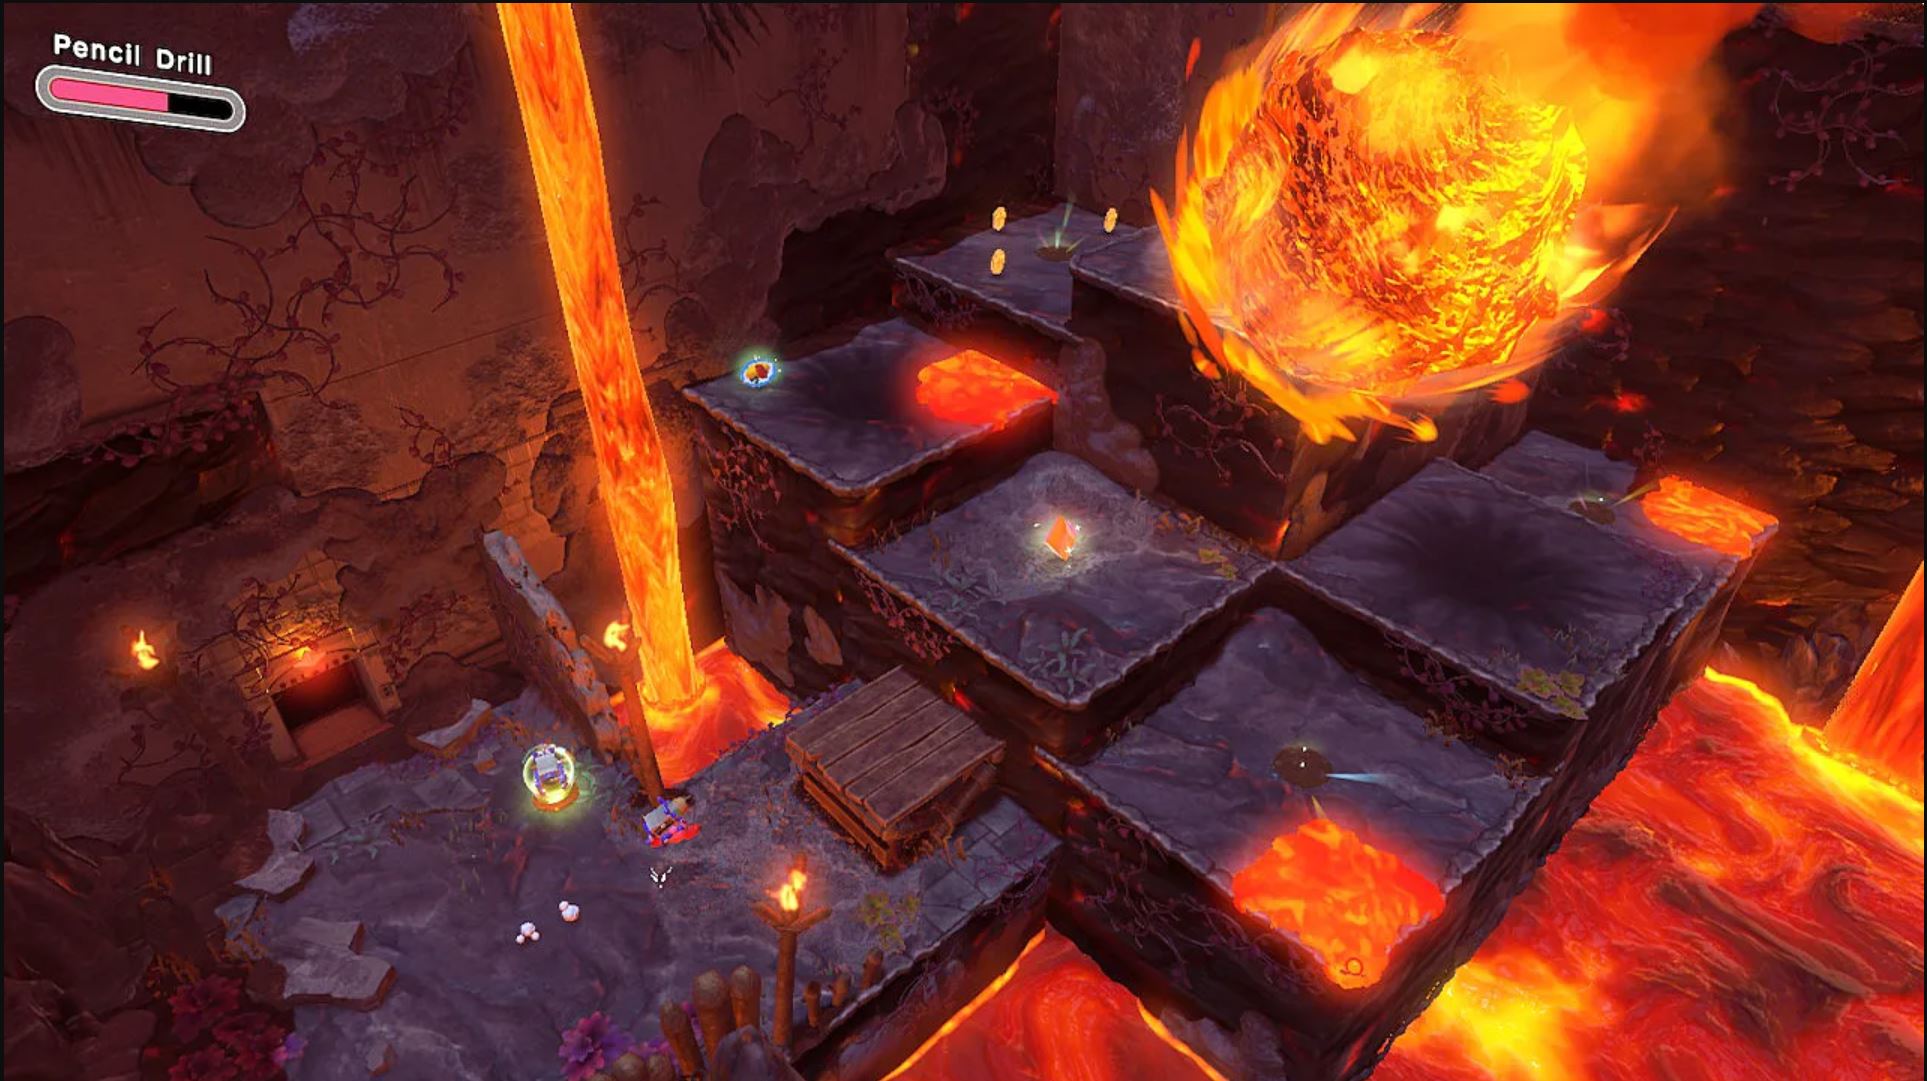
Fiery Forbidden Lands Waddle Dee 4
Hold on to the Drill ability until the very end of the level. Once you almost reach the final Waddle Dee, you’ll see this one in a fenced-off area to your right, near where the four lava balls come raining down.
All Hidden Waddle Dees in Conquer the Inferno Road
There are five Hidden Waddle Dees in Conquer the Inferno Road.
Inferno Road Waddle Dee 1
You’ll pass the first Waddle Dee before you’re able to save it as you climb the path around the sinking building. When you reach the bomb-throwing Poppy Bros. Jr, look up and to the left to see a broken window that you can jump into. Head down the passage here and hit the Blue Star Switch at the end.
Inferno Road Waddle Dee 2
In the second part of Inferno Road, you’ll see an Ice ability dispenser near a lava path to the left. Pick it up, and it will let you walk down the lava path. This will take you up some steps and to a gap you’ll need to jump to reach a rooftop. Destroy the glowing, fiery blocks there, and then jump down into the building to find the Hidden Waddle Dee.
Inferno Road Waddle Dee 3
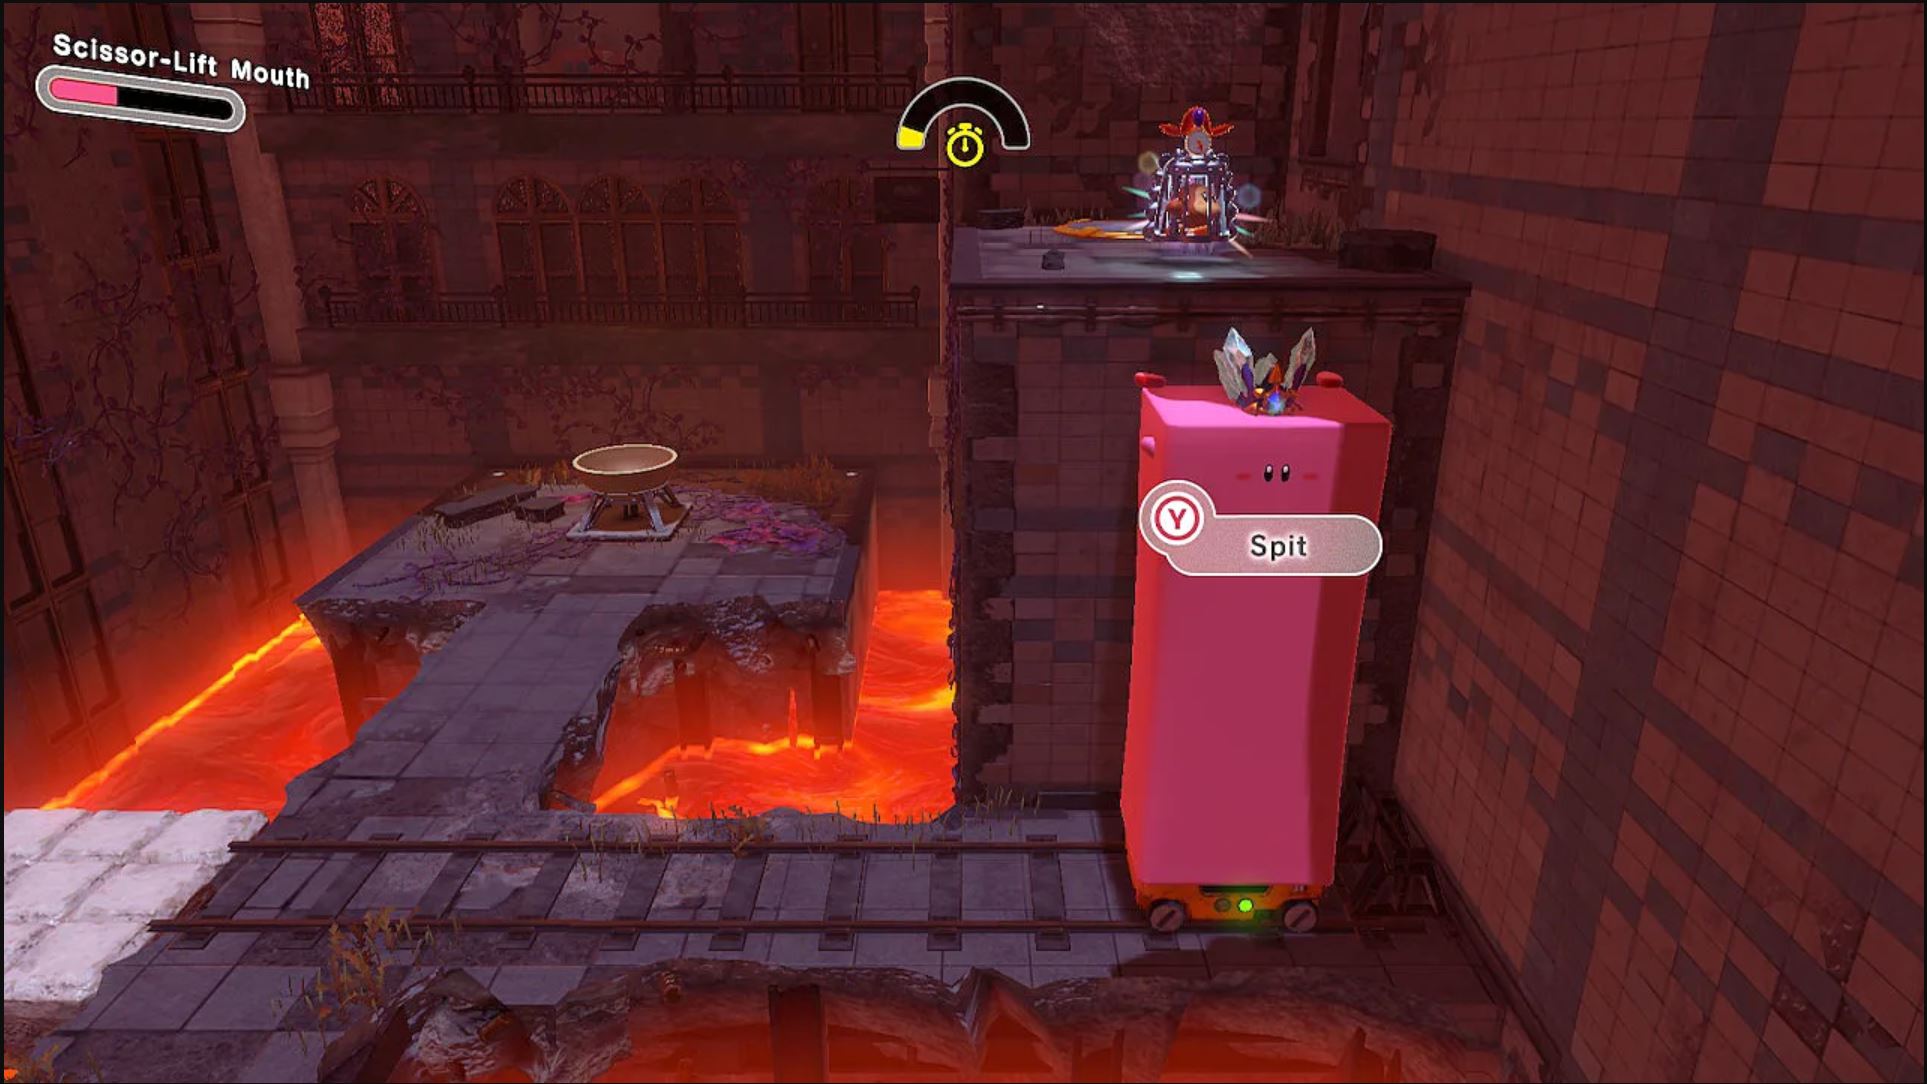
Hold on to the Ice ability and defeat the Big Kabu ahead of you. Then skate along the lava path starting on the right. It will lead you across a bridge of crumbling blocks to a rooftop with a crack in the ceiling. Traverse across the red-hot blocks using Ice skate and inhale the Cone on the other side. Take it back to Downward Spike the weak ceiling and reveal the room where the third Waddle Dee is hidden.
This is a timed puzzle. Defeat the Rabiroo in front of the dome to enter it and remove the lid, revealing a star switch. Hit it and go across the new bridge you’ve made. Use Mouthful Mode to pull down the lockers ahead of you to find the Scissor-Lift. Become the Scissor-and drive it to the opposite wall, where you’ll be able to spit it out and reach this one.
Inferno Road Waddle Dee 4
At the end of the second area in Inferno Road, climb the last big ladder. You’ll see a shaft to jump down on your right. Doing so will grant you this Waddle Dee. Just be sure to immediately jump from the falling blocks at the bottom of the shaft to float back up to the main platform.
Inferno Road Waddle Dee 5
The last area of this stage is a lake of lava you must navigate using a boat and Ring Mouthful Mode. To reveal the chest with this Waddle Dee, you have to make three windmills spin. All of these must be done before jumping in the boat.
The first windmill will be on the right side of the platform where you first get the ring. After that, head on the left path, past the raging bull, to find another windmill. Before jumping off the ledge into the boat on the lava, go to the right to find a path of cannons. Hitting the final windmill just up from here will make a platform with a chest rise up from beneath the lava.
All Hidden Waddle Dees in Burning, Churning Power Plant
There are five Hidden Waddle Dees in the Burning, Churning Power Plant stage of Redgar Forbidden Lands.
Burning, Churning Power Plant Hidden Waddle Dee 1
In the third section of Burning, Churning Power Plant, where the walls are closing in to crush you, you’ll need to find a red switch. Hitting this will open up a section of wooden boxes in the right wall. This friend will be on the other side.
Burning, Churning Power Plant Hidden Waddle Dee 2
In the second section of the stage, you’ll need to collect 5 Green Star Bits to unlock the cage hiding this Waddle Dee.
- Star Bit 1: Next to the canon and a cup of coffee.
- Star Bit 2: Under the first vertical crusher.
- Star Bit 3: At the trio of crushers, under the left-hand crusher.
- Star Bit 4: On top of the middle crusher.
- Star Bit 5: Hiding in a secret nook behind the right-hand crusher.
Burning, Churning Power Plant Hidden Waddle Dee 3
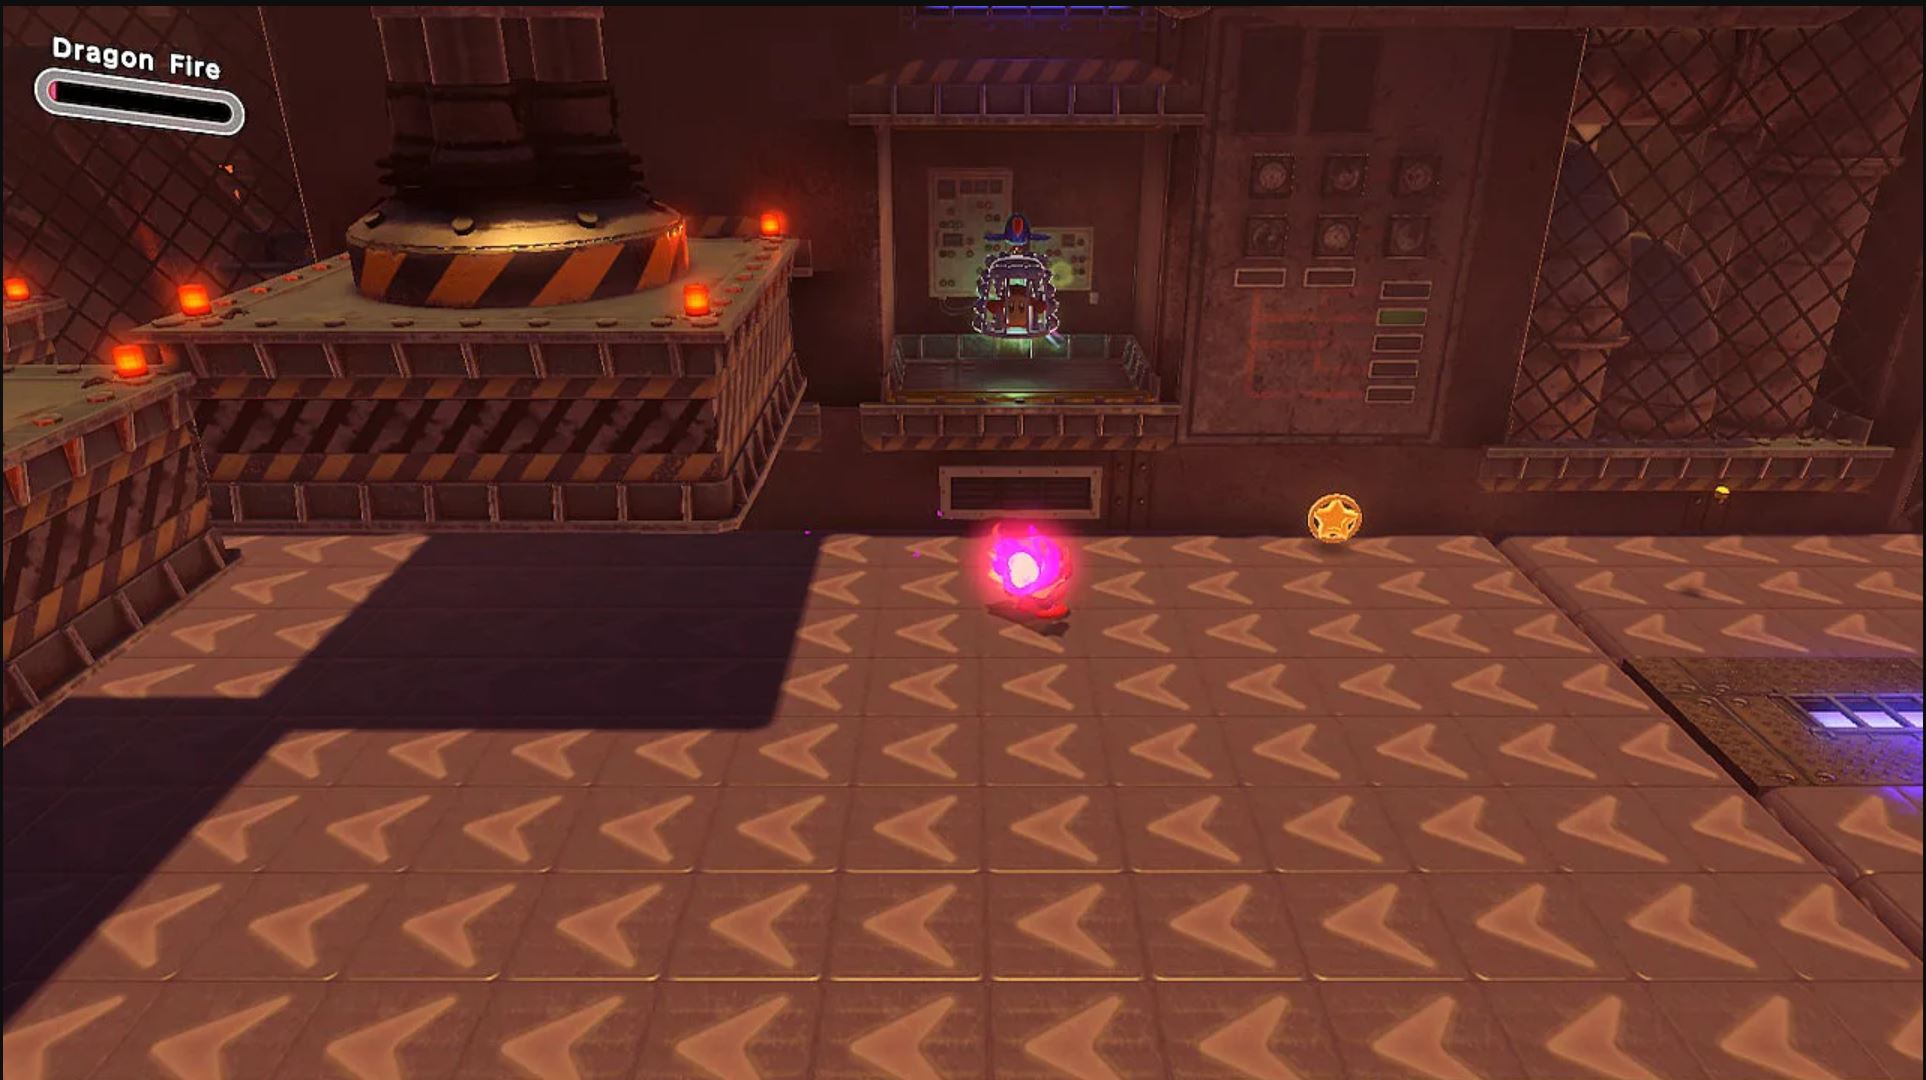
Make sure you have the Fire ability by the time you reach the end of the Burning, Churning Power Plant’s third area. Here you’ll see a Lantern Switch that will open a side puzzle room.
To solve the puzzle and save the Waddle Dee, light the fuse of a cannon, then quickly Mouthful onto the stairs. You need to move around the room as the fuse winds down so that you are never blocking the fuse from moving down the rope. Generally, you’ll want to circle around the edges of the area to avoid getting in the way. When the path is clear, park the stairs on the Red Star Switch to raise the path.
Burning, Churning Power Plant Hidden Waddle Dee 4
The fourth Hidden Waddle Dee of this level is found in the spike wall section. To reach it, you need to inhale the Vending machine at the end of the second floor and take it down to this section. When you stop running from the wall, you’ll see a cracked blue garage door. Shoot some cans at it to knock it down.
Burning, Churning Power Plant Hidden Waddle Dee 5
At the end of the stage, you’ll have the option of taking on the Ring or Cone Mouthful Modes. Inhale the traffic cone and jump through the triangle-shaped hole. On the other side, perform a downward spike attack into the cracked part of the floor to reveal the last Waddle Dee in Burning, Churning Power Plant.
All Hidden Waddle Dees in Gathering of the Beast Council
There are five Hidden Waddle Dees in the Gathering of the Beast Council Level.
Beast Council Waddle Dee 1
This one isn’t hidden as much as it is a timed challenge. You’ll come across a car to inhale on the path. Doing so will start a timer. Complete the windy driving and jumping section ahead before the timer hits zero to earn the first Waddle Dee in Gathering of the Beast Council.
Beast Council Waddle Dee 2
After you defeat Sillydillo in this boss rush level, do not immediately proceed to the next area. Explore to the right of the boss arena to find a secret chest hiding the second Waddle Dee.
Beast Council Waddle Dee 3
Afterward, you’ll come across a Pipe Mouthful rolling section, which splits paths. It often requires you to jump, though it sometimes rewards you for not jumping by putting goodies at the bottom path. All you have to do to reach the Waddle Dee at the end is follow the coins to stay on the right path.
For the very last ramp, you’ll not want to jump and instead take the last bottom path. This will lead you to a big pile of coins before crashing into a wall.
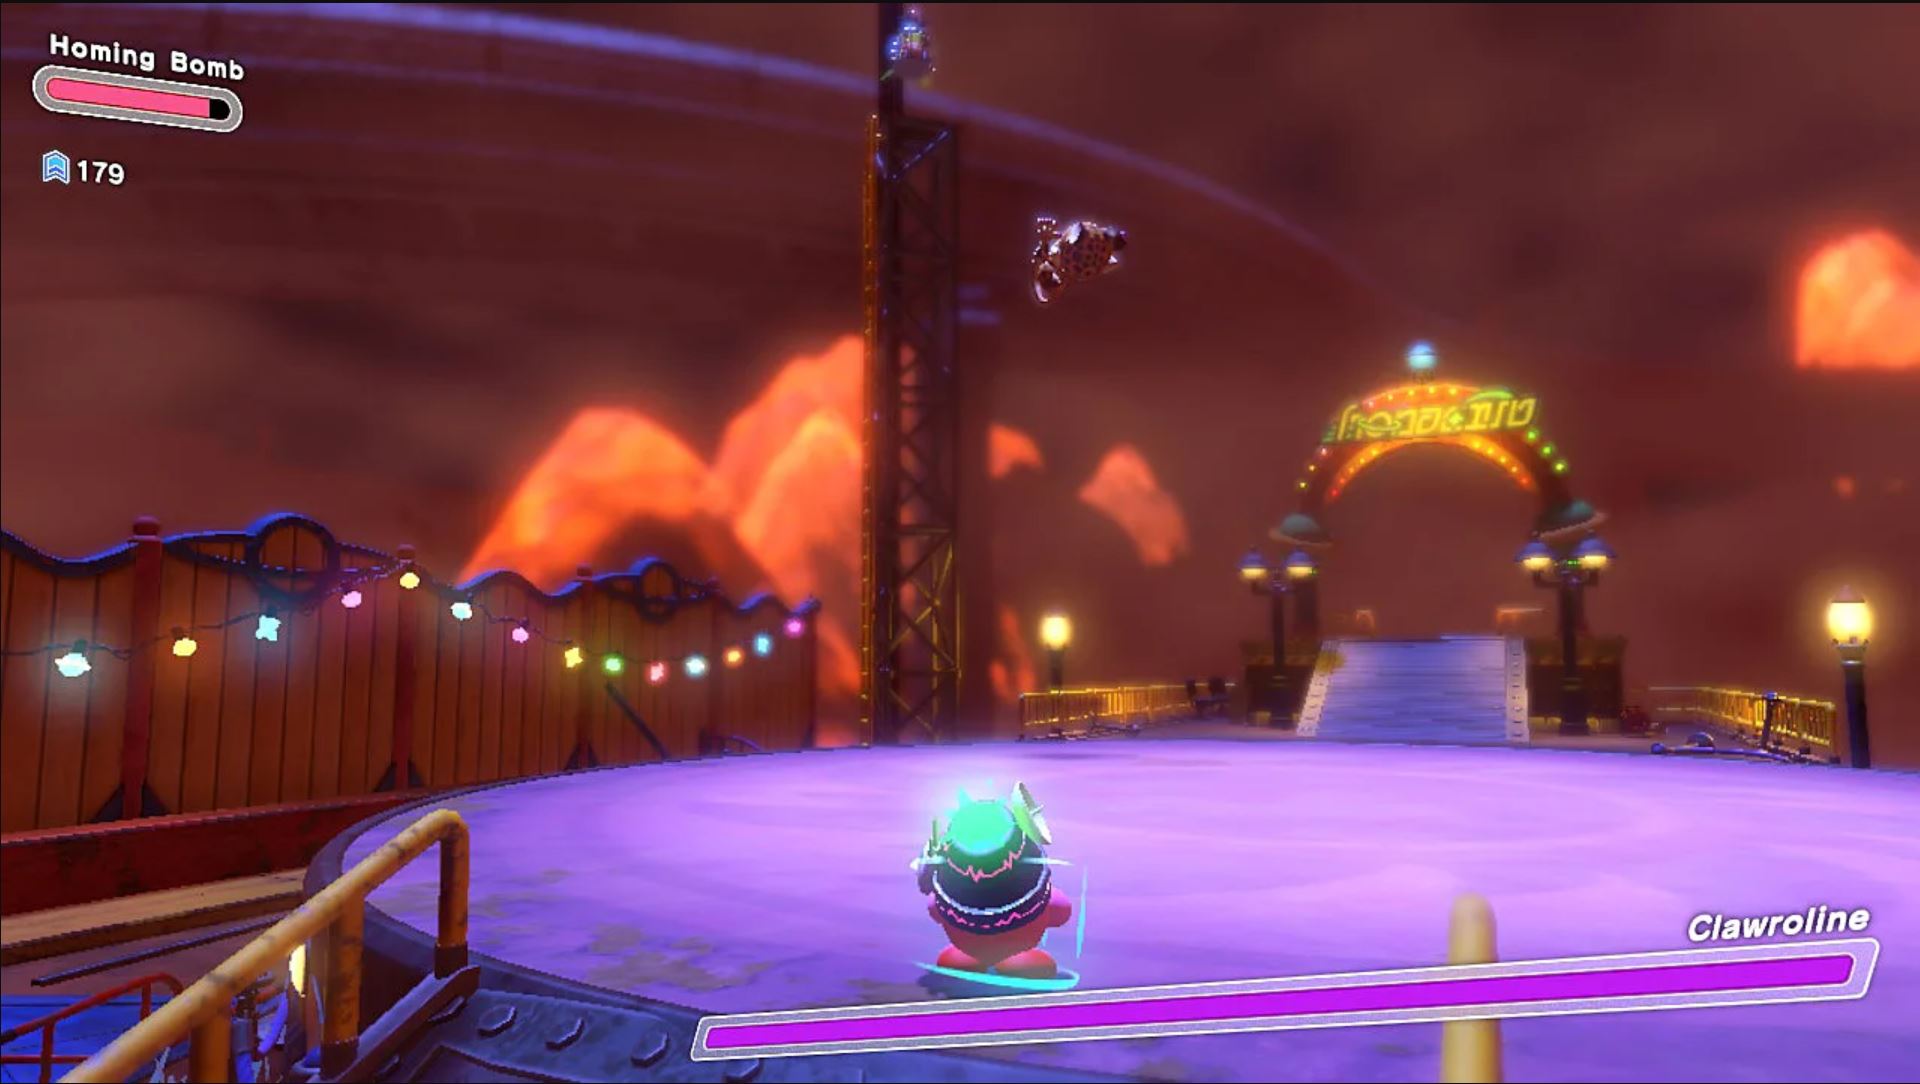
Beast Council Waddle Dee 4
Don’t board the coaster after you defeat Clawroline. Look to your left for a tall tower (of which you can’t yet see the top). Climb the long ladder up the tower to find this Hidden Waddle Dee.
Beast Council Waddle Dee 5
The fifth Hidden Waddle Dee in Gathering of the Beast Council is earned by pressing all the switches during the Coaster Mouth section at the end of the stage. Doing this will open up a gate this one is captured. You can always retry this challenge, so you don’t have to replay the whole level if you missed a switch or two.
All Hidden Waddle Dees in the Beast Pack’s Final Stand
There are five Hidden Waddle Dees in the Beast Pack’s Final Stand.
Beast Pack Waddle Dee 1
During the Scissor-Lift Mouth section of the Beast Pack’s Final Stand, you’ll pass by a platform with a Primal Awoofy and Sir Kibble. They are guarding the first Hidden Waddle Dee of the stage.
Beast Pack Waddle Dee 2
You’ll see the second Waddle Dee above the first Poison Croakom at the start of the room with the poison. You must platform to the back of the room to find a pipe that will turn you into Water-Balloon Mouth Kirby. Use the easier, alternate path you now have to go back to the beginning of the room and blast the Croakom with water. The platform below the enemy will lift and allow you to reach this one.
Beast Pack Waddle Dee 3
When you are about to exit Vending Mouth, you’ll be able to shoot a stack of metal boxes holding up a staircase on the far right side of a platform. Inhale the staircase and move it all of the way to the left of the platform and exit. This will create a stair going up to a platform that holds a couple of enemies and the third Hidden Waddle Dee.
Beast Pack Waddle Dee 4
This one is more or less a gimme. Once you defeat the final blue Gnawcodile in the Ring Mouth boat room, you’ll be lifted up to the location of the fourth Waddle Dee.
Beast Pack Waddle Dee 5
The final Hidden Waddle Dee in Kirby and the Forgotten Land (yes, the entire game) is found during the Arc Mouth gliding sequence. You must hit the three optional fan switches in the second half of the section to unlock an alternative path hiding this friend.
Those are all of the Hidden Waddle Dee locations in Redgar Forbidden Land. If you need to find the Hidden Waddle Dees in any other stage of Kirby and the Forgotten Land, you can find guides to every world by visiting our dedicated game page.


Published: Apr 11, 2022 10:10 am