The Hidden Missions in Redgar Forbidden Lands in Kirby and the Forgotten Land can be downright devious. Redgar Forbidden Lands will test everything you and the pink puffball have learned over the course of the game’s first five worlds, and knocking out the Hidden Missions can be a bit of a pill.
This Kirby and the Forgotten Lands walkthrough guide will tell you how to find and complete all of the Hidden Missions in this world.
Use the links below to jump to each level in Redgar Forbidden Lands:
- Enter the Fiery Forbidden Land
- Conquer the Inferno Road
- Burning, Churning Power Plant
- Gathering of the Beast Council
- Beast Pack’s Final Stand
- In the Presence of the King
All Hidden Missions in Enter the Fiery Forbidden Lands
There are three Hidden Missions in Enter the Fiery Forbidden Lands.
Fiery Forbidden Lands Hidden Mission 1: Defeat 2 Outlook Awoofies
The Outlook Awoofies are both found in the first area of the level. These dogs are located up in watchtowers so be on the lookout for those tall structures.
- The first is located early on at the top of a wooden tower.
- The second is a bit later on, where you encounter a group of Rabiroos and an Orabiroo.
Fiery Forbidden Lands Hidden Mission 2: Find the Secret Passage
This Hidden Mission is near the end of the second part of Fiery Forbidden Lands and requires the Drill Copy ability to access. There is a hidden ledge sloping upwards to the left of the staircase leading out of this area. Follow it up, past a couple of Sleepies and to a fence. Drill under the fence to complete this Hidden Mission.
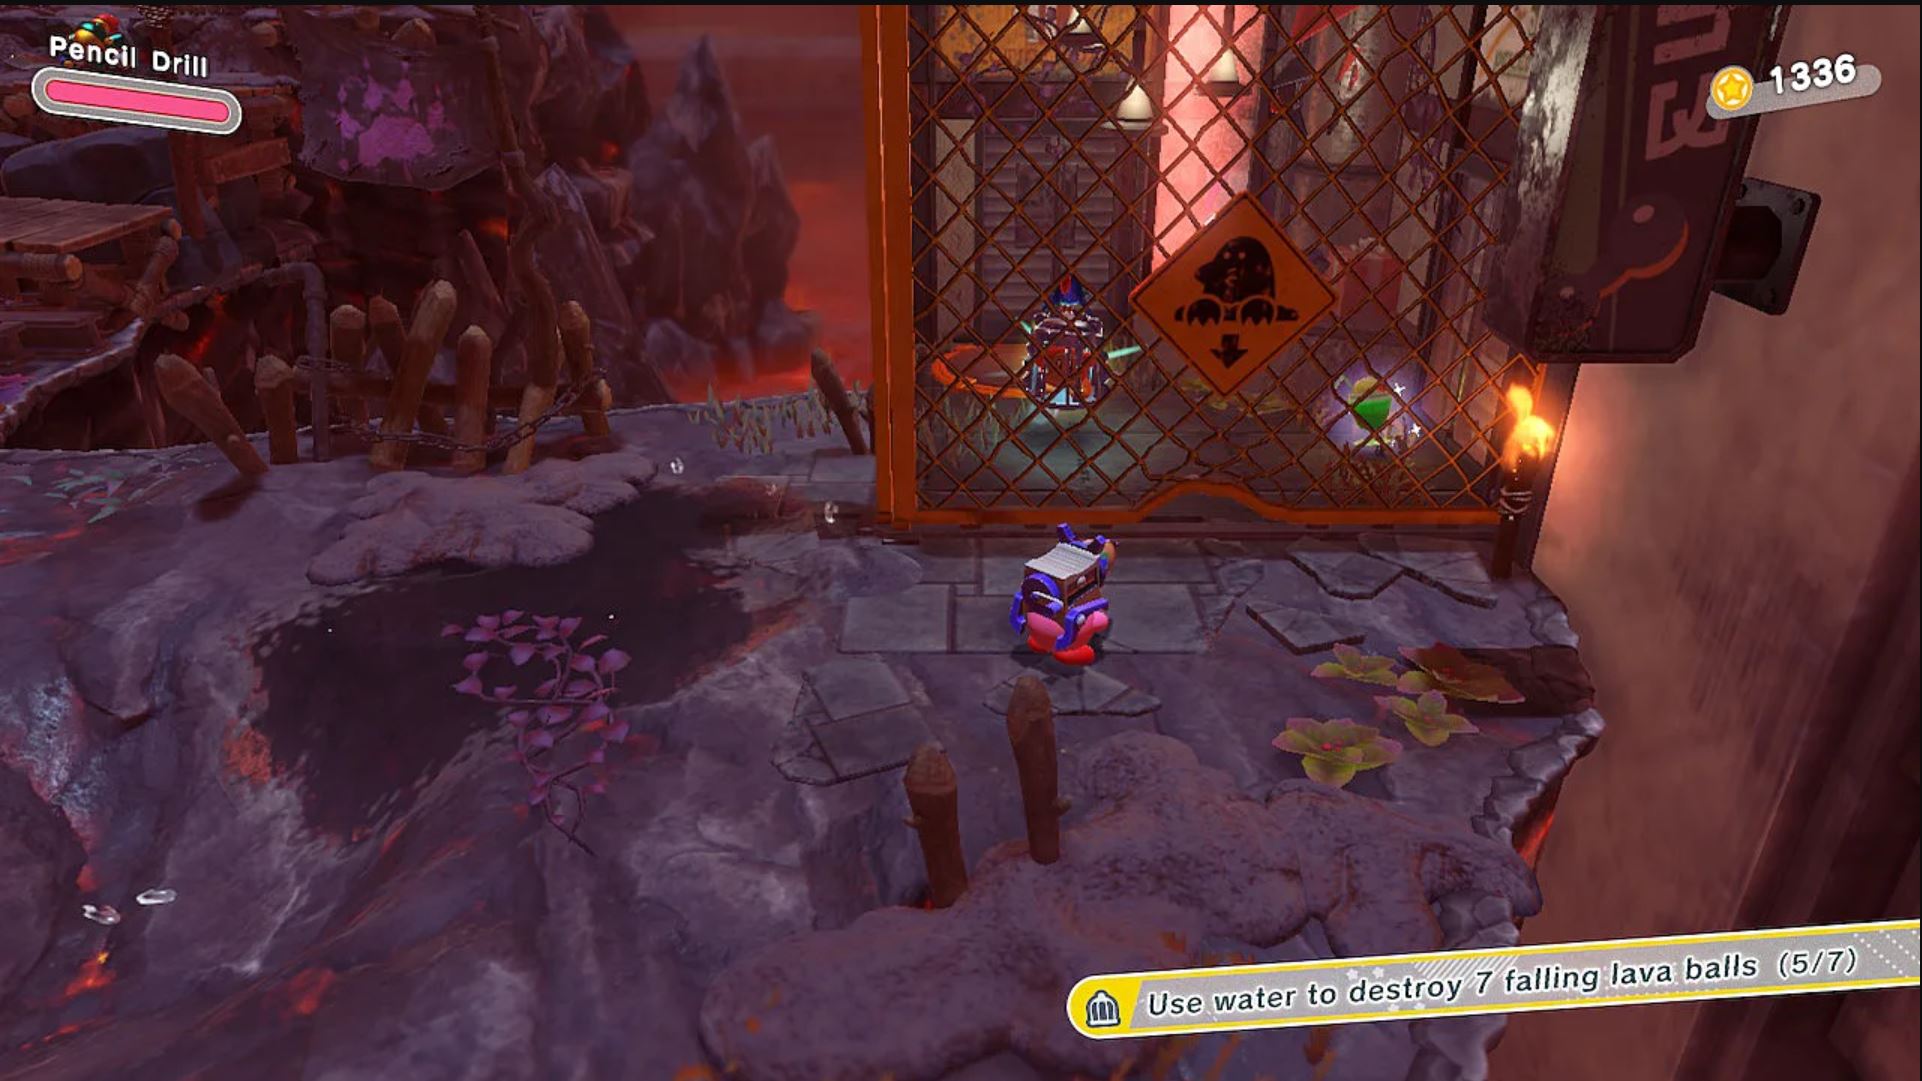
Fiery Forbidden Lands Hidden Mission 3: Use Water to Destroy 7 Falling Lava Balls
This Hidden Mission can only be completed if you get the third Hidden Waddle Dee of the stage and find the early water spigot.
Once you get this Water-Balloon Mouth, three lava balls will fall on your way to the next water pipe. After you get a water refill, you’ll encounter a pair of Buffahorns. Once you do, watch for four more Lava Balls to fall down on the right to complete this Hidden Mission.
All Hidden Missions in Conquer the Inferno Road
There are three Hidden Missions in Conquer the Inferno Road.
Inferno Road Hidden Mission 1: Steal 2 of the Beasts’ Meaty Meals
- Go to your right to find a hunk of meat on a leaf after you get past the first canon in the level.
- The second piece of meat is found at the end of the first area. After climbing the tall ladder, look to your right for a distance platform to jump to. There will be another ladder to climb here and a Primal Awoofie you must defeat to earn this tasty meat.
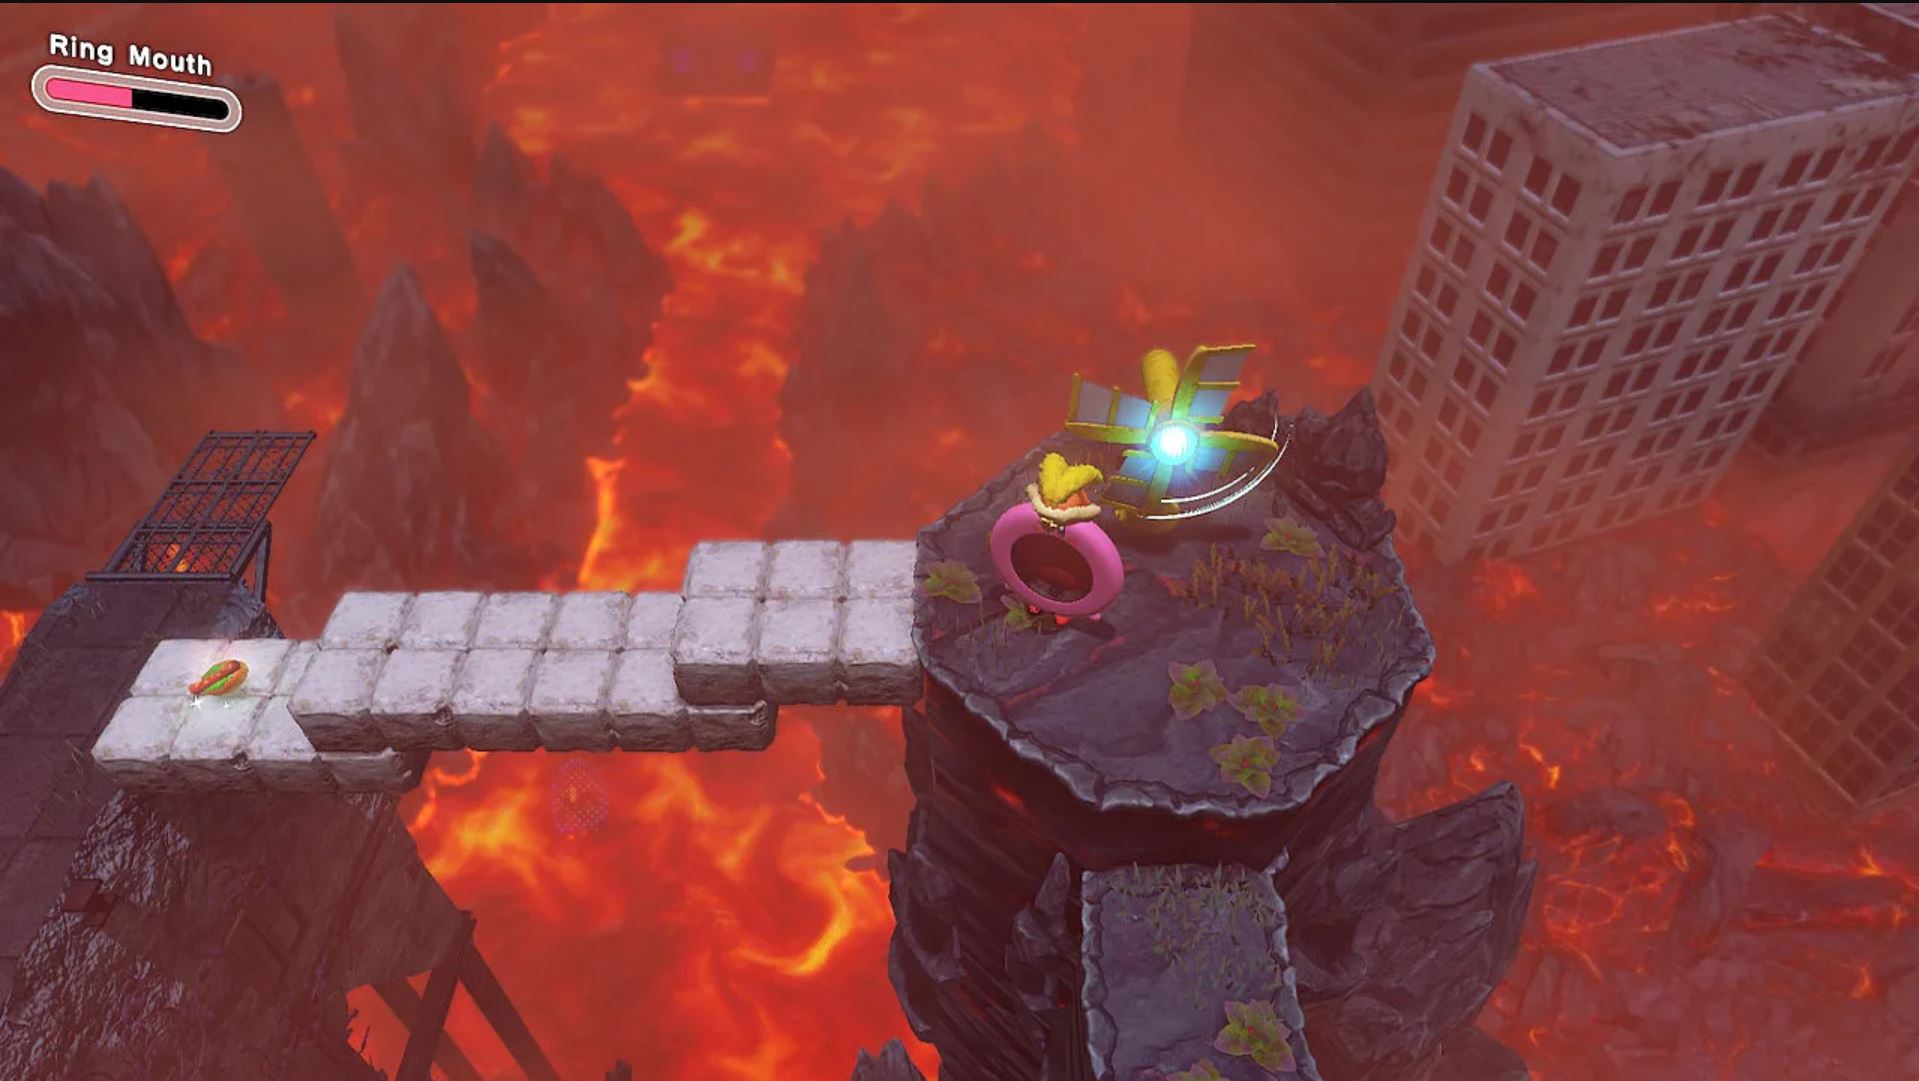
Inferno Road Hidden Mission 2: Make All of the Windmill Switches Spin
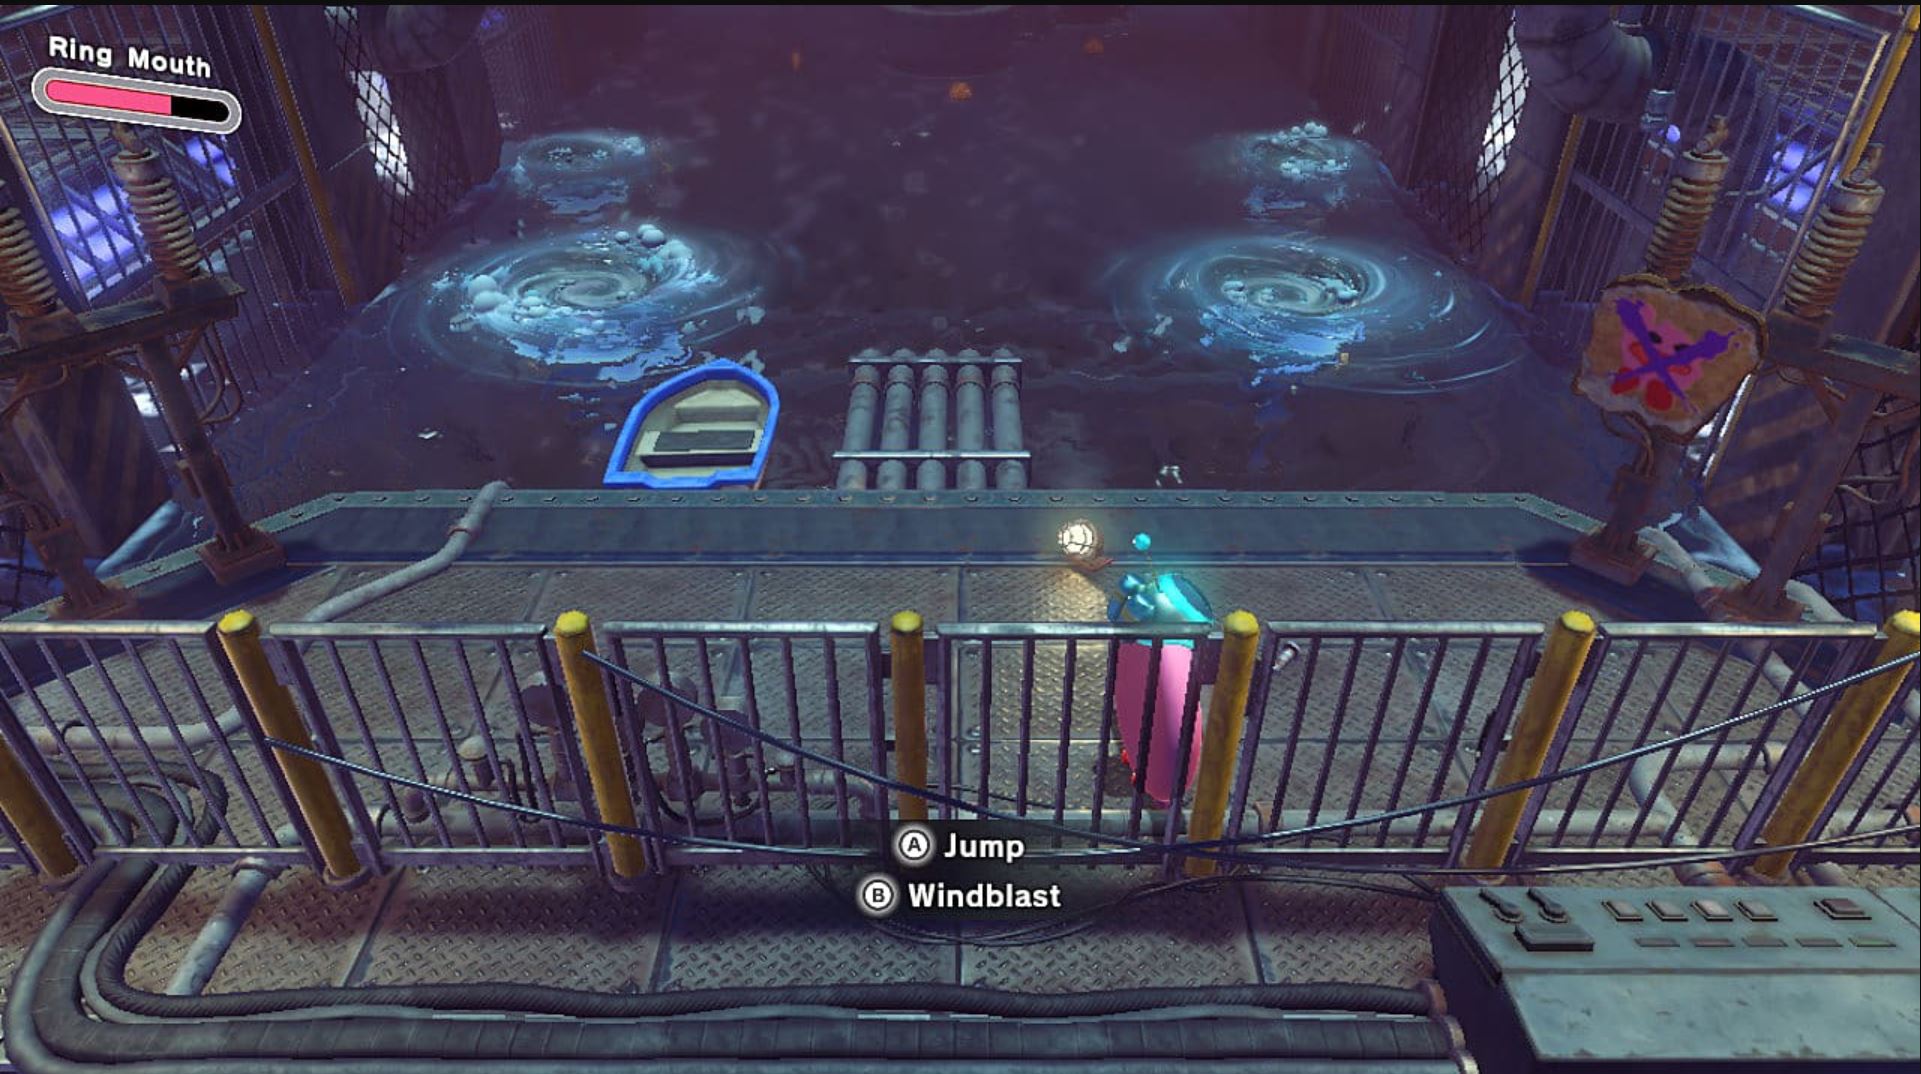
The last Hidden Waddle Dee of Inferno Road is earned by making three of the four Windmill Switches in the Ring Mouth boat section spin. This Hidden Mission is completed by spinning all four of them. The fourth and final windmill is behind the landmass where the Waddle Dee cage that ends the level is found.
Inferno Road Hidden Mission 3: Use Crash to Defeat Wild Frosty
A Bomber jumps down from a ledge and crashes into the ground just before the Wild Frosty arena at the end of the first area. You can inhale it before the enemy reaches the ground to get the rare Crash ability. Or you can just bring it from the Waddle Dee Weapon Shop. Note you’ll have to make it to Frosty without using the ability and essentially keep from attacking any enemies.
Once you’re in the fight, you can charge up your Crash ability for a devastating blow. Or, if you have the Time Crash upgrade, you’ll slow time allowing you to take Wild Frosty down in two quick hits.
All Hidden Missions in Burning, Churning Power Plant
There are three Hidden Missions in the Burning, Churning Power Plant stage of Redgar Forbidden Lands.
Burning Churning Power Plant Hidden Mission 1: Infiltrate the Control Room
In the third section of trash compactor walls closing in, you’ll want to find the red switch and press it.
Go through four boxes that appear on near the right smooshing wall to find the level’s first Hidden Waddle Dee. From there, jump up on top of the walls and head left to an open vent that leads to the control room for this Hidden Mission.
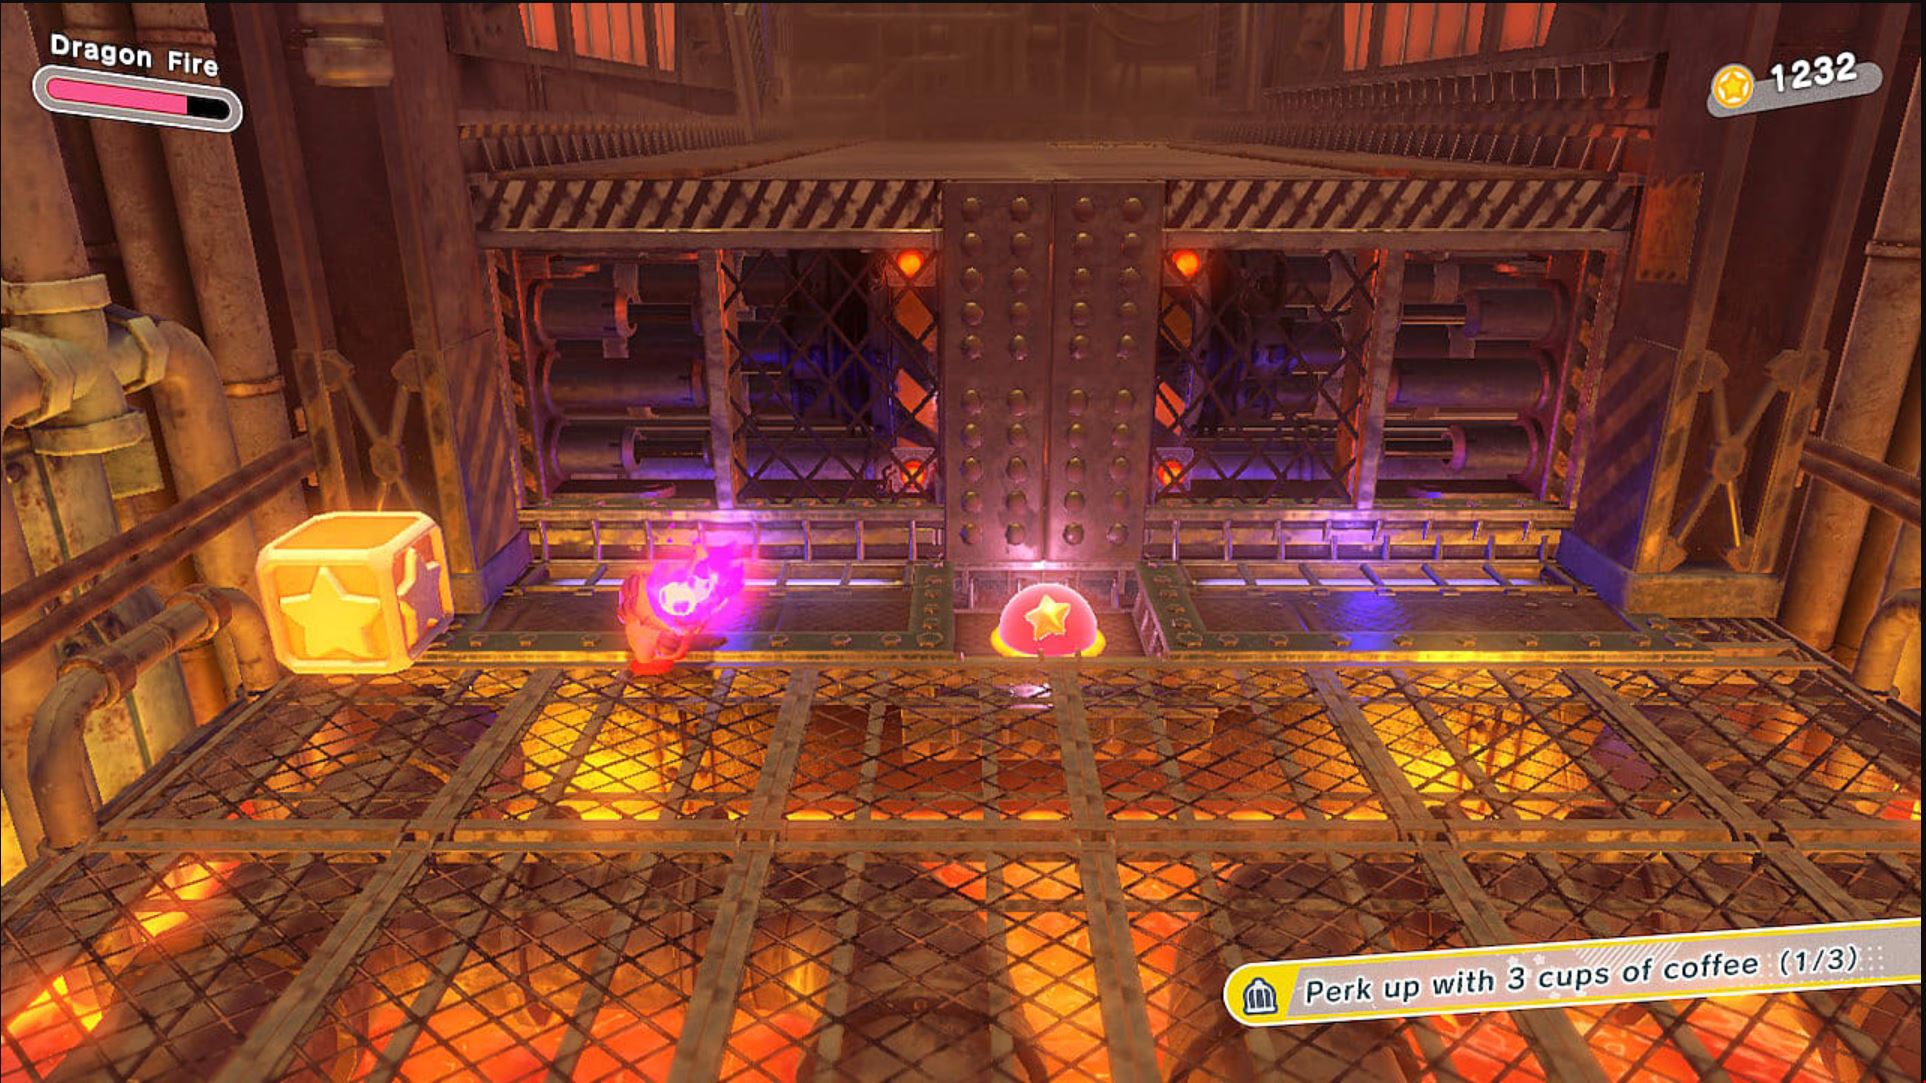
Burning Churning Power Plant Hidden Mission 2: Perk up with 3 Cups of Coffee
- The first cup of coffee is on top of the star blocks in the first crushing walls section of the level.
- The second cup of coffee is found on top of star blocks next to a Green Star Bit near a large cannon.
- The third cup of coffee is on top of a trio of wooden boxes with an enemy sleeping on top when you are running from the spike wall.
Burning Churning Power Plant Hidden Mission 3: Don’t Get Squished
We can’t give you a moment-by-moment guide here, as the Power Plant is filled with walls, blocks, and crushers that will squish you. Take it slow and steady. Don’t worry about getting hit by enemies — that won’t negate your attempt at this Hidden Mission.
All Hidden Missions in Gathering of the Beast Council
There are three Hidden Missions in the Gathering of the Beast Council level.
Beast Council Hidden Mission 1: Venture Deep Into the Secret Passage
At the very start of the level, head to the right until you see two torches. Pass through them to head to the secret passage and complete this Hidden Mission.
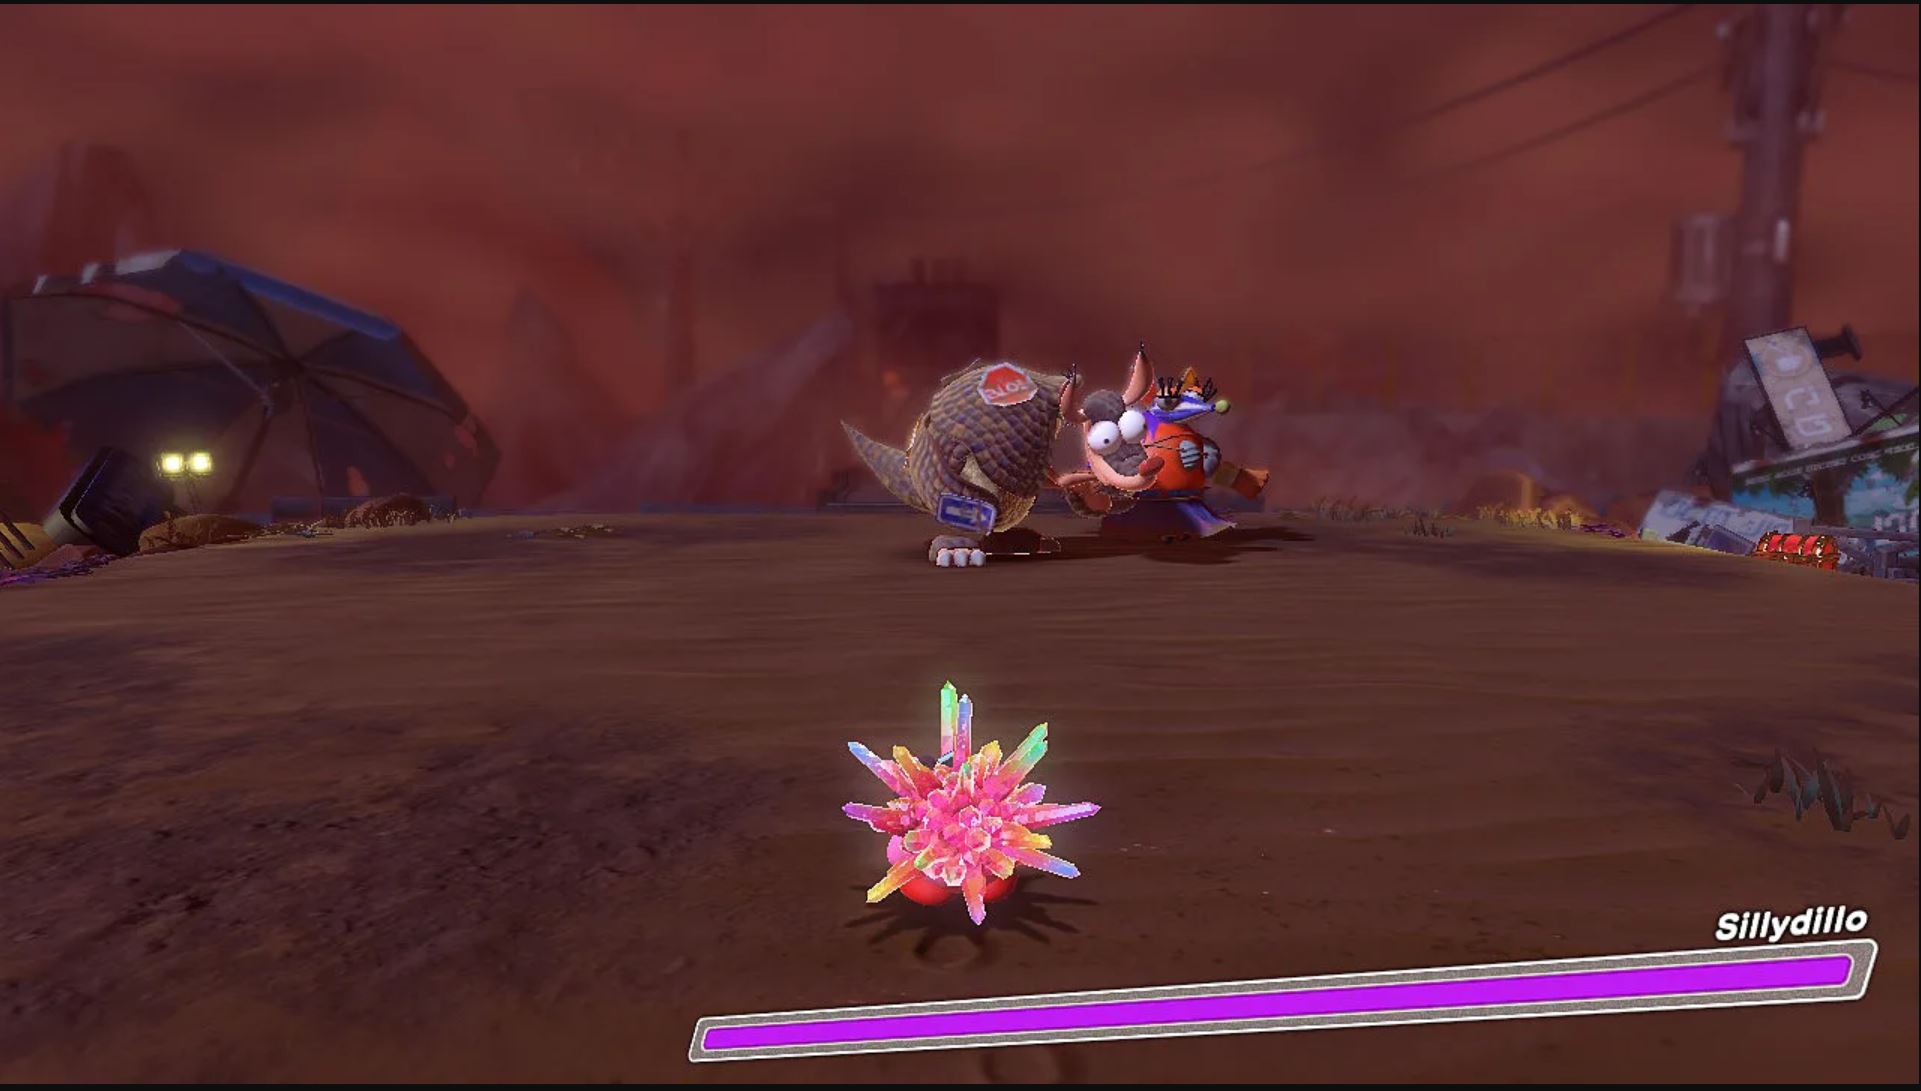
Beast Council Hidden Mission 2: Defeat Sillydillo in 1:30
The second boss in this boss rush level, Sillydillo can be taken down quickly using a couple of abilities. Spikes are great for quick damage, although you are likely to take some damage this way. The Cutter, especially if you have it fully upgraded, lets you do damage over time and keep your distance, which makes it another great choice for this battle.
Beast Council Hidden Mission 3: Beat Clawroline Without Getting Hit
This Hidden Mission is tough for a couple of reasons. The Ranger ability is the only way to damage Clawroline while she’s up in the air, but the damage is slow. Instead, we recommend the Cutter or Bombs for maximum damage output at a distance, while the boss is on the ground.
The key to completing this mission is mastering your dodge timing. If you hold down R and move the stick left or right just as Clawroline lunges at you, you’ll perform a perfect dodge. This will be indicated by a slow-motion animation and will leave the boss vulnerable.
All Hidden Missions in The Beast Pack’s Final Stand
There are three Hidden Missions in The Beast Pack’s Final Stand.
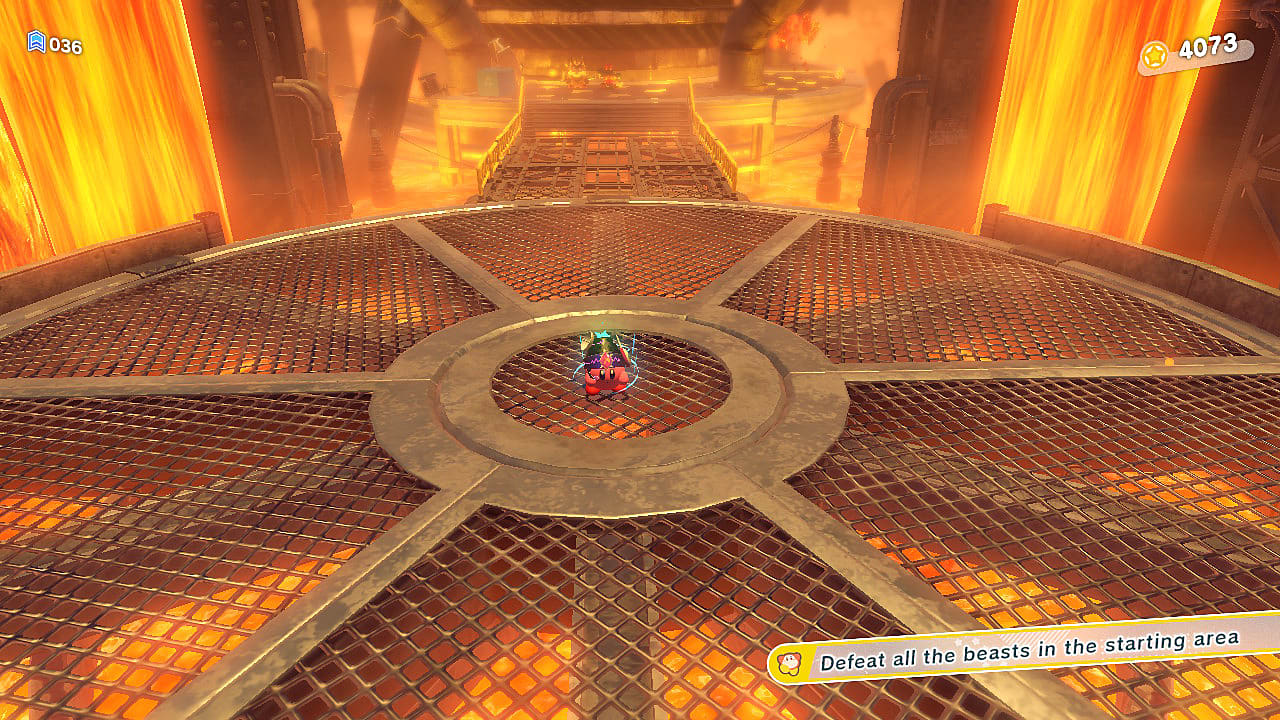
Beast Pack Hidden Mission 1: Defeat All of the Beasts in the Starting Area
After you go down the elevator, you’ll pass through a door and enter a large circular arena full of enemies. Make sure to defeat them all to check off this Hidden Mission.
Beast Pack Hidden Mission 2: Remove 5 Beast-Base Wanted Posters
- The first wanted poster is on a circular wall right after the arena where you complete Mission 1.
- The second wanted poster is on the wall near the Croakom guarding Waddle Dee 2.
- The third wanted poster is hanging off the edge of a platform near the only set of lockers in The Beast Packs’ Final Stand.
- The fourth wanted poster is right before the boat when you are Ring Mouth Kirby.
- The fifth and final wanted poster requires you to get on top of the first Tortorner to remove it. This is located right next to the Cone Mouth you’ll need for the next mission.
Beast Pack Hidden Mission 3: Don’t Fall in the Lava While Using Cone Mouth
At the very end of the level, you’ll need to use Cone Mouth Kirby. Be mindful of not standing on sinking platforms too long to avoid falling in. If you mistime a jump, remember that the downward spike attack gives you a little forward momentum in Cone Mouth mode.
All Hidden Missions In the Presence of the King
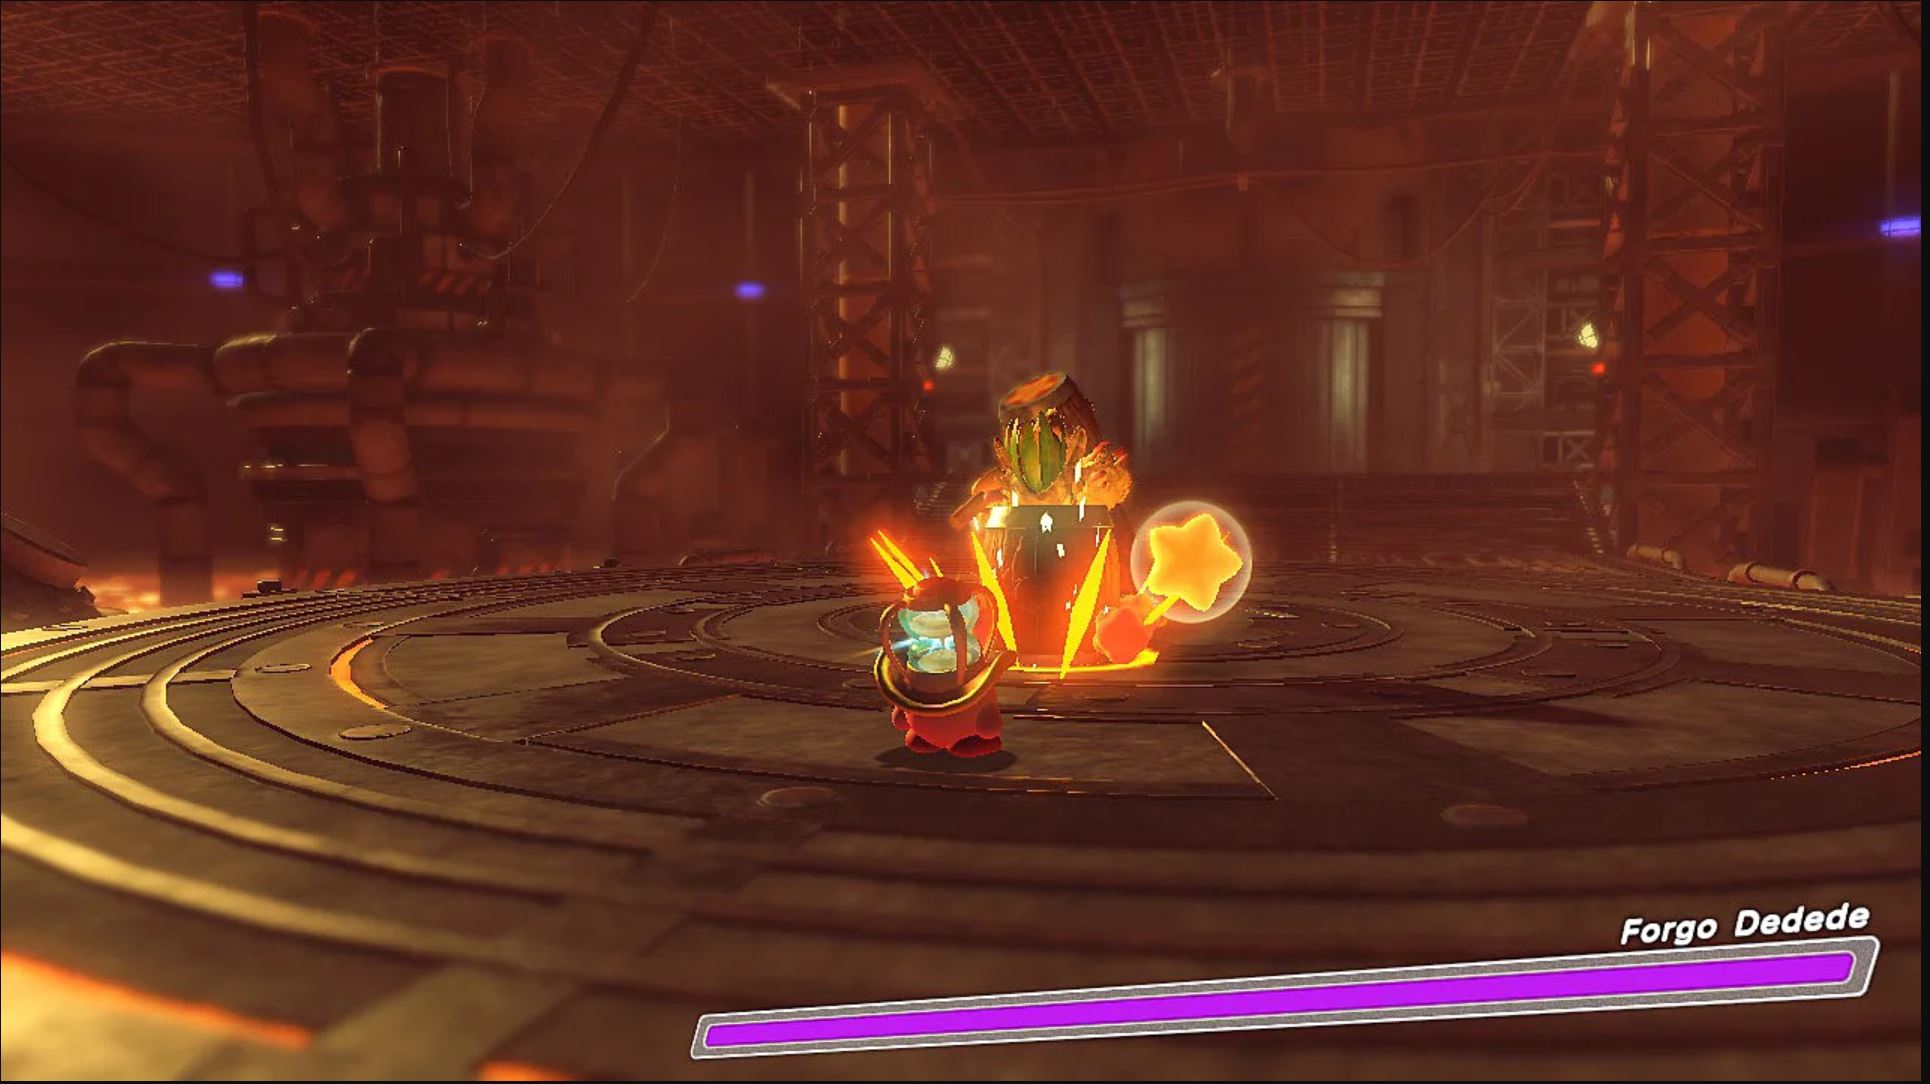
In The Presence of the King has four Hidden Missions to complete while fighting Forgo Dedede. This is the second and final boss fight against the king in Kirby and the Forgotten Land. You should be able to complete these Hidden Missions in just a couple of attempts.
- Don’t get hit by Forgo Dedede’s fire attack.
- Clear by using a second-level evolved ability.
- Clear In the Presence of the King within 2:00.
- Clear In the Presence of the King without taking any damage.
The second Hidden Mission should be pretty easy to get. At this point in the game, you should have a few second-level evolved abilities.
The fastest way to beat Forgot Dedede is with the Meta Knight Sword ability, which you can unlock in the colosseum after beating Wondaria Remains. You might want to pick up some extra health at Waddle Dee’s Item Shop in Waddle Dee Town, because you’ll need to tank some damage to clear the fight this quickly.
To complete the battle without getting hit, you must keep your distance from Forgo Dedede when he’s attacking. He will hit the ground before unleashing a series of fire tornados, but they don’t reach far. Keeping your distance and using the Ranger or Bomb (or Cutter) abilities to dispatch Forgo Dedede is a great way to not get hit.
That’s how to find and complete all of the Hidden Missions in Redgar Forbidden Lands. If you missed any blueprints in your playthrough of Kirby and the Forgotten Land, we have you covered with our blueprint locations guide. For anything else on where to find Hidden Missions and Waddle Dees check out our other Kirby and the Forgotten Land guides.


Published: Apr 10, 2022 07:59 pm