Building outposts in Meet Your Maker is a core part of the gameplay loop, and mastering it is key to progressing and leveling up. Constructing a base can be a little overwhelming at first because of the various things to keep in mind, such as traps and manipulating the Harvester’s path. However, the tips and tricks in the building guide below are meant to help you make an Outpost into a dungeon no raider can escape.
Tips for Building Your Outpost in Meet Your Maker
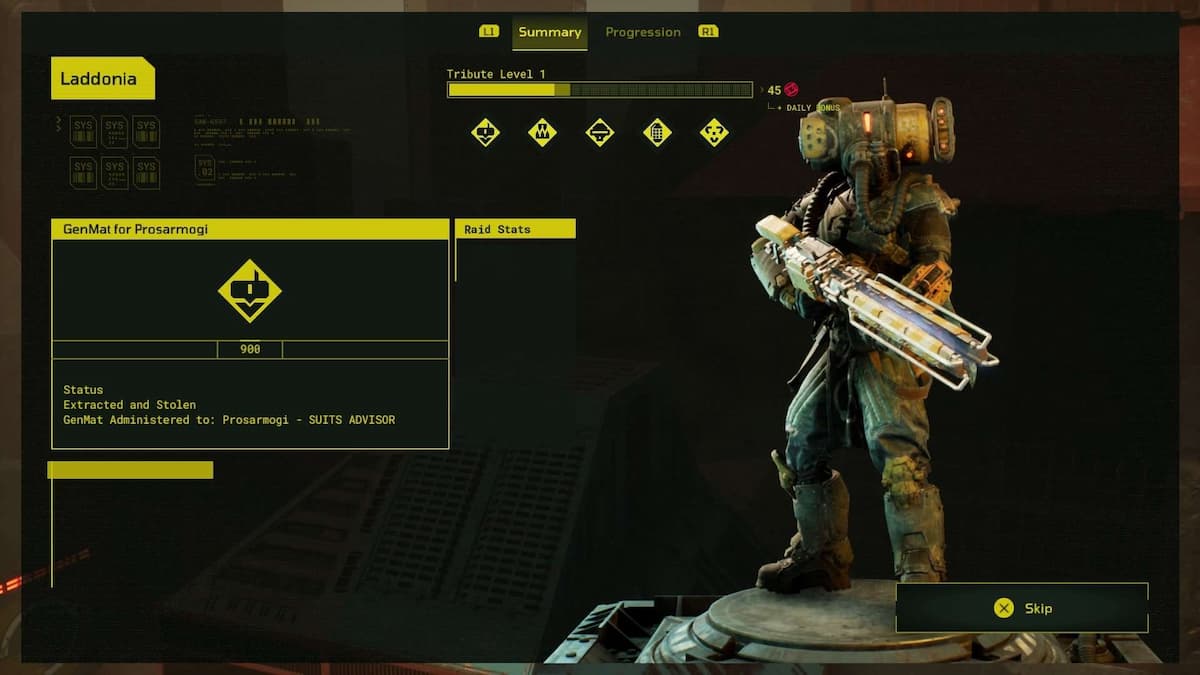
Building outposts is half of the Meet Your Maker experience. Claiming a Burial Site and constructing a base lets other players raid you and, if built correctly, die to leave behind helpful materials. Outposts also let you siphon GenMat passively for a time.
Each base has a specific GenMat it provides, which is identified by the associated advisor icon when claiming a Burial Site. You can have up to five active Outposts at a time, so they’re well worth investing in and constructing.
Building a base that efficiently kills raiders takes some time but is pivotal for gathering more materials for the Chimera. After the base has killed enough raiders, you can then prestige your base. Leveling up your base gives you more resources to use so you can update your traps and guards while refreshing the number of materials it can passively gain.
Pay Attention to Outpost Resources
Each outpost has a number of objects that can be used, denoted by the capacity number. These limits can vary but are generally between 750 and 4,500 capacity points in total. This is important to keep in mind when building a path to your Genmat.
You can view this number when you’re looking to claim your first Burial Site to create an Outpost. It’s found directly under the Outpost name. Every object, like traps, guards, and mods, has a different cost, which you’ll see in the building tabs when in build mode.
You’ll also see the number of points you’ve used and how many are left in the upper right portion of the screen in build mode.
Use Trap Mods and Guard Mods
Each trap or guard in your Outpost has a set of 4 Mods that can be unlocked for it. These Mods do various things for different traps and guards. Take the Corrosive Block, for example. With a few mods, this simple transparent stationary trap can turn into an opaque block that explodes when hit by anything.
Guards can also have Mods attached to them. Some explode shortly after being killed to catch raiders off guard, while others strengthen guard defenses by giving them armor plating that can only be destroyed by heavier weapons.
Building Chaos is Good
Using an erratic building pattern can catch many raiders off guard and leave them open to easy kills. Try putting in sharp turns on the Harvester path and making the hallways tight and claustrophobic to restrict player movement.
You can then fill these tight areas with traps and guards, forcing players to fight a war just to get to the GenMat, netting you lots of easy initial kills. Consider:
- Building traps on angles. Take advantage of raider line-of-sight, placing a floor trap on an angle. They may be looking ahead or up — not down. You can even use the red warning signal players get when they’re in danger to your advantage. If you put multiple traps at opposite angles, you can potentially disorient raiders, confusing them on which direction is truly safe.
- Covering traps with decorations. Some building blocks make traps obvious (a dark trap on a white block is a dead giveaway). Try building traps into darker blocks or those with decorations on them to confuse raiders.
- Creating kill rooms. A line of well-placed traps can force raiders to run forward through areas instead of backward — and you can lead them into a kill room full of guards placed at various heights and distances. Place some invisible floor tiles or Corrosive Blocks around, and they’re liable to run into those as they try to outrun projectiles.
- Making good use of the second phase. Once raiders have the GenMat, make their escape difficult by placing traps along the exit path. Placing second-phase traps in the same place at phase-one traps can also lull raiders into a fall sense of security. To be truly diabolical, you could place hidden traps right at the GenMat that spawn once it’s been taken.
Test Your Base: Think Like a Raider
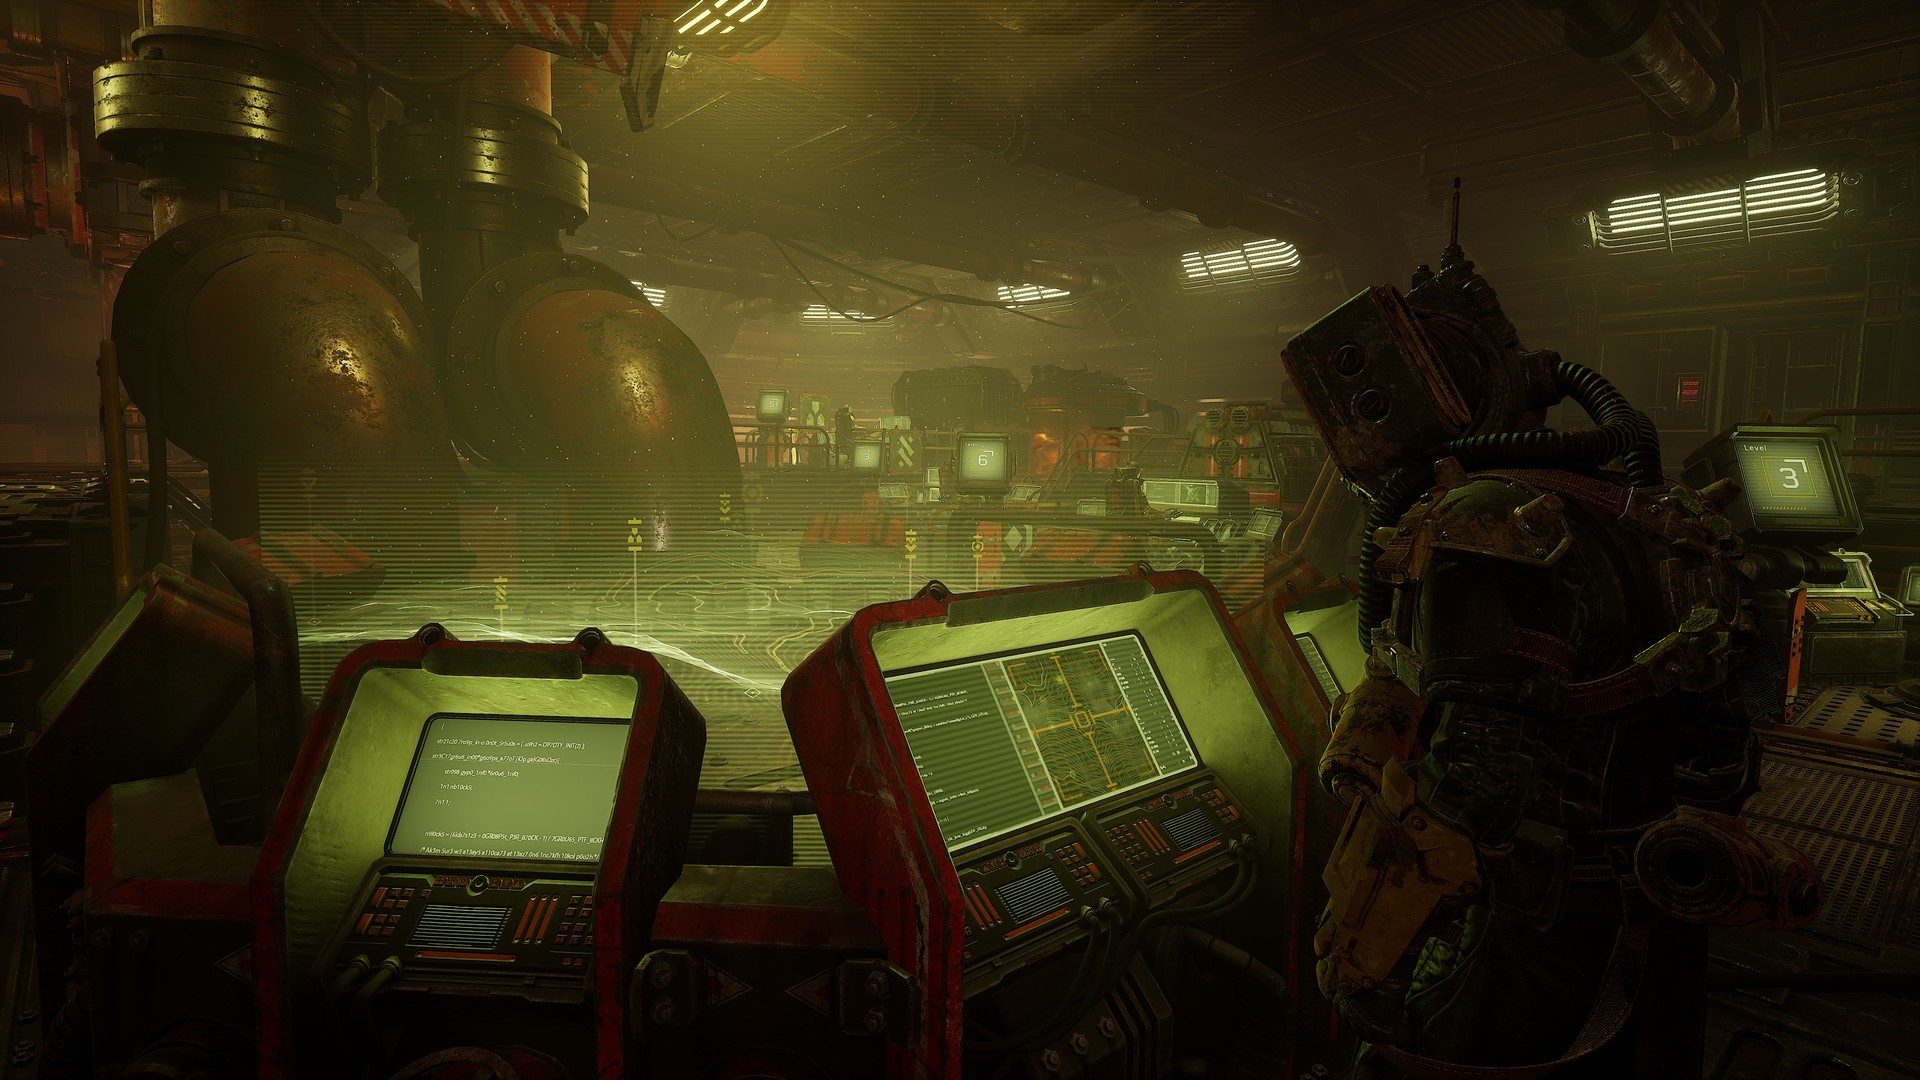
 Screenshot by GameSkinny
Use a raider’s mindset when building your Outpost in Meet Your Maker. Doing so lets you potentially outsmart them. Putting an impaler trap on the floor right after a ramp can usually catch players off guard, giving you an easy kill.
Test your base often, too. Meet Your Maker lets you test the build you create at anytime seamlessly. Use this option to play through your base as a raider and see how your path and traps work in tandem.
Learn From Replays and Death Tags
Building the perfect base in Meet Your Maker is difficult. However, you can learn things from watching other players raid your base. You may learn that traps can be placed more efficiently if you see raiders running by them, or you may notice a secret back entrance that allows raiders to bypass your guards — and you can seal it up to prevent easy GenMat scores by opposing players.
Death tags are also an easy way to see what traps should stay and what should go. If there are a lot of tags in one area, chances are you should keep that part of your base the same. If there are little to no tags, it’s time to rethink that path.
And be sure to return to your base to pick up death tags, which often have materials and parts dropped by dead raiders.
These are the most important tips and tricks to remember when building a base in Meet Your Maker. Use these to create an Outpost the Chimera can be proud of. Head over to our Meet Your Maker guides page for more.
Featured image by Behavior Interactive.


Published: Apr 11, 2023 01:17 pm