One half of the Meet Your Maker experience involves building outposts that are meant to kill as many players as possible. Unfortunately, the Harvester path mechanic puts some hard limits on player creativity. So how do you change it? This guide should help you learn how to manipulate the Harvester path to create more specific scenarios and level designs.
How the Harvester Path Works in Meet Your Maker
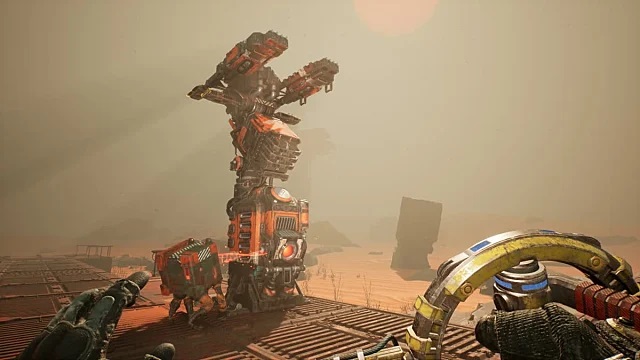
The Harvester is a four-legged creature that continuously walks back and forth between the outpost entrance and the GenMat core. For better or worse, the Harvester’s sole AI behavior directs its patrol route one way: the Harvester always take the shortest possible path toward the outpost’s core.
How to Alter the Path
This means if you have diverging paths that ultimately lead to the same point, the Harvester will only ever take the shortest path. There’s no way to directly change the AI behavior. However, you can manipulate the path itself to create unique levels by:
- Deleting blocks
- Adding blocks
- Creating dead ends
- Creating alternate pathways
If the starting outpost route is too short, delete blocks or create dead-ends along the starting path. This forces the Harvester to re-direct. If there’s no way for it to access the core after some edits, then you can create the path yourself, making it as long and winding as possible.
Remember that the Harvester must be able to make it to the core and back. If you place a Corrosive Cube with the mod that only activates after stealing the core, that cube shows up as Bedrock during the first phase. Even though it appears and acts as a normal block during the first phase, it doesn’t recognize this as a legitimate path.
If the Harvester can’t get to the GenMat core when you’re building, it’s path will turn from yellow to red.
Harvester Path Tips and Tricks to Fool Raiders
Because the Harvester shows raiding players where to go at all times, placing it in harm’s way can easily throw raiders off. Remember: it can be killed during a run.
Placing multiple traps and enemies in the same room while the Harvester is taking a winding set of stairs or sharp turns can lead to major accidents. Amidst the flurry of projectiles, fire, and explosions, the Harvester might wind up getting killed by either the traps or players themselves.
Overloading potential raiders with excessive stimuli might be just enough to make them panic, leading to the death of their most useful navigation tool.
This can also work extremely well in tight corridors, where there’s a higher chance of the Harvester being caught in the crossfire.
After the point at which you expect the Harvester to be killed off in your base, create a maze so that finding the core itself becomes just as intensive as avoiding death from enemies and traps.
Diverging paths are another neat trick that can make use of the Harvester in a devious manner. If you have two paths, place a few obvious traps along the path. This may prompt raiders to check out the other path in case it’s safer.
This longer route will seem safer at first glance, growing deadlier as players progress. To make the most effective use of this fake-out, we recommend frivolous use of traps, such as the Holocube, so that they’re never sure where to look.
In fact, using the Holocube along with ingeniously hidden trap blocks intermittently across the entire outpost is an effective way of tricking anyone. Lull players into a false sense of security as they watch the Harvester take a seemingly safe and simple path only for it to become a deathtrap.
Now that you know how to change the Harvester path effectively, you might be interested in learning more about how to pair this critical route with devastating traps. If you find yourself getting sucked into the outpost-building portion of Meet Your Maker, we also have a guide covering the prestige system.


Published: Apr 5, 2023 04:34 pm