Emily the Farmer sends you to the Queen’s Tomb to seek a reward fit for royalty. Plundering the catacombs, however, is a different matter entirely. This is our complete Queen’s Tomb quest walkthrough, including puzzle solutions, in Enshrouded.
Enshrouded: Queen’s Tomb Quest Walkthrough
Where to Find the Queen’s Tomb
The first stage of the Queen’s Tomb quest is to find the catacombs where Pikemead was laid to rest. These are the Misty Catacombs, which can be seen in the search area on the map. However, it doesn’t show you where to find the entrance.
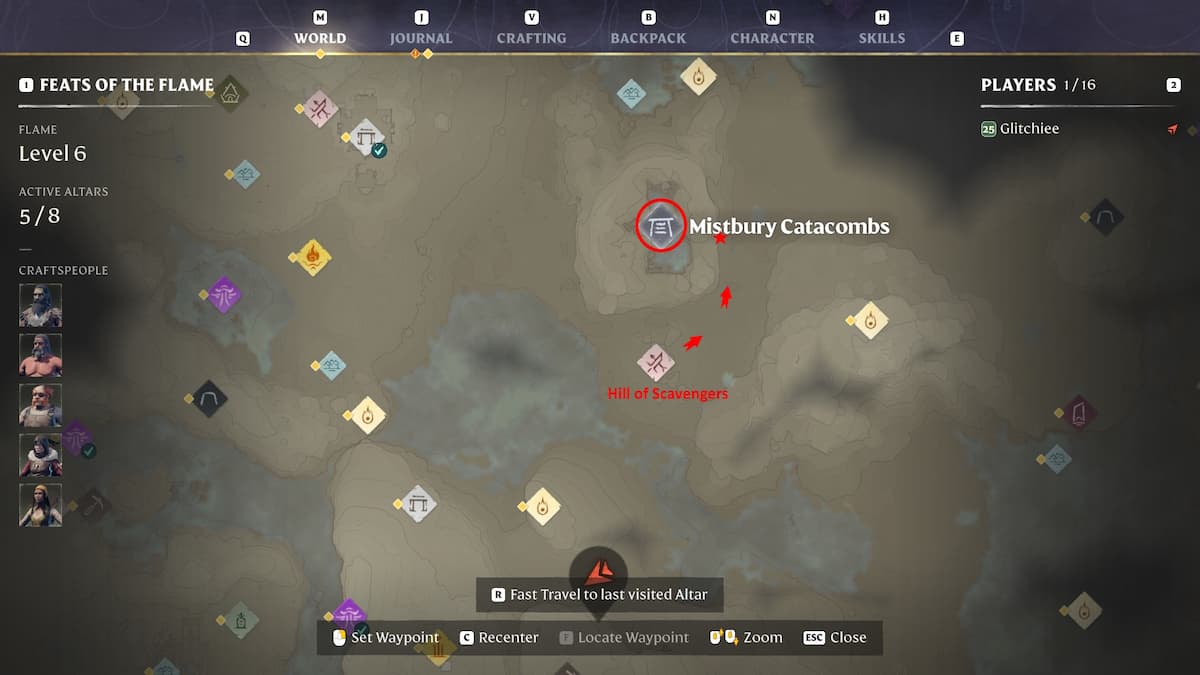
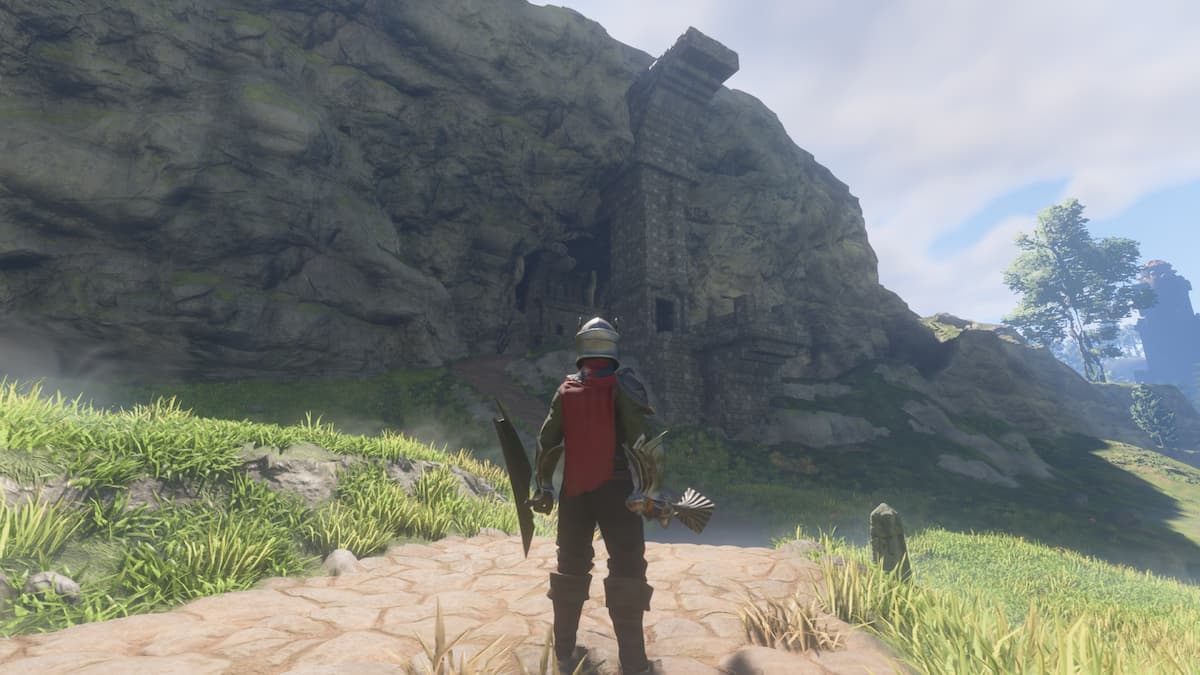
The easiest way to find Queen Pikemead’s Tomb is to head to the Hill of Scavengers. This is the first location where you encounter a Scavenger Gorger Matron. The catacombs are directly north, inside the mountain. Head to the east to find your way in.
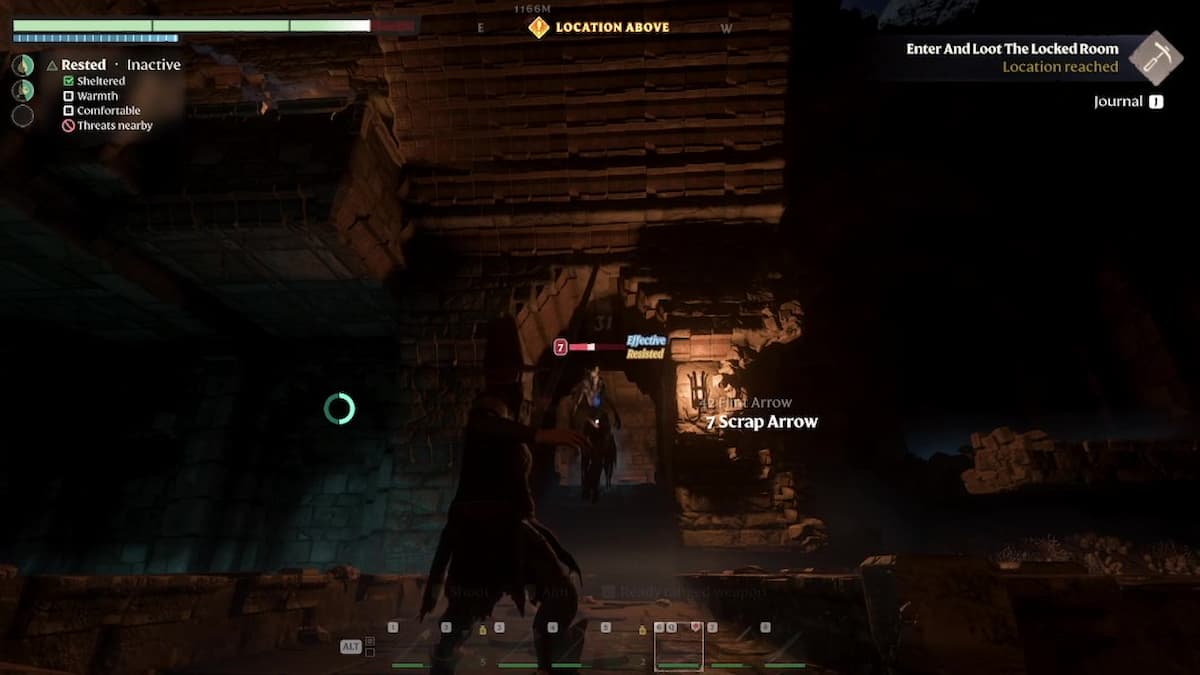
If you end up in the Shroud at Lone Thistle or a Flame Shrine, you’ve gone too far north or east. Stay close to the mountain, and you’ll see a stone structure with a return beacon. You’ve found the Queen’s Tomb, Mistbury Catacombs. Your quest log will update to “Enter and Loot the Locked Room.”
How to Enter the Mistbury Catacombs
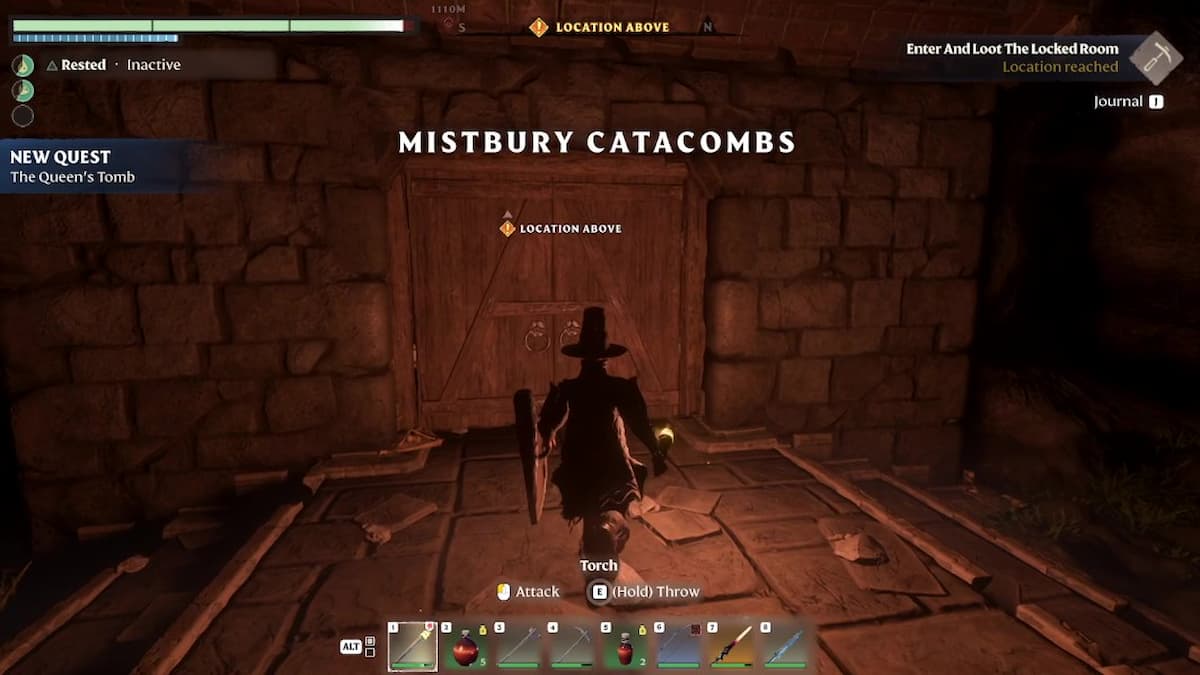
To get in, you’ll need a Lockpick. If you don’t have any metal scraps, head back to the Hill of Scavengers to find a few. You’ll need a couple more Lockpicks in the mausoleum itself, so bring a decent stash.
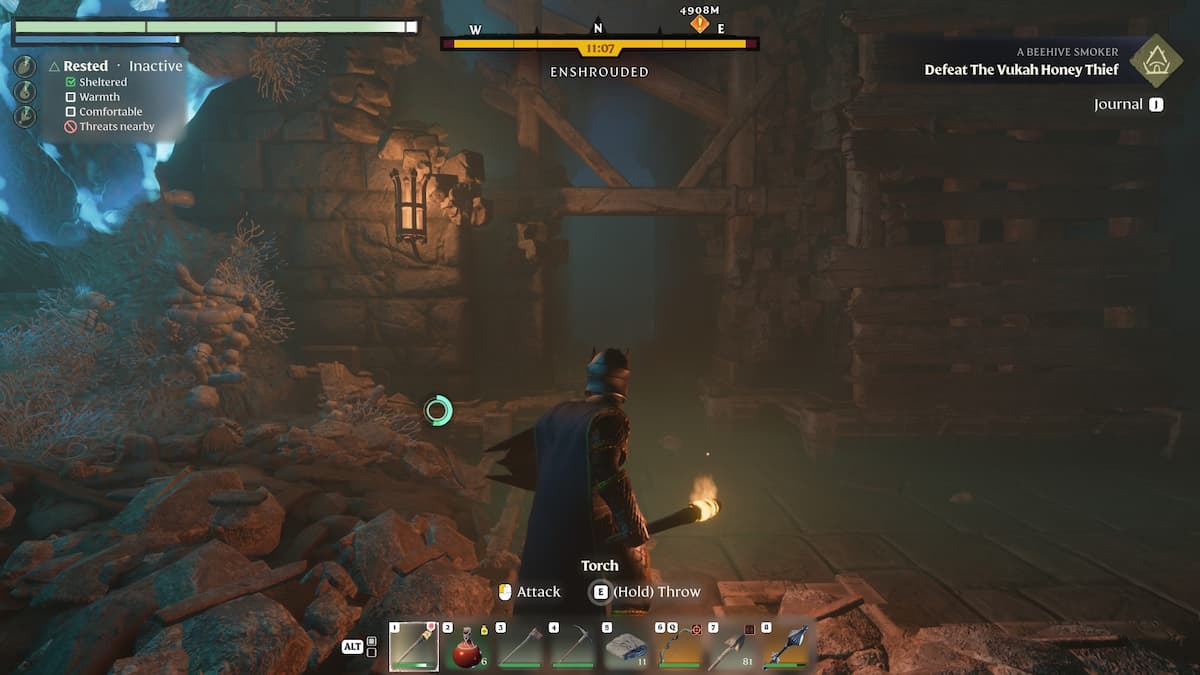
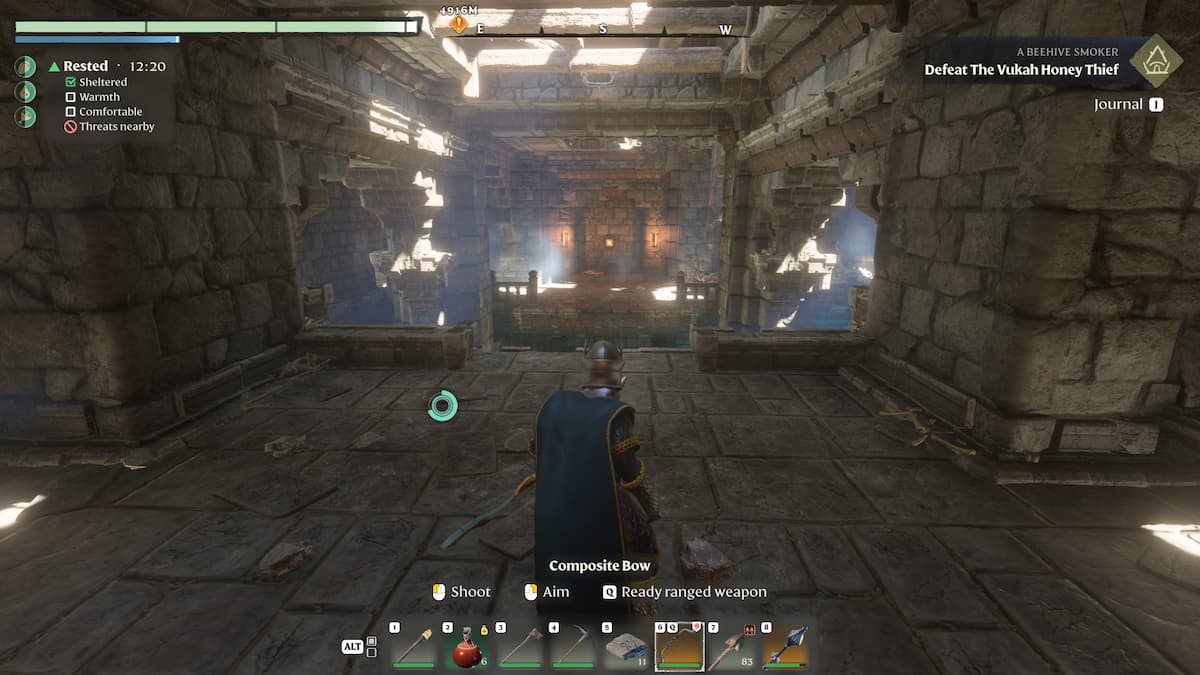
Once you’re in the catacombs, there are a few things to note before exploring. The first are the glowing inscriptions, which are the same on the sides of the entryway. The second is the ruined state of the crypt, along with the Shroud in the lower level.
Finally, we need to find four lock buttons to open the door where Pikemead’s coffin lays. There’s a hint as to where to find them in the inscription. However, it’s easier to notice that there are four different offshoots from the main path, and each will lead to a button.
Enemies here are approximately level seven and are comprised of the typical Fell creatures, pulsing mushrooms and the occasional spitting flower. The hardest foes are the flying Fell you encounter in a few rooms.
How to Find the Lock Buttons in the Mistbury Catacombs
The hardest part about clearing Mistbury Catacombs is the maze-like substructure underneath the first floor. Many areas look identical, and even though they lead to different places, it can have you running in circles. This is how to avoid the labyrinth and find the lock buttons quickly.
I started with the second left path, which brings you to a locked door. Gain entry, then climb the metal lattice to the left side in the next room. At the top, you’ll find a grappling hook point to swing you to the opposite side, which has a button. An arrow shot over won’t trigger this one. You have to press it yourself.
To return to the main area, chop down the barricaded door to your left. There’s another exit to the top left of this room, though you’ll want to shoot the mushrooms first. From there, drop down to the lower ledge. Climb up the lattice, then down the other side. Exit through the previously locked door.
The second right-hand path brings you to another locked door at the bottom of the stairs. This area has Shroud lava running under it that you need to be wary off. Before continuing through the door, go to your right over rubble towards a lava flow. Stay on the walkway to find the button on the left wall.

Return to the locked door, continuing through it this time. At the end of the bridge is a Shroud bug home that you want to mine through. It opens a passage to the other side that leads to a chest. It also allows you to skip climbing lattice, which can be disastrous if you have low Stamina.
From there, walk back to the locked door and then head down the stairs to the left. Grapple your way to the opposing ledge as soon as possible to avoid touching the lava. Shoot the explosive barrel to open a passage. A Fell will run out and attack you as soon as there’s space.
Once dead, continue through and use the stairs to the right, where you’ll find the next button, as well as two enemies.
The door behind you will open once the button’s pressed, which brings you to the first right-path doorway. Instead of going back to the main path, walk out on the first extension. Grapple over to the other ledge, then take the staircase to the right.
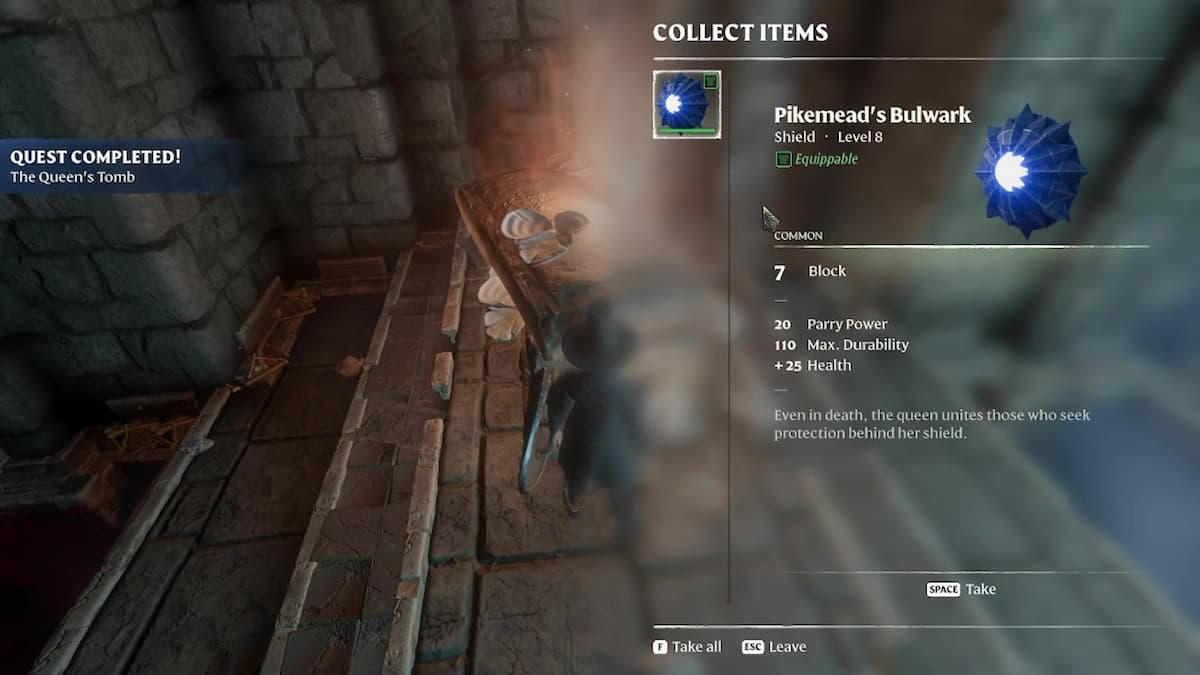
With all locks disengaged, you can enter the Queen’s Tomb. In her coffin, you’ll find Pikemead’s Bulwark, a level eight shield. It has 7 Block, 20 Parry Power, 110 Max Durability, and gives you a bonus of 25 Health when equipped.
That’s the complete Queen’s Tomb quest walkthrough for Enshrouded. For other walkthroughs, especially those for the Craftspeople, head to our guides hub for assistance.


Published: Feb 10, 2024 03:37 pm