
There are plenty of riddles and mysteries to uncover and decode in Remnant 2. Few are what I would call easy. If you’re like me, figuring out how to solve all Lament puzzles is proving to be a task. Two are straightforward, but the other two can be mind-benders. I’ll cover each of them below: wall arrows, dial puzzle (plinth), jumping puzzle, and saws. You’ll get the Lodestone Crown and the Red Widow armor set for getting past them all.
How to Solve All Lament Puzzles in Remnant 2
In this Remnant 2 guide, I’ll tell you how to solve all Lament puzzles. There are a handful of them:
- Wall Arrows: Duck under the arrows and time your vaults to the rhythm of the shots.
- Dial (Plinth) puzzle: Find the book on the dungeon’s first floor. Match the symbol from the beginning of the book with the symbols on the mummy blankets. Notate/memorize the blue, glowing glyphs behind the correct mummies for the dial on the second floor. Line up the glyphs on each ring between the two pillars on the plinth in any order and activate the device.
- Jumping puzzle: Walk across the invisible bridge between the initial platform to the first pillar. There are invisible bridges between each pillar with the same glyph on them.
- Saws: Strafe between the saw blades to reach the other side.
Lament Puzzles: How to Get Past the Wall Arrows
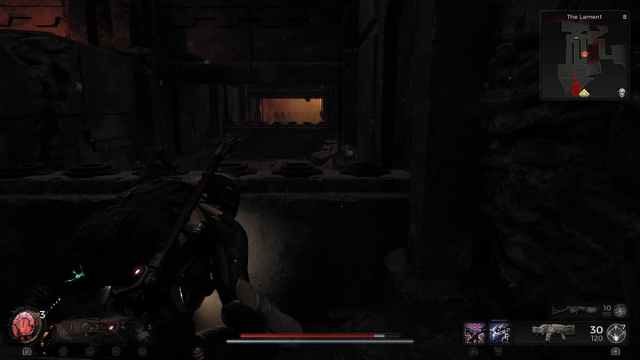
There are four Lament puzzles to solve. As you enter the area, turn left and follow the path. You’ll step on a stone switch that activates wall arrows in the maze you must now traverse. Here’s how to get past the wall arrows puzzle in the Lament dungeon:
- Duck and walk under the arrows. It’s that simple. The arrows can’t hit you if you crouch and walk forward.
- As you approach the barriers along each path, you’ll step on floor switches. These change the direction the arrows come from. Simply time your mantle/vault after a set of arrows has either fired at you (from the front) or zipped past you (from behind).
- In the final section, arrows will shoot down on the barriers from above. Time your vault between the horizontal and vertical arrow shots.
Get to the end, turn left, and open the chest for some loot. Pull the nearby lever to open the door You’ve solved the first of the Lament dungeon puzzles.
Lament Puzzles: How to Solve the Lament Dial Puzzle (Plinth)
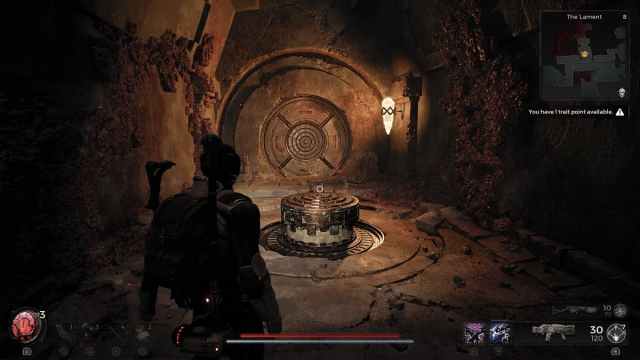
To solve the Lament dial puzzle, also called the plinth puzzle, you must align four symbols in a row at the top of the dial, then activate the mechanism to open the circular door nearby. I’ll refer to the symbols needed for the plinth as hieroglyphs moving forward to differentiate them between other marks and characters in the area. Let’s start from the top. This is the most confusing of the Lament puzzles.
Dial Puzzle Book Location: Mummy Blankets and Glyphs
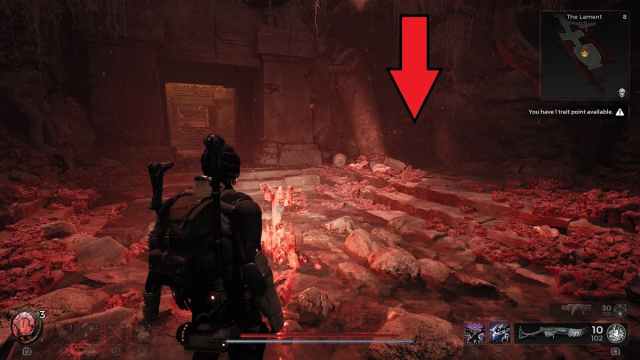
As you enter from the wall arrows, you’ll notice there are bodies on stone slabs covered in different colored blankets. There are also hieroglyphs on the wall behind them. The floor is broken nearby and slopes down. Follow the path down and look at the book there. The symbol on the left page, when you first open the book, corresponds to symbols on the blankets of the dead bodies.
Though the Lament dial puzzle is further into the dungeon (actually on the pathway above the bodies on the right side of the area), you can go ahead and note the hieroglyphs you need for it now. Look for the blankets that have the same symbol as that in the book. Once you find it, all of the blankets you need will have the same color. Mine were grey. There should be three down below and one up top, near the plinth (that’s how it was laid out for me).


Related: How to Solve the Water Harp Puzzle
Dial Puzzle Solution
When you find a mummy and a blanket that corresponds with what you need, look at the hieroglyph on the wall behind the stone slab. Memorize the glyph and move on to the next until you have four.
Now go to the plinth (by going through the entire upper portion of the Lament dungeon), and interact with the dial puzzle. You’ll notice two verticle pillars at the top of the plinth. You must align the four hieroglyphs from the mummies between those two small pillars. The order doesn’t matter. Once you do, activate the plinth to open the door. That’s how to solve the Lament dial puzzle.
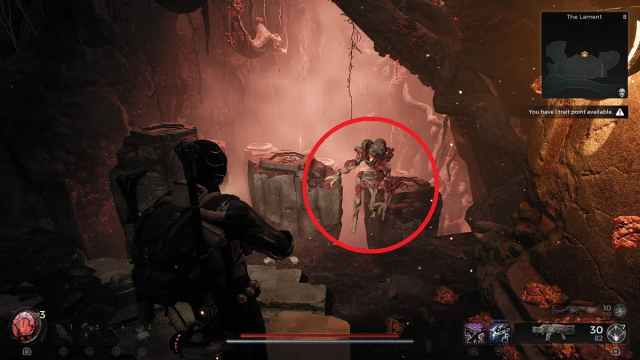
How to Get Kolket’s Key in the Lament Dungeon
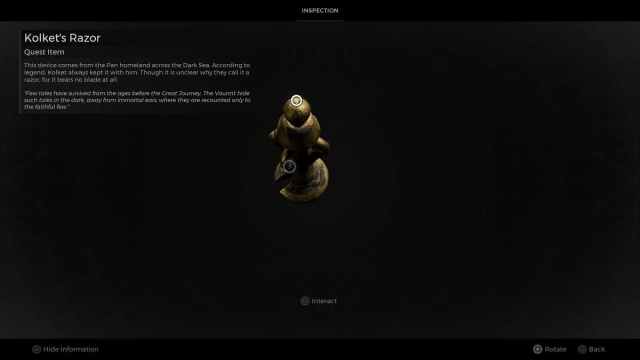
You’ll need Kolket’s Key to get some of the rewards for the Lament puzzles. Go through the door from the plinth puzzle, and you’ll see two coffins on either side of the path a little ways in. One has loot, while another has an aberration. Defeat this aberration to get Kolket’s Razor. Inspect Kolket’s Razor (look at the end with the ball) to get Kolket’s Key.
Lament Puzzles: How to Solve the Lament Jumping Puzzle
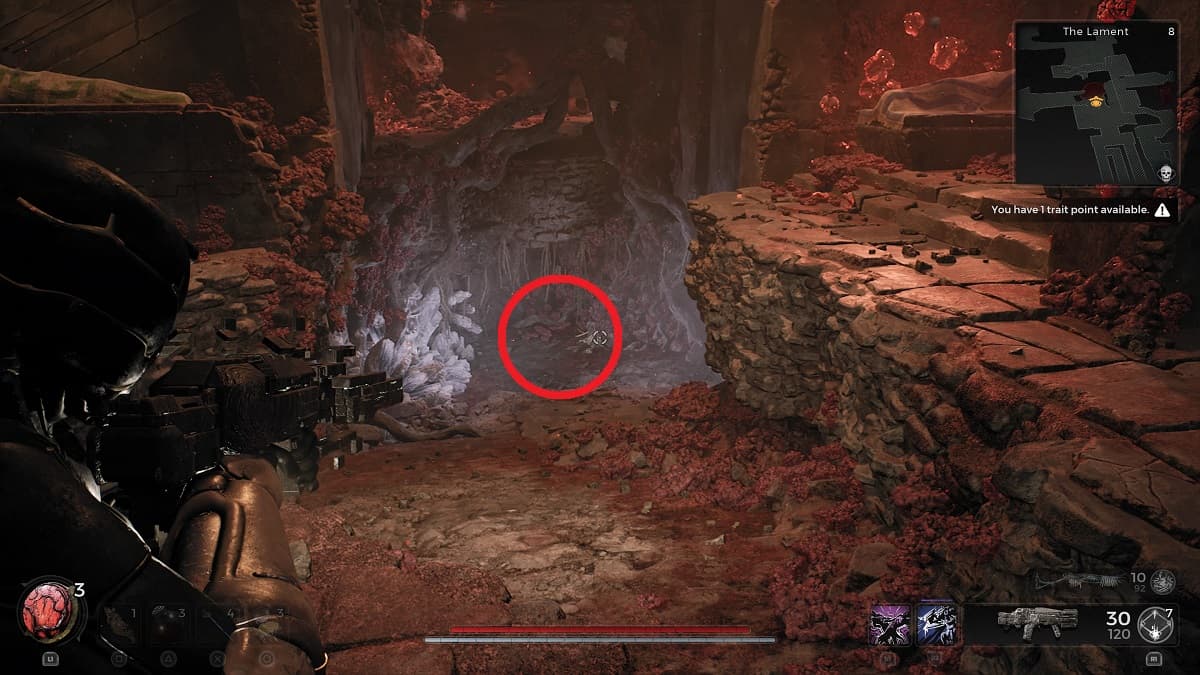
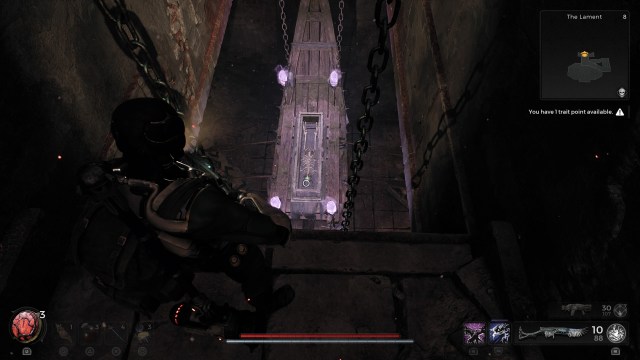
Now venture further down into the bowels of the area to find the most perplexing of the Lament puzzles. At the very bottom, you’ll come to an area with isolated pillars standing in a void that will kill you if you fall. This is the Lament jumping puzzle. If you jump to them, you may be able to land on them, but it’s more likely that you’ll fall (I did too many times trying to solve this one).
Each pillar has a symbol etched into it. But how do you actually get to the pillars? Indeed, there are unseen pathways linking the pillars! I noticed this when an enemy spawned and seemed to walk through midair. I might not have solved the jumping puzzle if it didn’t happen.
Regardless, you can shoot the space between you and the pillar to make sure there’s a bridge. However, all pillars with the same symbols are connected. Just follow those to the end, and open the door with Kolket’s Key. That’s how to solve the jump puzzle in the Lament dungeon. No actual jumping required.
You’ll enter a crypt on the other side of the door, and there’s some loot and a ring to nab. Turn around and face the door you just entered from. Roll through the wall to the right of the pathway leading to the door, then go to the top of the stairs. Drop down at the top to get the Lodestone Crown.
Lament Puzzles: How to Get the Red Widow Armor Set (Saw Puzzle)
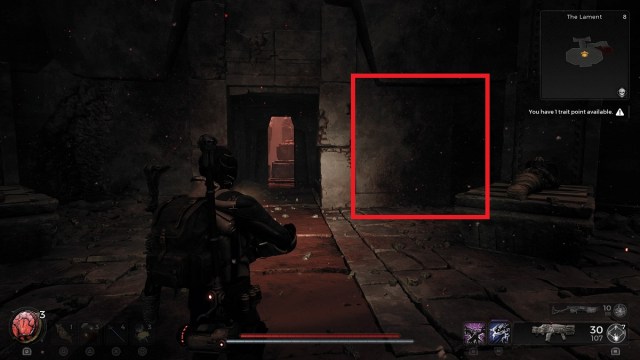
Now you have the worst of the Lament puzzles behind you. Go back to the checkpoint beyond the dial puzzle door. Stand up at the checkpoint and look to the right to see three jars of various sizes against the wall and a leaning pillar. Destroy those, and drop through the hole their destruction reveals.

Drop down into the water, then turn right, then left. You’ll see a low pathway behind the waterfall. Crouch and follow that to the end to get the Supply Room Key. Now go back and climb up the ledge near the waterfall (across from where you originally dropped down). Follow the corridor to the end, and unlock the door with the Supply Room Key.
Climb up the angled wooden platform in the back, through the hole in the wall, and through to a new area. Here, you’ll be met with the last of the Lament puzzles in Remnant 2 — moving saws. This one is pretty straightforward. Just run through and strafe the saws to make it to the end. You won’t die instantly if one touches you, but they the saws do chunk health, so be careful. Interact with the chest at the top of the stairs at the end. That’s how to get the Red Widow armor set.
And that’s how to solve all Lament puzzles in Remnant 2. You’ve got some fancy new armor to try out for all your efforts. Now you can leave this place forever. For more tips and tricks, check out our R2 guides hub for boss strats (like how to beat Ravager), items locations, Archetype breakdowns, and more.


Published: Aug 2, 2023 12:05 pm