Any dedicated Risk of Rain 2 player will tell you that slapping a bunch of artifacts onto a run is the best way to stay interested once you’re a few hundred runs in. You’ll feel like a god of inclement weather.
There are two routes you can take for unlocking Risk of Rain 2‘s artifacts.
The first route is to seek out the codes hidden throughout the game’s stages, which you can then use at a particular mechanism found in Sky Meadow. The second is to just look up the codes and do the exact same thing at Sky Meadow.
We’re going to go with the second option here and only display the codes, along with each artifact’s function.
How to Unlock Artifacts in Risk of Rain 2
So, where is the mechanism you need to unlock artifacts found in Sky Meadow?
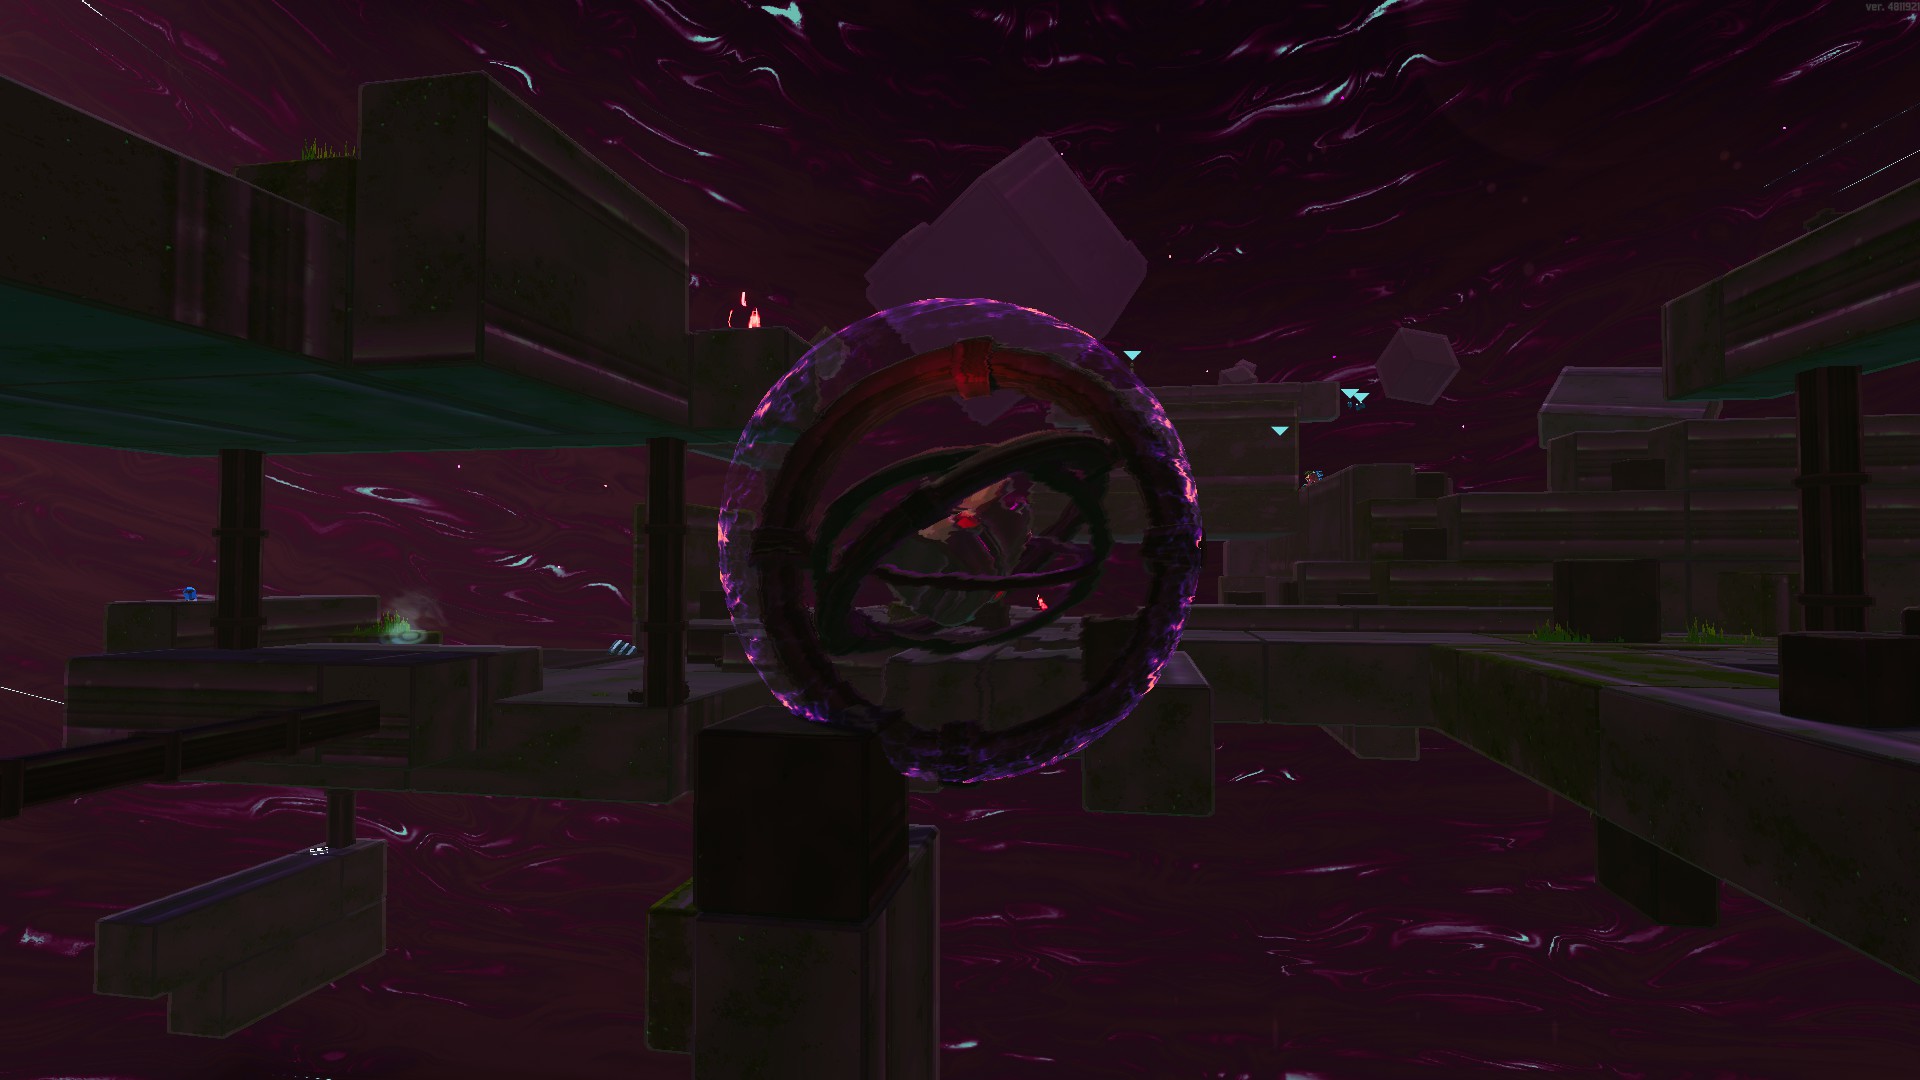
The mechanism can be found on the bottom rung of the stage. Usually, there are two holes the player can fall into to reach it, as pictured above.
If you’re mostly safe and can’t find its location, try to fall off the side of the map and look around to find the platform. It is always there.
Once you reach the mechanism, you’ll need to configure a six-model display to a valid artifact code.
In this guide, we’ll be listing from left to right and from top to bottom as seen in the image above.
Once you input a valid code, go to the terminal across from the input array and choose “Submit Code”. If the code you have entered is valid, a large portal will appear on the platform for you to enter.
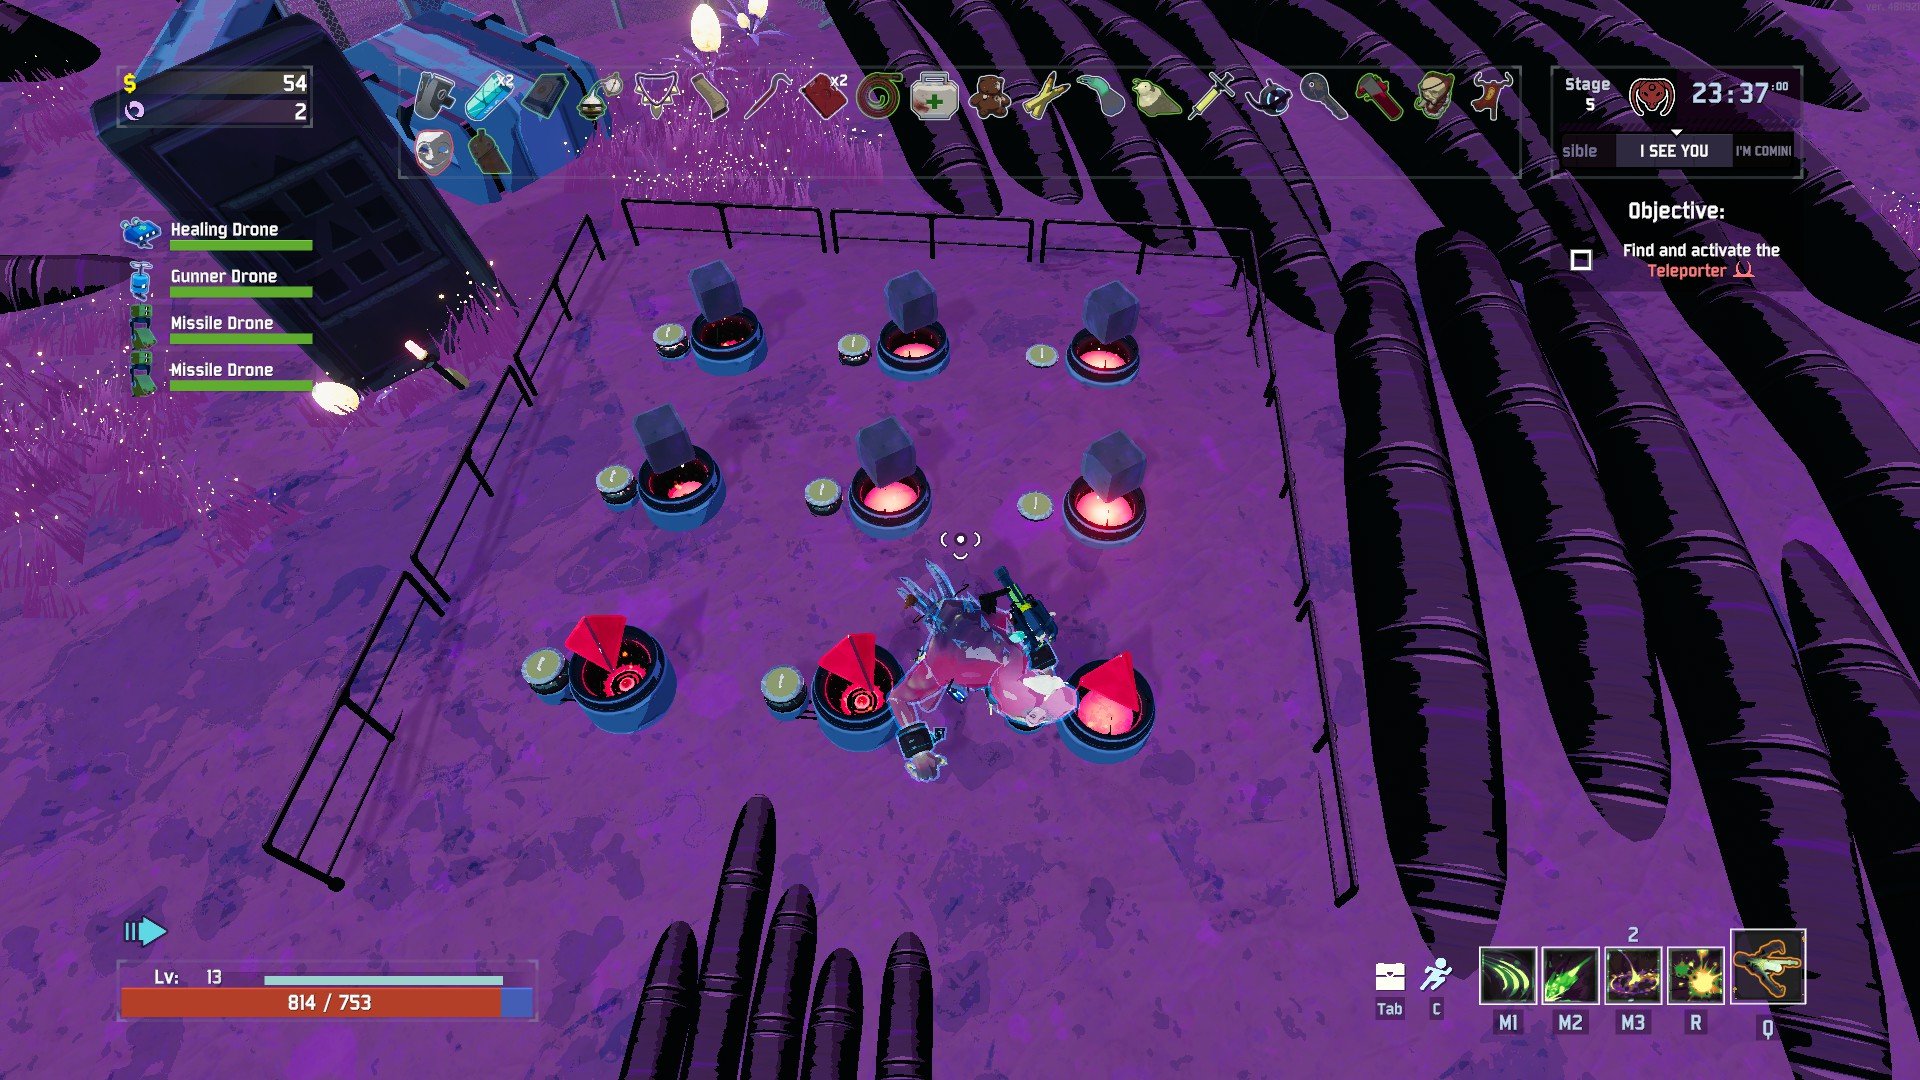
What’s to come is the hardest part, as you’ll have to fight in the Bulwark’s Ambry to unlock the artifact for good.
The artifact will be enabled in the Ambry, giving you a glimpse of the challenge that awaits when using the artifact and, in many cases, giving you a run for your money in even attempting the thing.
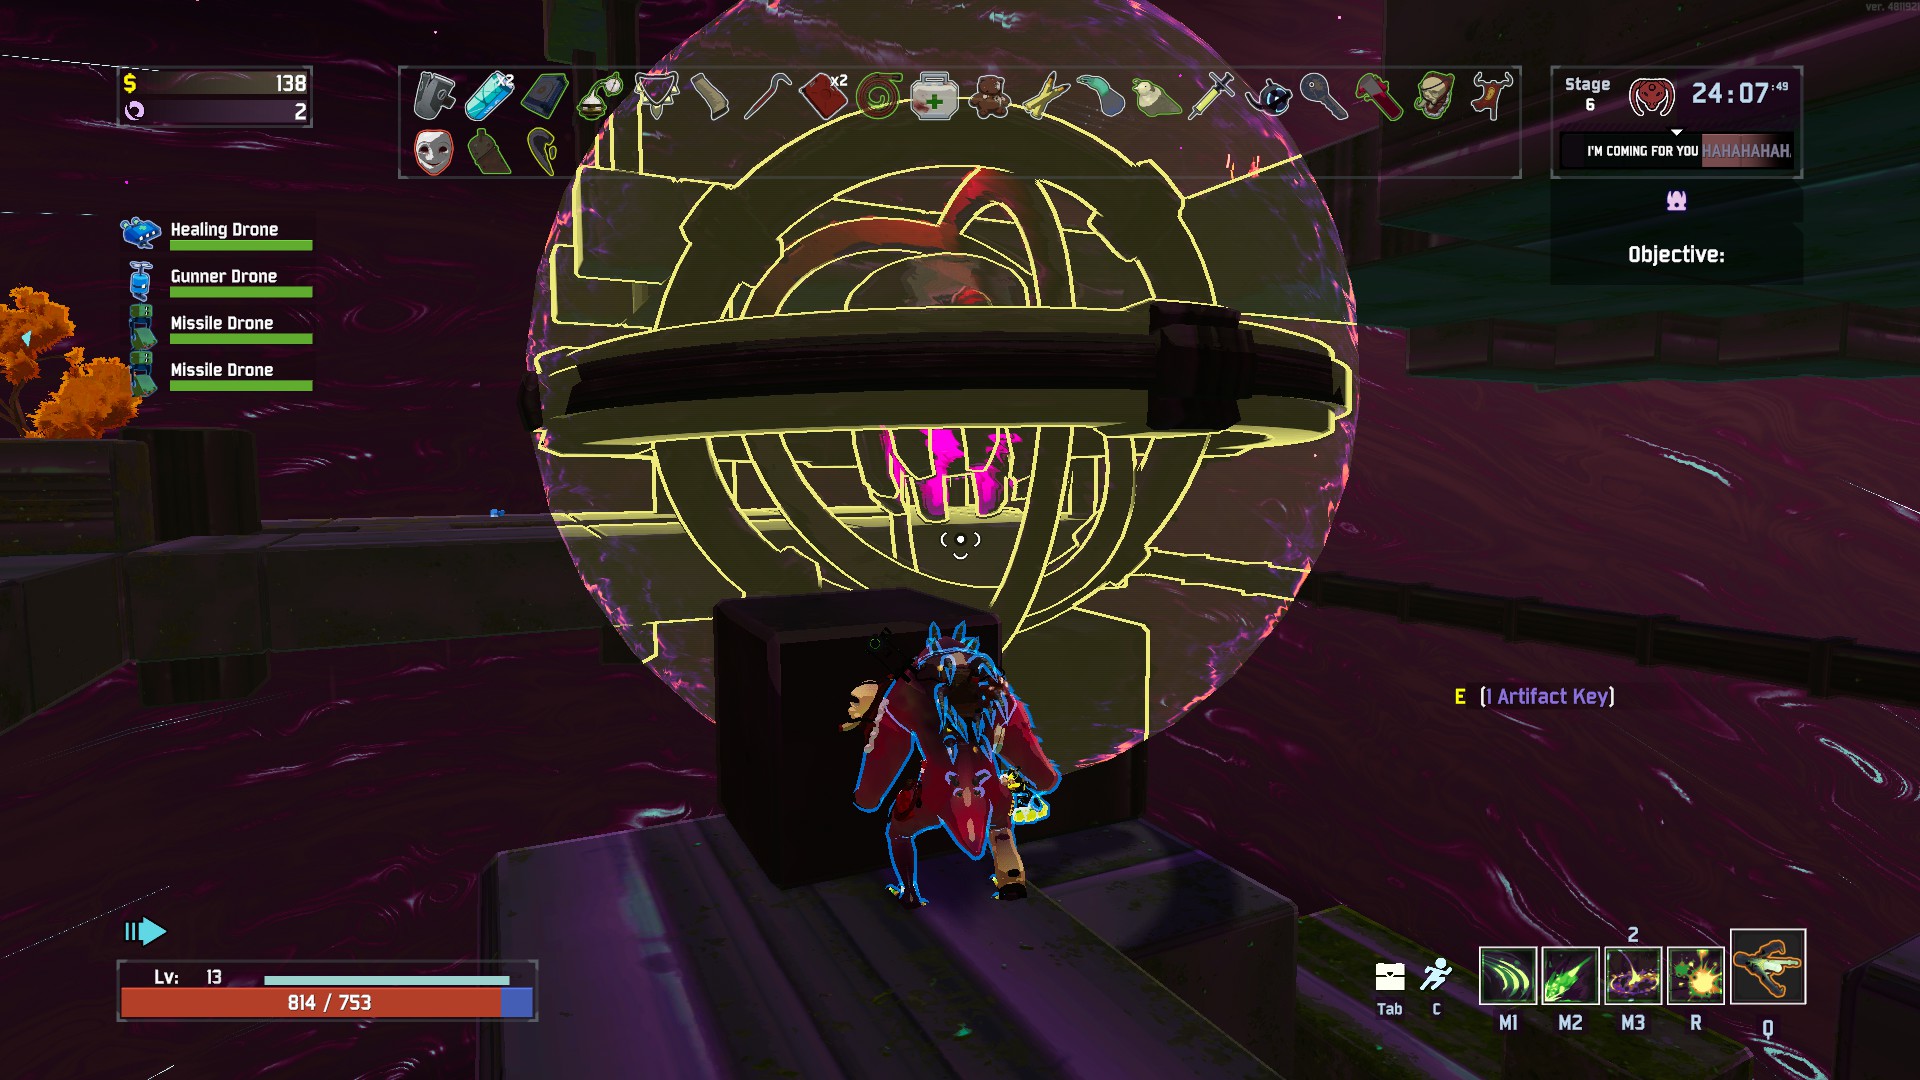
You’ll have to use the first Artifact Key you find (which is a yellow item) on the artifact’s cell in the middle of the stage to begin the challenge. From there, you’ll need to stay alive and slay enemies until another key drops.
You will have to insert a total of four keys to complete the challenge and unlock the artifact.
Risk of Rain 2 Artifact Codes and Effects
Artifact of Chaos Pattern
This artifact enables friendly fire for survivors and for enemies, which dramatically increases the difficulty in multiplayer and seems to decrease it a bit in singleplayer (as there are no friends to shoot you). The code is as follows:
- Circle, Triangle, Circle
- Circle, Triangle, Circle
- Circle, Triangle, Circle
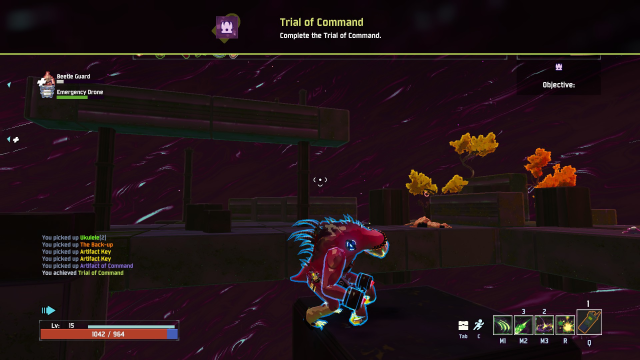
Artifact of Command Pattern
This artifact allows you to choose the items you get out of chests and boss drops rather than depending entirely on luck. However, you cannot affect the rarity of the item drops. You can choose yellow and blue items just as you would the others, and you can even choose your reds from the Lunar Shop.
- Square, Square, Square
- Square, Square, Square
- Triangle, Triangle, Triangle
Artifact of Death Pattern
When enabled, this artifact makes it so that a single player death means the whole team dies. This doesn’t do anything in single-player but is an interesting addition to a dedicated team’s artifact array.
- Circle, Circle, Circle
- Square, Triangle, Square
- Circle, Triangle, Circle
Artifact of Dissonance Pattern
Another artifact that really shakes things up, Dissonance makes it so monsters appear outside of their usual environments. Bison in the Abyssal Depths? Sure! Clay Templars in Siren’s Call? Sure! This one makes things less predictable, which is a boon to long time players.
- Circle, Square, Square
- Square, Square, Square
- Square, Square, Circle
Artifact of Enigma Pattern
If you find yourself getting bored using those predictable equipment items, why not get Enigma and its random equipment item effect? Enigma randomizes your equipment item each time you use it, so you never know what you’re going to get. Equipment cooldown reduction effects do still apply.
- Diamond, Square, Square
- Triangle, Square, Triangle
- Circle, Diamond, Diamond
Artifact of Evolution Pattern
Ever wanted the pain of Burning Elite Lemurians, but instead, it’s regular Lemurians with Tri-tip Daggers? This artifact’s for you! Evolution gives enemies items between stages, making them a more varied and potent threat as you push through a run. Golems with Razorwire? Brrr.
- Diamond, Diamond, Diamond
- Square, Square, Square
- Circle, Circle, Circle
Artifact of Frailty Pattern
Frailty doubles fall damage and makes it lethal. Falling a bit too far when you’re deep into a run isn’t just risky with this artifact, it can be a downright run-ender.
- Circle, Circle, Circle
- Triangle, Circle, Triangle
- Triangle, Triangle, Triangle
Artifact of Glass Pattern
This one would be even more aptly named “Artifact of Glass Cannon,” because that’s exactly what it does. Glass makes it so allies deal 500% damage, but only have 10% health. Pair this with Artifact of Swarms to see enemies pop like balloons, but you’ll have to work extra hard to stay alive.
- Diamond, Diamond, Diamond
- Diamond, Diamond, Diamond
- Diamond, Diamond, Diamond
Artifact of Honor Pattern
This artifact makes it so enemies only spawn as elites, which isn’t as terrible as it sounds if you stack some Old Guillotines early on to make them pop like balloons after reaching half health.
- Square, Square, Square
- Square, Triangle, Square
- Square, Square, Square
Artifact of Kin Pattern
With Kin enabled, only one enemy type will spawn per stage. You may have to fend off just a bunch of Lemurians, but you could also be bombarded with Golems, Elder Wisps, or whatever else the game decides to torture you with. This one gets incredibly dangerous deep into a run.
- Circle, Triangle, Triangle
- Diamond, Circle, Triangle
- Diamond, Diamond, Circle
Artifact of Metamorphosis Pattern
Why stress about who to play, when you can just use this artifact? Metamorphosis spawns players as a random survivor at each stage, ensuring no build goes too perfect. This is more of a funsies one than some others but can be an entertaining challenge whether you want to learn the entire roster or just want to keep things dynamic.
- Diamond, Square, Circle
- Diamond, Square, Circle
- Diamond, Square, Circle
Artifact of Sacrifice Pattern
Sacrifice causes all chests to disappear, and instead enemies drop items on death. This is a great artifact for players who like to rush the teleporter, and it sets you up for very speedy loop times. Make sure to use Shrines of Combat for extra item opportunities.
- Triangle, Triangle, Triangle
- Triangle, Triangle, Triangle
- Triangle, Diamond, Triangle
Artifact of Soul Pattern
Soul puts the bane of most Risk of Rain 2 players at the forefront: Wisps. This artifact causes wisps to emerge from defeated enemies. The wisps are blue and drop no money (and no items with Sacrifice enabled), but are just as annoying as their regular orange counterparts.
- Circle, Square, Circle
- Circle, Diamond, Circle
- Square, Diamond, Square
Artifact of Spite Pattern
Melee characters beware, as Spite causes enemies to drop a cluster of exploding bombs on death. This is a particularly dangerous artifact for players who aren’t the best at positioning, and it can unceremoniously turn a great run into a finished run.
- Triangle, Circle, Triangle
- Circle, Circle, Circle
- Triangle, Circle, Triangle
Artifact of Swarms Pattern
A personal favorite, this artifact halves enemy health and doubles their spawns. Enemies can be taken down far more easily with this artifact enabled, but it’s just as easy to be overwhelmed by their numbers.
- Circle, Circle, Triangle
- Triangle, Diamond, Triangle
- Triangle, Circle, Circle
Artifact of Vengeance Pattern
Vengeance causes a doppelganger to spawn every 10 minutes, with the items of the player it copies. This is a challenge, particularly once you are stacked with items, for a variety of reasons.
- Diamond, Square, Square
- Diamond, Circle, Square
- Diamond, Square, Square
—
That’s the end of the artifacts we have available in Risk of Rain 2. Every player has their favorite combination, though many less experienced players simply opt to unlock and use Command to choose their own items. Playing with an optimal build, or even a purposefully gimmicky one, is fun in its own right.
Check out our other Risk of Rain 2 guides here on GameSkinny, the list of which growing fast with the game’s full 1.0 release.


Published: Aug 10, 2020 01:32 pm