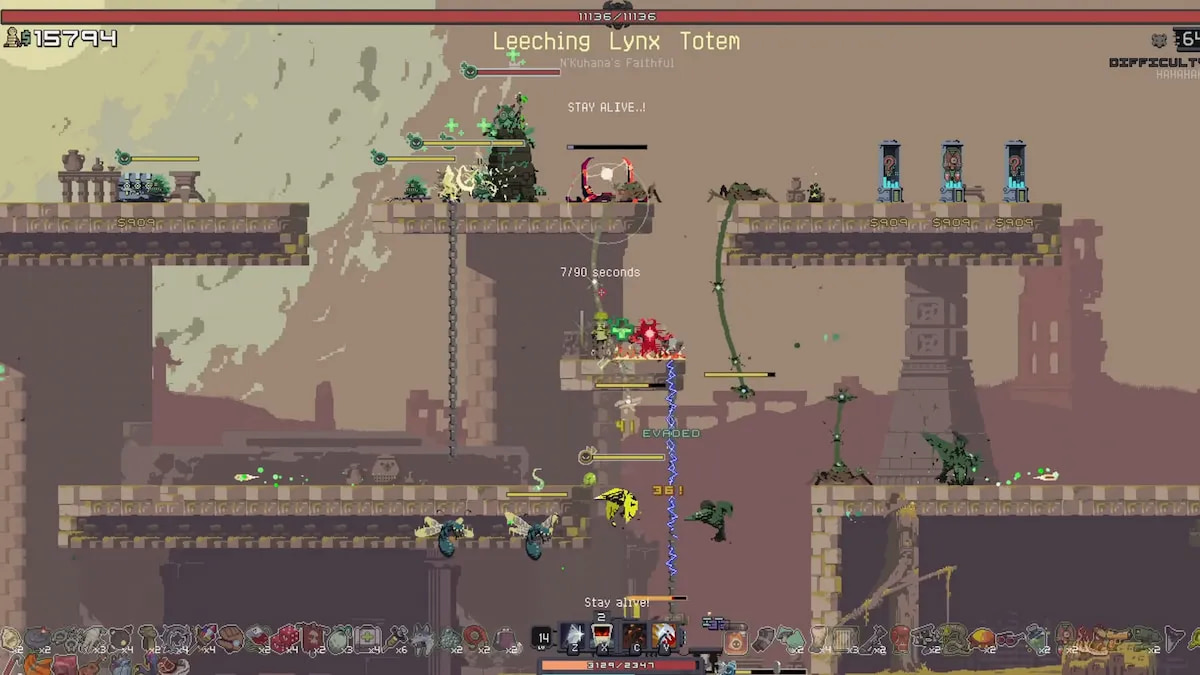
If you’re a newcomer to the franchise, the gameplay style of Risk of Rain Returns takes a bit of getting used to but is highly rewarding. Let’s talk about some beginner tips in Risk of Rain Returns.
The game has an interesting take on the roguelite genre where you can stick around to try to find more items, but risk being outpaced power-wise by your enemies due to the steady passage of time. This mechanic creates a choice between benefiting in the moment and potentially struggling later. Furthermore, there are a few other tips I wanted to talk about so that you can have a better first experience.
Risk of Rain Returns Tips for Beginners
Find the Teleporter ASAP
Progressing through the levels involves finding the teleporter, beating its guardian boss, and beaming up out of there. Unlike in the original, you only have to defeat the boss and not every enemy that spawns to leave.
That said, similarly to the original, I recommend clearing the levels as fast as possible since the difficulty is constantly increasing over time. Staying too long in one level can hurt you in the long run. You want to seek out and clear the teleporter event as soon as you can.
If you’re worried about getting items, you can get them after beating the boss since that rewards you with a bunch of money. In fact, on Hard and higher difficulties, beating the boss and the enemies that spawn alongside it will get you enough to open most chests in the level usually. The problem is, you don’t want to be spending time running around the map to get them.
Take note of chests you see that you can’t open as you seek out the teleporter. Once you’ve cleared the event, if they’re not too far off, wander over to get them. Just be mindful not to waste too much time in the process, since it’s very likely best to just move on.
As long as you get three or four items in a stage, and you don’t dawdle, you should be able to handle the next. Get a Red Whip early on to make post-event item expeditions more viable, so they don’t eat up your time.

The Importance of Movement
Movement is everything in Risk of Rain Returns. There’s only one to four of you, and hundreds of enemies on Petrichor V. Moreover, enemies usually hit harder and have drastically more HP than you unless you’re stacked with full crit and your Infusion has capped your HP.
To avoid getting overwhelmed, make sure to keep moving around and kiting enemies while outputting damage where you can. Getting hit for no reason or being overwhelmed by a group can hurt, especially if you don’t have any sustain items to replenish your HP.
Don’t Forget Sustainability Items
Damage items are awesome, but your base HP regeneration is quite low so you’ll have difficulty recovering after a huge hit. The sooner you get some sustain, the better. Items like the following can help keep you alive:
- Mysterious Vial
- Medkit
- Bustling Fungus
- Leeching Seed
- Monster Tooth
- Meat Nugget
For early on, I most recommend the Medkit, Monster Tooth, and Mysterious Vial. The Monster Tooth, Meat Nugget, and Bustling Fungus can also be used to heal allies.
It’s also worth noting that the Monster Tooth and Meat Nugget both drop healing instant-consumables for the heat of battle, while allies can stand in the Bustling Fungus with you to heal.
Set Goals For Yourself
Not every run has to be a winning one. In fact, in your first few playthroughs, it can be quite hard to reach the final level with many of the powerful items and abilities locked. That’s why it’s important to set personal goals for yourself. For example, one run can be about unlocking items, testing out droids or equipment, unlocking specific characters, reaching a specific level, etc.
Completing these goals can relieve the pressure of aiming for the win each time and allow you to feel a sense of accomplishment so that you can fire up the next run. You’ll slowly grow in power and options with each unlocked item and survivor and each piece of information gained.
Survive Melee Combat Through Smart Play and Movespeed
Since enemies hit so hard, especially in a group, melee characters like Acrid or Miner can sometimes be at a disadvantage. I recommend being on the move with these characters and not spamming your basic melee attack whenever you can. Instead, look for opportunities to deploy your abilities and get into a position where you can melee without danger of being hit back.
For example, instead of attacking enemies with Acrid directly, fire off the Epidemic skill and run through them with your acid trail while weaving one basic attack with the stun and moving to avoid retaliation. Mobility and patience for effective risk-free melee assault is key for these characters.
In short, you want to prioritize some movespeed early. Goat Hooves are, of course, the most obvious choice.

Do Providence Trials for New Abilities
If you’re playing a survivor and their abilities don’t fit your playstyle, fire up the Providence Trials. This is where you can unlock alternative abilities and customize survivors to your liking.
You can drastically change a survivor’s playstyle with alternate abilities. For example, the Bandit can be both a medium-range sniper and a closer-range brawler depending on if you choose Blast or Whip. Check out Providence Trials whenever you unlock a new survivor to access new items and abilities through fun challenges.
Use Custom Builds Through the Command Artifact
Speaking of customization, the last tip we have is about the Artifact of Command. Artifacts are hidden and have to be found to be unlocked for later runs. The Command Artifact makes it so that item drops are no longer random and allows you to choose which item you get every time. We have a guide on how to unlock Command, in case you’re not sure how to get it.
We hope you’ve enjoyed these beginner tips in Risk of Rain Returns and that you’ve found them useful. At the end of the day like in any roguelite, you’ll get much better and stronger as you play. Learning about bosses, item effects and interactions, and various survivor abilities will allow you to regularly reach higher levels and eventually beat the final boss. You can find more RoRR guides right here.


Published: Nov 8, 2023 04:00 pm