Mystery and murder have come to the Sea of Thieves! The Forsaken Hunter is the fifth adventure in an ongoing story. Merrick, one of the key figures behind saving Golden Sands and a legendary Hunter upon the seas, has been murdered!
Normally Death is little more than an inconvenience, thanks to the Ferry of the Damned returning everyone to life, but Merrick’s spirit is unaccounted for. What happened to him, and who’s behind it? Let’s find out!
Caution: spoilers ahead. Pirates ye be warned!
Sea of Thieves: Forsaken Hunter Guide
As with other Adventures you begin your journey by speaking to Larinna at one of the many outposts throughout the Sea. Select the option to Begin Adventure, and she will fill you in on the grisly details and ask you to investigate Stephen’s Spoils, a small Seapost at L12 and Merrick’s normal hangout spot, for clues.

Sail to Stephen’s Spoils and look to the ground near one of the corners of the dock furthest away from the shopkeep (near where Merrick would normally stand).
There is a letter to find. Once you pick it up you will be directed to your next destination, “land halfway between Shipwreck Bay and Hidden Spring Keep”.
There are no islands on your map between these two reference points, but some experienced sailors may recognize K9 on the map as the home of the uncharted Island. That’s where you need to go.
Approach the south side of the Uncharted Island and you will see a buoy. Just inland from that is your old friend Belle. Speak to her, and Chapter One of the Adventure will be complete.
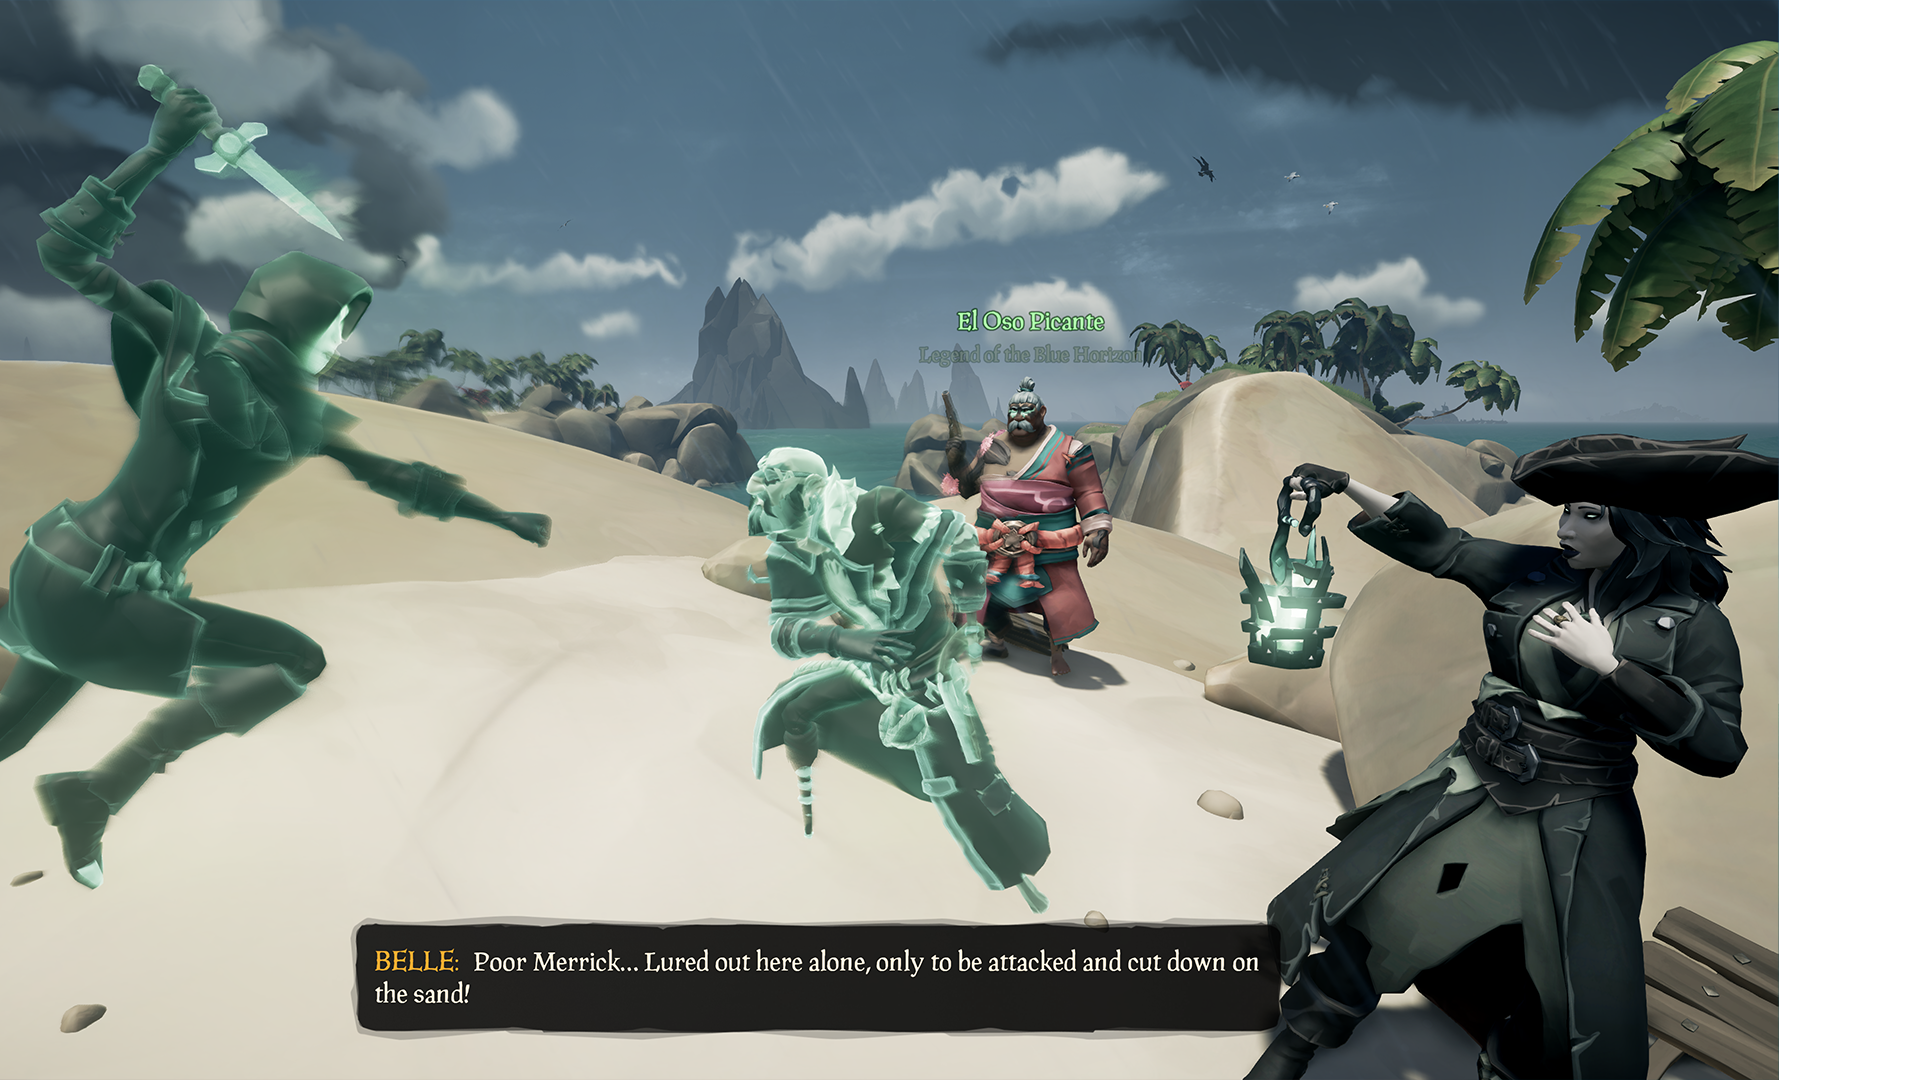
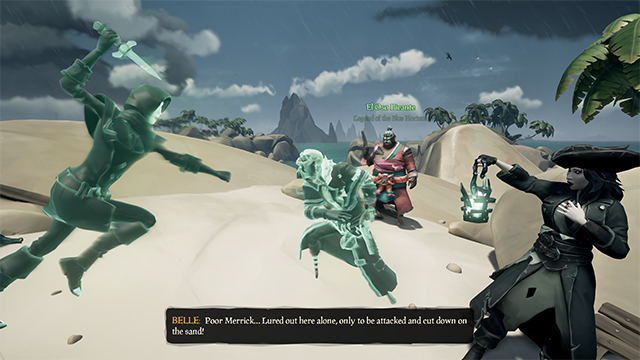
Speak to Belle again to proceed to the next chapter. A short scene will play out, and you will see Merrick meet his demise at the hands of a masked attacker.
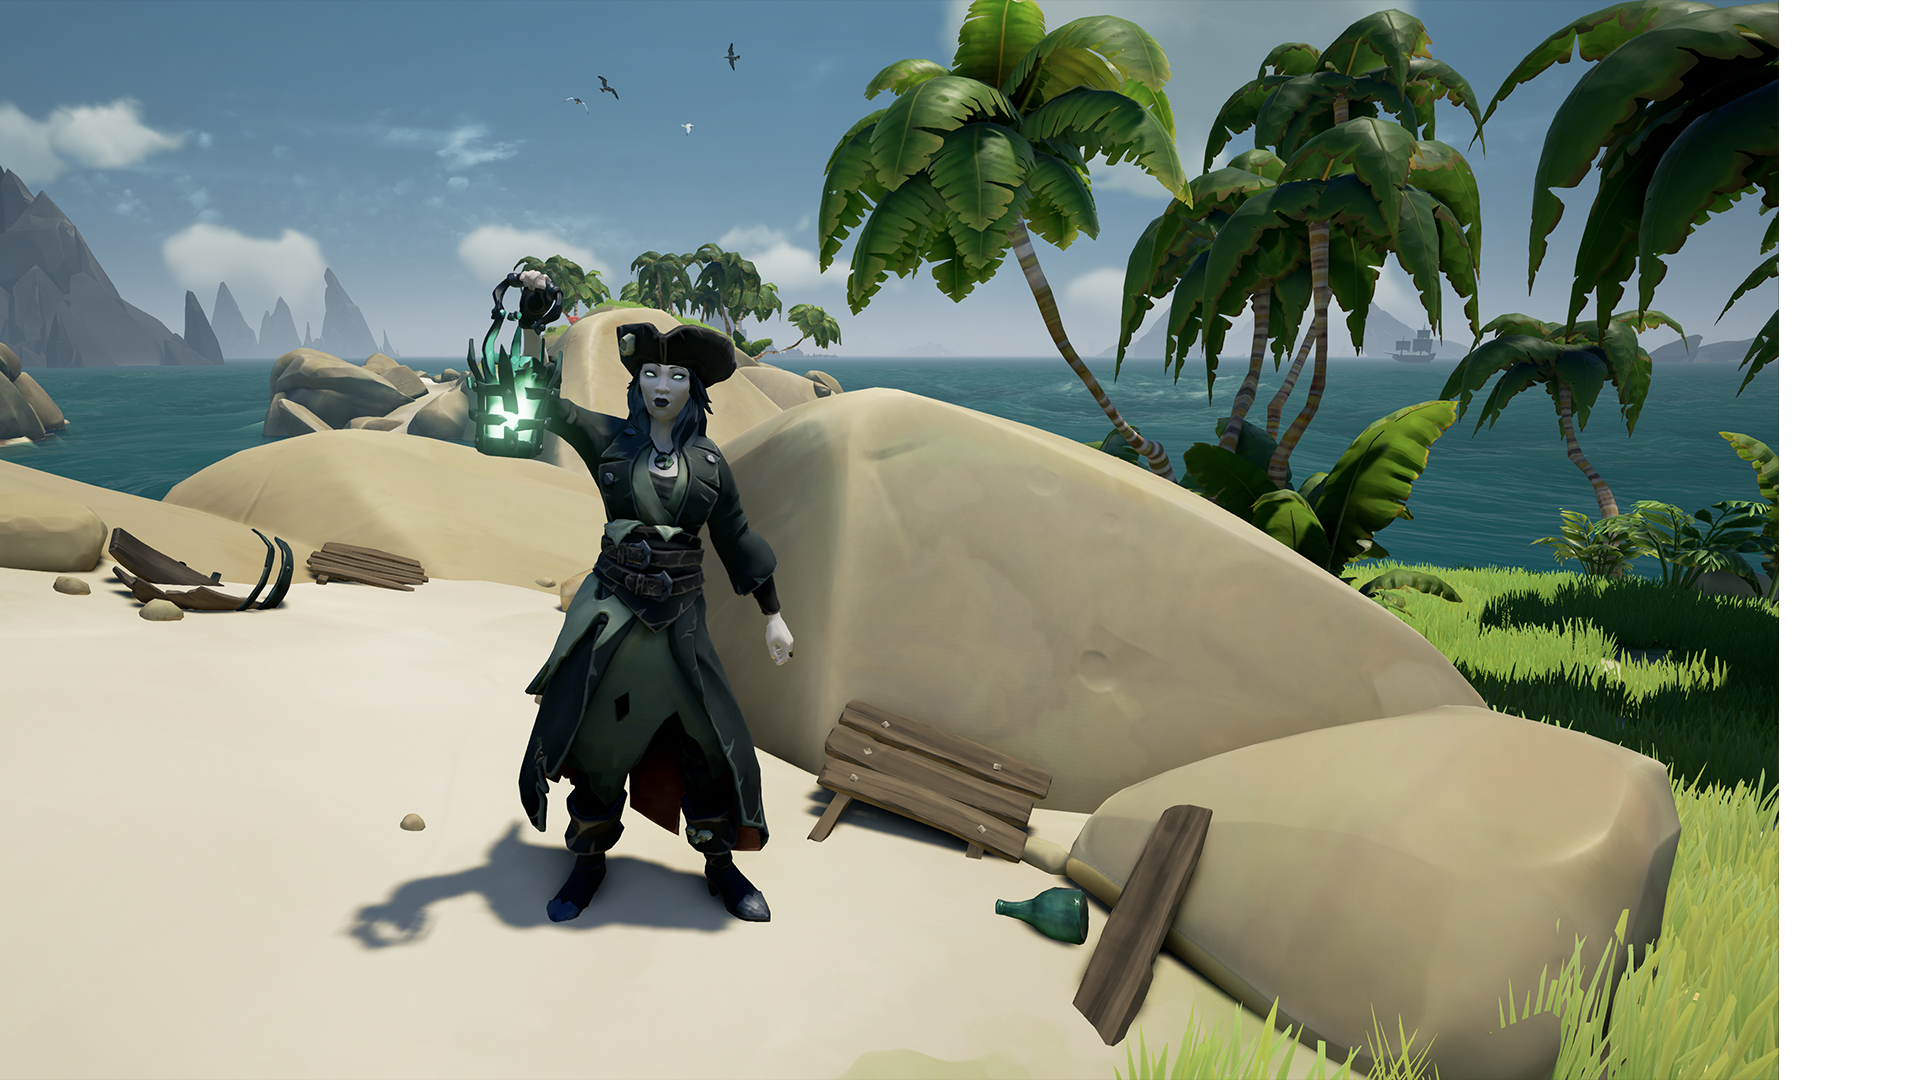
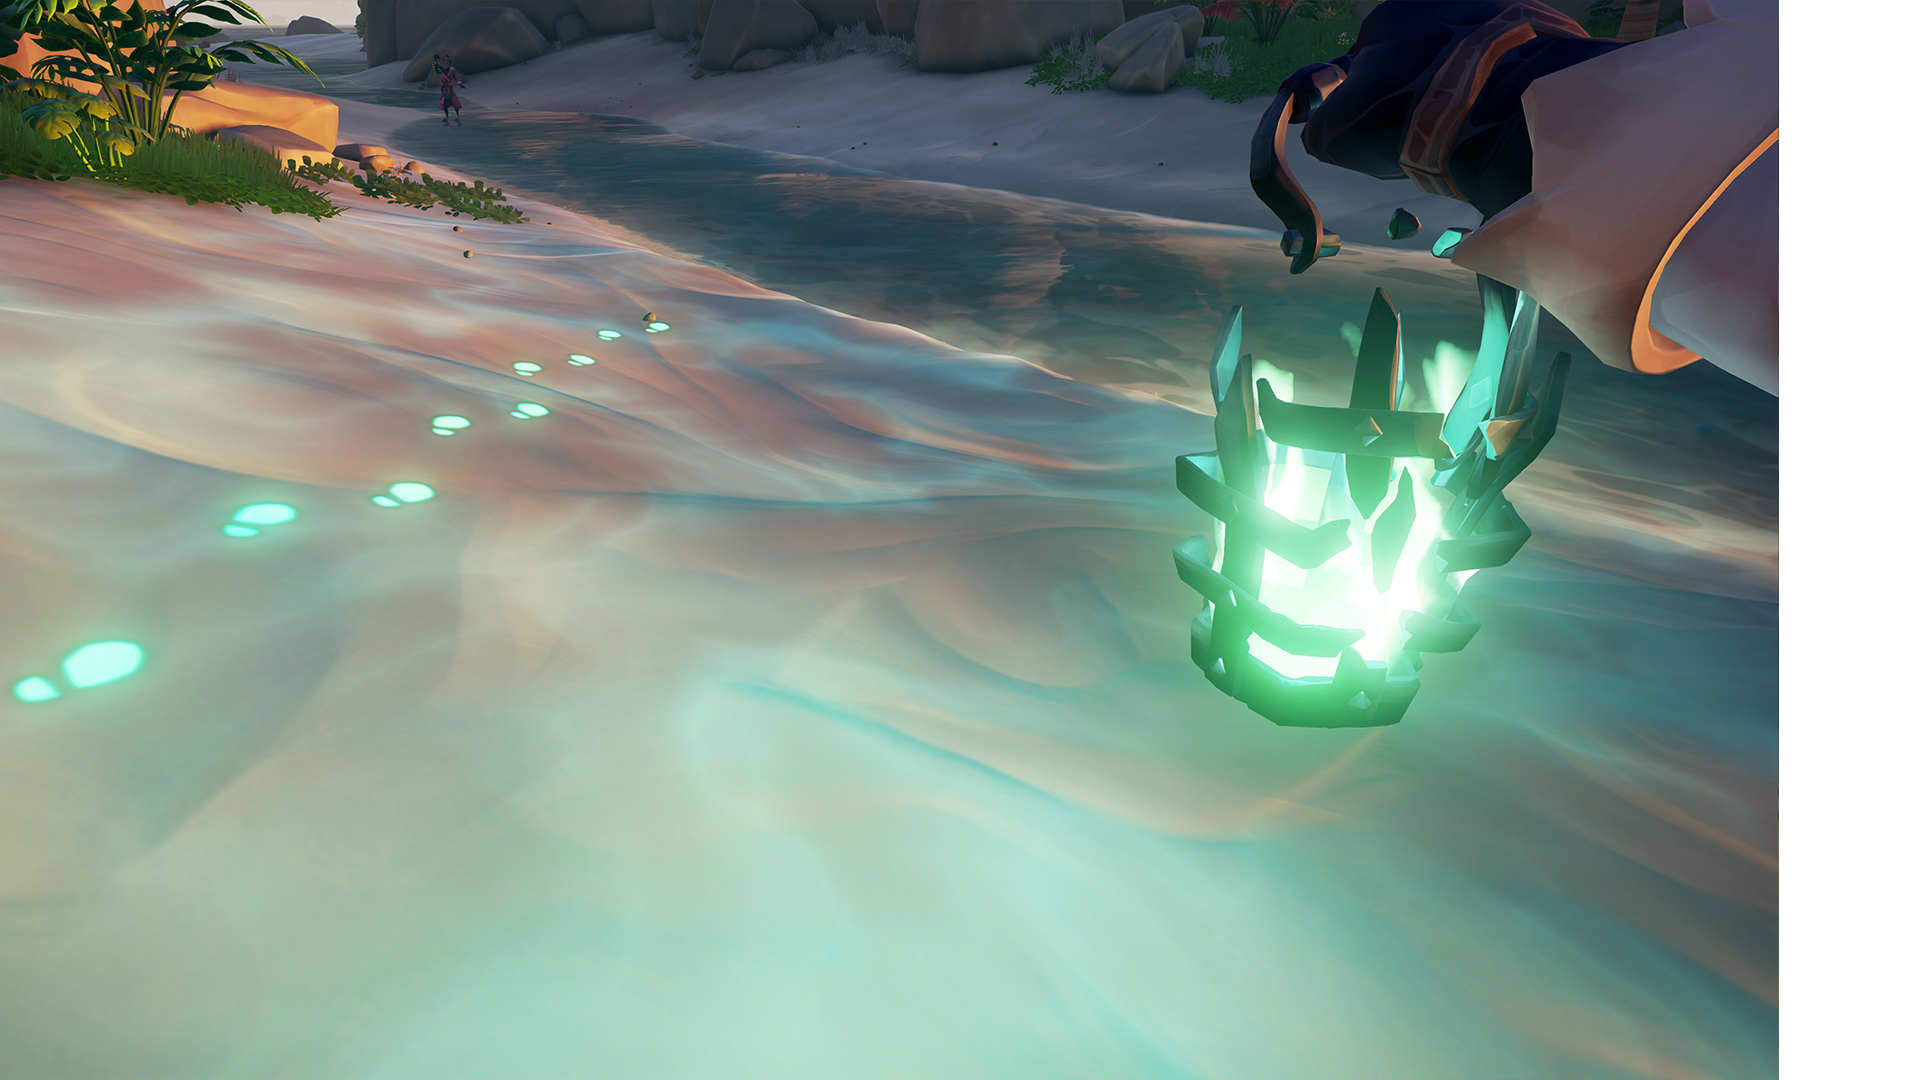
Belle will give you an enchanted lantern and some tattered journal pages the attacker carelessly left behind, and set you upon the task of unmasking this murderous scallywag. Similar to previous adventures and tall tales, the lantern will show you glimpses of the past. You must go to the destination indicated in the notes, and retrace the steps of the killer to get to the truth.
The journal pages show you a picture of Wanderer’s Refuge, and instructs you to “follow the underground river to find shelter”. This is referring to the small east-to-west waterway that bisects the center of the island.
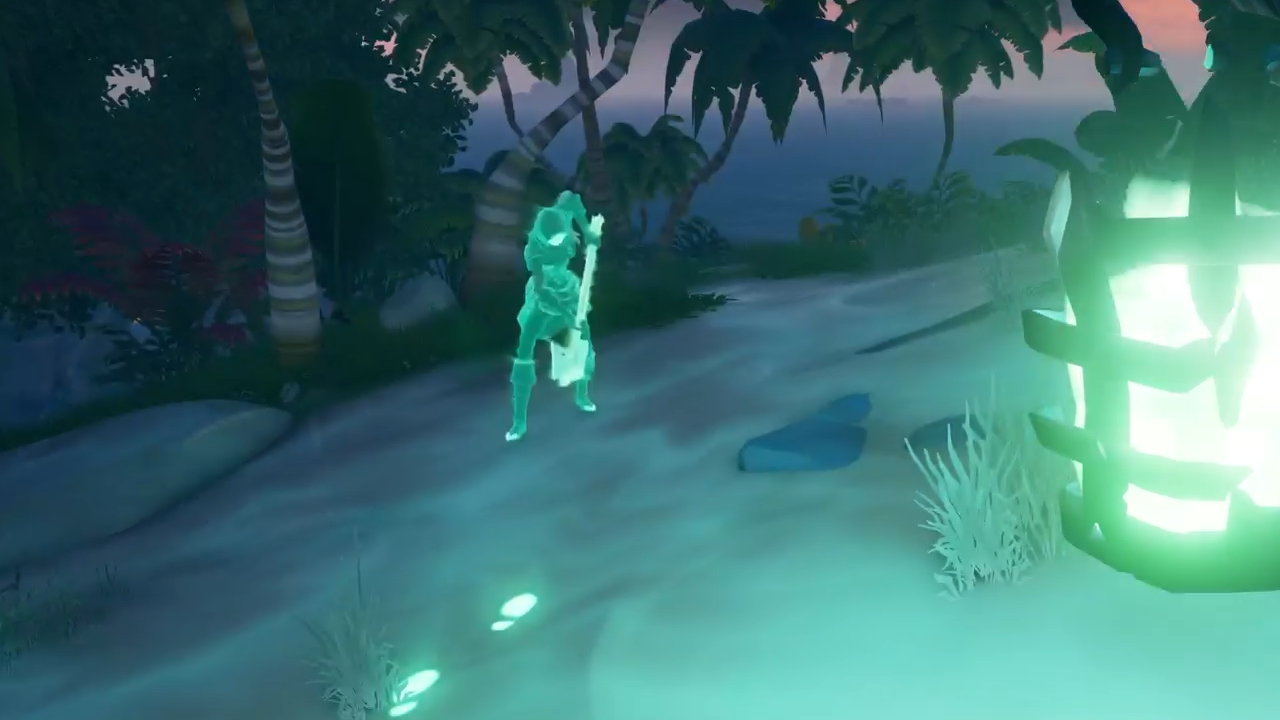
Sail to Wanderer’s Refuge, and raise your enchanted lantern (the one from your quest radial) once you make landfall near this stream. Ghostly footprints will lead you into a cave, and into a secret reaper hideaway.
Once you are inside this villainous lair, locate the table at the center of the room. Atop it is a skull that you can interact with. Doing so will rotate it, and open a locked door.
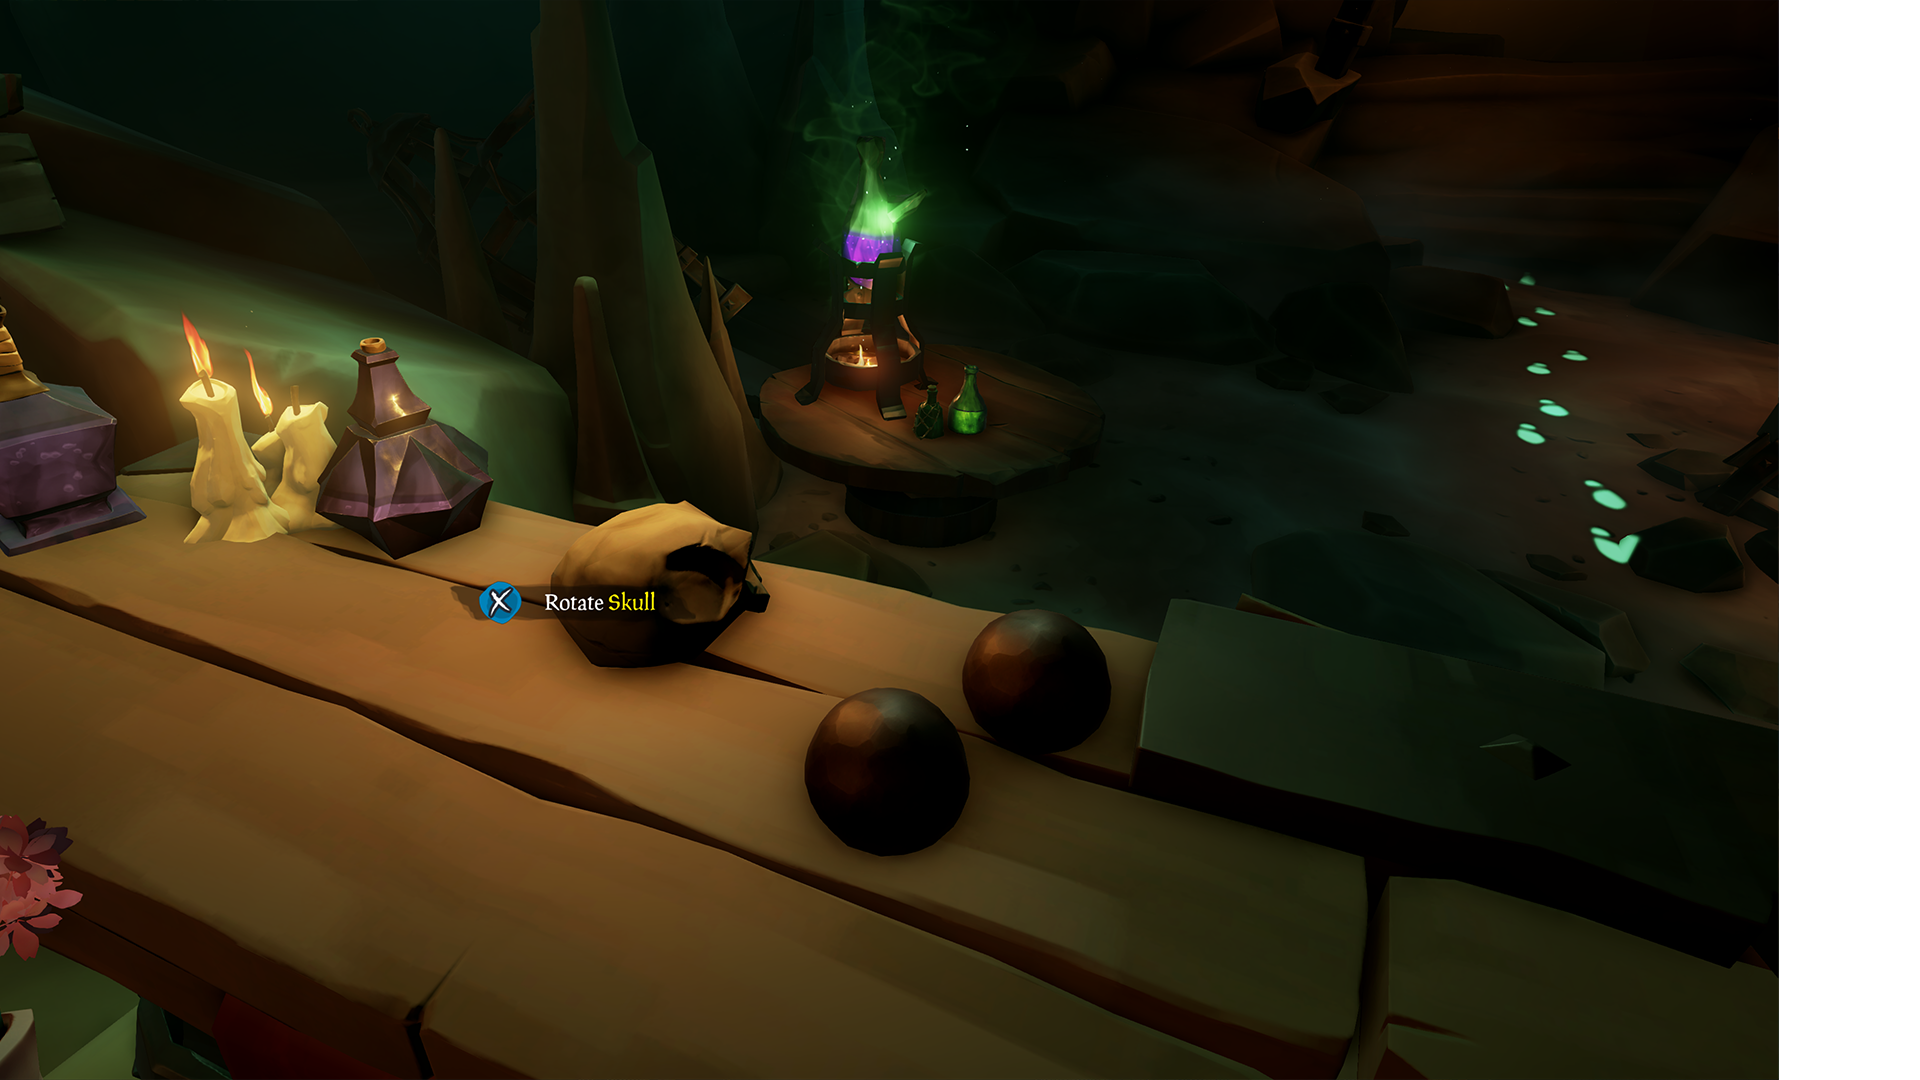
Enter the door, and follow the footsteps further in. Eventually you will come to a memory of the masked assailant, and a short scene will play out. Once that ends, new footsteps will lead you back out of the cave, and up a path to the top of the island.
Keep following the trail and eventually you will see a memory of the Masked Assailant burying something in the dirt. Dig at the stop to unearth more journal pages, with clues leading to another pair of islands to visit.
You can approach these islands in either order. Your job is to sail to both, and recover more tattered journal pages.
The journal entry titled Fallen Lord directs you to a beach trio Southwest of the Coral Fortress (the massive fortress off the North Edge of the map from the Dark Brethren Tall Tale). The “beach trio” refers to the three islands that make up Salty Sands, roughly due north of Wanderer’s Refuge.

Sail there, pull out your lantern, and search until you find some Reaper Phantoms. Dispatch them with your preferred form of violence, and the entry for Fallen Lords will be stretched out in your journal, indicating it has been completed.
The Forsaken Conduit journal entry references a cluster of islands southwest of the Treasury of Sunken Shores. This is Sailor’s Bounty, Northwest of Wanderer’s Refuge/West of Salty Sands.
Travel there, pull out your lantern, and make your way to the sink hold at the center of the largest island. Another scrum with Reaper Phantoms will break out, and The Forsaken Conduit will be marked as done.

Whichever island you clear second will drop The Phantom’s Orders, directing you to the next phase of the adventure. The orders don’t mention an island by name, instead referring to it as the “Eastern Isle”, with only an illustration of a large rock formation to indicate specifically what location they are indicating.
That distinctive stone precipice is on Cannon Cove, so raise anchor and make way for G11 on your map.

Park your ship nearby, and walk directly under the peak of Cannon Cove with your lantern raised high. Another memory of phantoms will play out, then they will attack you (the nerve!). Chop/shoot your way through their assault, and look for more orders dropped by the last phantom to fall (look carefully, they can be somewhat hard to find in tall grass).
These orders indicated that a note was left for the weaponsmith at New Golden Sands Outpost. Westward ho! Sail to Golden Sands, and locate the Weaponsmiths’ shop on a raised area near the Northwest part of the island. The note is resting on the ground just outside the entrance.
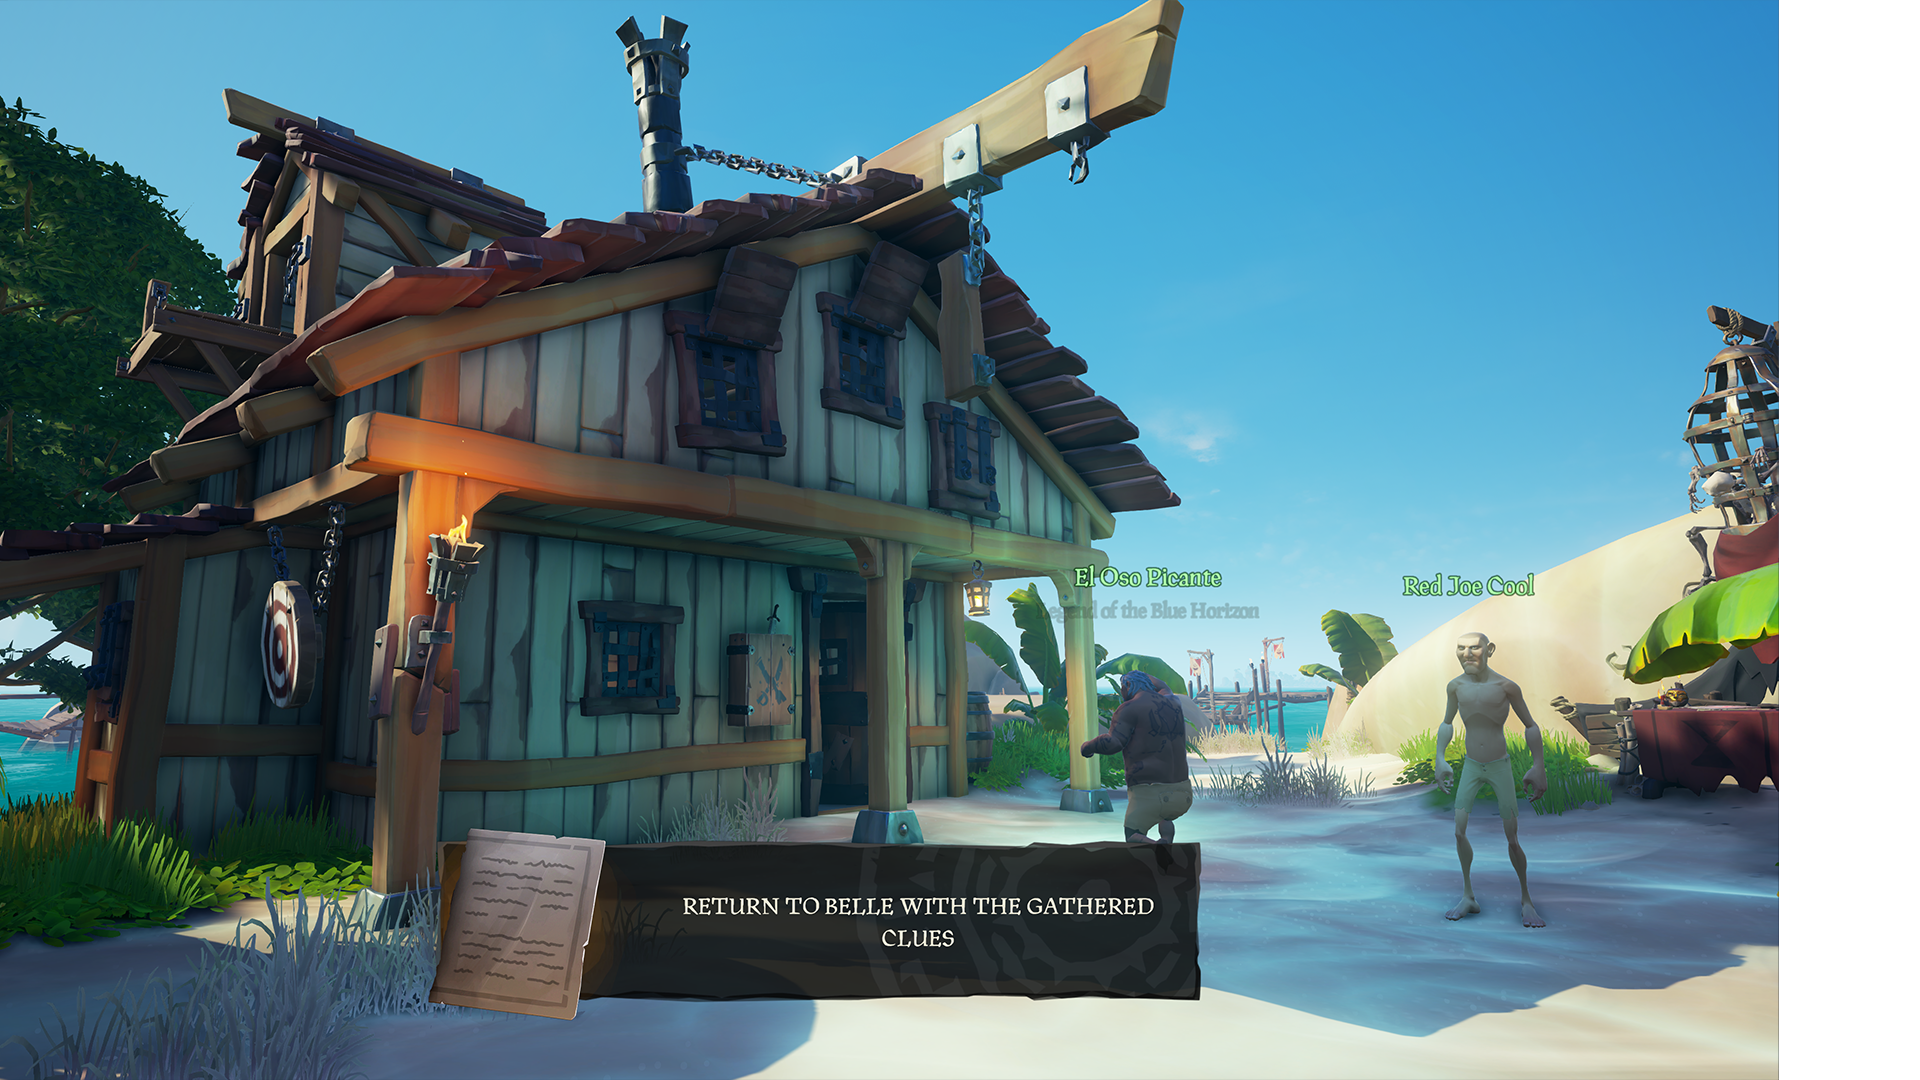
Collect the note, and return to Belle at K9’s Uncharted Island to report your findings.
Once you’ve delivered your information to Belle, speak to her a second time and select the Complete Adventure option to begin the final chapter.
Belle will send you to Sea Dog’s Tavern, the massive structure near the center of the map that formerly housed the Arena. Sail your ship there, but don’t go to the large center island. Instead, aim for the small dock attached to an outlying rock on the Northwest portion of Sea Dog’s Rest. The Masked Assailant is there, ready for you to approach and confront them.
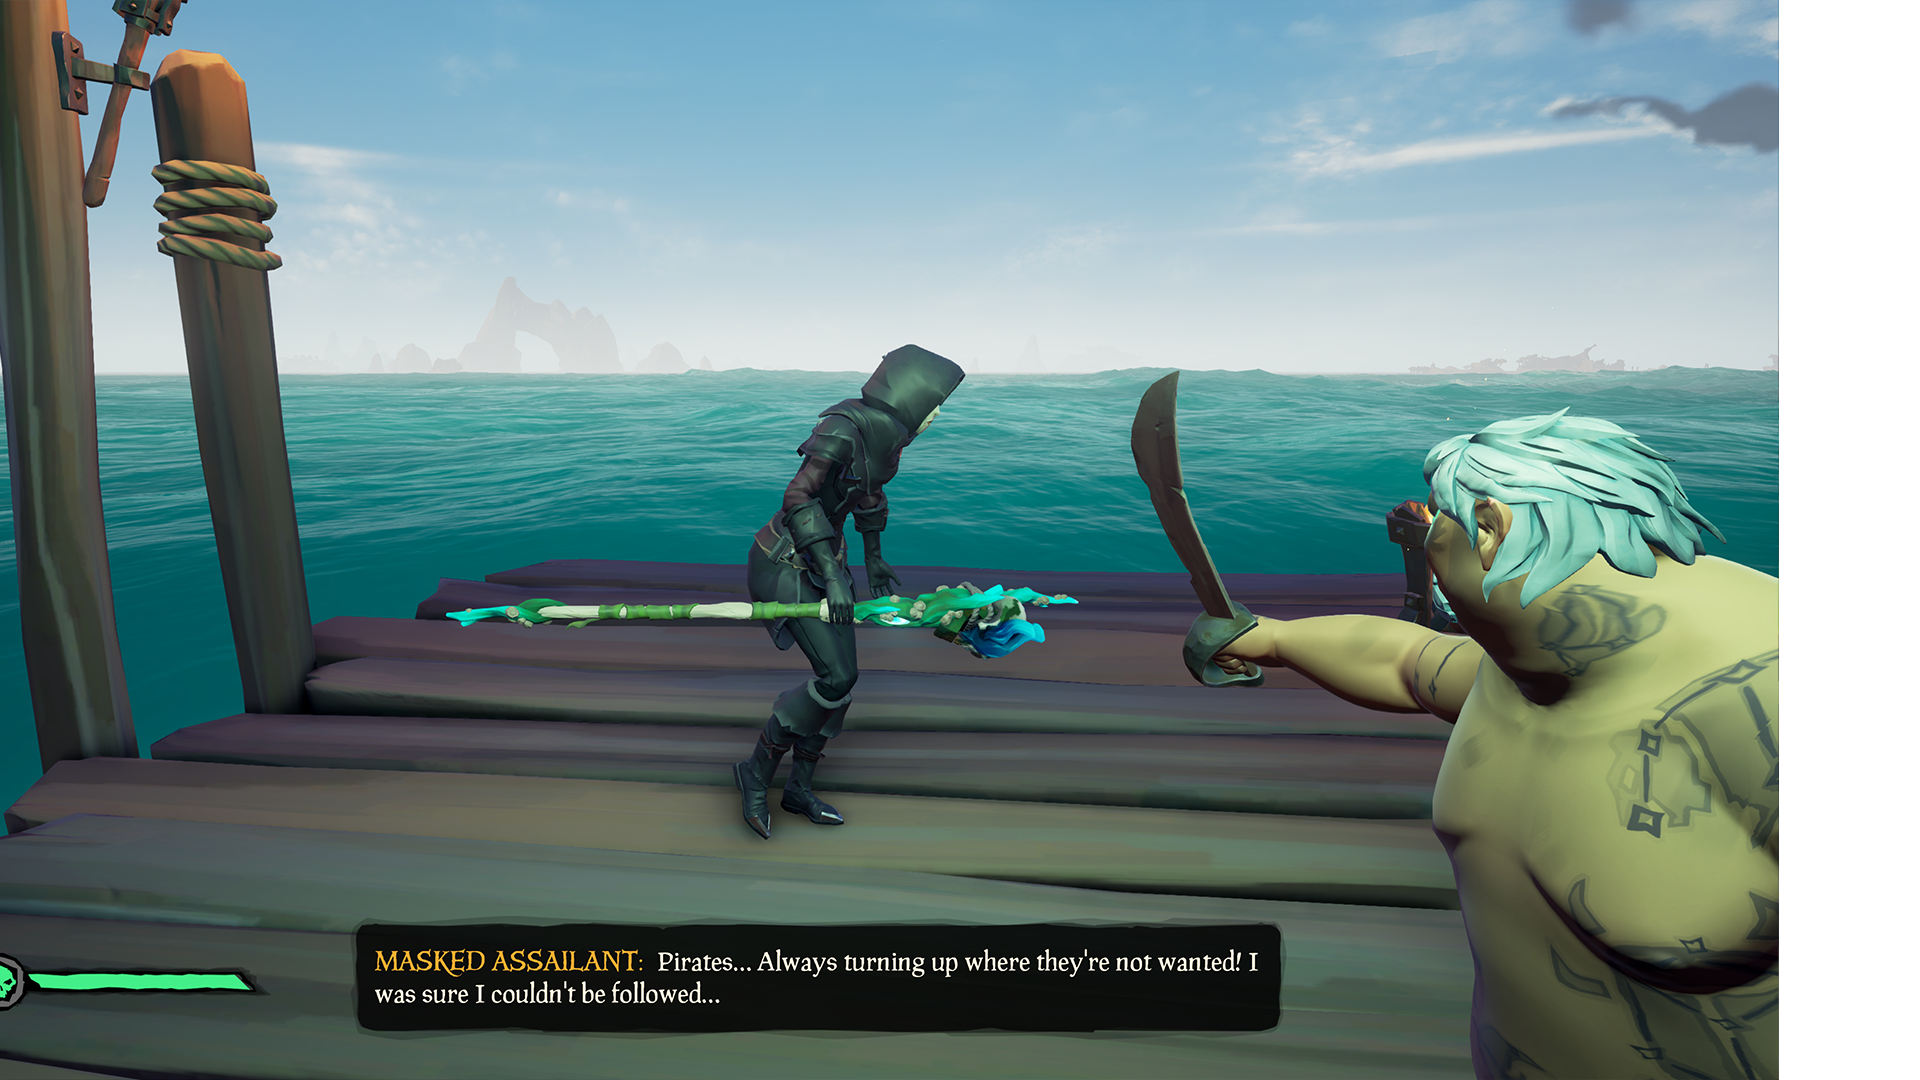
A scene plays out, and the Masked Assailant reveals herself to be Amarata, a former representative of the Glorious Sea Dogs. It seems she’s joined with Reapers, and is responsible for the disappearance of Merrick.
Amarata will make her escape, and Belle will emerge from the Sea shortly after for a brief conversation, wrapping up the Adventure. The mystery is solved for now, but Merrick’s fate will have to remain unsettled until the next Adventure.
The story of Merrick isn’t over quite yet, and there are plenty more voyages to be had. You could fill your pockets with gold, or take on the Legend of the Veil Voyage. Our Sea of Thieves hub is the home for those, and many more Sea of Thieves guides.


Published: Jul 6, 2022 09:11 pm