The final area in Solar Ash, Luminous Peak, has 6 Voidrunner stashes. Collecting them all rewards Tufte’s suit, Shepherd’s Calling, the only suit offering an active ability. With this suit equipped, you can activate your multitool scanner not only to pinpoint anomalies but also to highlight any Voidrunner collectibles you might have missed.
This Solar Ash guide will give you everything you need to find the Voidrunner stashes in Luminous Peak and get Tufte’s suit.
As with the other cache collectibles in Solar Ash, finding the locations for these will go toward your total for the Reliquarian trophy/achievement. And getting the first one here will give you the trophy or achievement for Hobbyist Archaeologist if you don’t already have it.
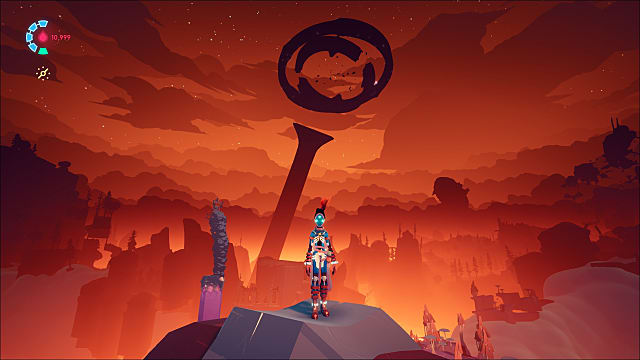
Luminous Peak Voidrunner Stash: How to Unlock Tufte’s Suit in Solar Ash
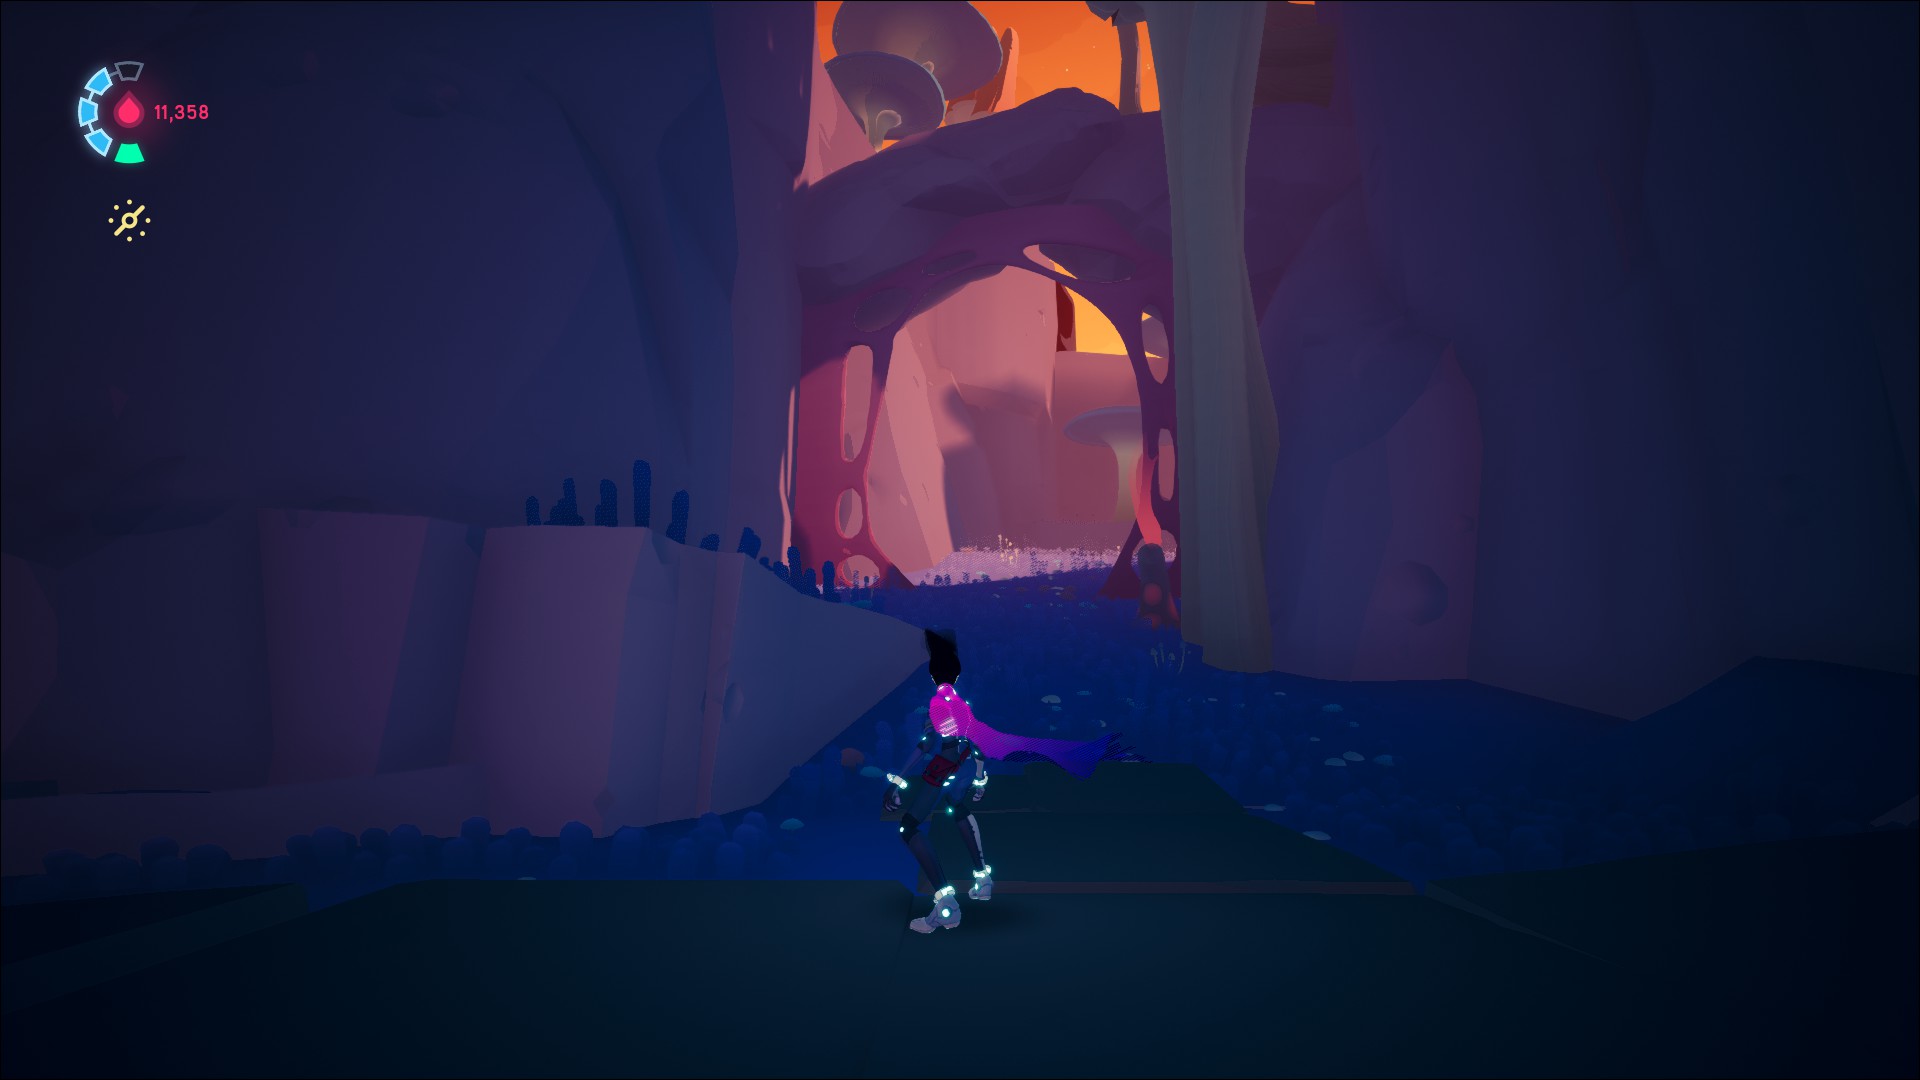
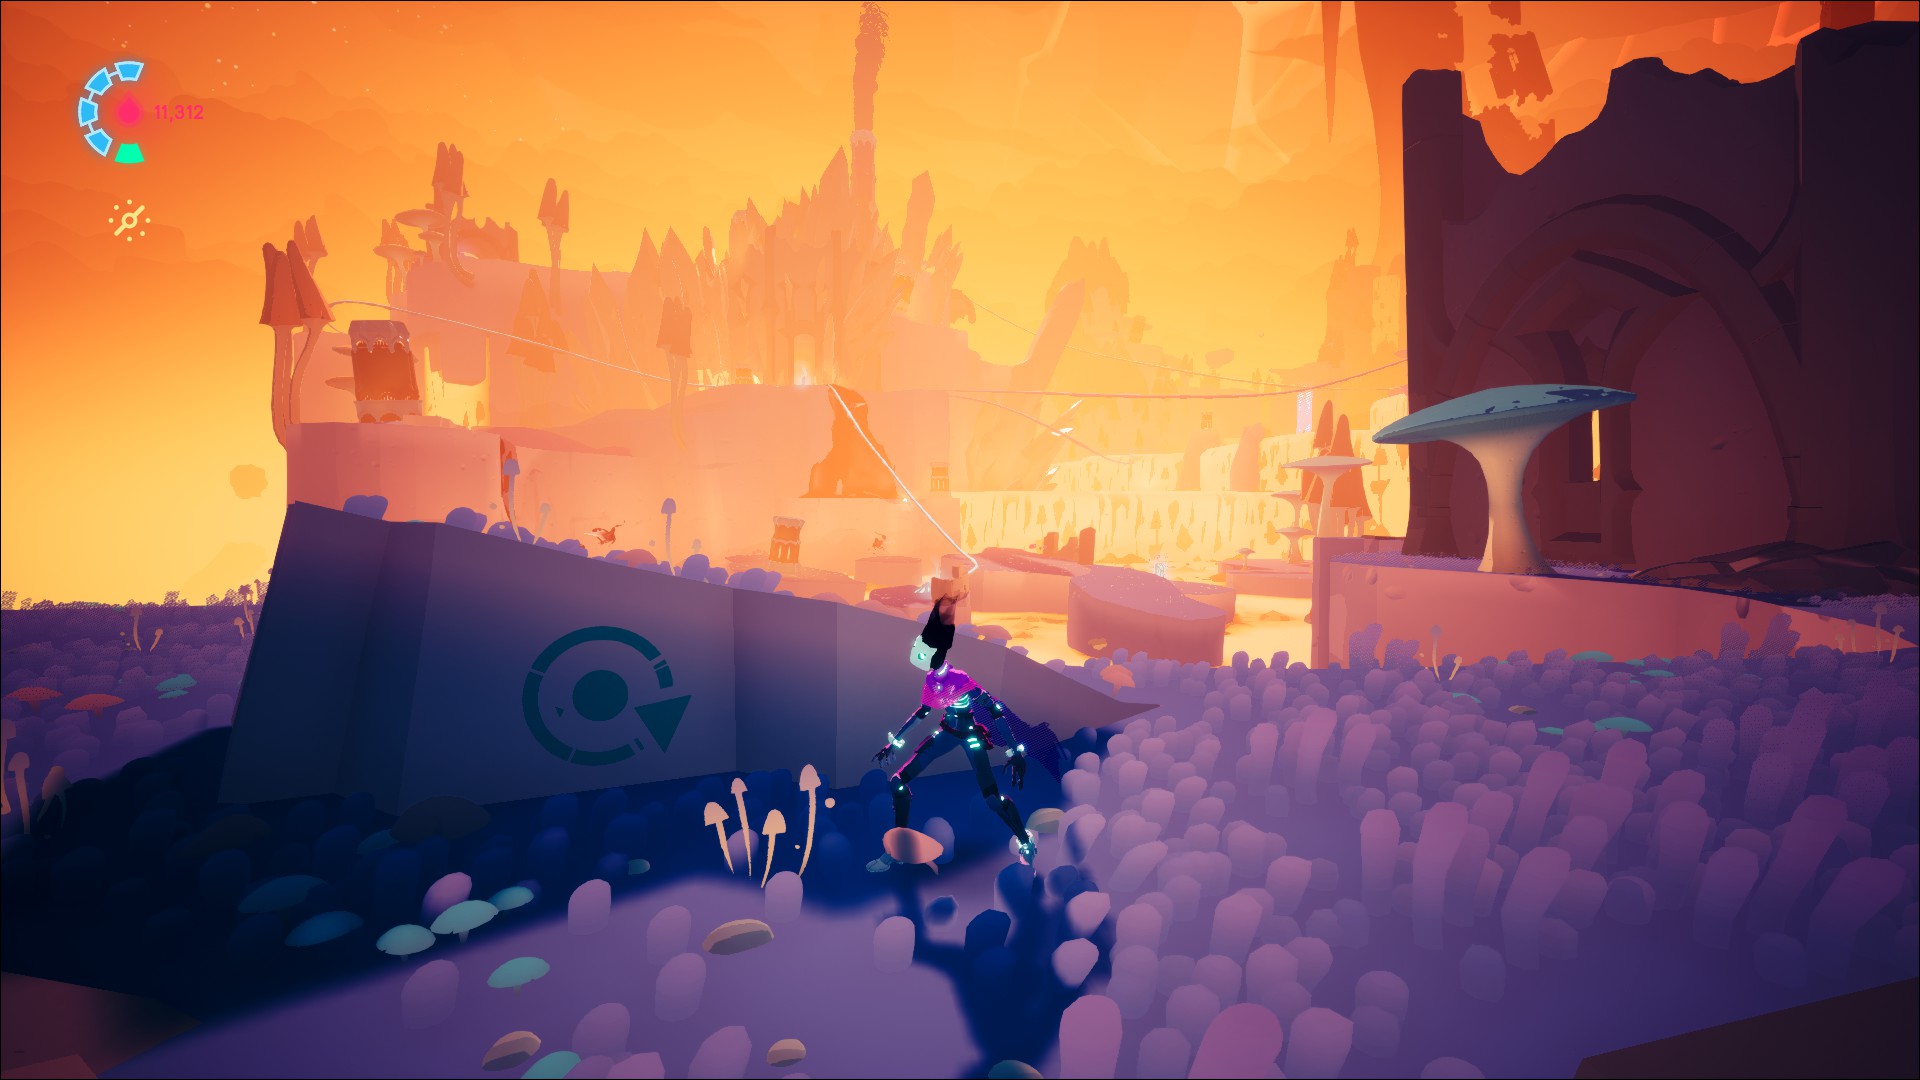
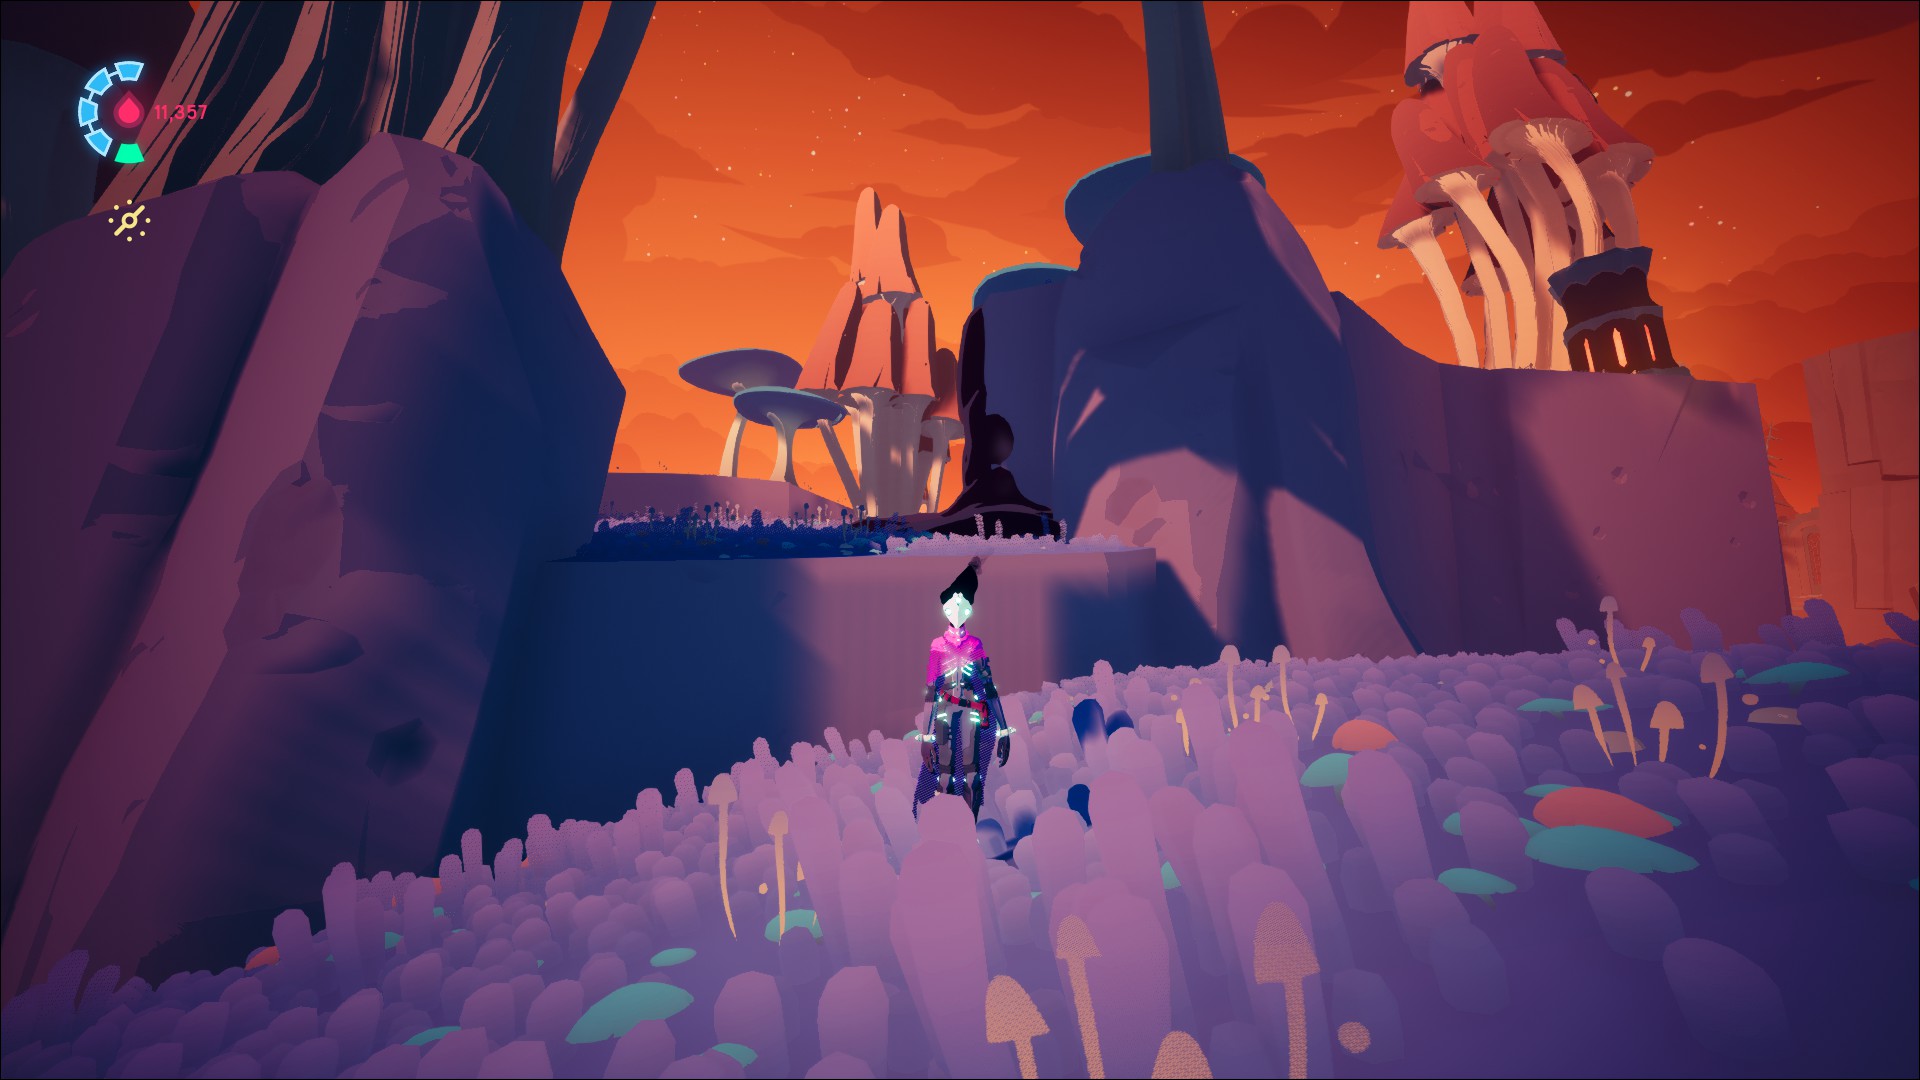
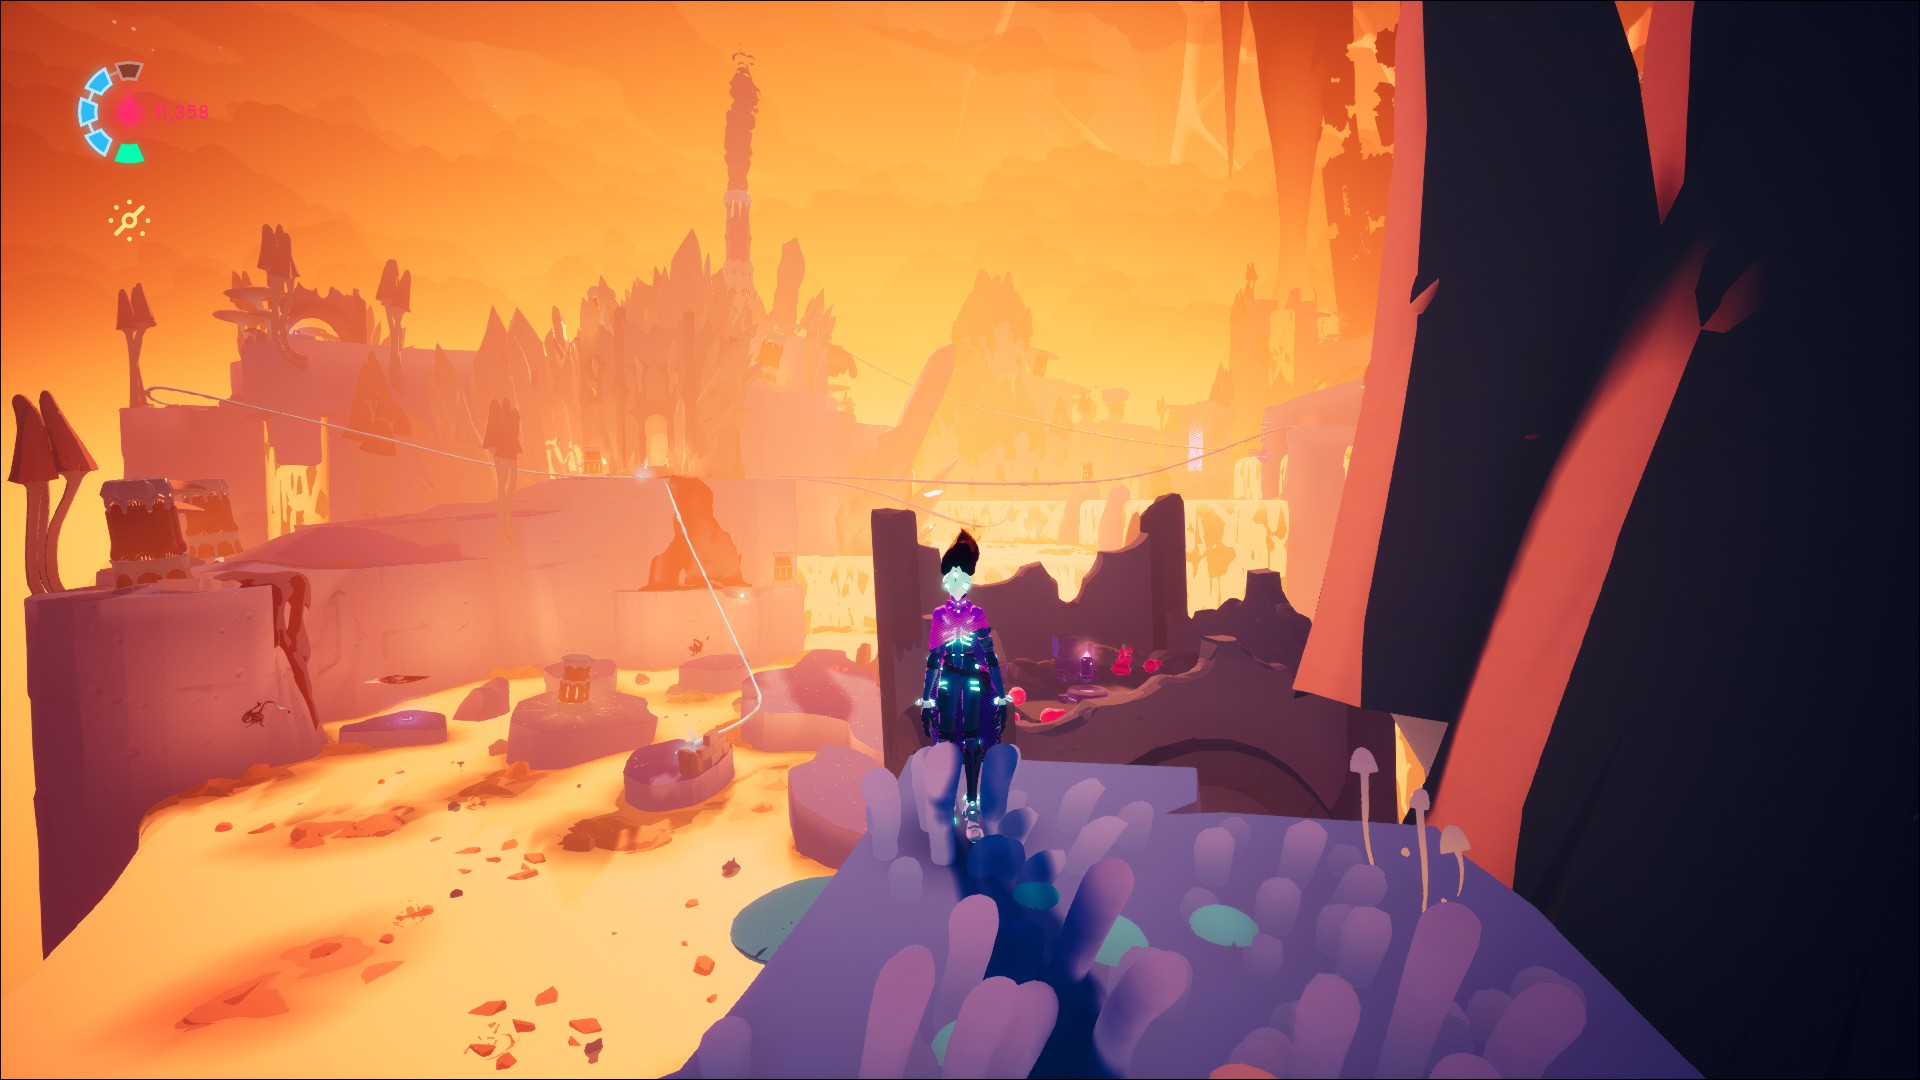
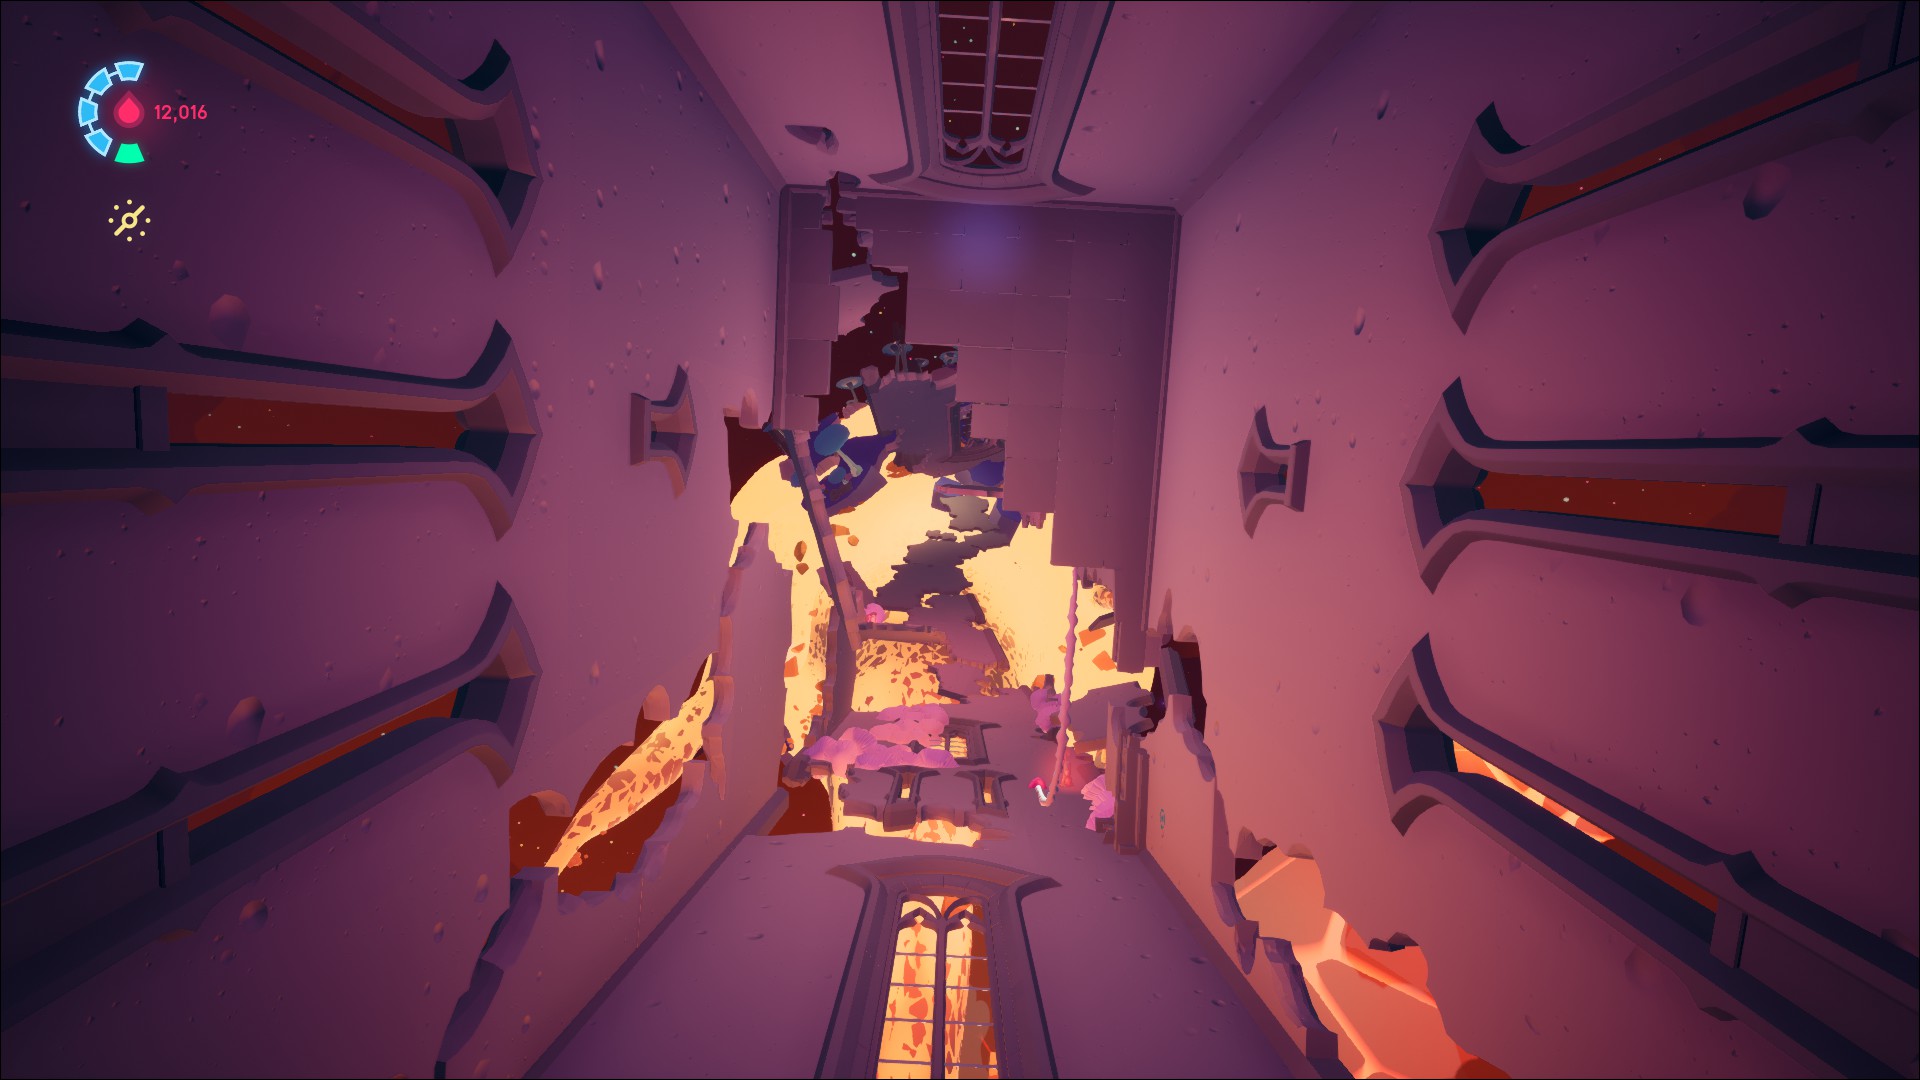
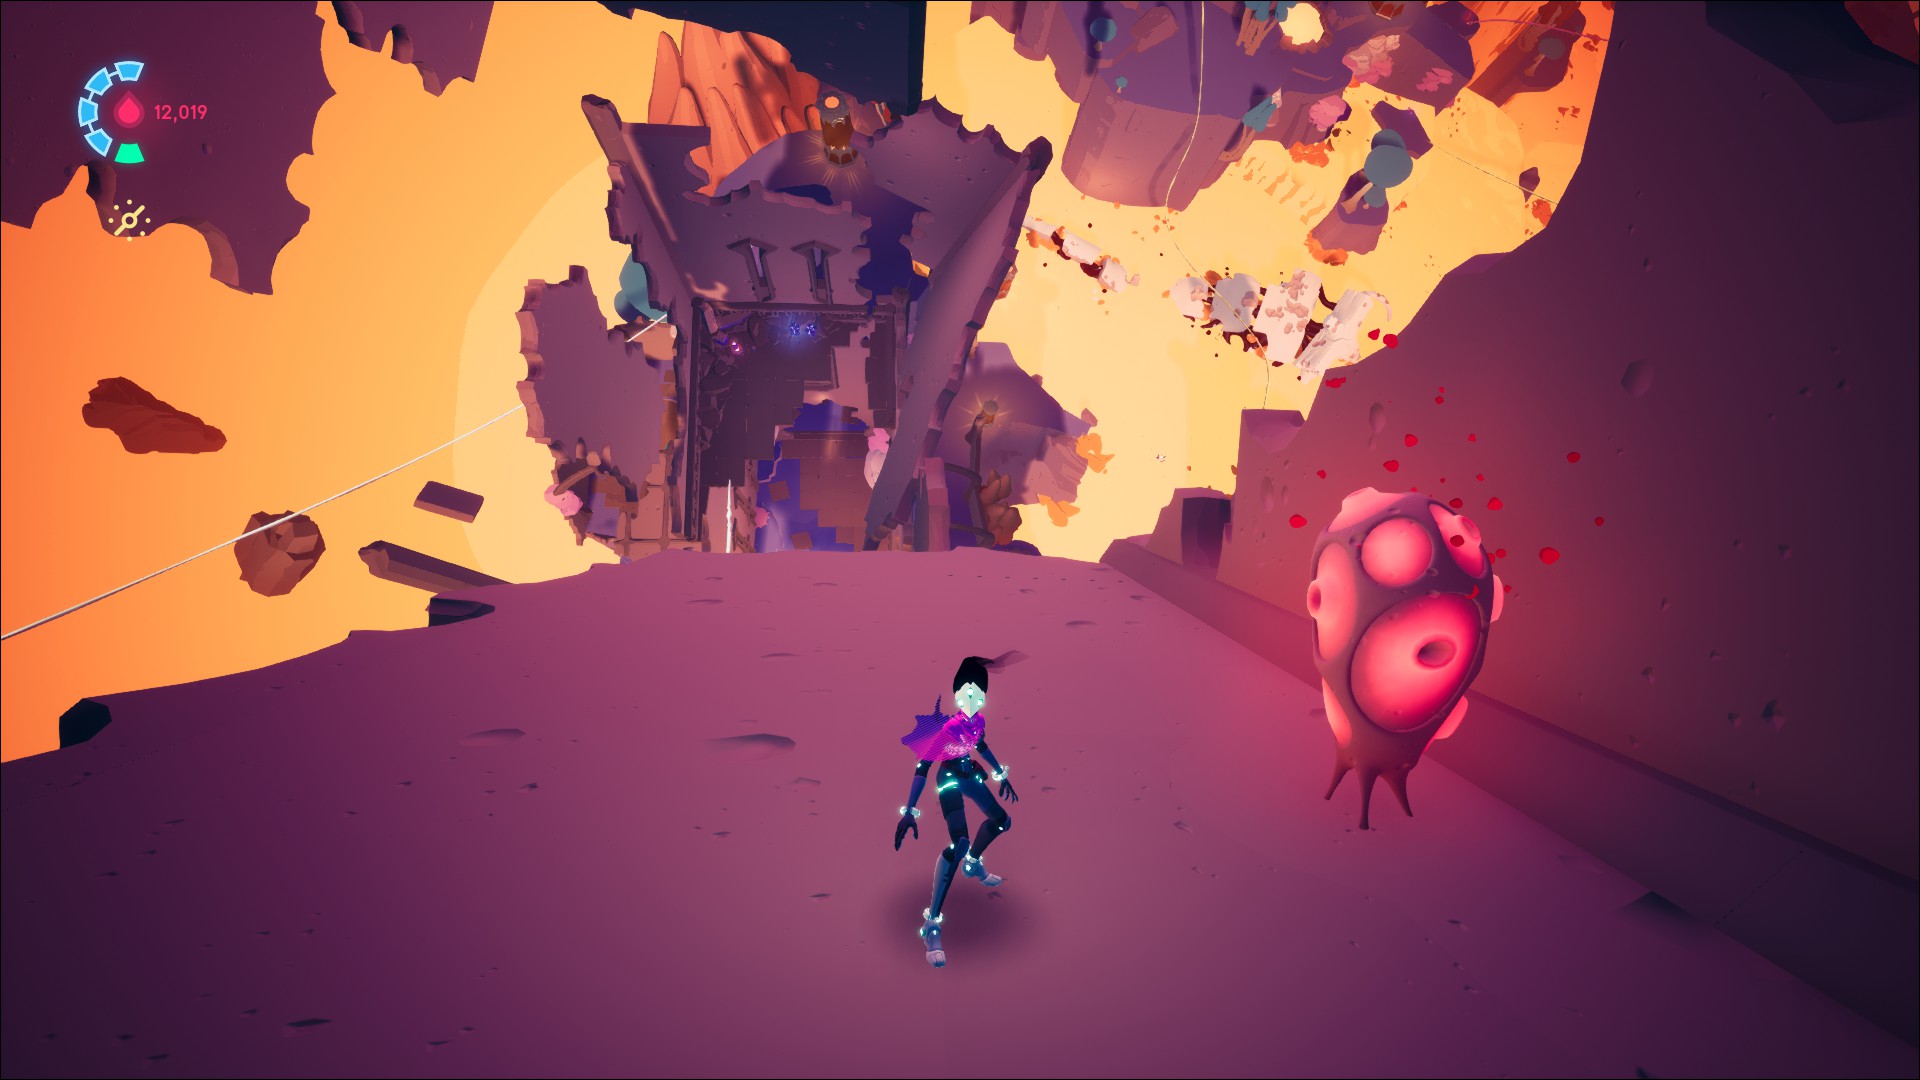
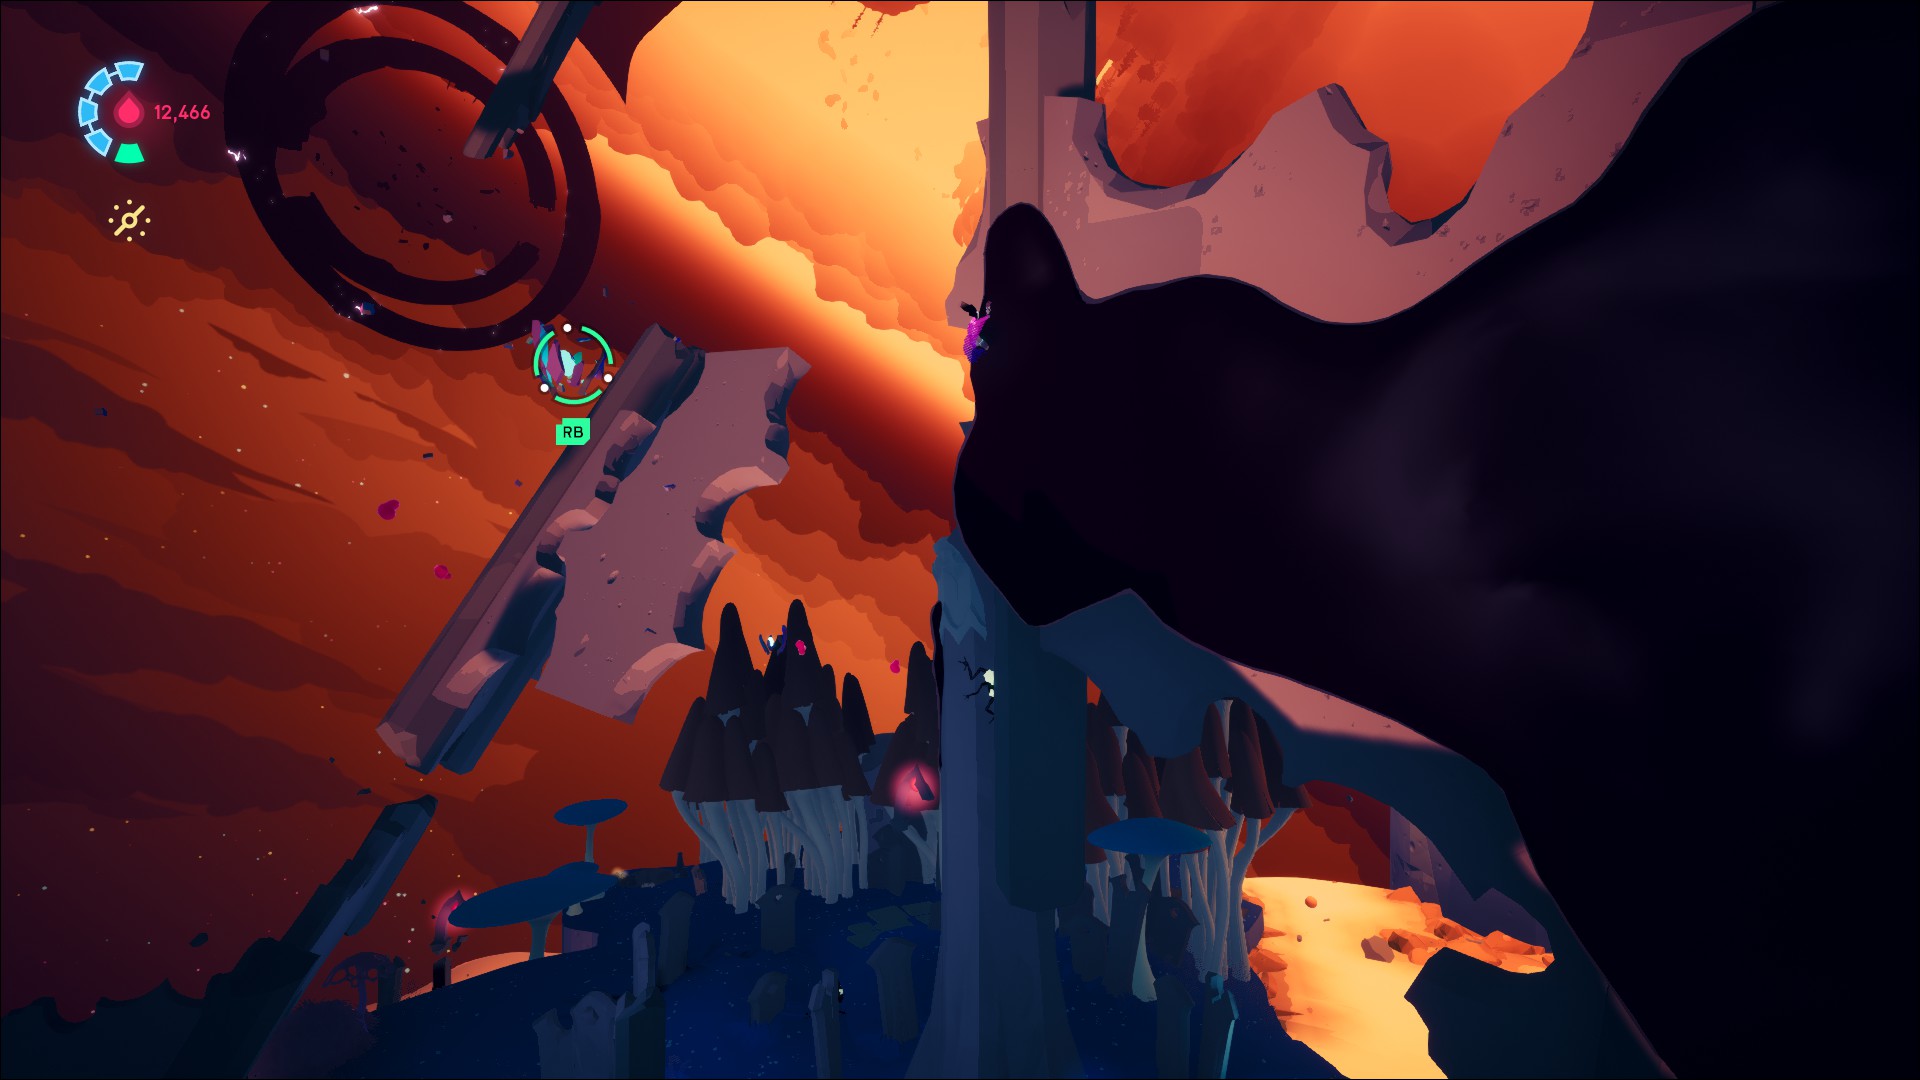
One of the most linear levels in the game, Luminous Peak is treacherous. Rather than acid, the hazard zones here are lava. Touching said lava even a little bit will send you straight back to a checkpoint with one less health to show for it.
The platforming here is also the most precise in the game, with blind jumps, long high-speed sections, and more mind-bending perspective shifts. So be careful as you make your way to these Voidrunner stashes for Tufte’s suit.
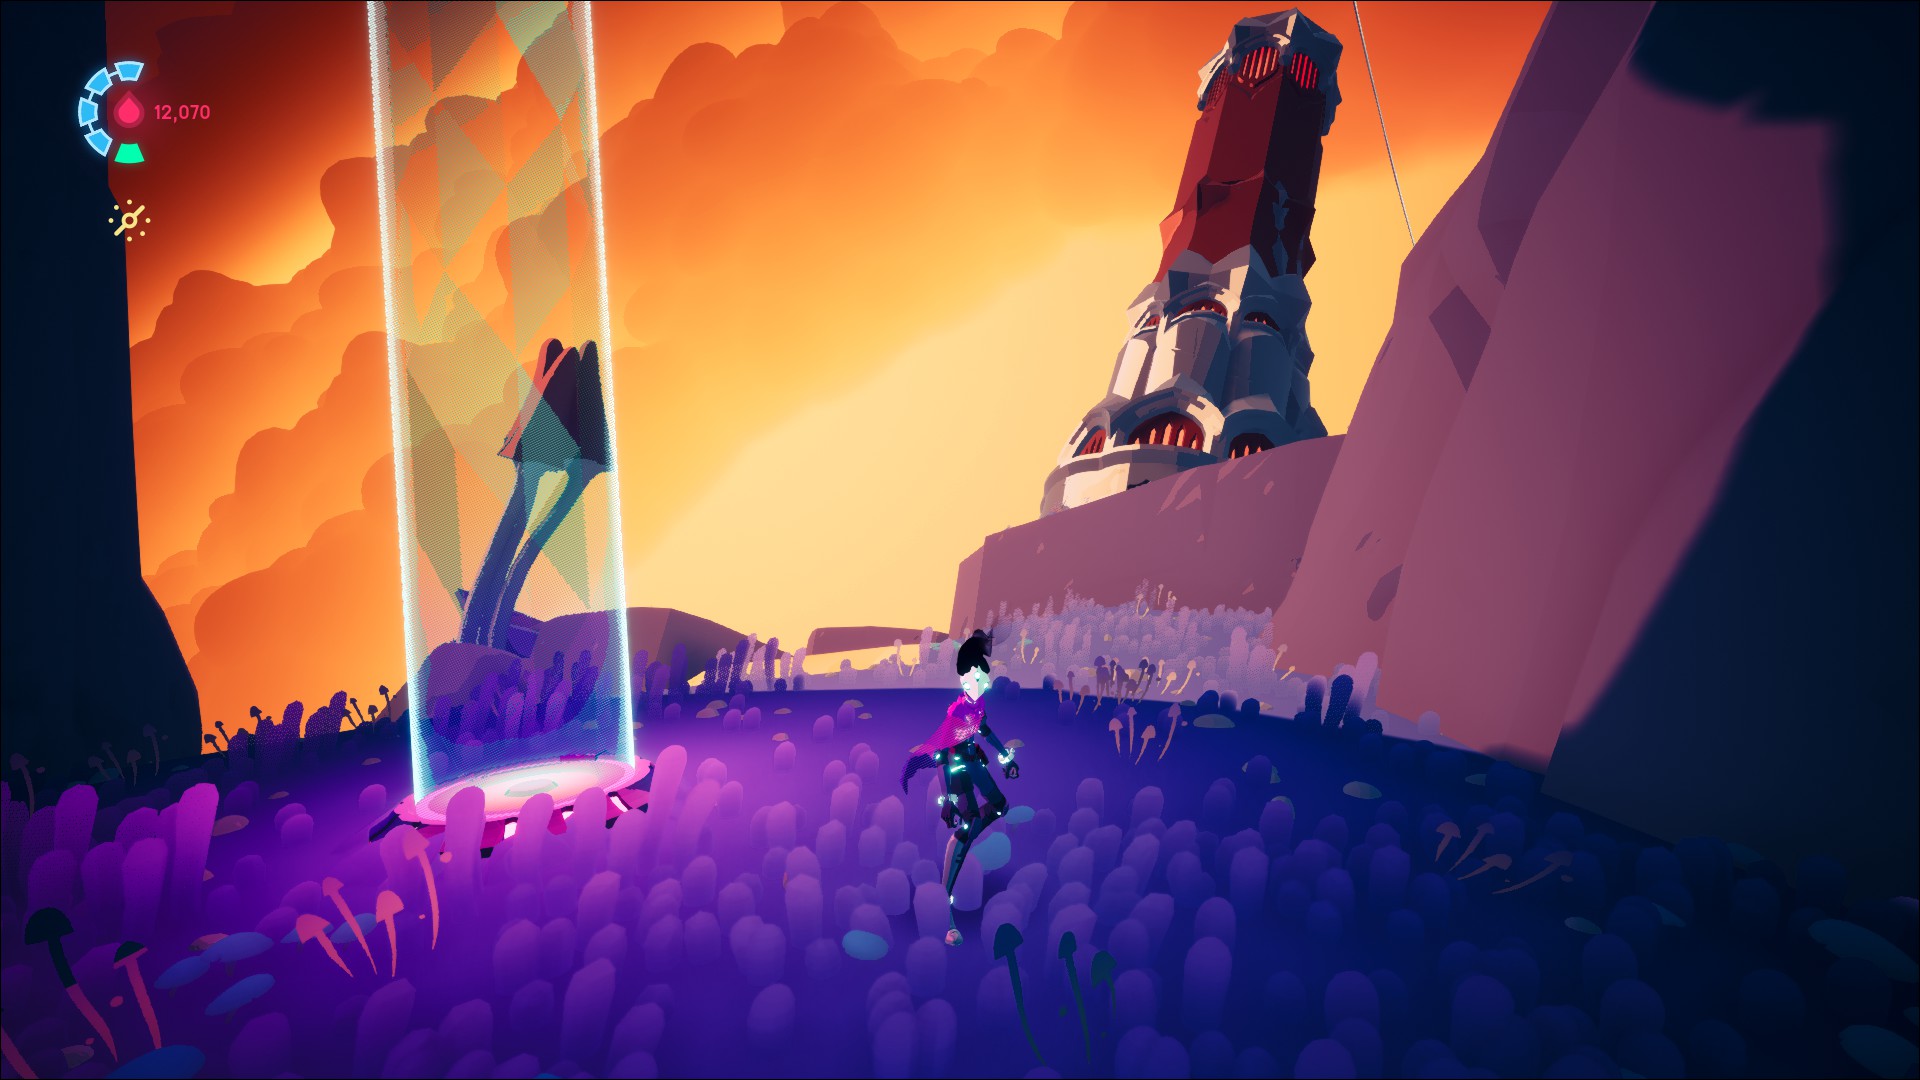
Luminous Peak Voidrunner Stash 1
You’ll find the first Voidrunner stash early in the level. Your first landmark is a red spore door.
Follow the path straight until you see a Voidrunner symbol pointing left.
Follow the cliff face up until you see climbable sludge.
Ascend and follow the platform across a pair of chasms. The Voidrunner stash sits at the end of the path.
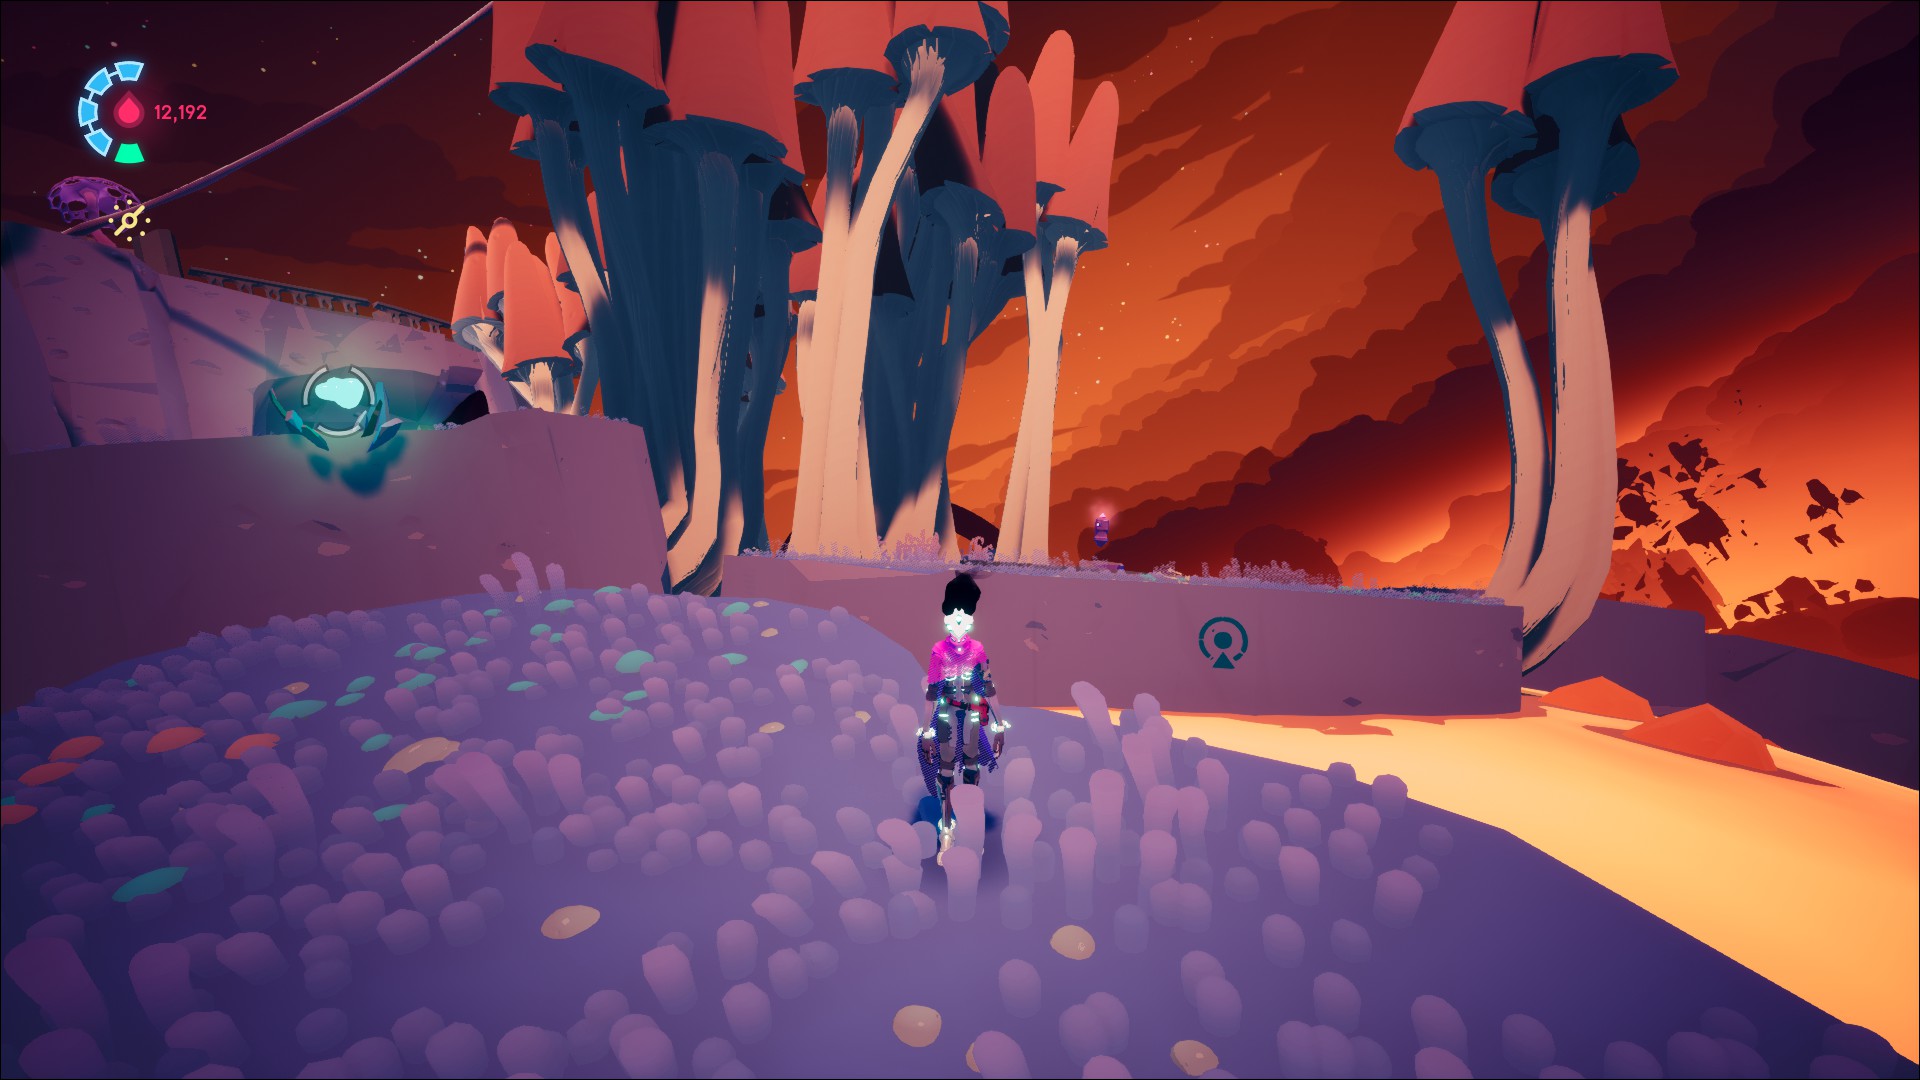
Tufte’s Suit Stash 2
Continue through this area of Luminous Peak (there’s only one path for now) until you reach a lava cave.
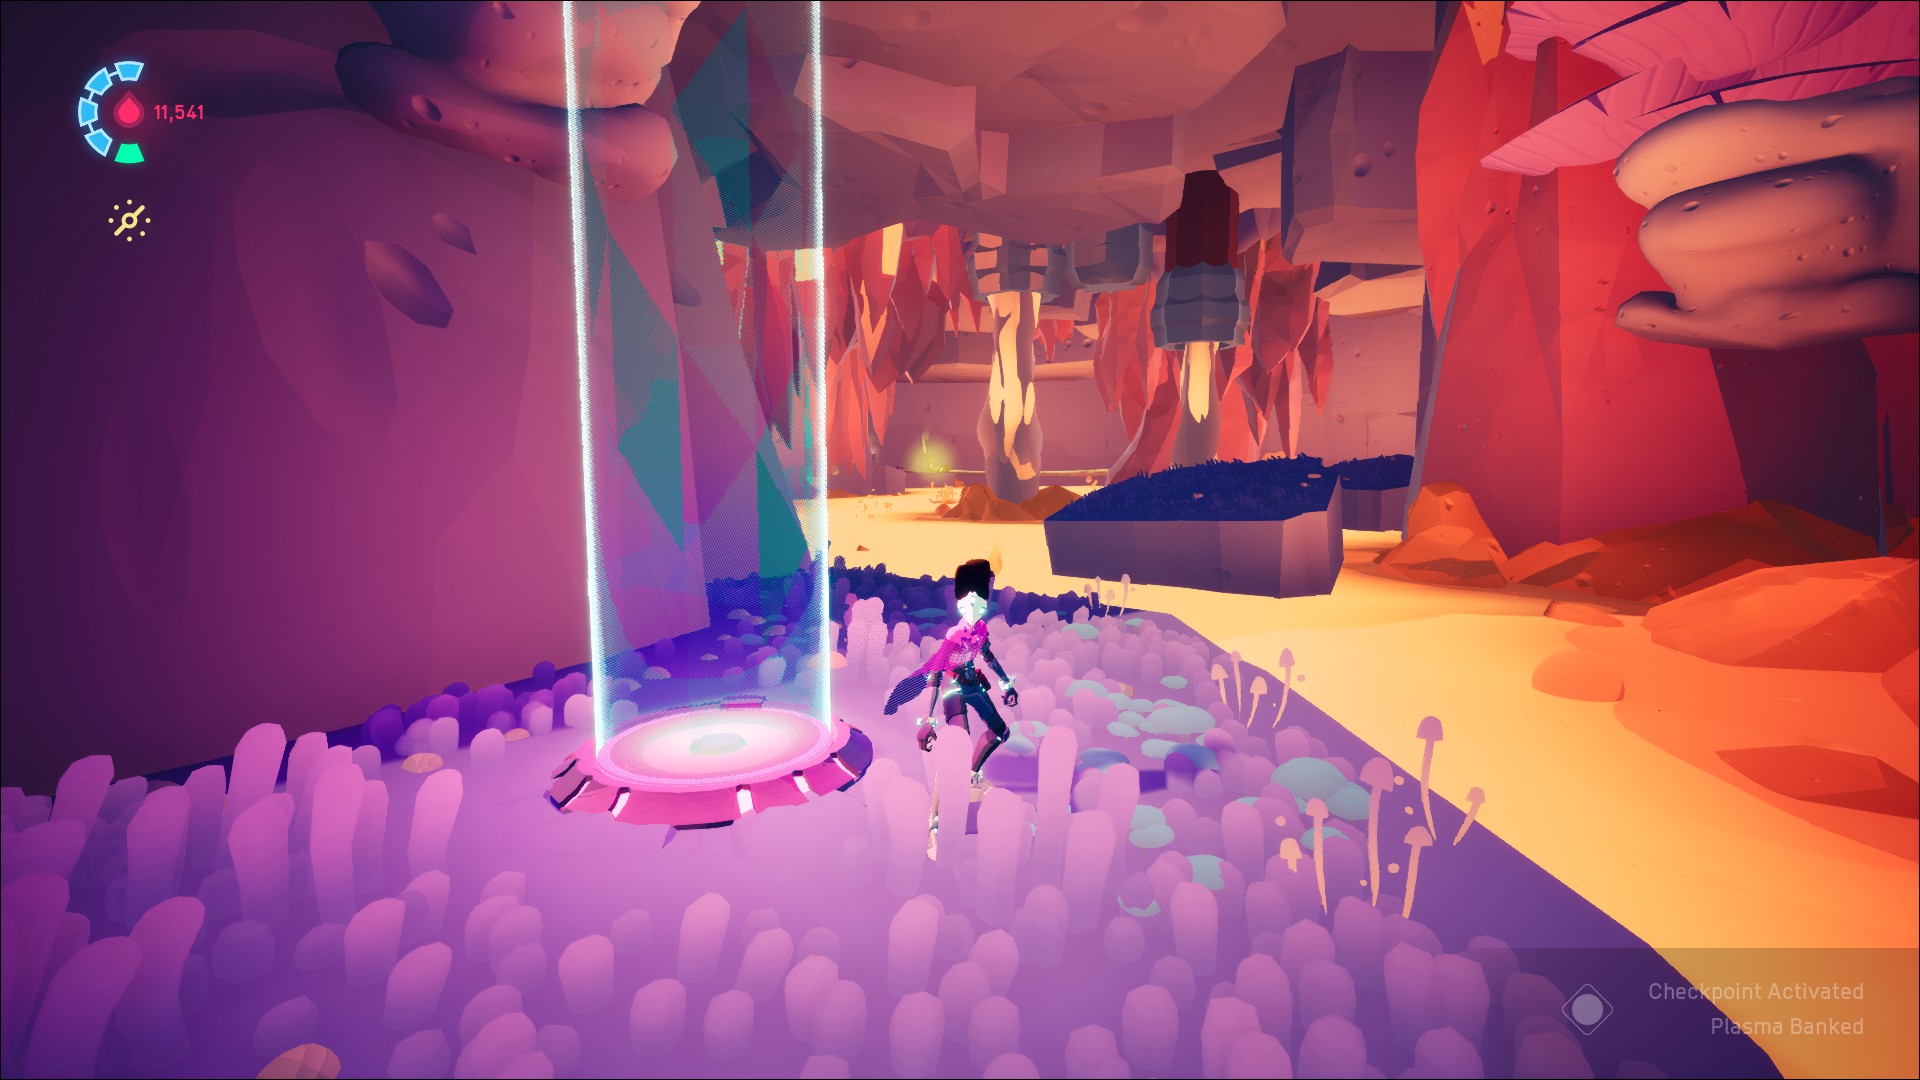
To reach the collectible at the other end, take a right and follow the path up the climbable sludge. Continue making your way up, keeping left after the sludge, past a red fungal spore.
Eventually, you’ll reach a dead end. You’ll see the Voidrunner symbol hanging on the cliffside.

Climb the last bit of sludge down and around until you can drop into the cave with the stash.
Tufte’s Suit Stash 3
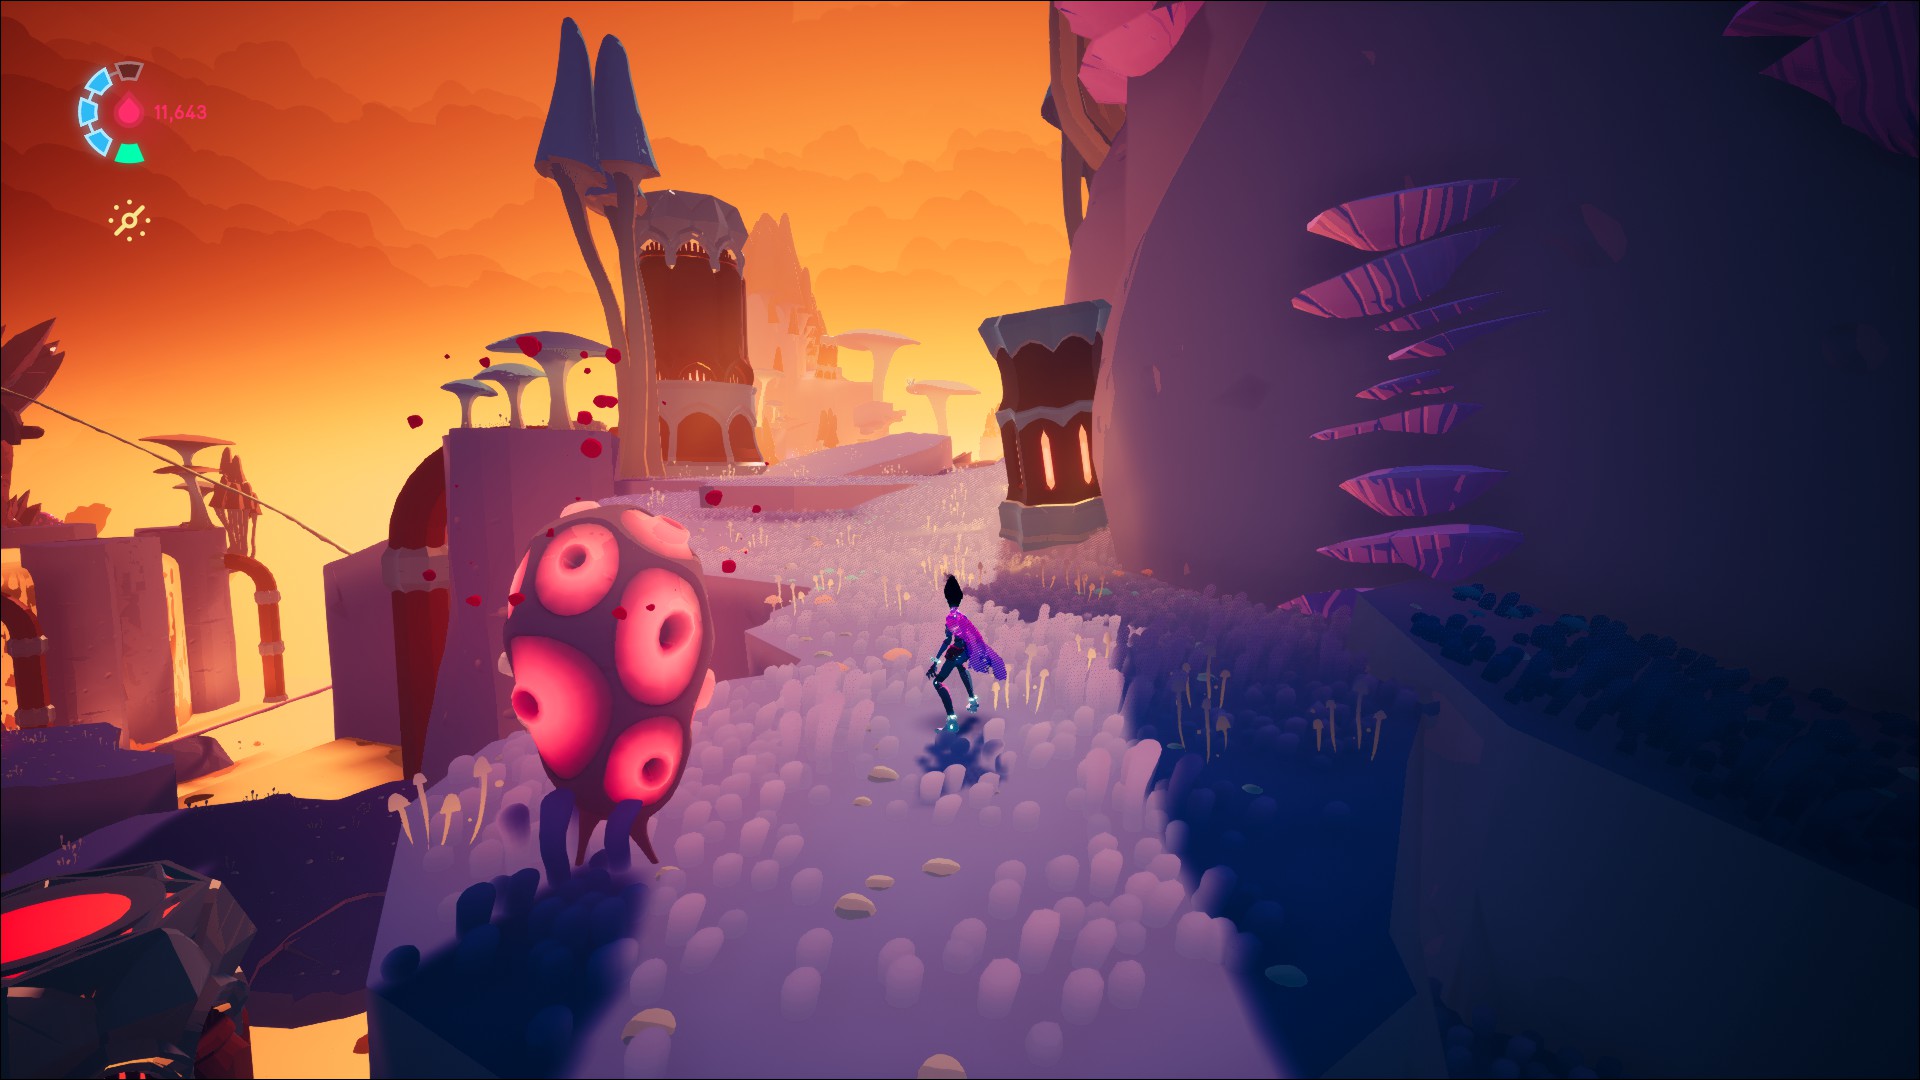
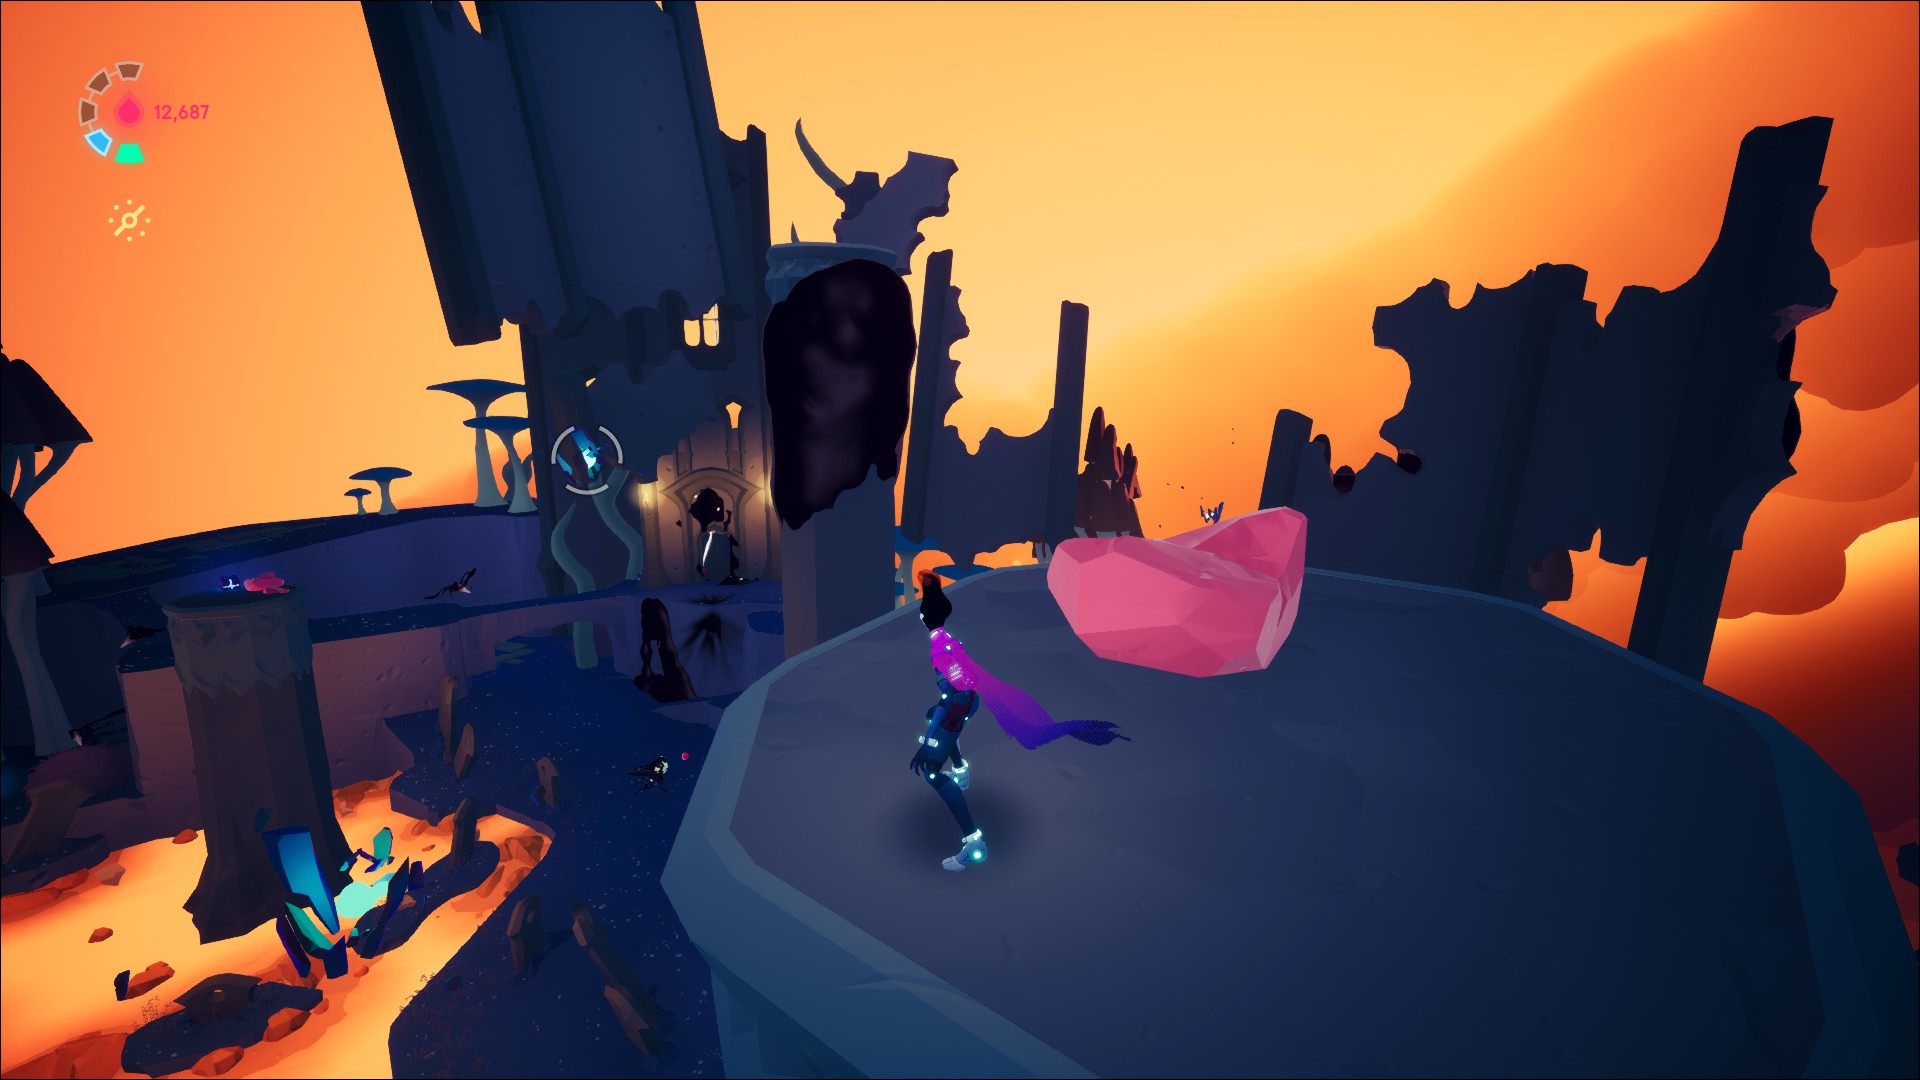
Return to the cave checkpoint and make your way around to the red spore vent. Activate it if you haven’t already and grind down to the floating island with the large smokestack. A Voidrunner symbol decorates a ruin there.

There will be a large fungal structure there that, when hit, catapults you into the air. Use it to shoot yourself above the ruin on the island so you land atop it. The collectible lives there.
Note: The fungal structure is missing in my game after the boss fight with the Remnant. Be sure to pick up this Voidrunner stash, or you may miss it.
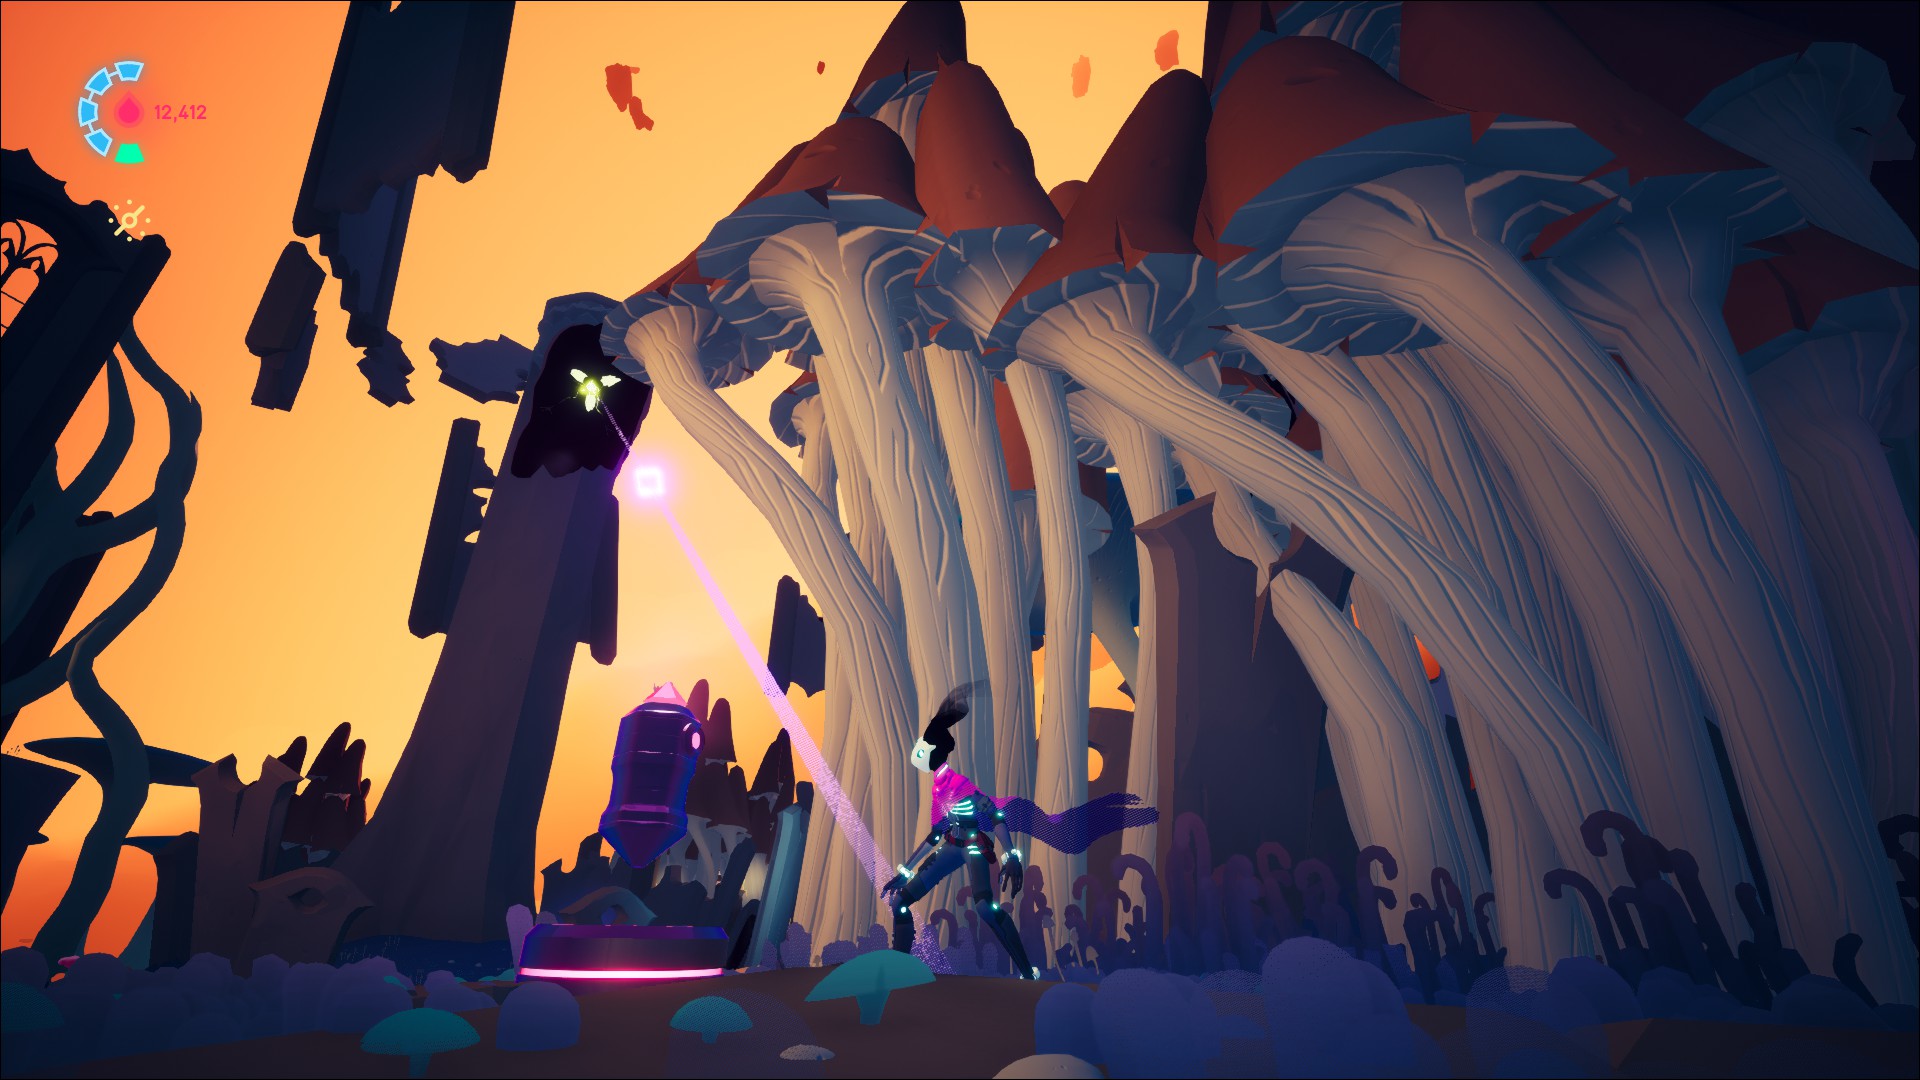
Tufte’s Suit Stash 4
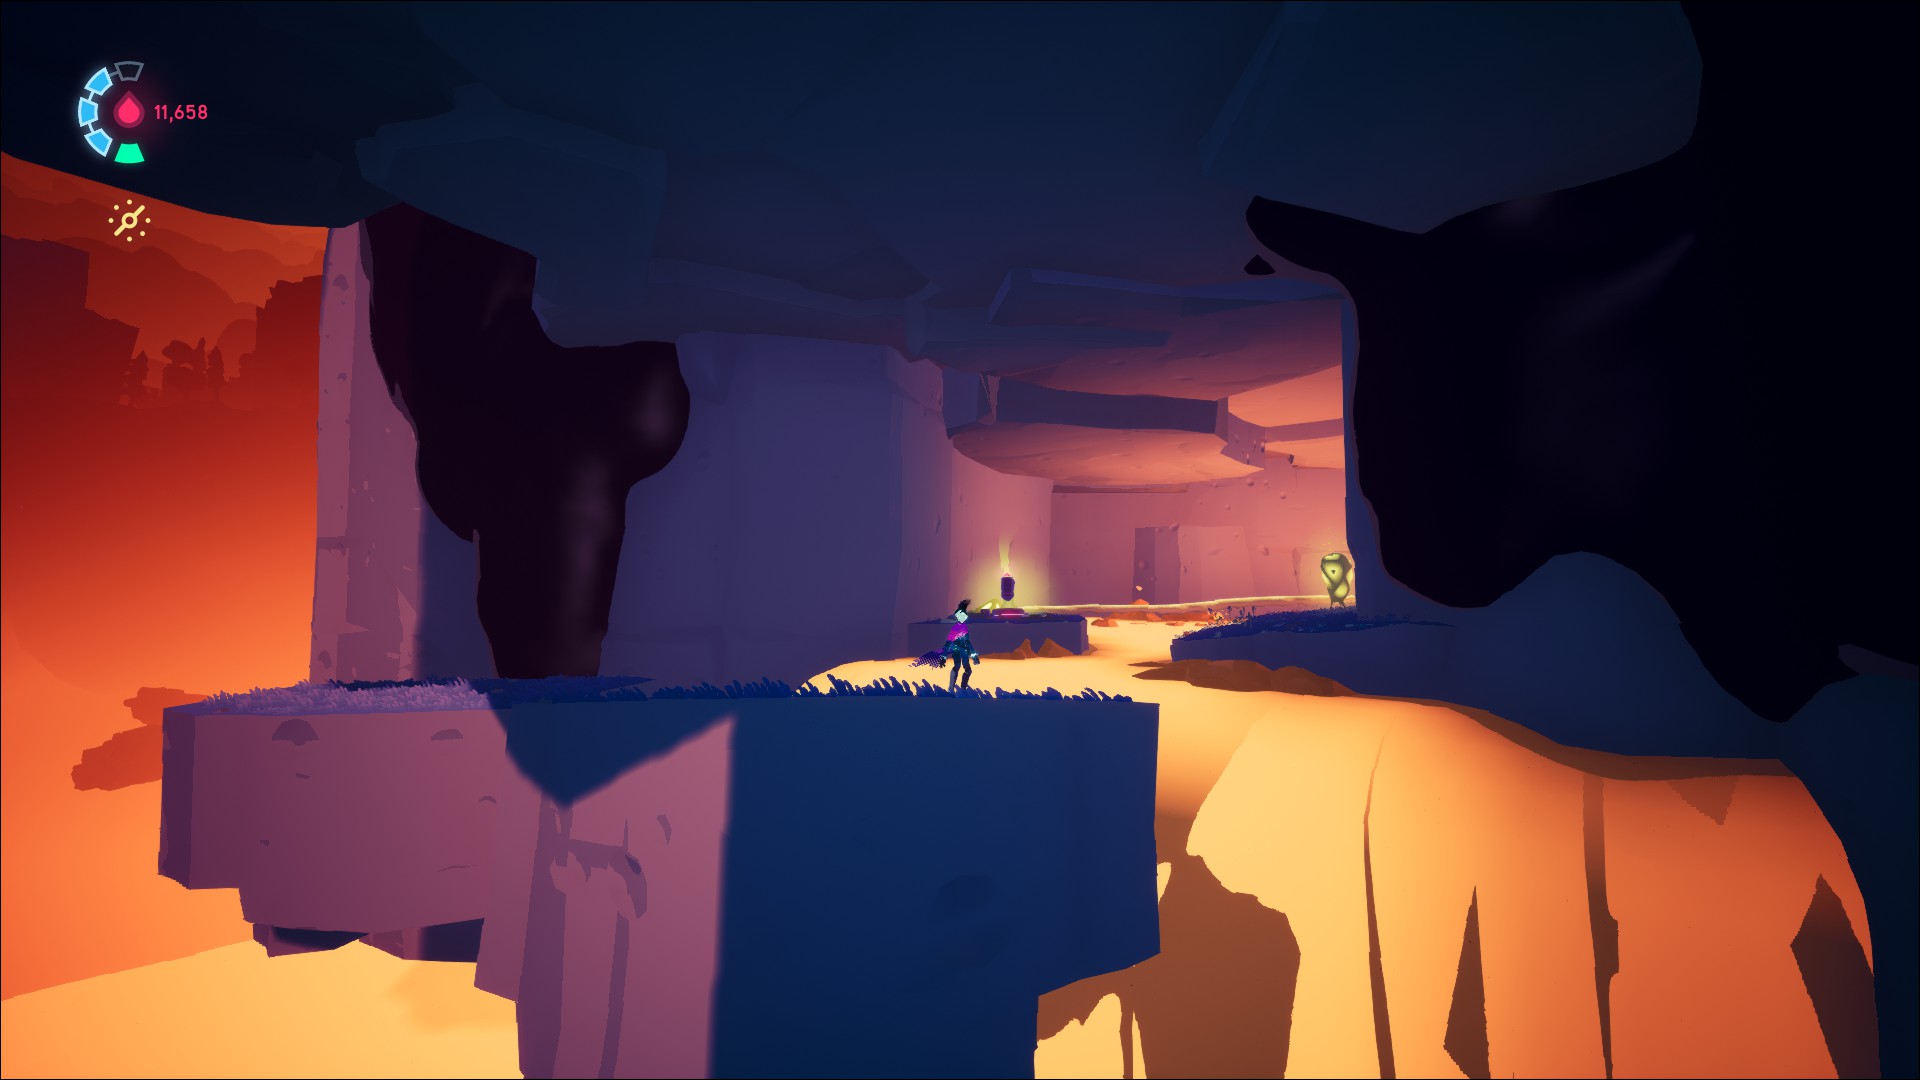
Continue through Luminous Peak, past Cyd, and up until you reach a huge, hollow tower. Make your way into it.
You’ll pass a red spore vent early on, but keep going. You’ll jump over two small gaps then need to turn around to see the red fungal growth you can activate.
Carry the red spores to the vent to generate a tentacle.
Grind up to reach this Luminous Peak Voidrunner stash.
Tufte’s Suit Stash 5
Past the tower, you’ll follow a linear path through the level, eventually crossing under arches with red crystal keystones. You’ll reach a checkpoint with a plasma-laden path leading left. Take it.
Continue, and you’ll see the Voidrunner stash out in the open, guarded by ground spikes.
Go past the stash and make your way to the end of the path. Hit the anomaly growth to rid the ground of spikes and collect the stash, your fifth in Luminous Peak.
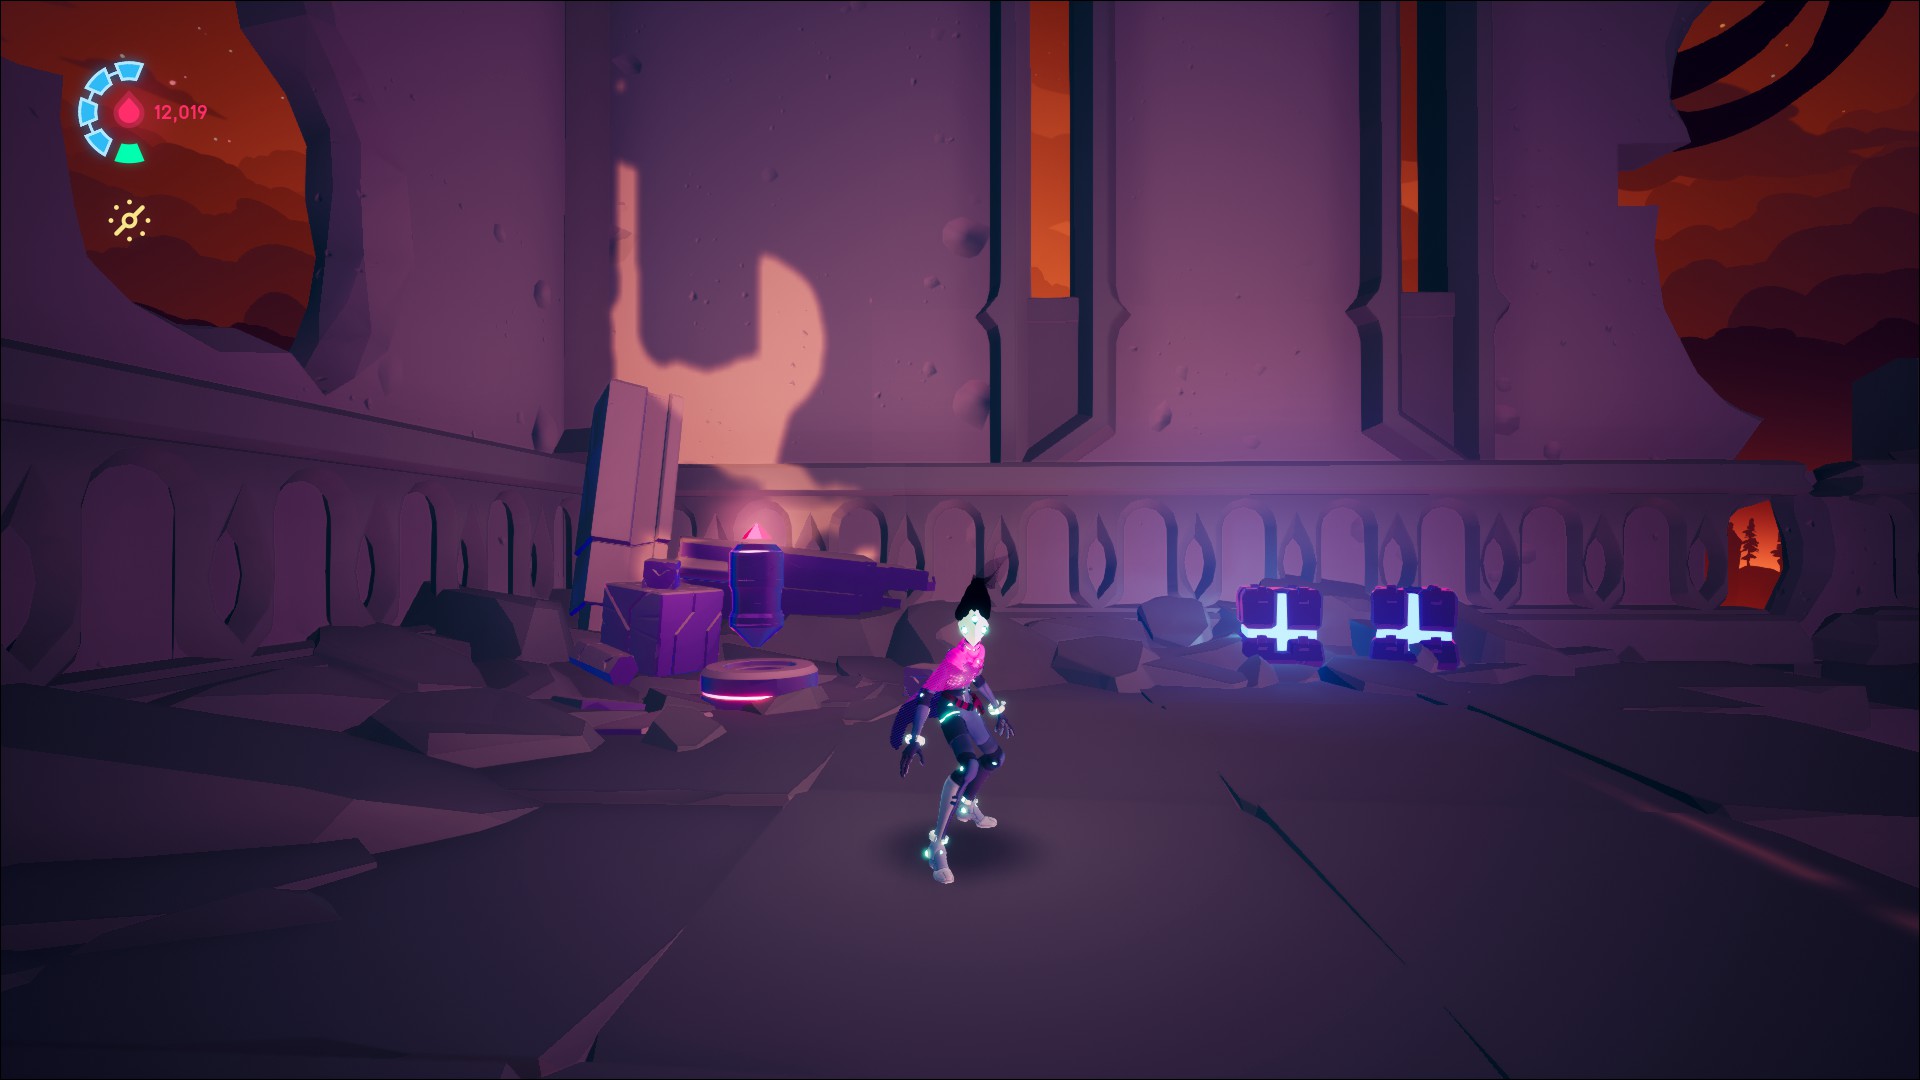
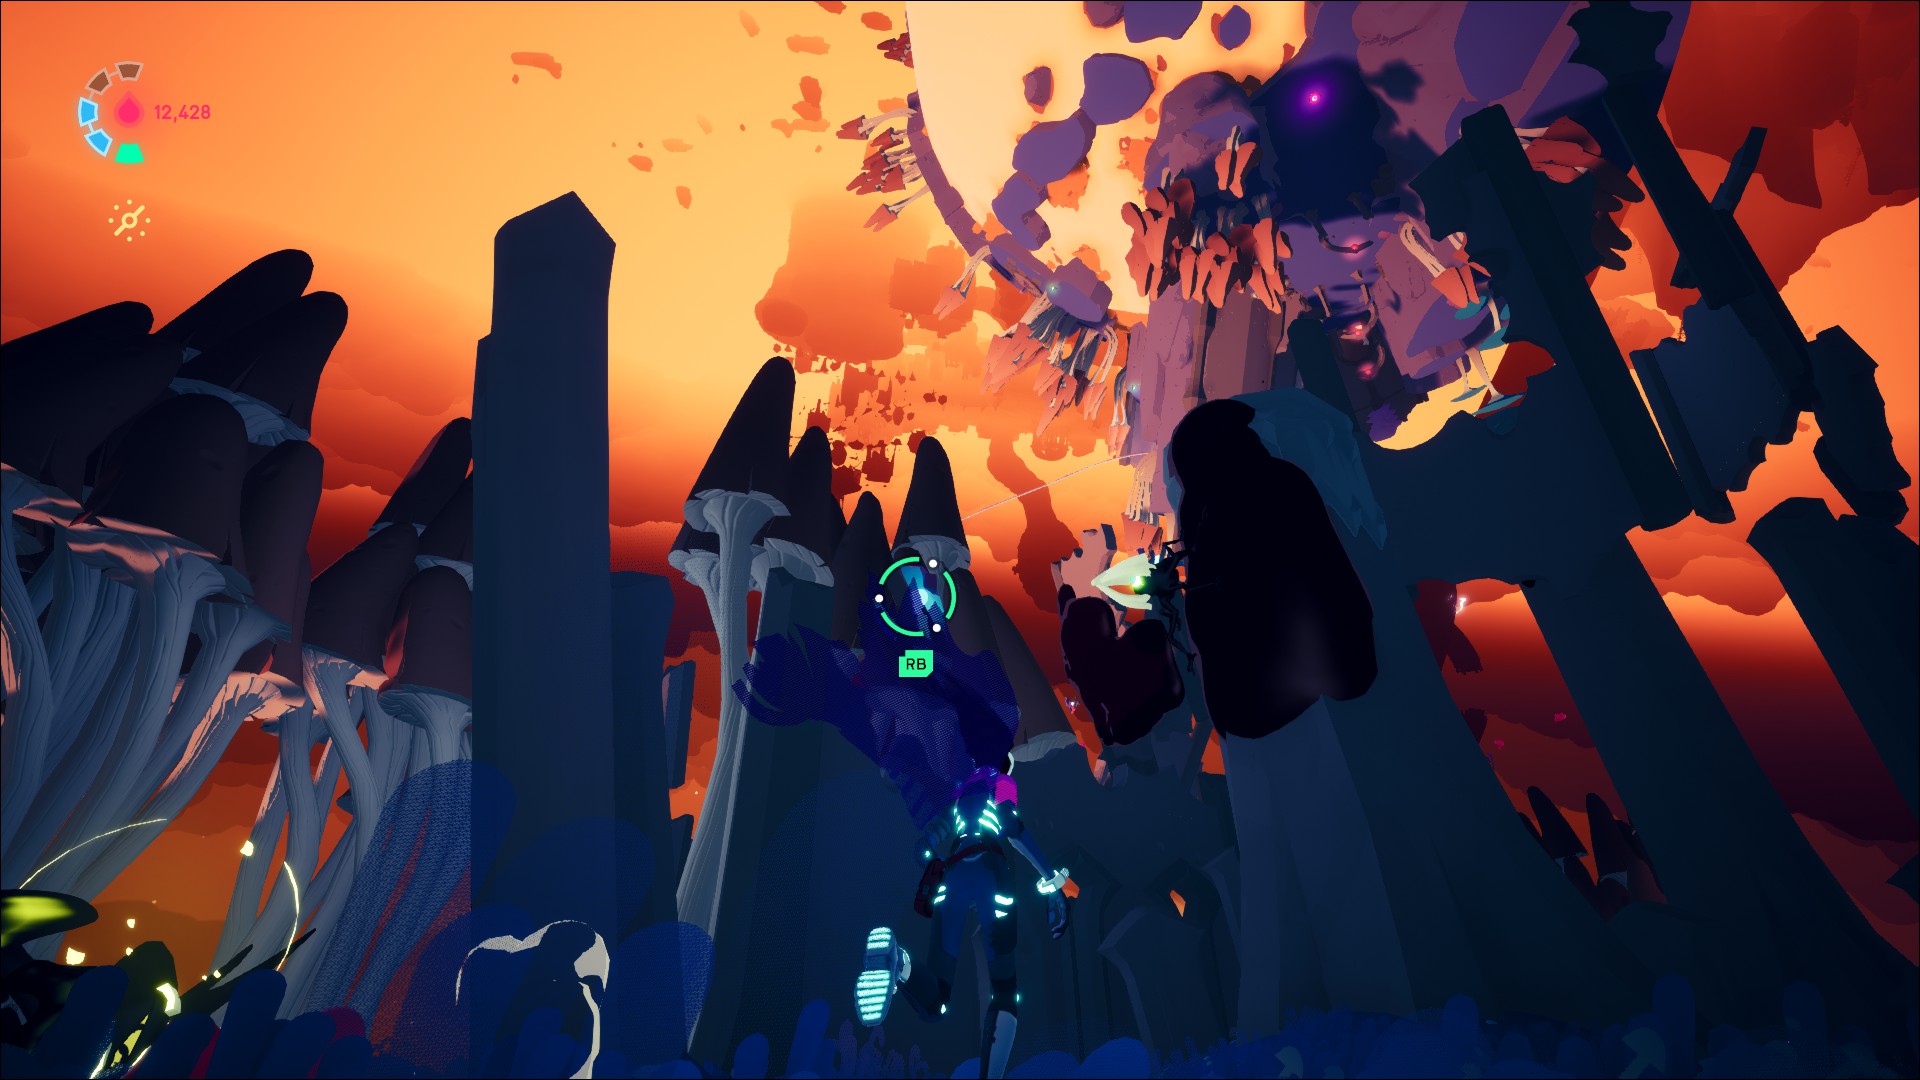
Tufte’s Suit Stash 6
This is the last Voidrunner collectible before getting Tufte’s suit.
Your path remains linear, eventually culminating in a long tentacle leading up to a lava globe. Continue up through the area until you reach a large space filled with enemies. The stash is right out in the open near the checkpoint, but snipers guard it.
There’s a plasma trail leading away from the checkpoint. Follow it until you reach a grapple point. Take it up to the climbable sludge and defeat the first sniper.
Climb to the top of the column you’re on and grapple across to more sludge until you can’t go any further. There will be another grapple point that will launch you around the floating structure.
The trouble with the jump is somewhat blind, so once you feel like you’ve made it around the wall, grapple and take out the sniper.
From here, grapple twice from the high column and latch onto the climbable sludge, avoiding the sniper until it’s within reach of your attacks.
With all the enemies cleared, collect the final stash to unlock Tufte’s suit, Shepherd’s Calling.
Related guides:
- All Crater & Broken Capital Voidrunner Stashes
- All Ironwood Basin Voidrunner Stashes
- All Mirrorsea Voidrunner Stashes
- All the Ways to Farm Plasma in Solar Ash
- All Endings in Solar Ash
And those are all of the Voidrunner stashes in Luminous Peak. Your reward is Tufte’s suit, best used for finding anomalies. For more, check out our other Solar Ash guides here!


Published: Dec 2, 2021 05:40 pm