Hunting down the Voidrunner stashes in Mirrorsea in Solar Ash is worth it for Ghozam’s suit. No non-boss enemy in Solar Ash is difficult to defeat, but doing it faster is always welcome. Ghozam’s suit, found in the Mirrorsea, doubles Rei’s damage output, allowing her to one-shot the weakest enemies and take out the tougher ones with greater ease.
In this Solar Ash guide, we’ll go over where to find all 6 of the Voidrunner stashes you’ll need to find to unlock Ghozam’s suit.
Like with the other cache collectibles in Solar Ash, nabbing these will go toward your total for the Reliquarian trophy/achievement. And if you haven’t gotten it already, the first one you pick up will give you the Hobbyist Archaeologist trophy/achievement.
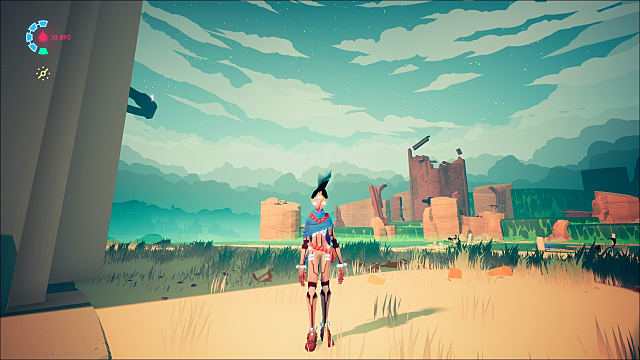
The Mirrorsea Voidrunner Stash Locations in Solar Ash
The Mirrorsea is filled with radioactive acid, making traversal dangerous. Many shortcut wires are also electrified, dealing one tick of damage when touched. The first part of the level is linear; the second part opens up significantly. Here’s how to find all of the Voidrunner stashes for Ghozam’s suit.
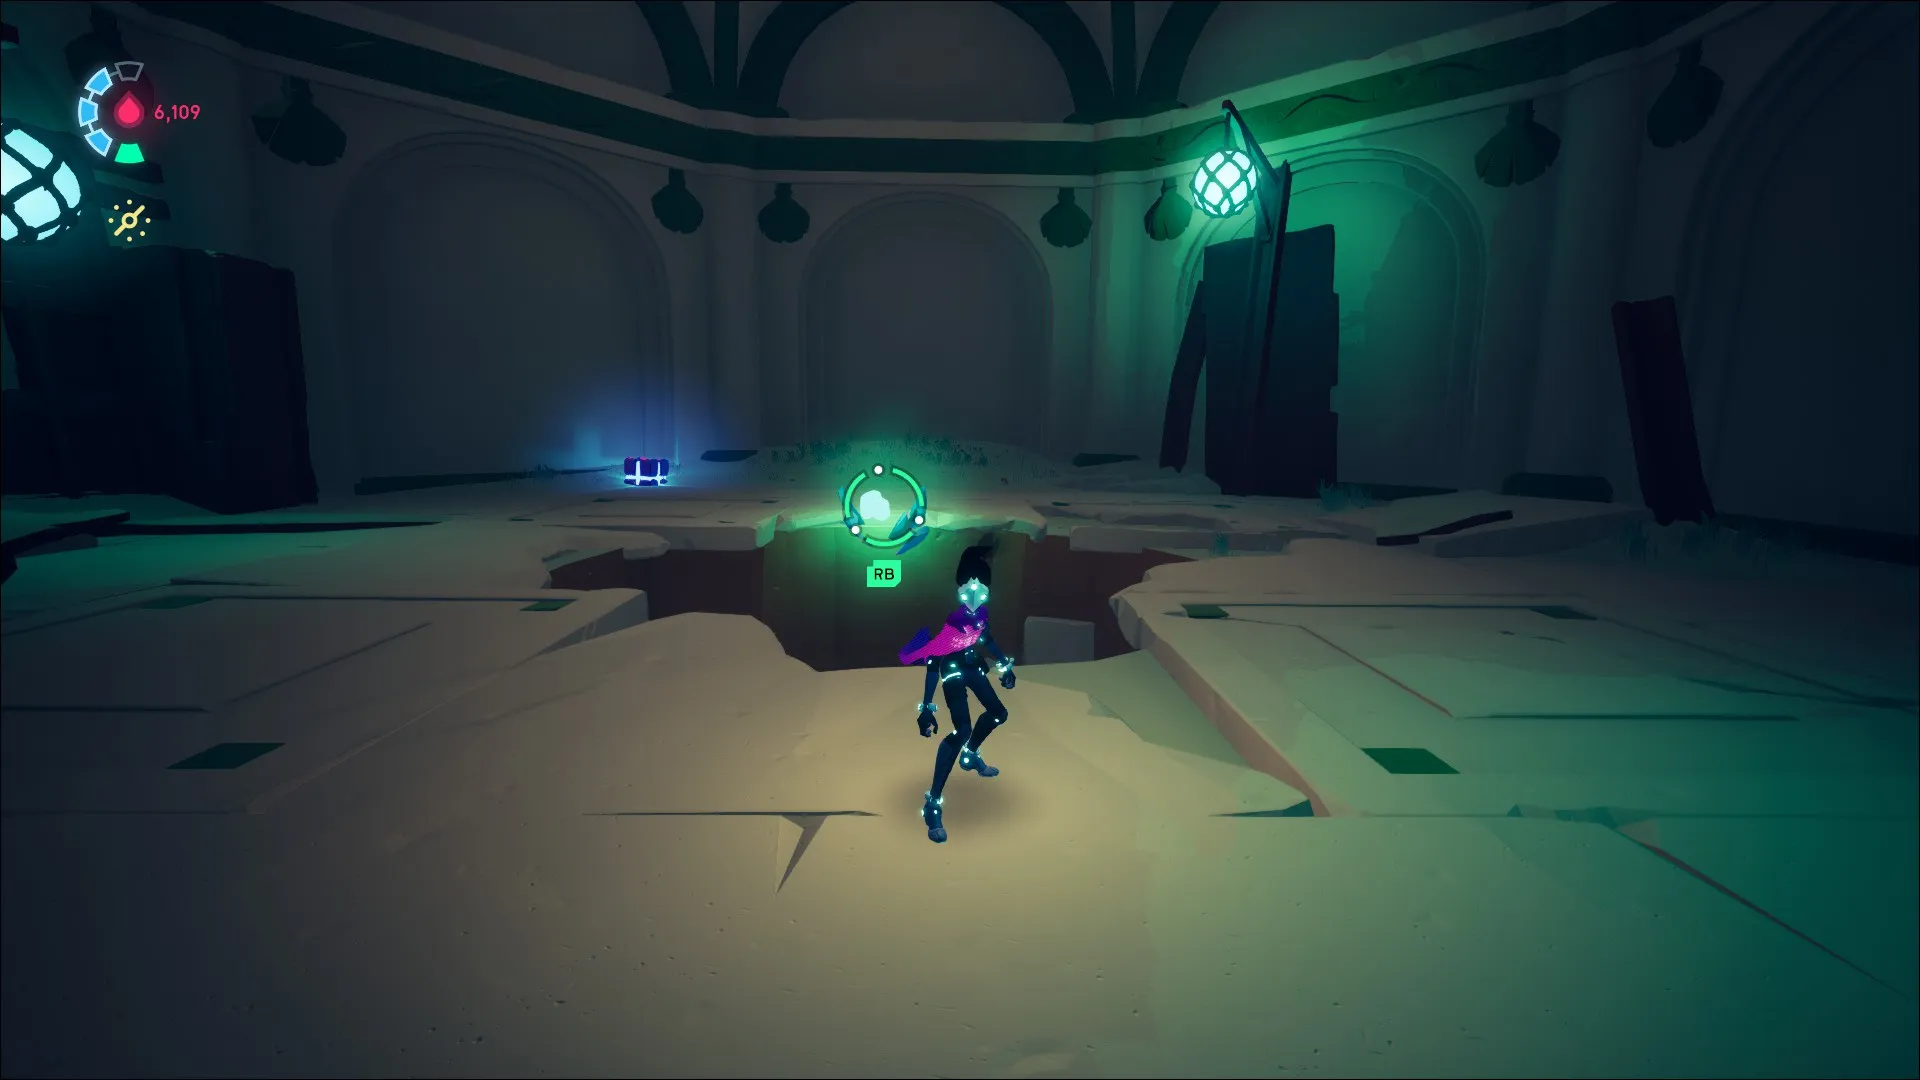
Ghozam’s Suit Stash 1
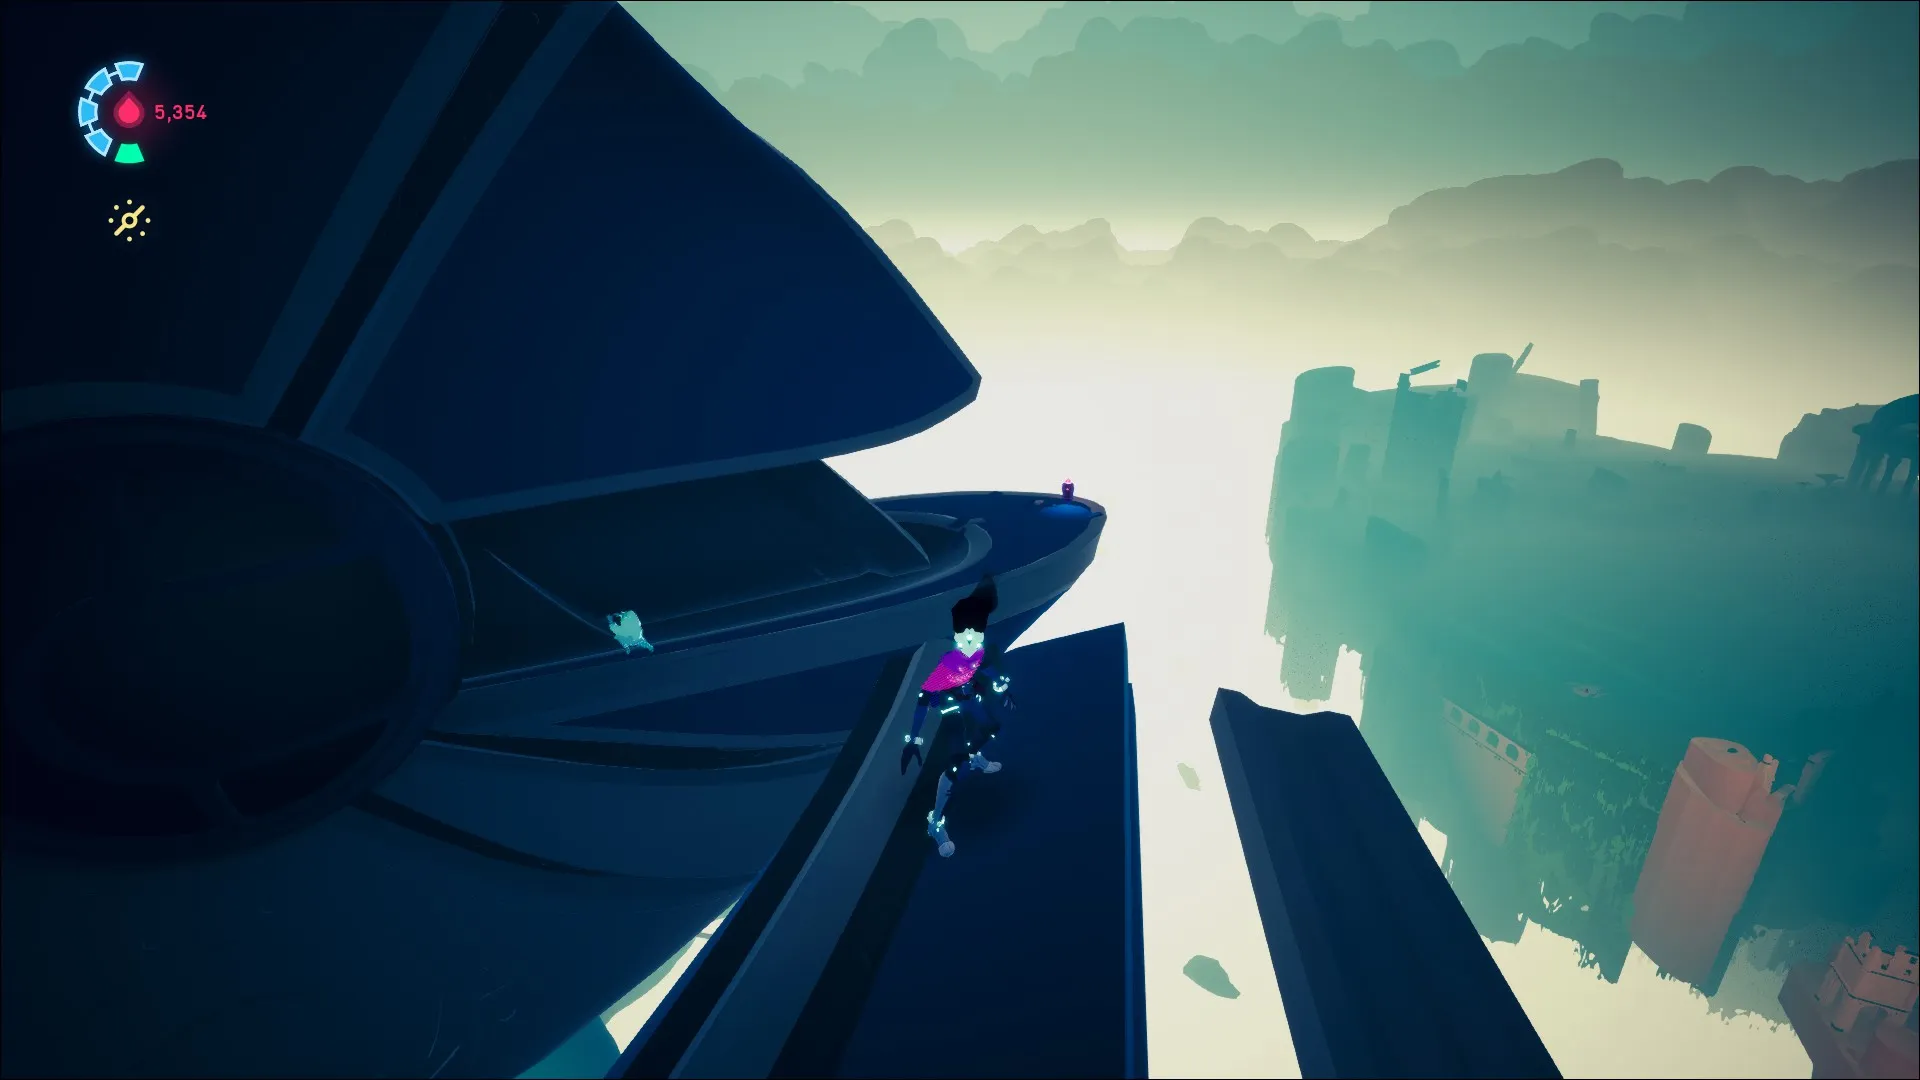
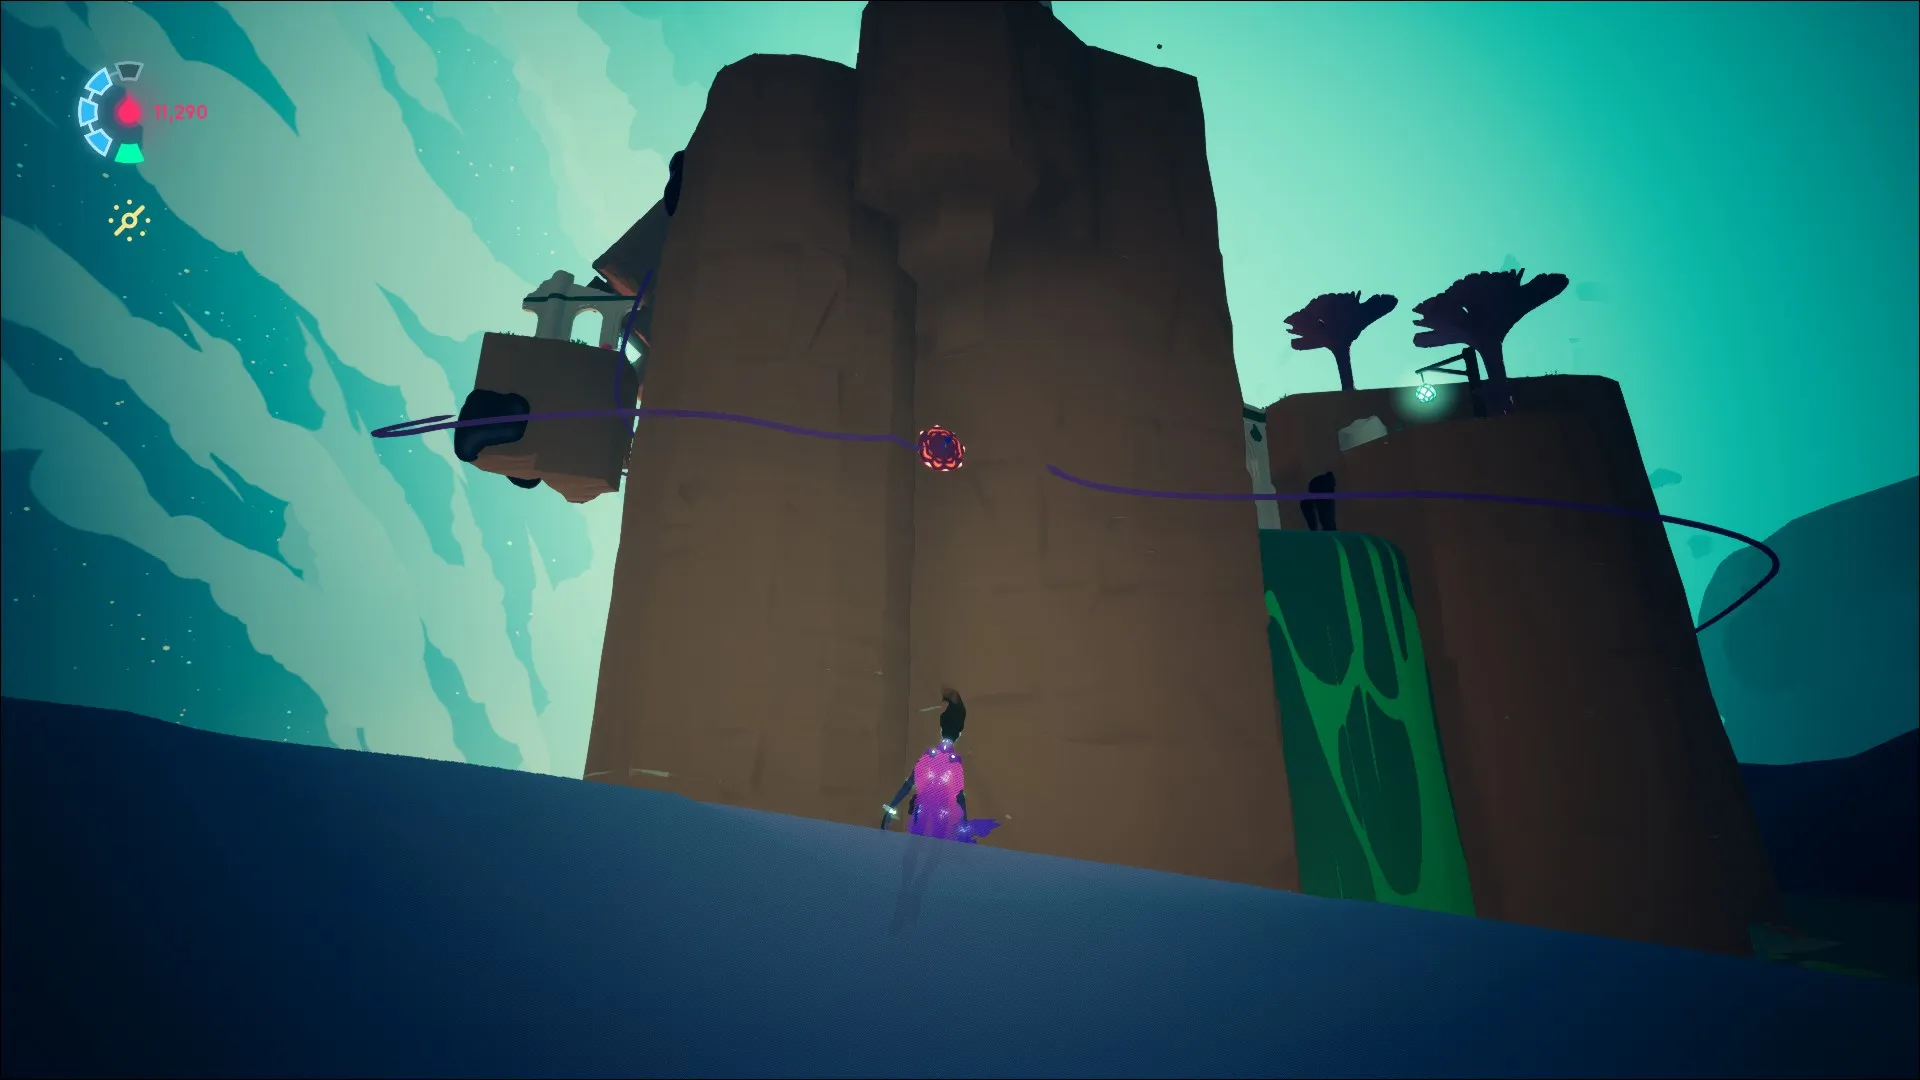
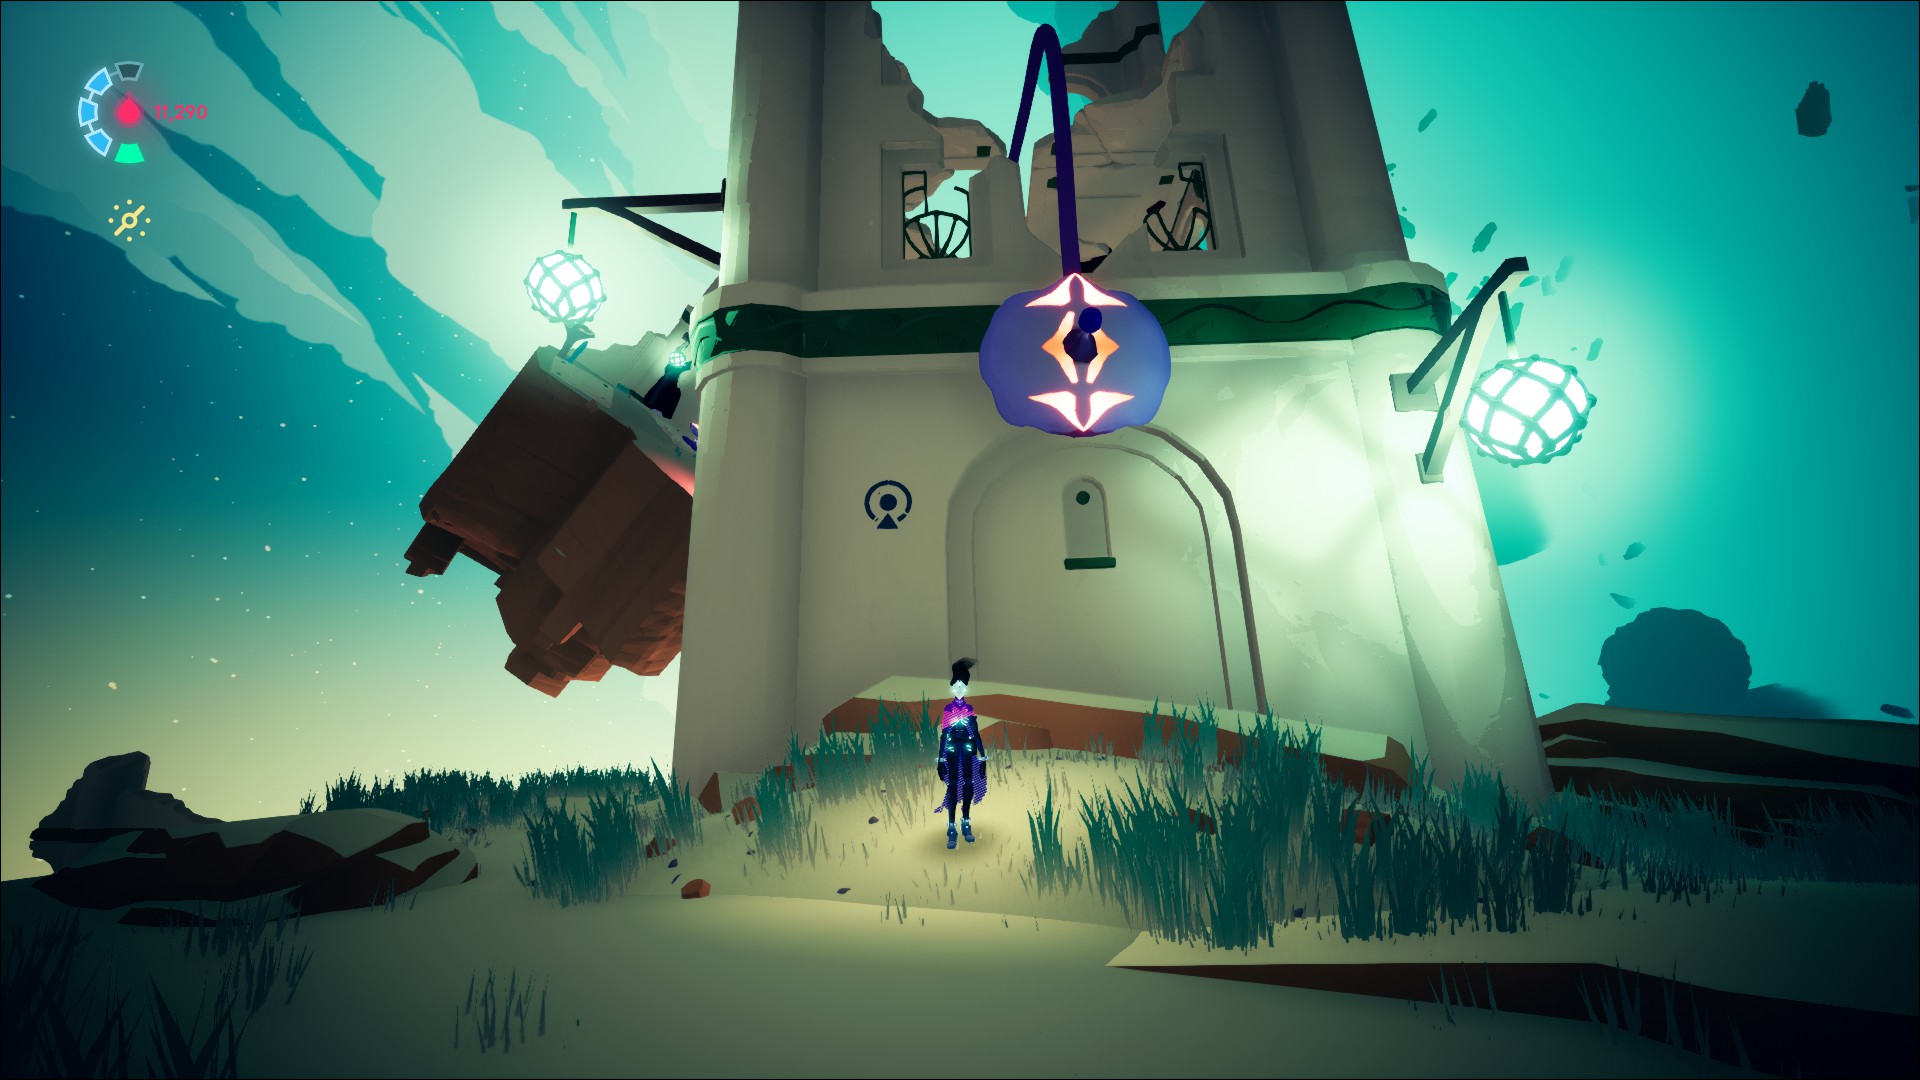
As you make your way up the floating shipwreck parts, you’ll eventually come to an intersection with a Voidrunner symbol on your left, indicating where to go for the stash.

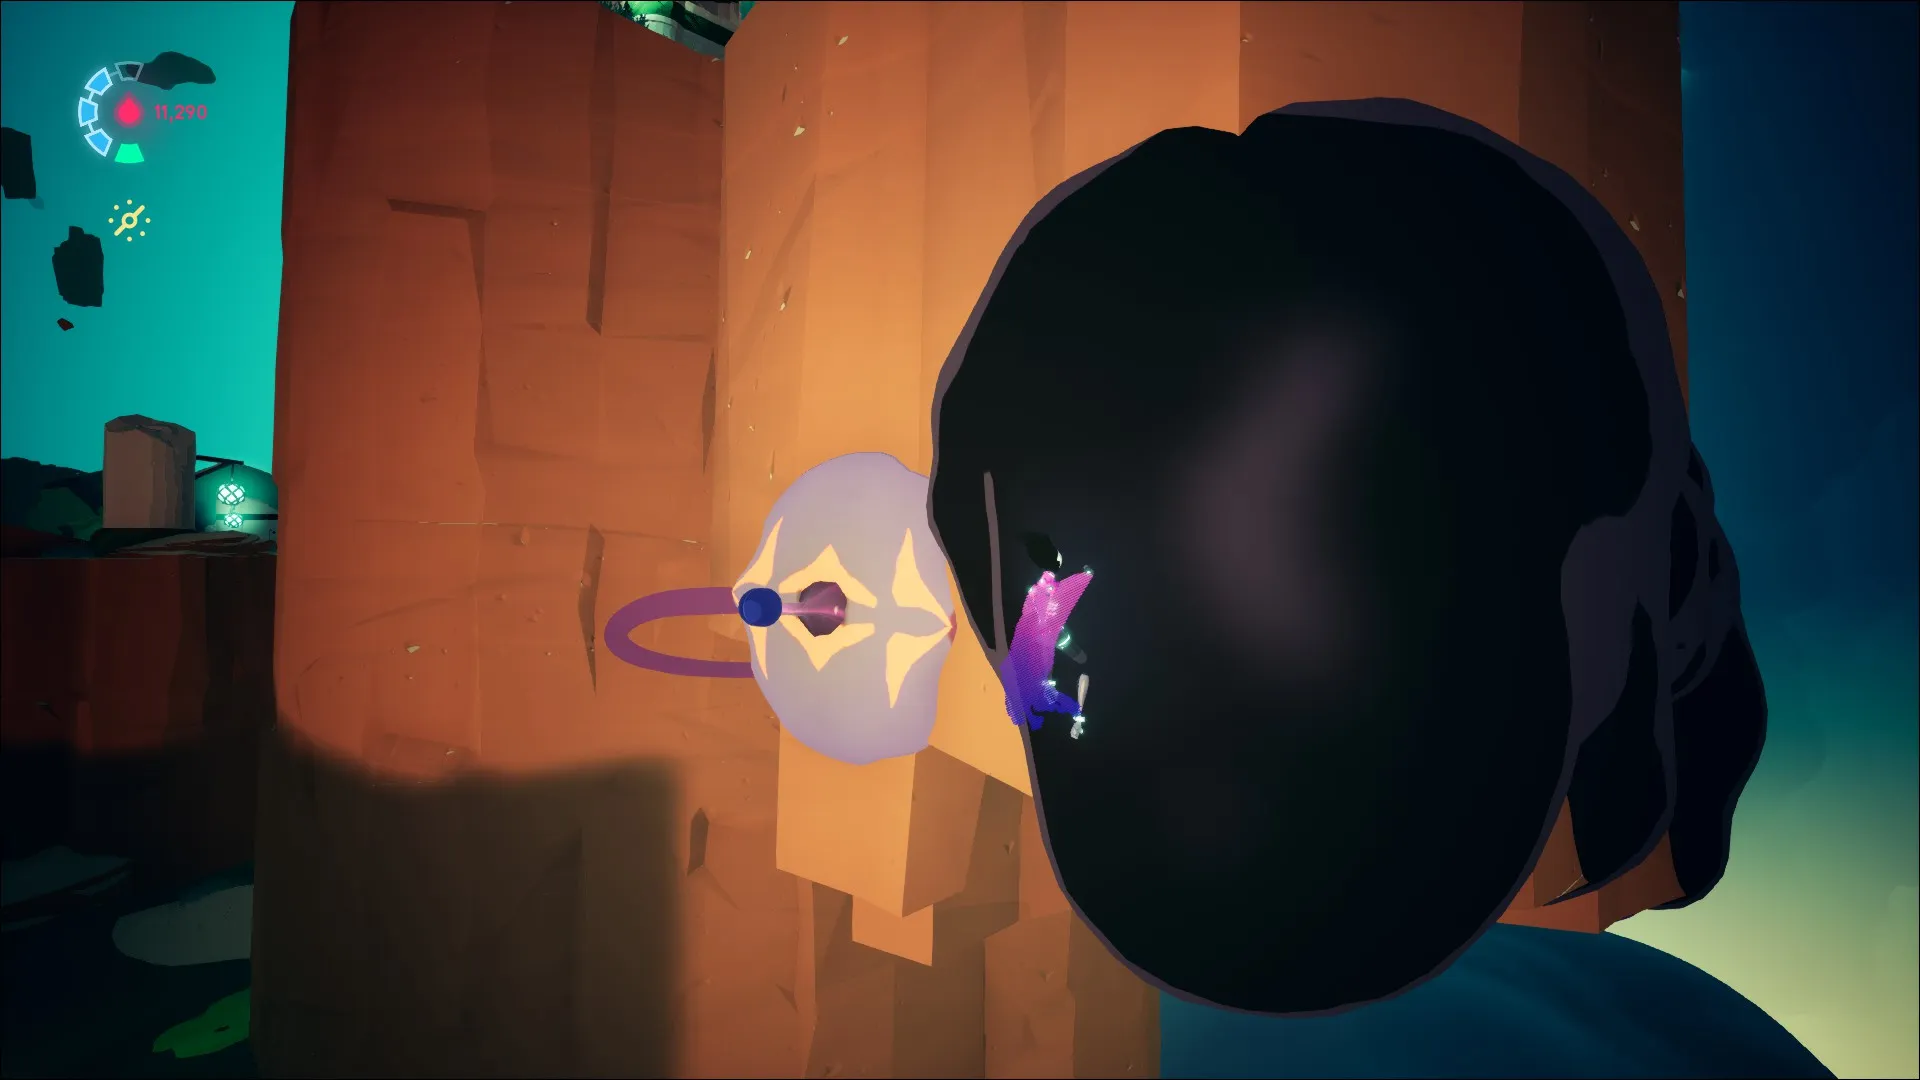
Follow the path, grinding along the rails while keeping right. You’ll see a set of grapple points within rings, but don’t take them. Instead, continue grinding on the rails to the right, then boost-jump off to the floating ship with the stash.
Ghozam’s Suit Stash 2
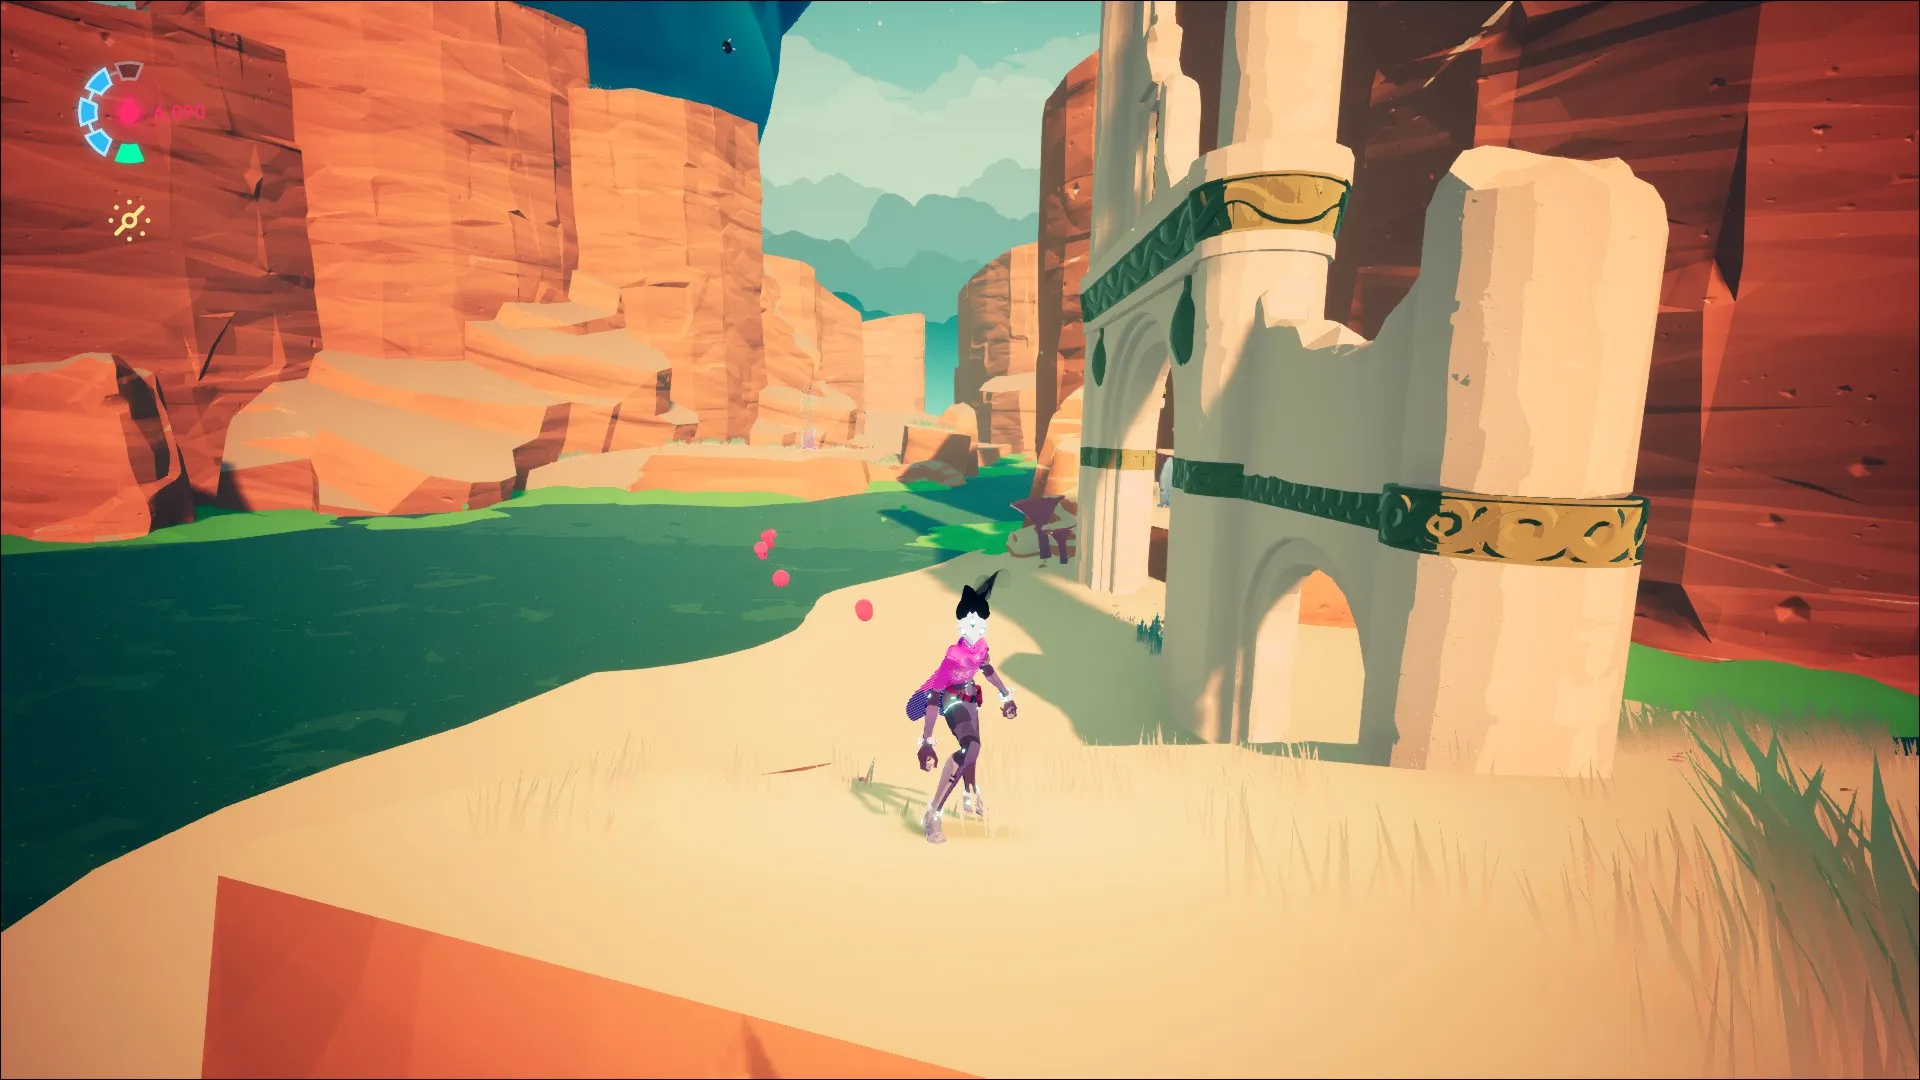
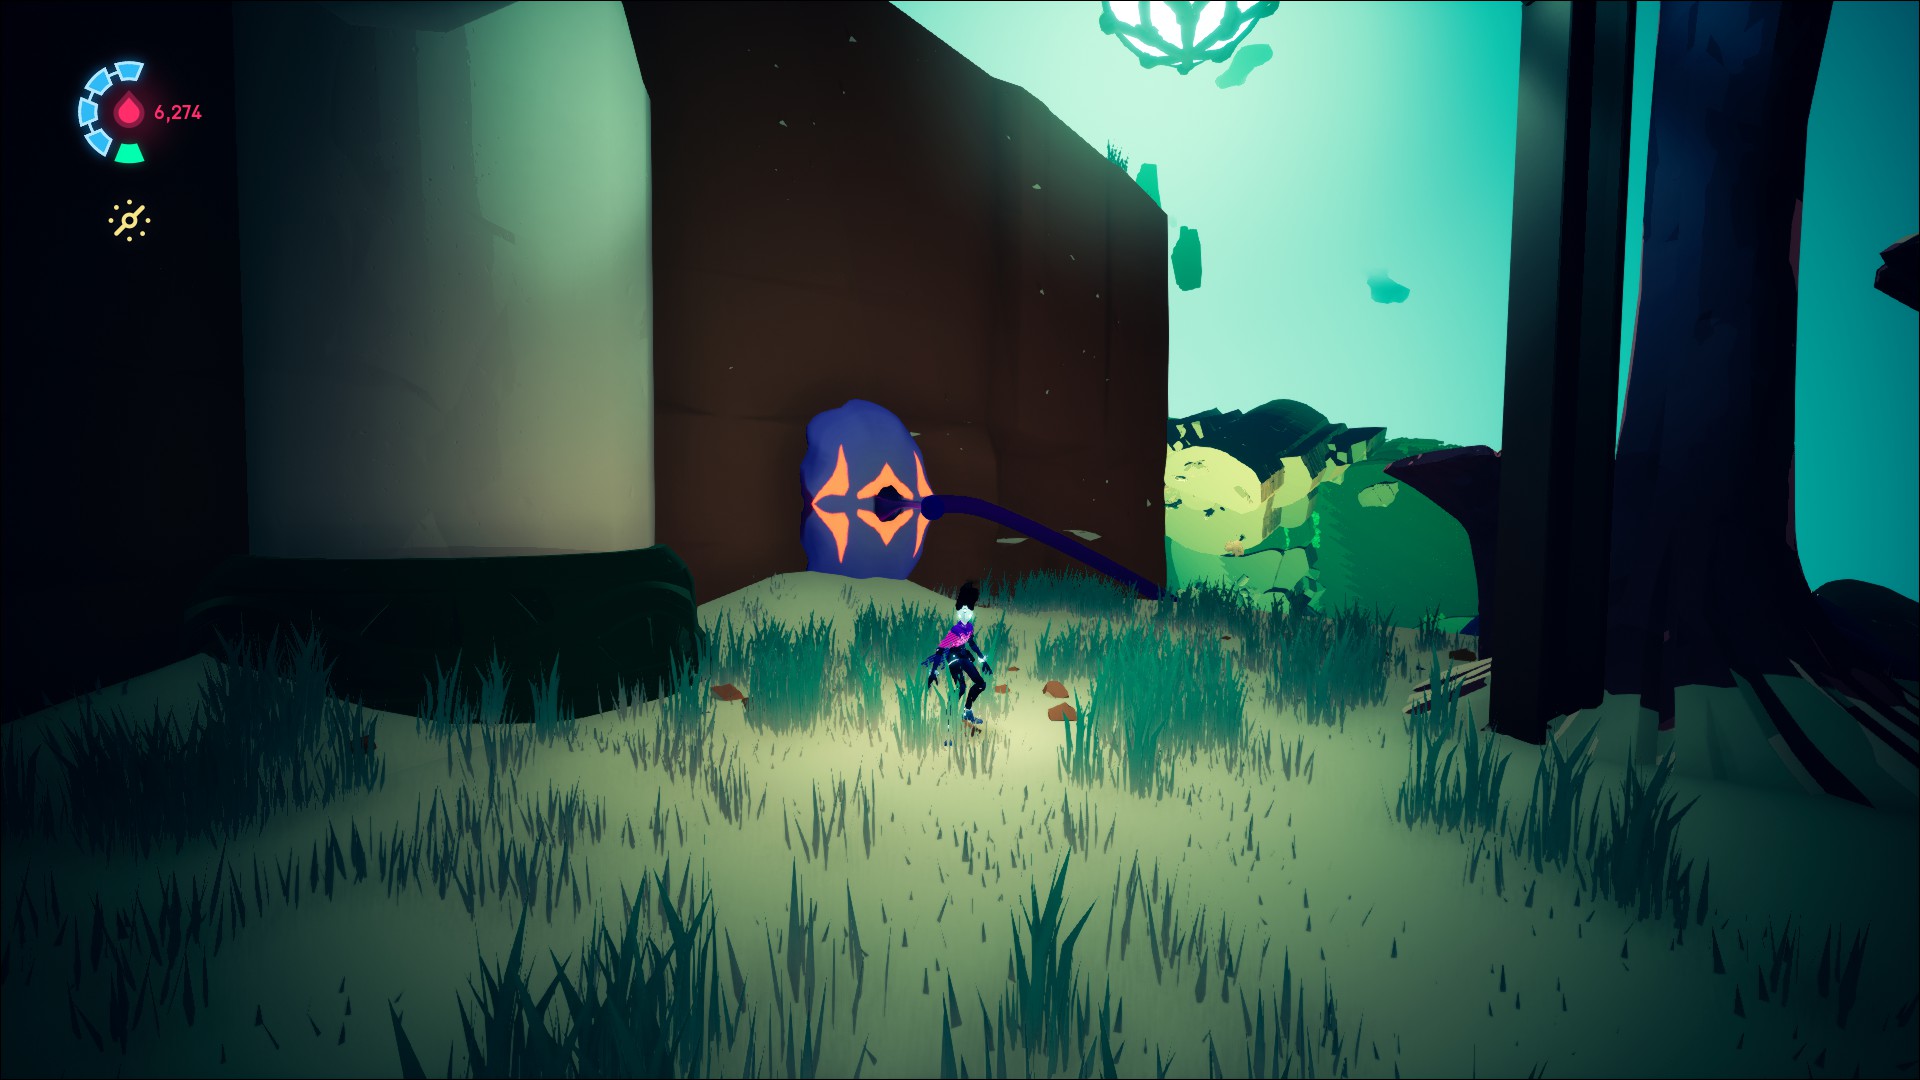
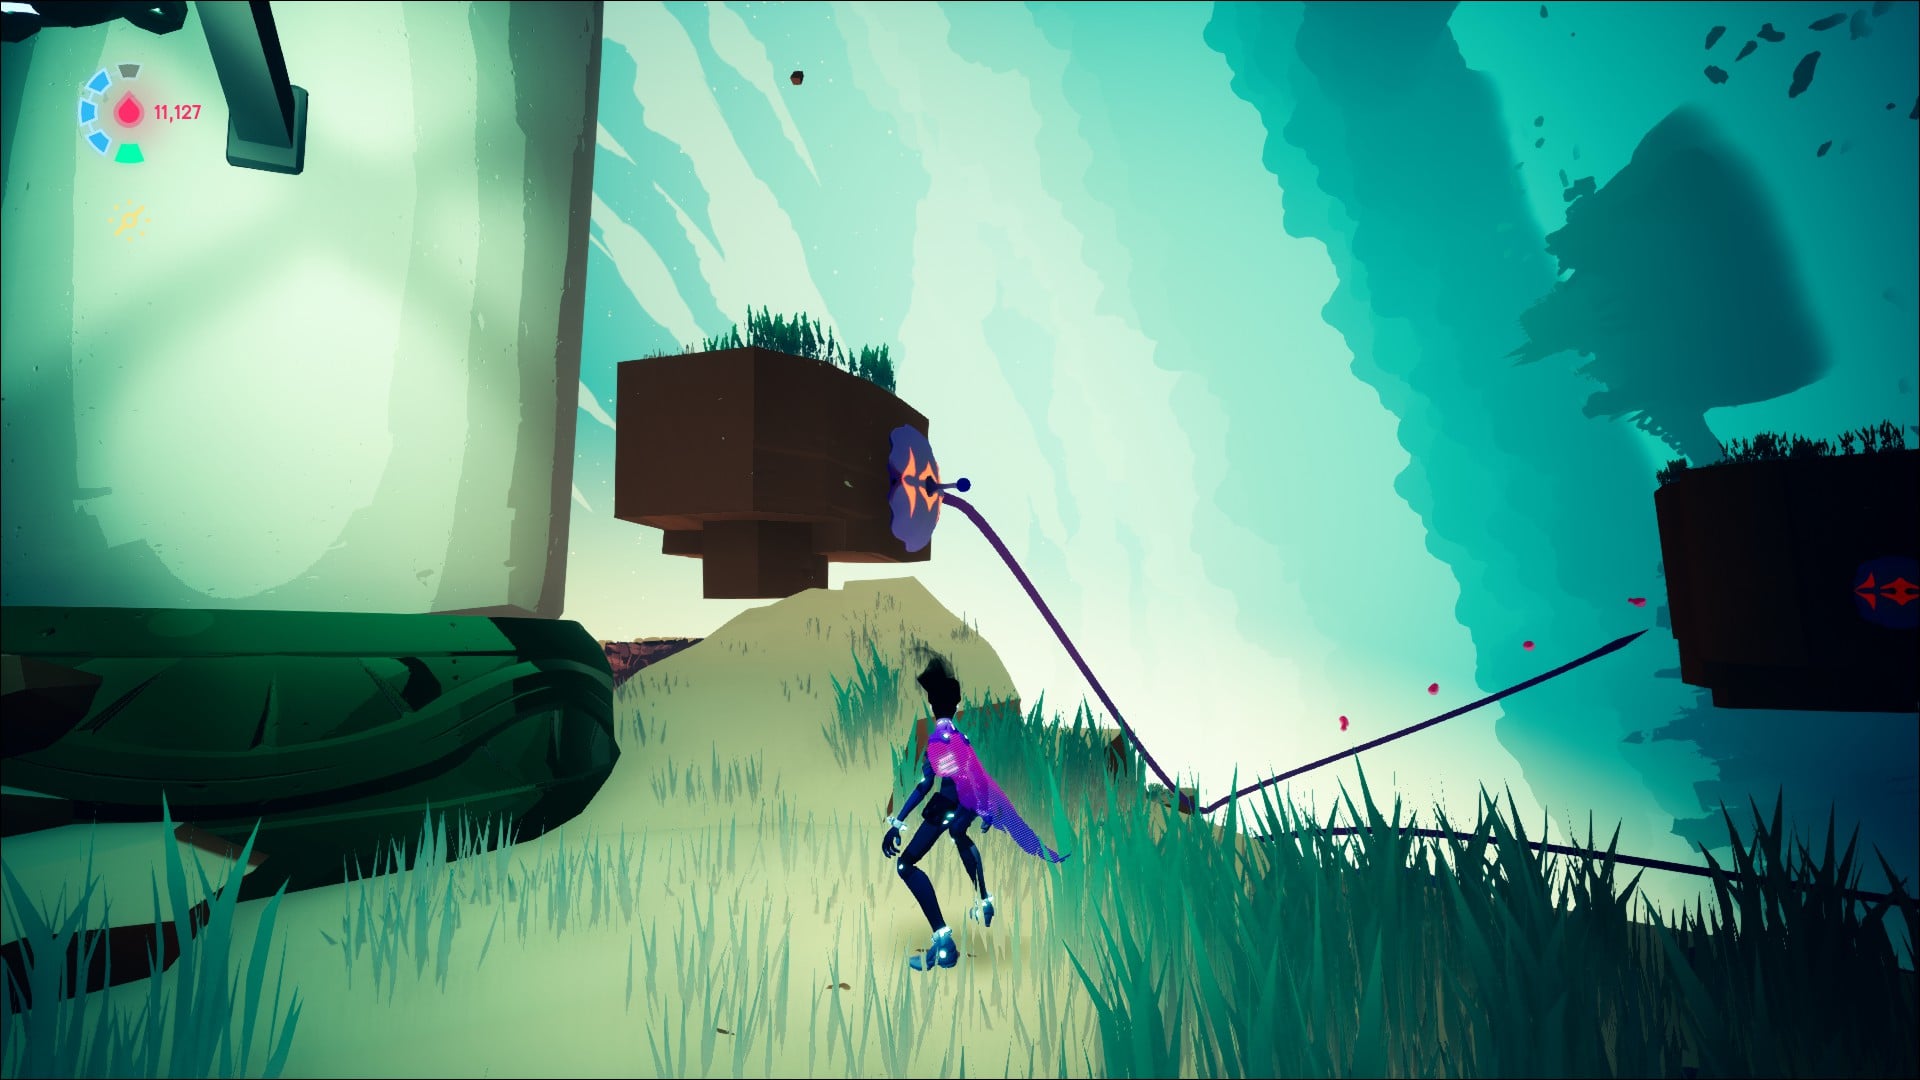
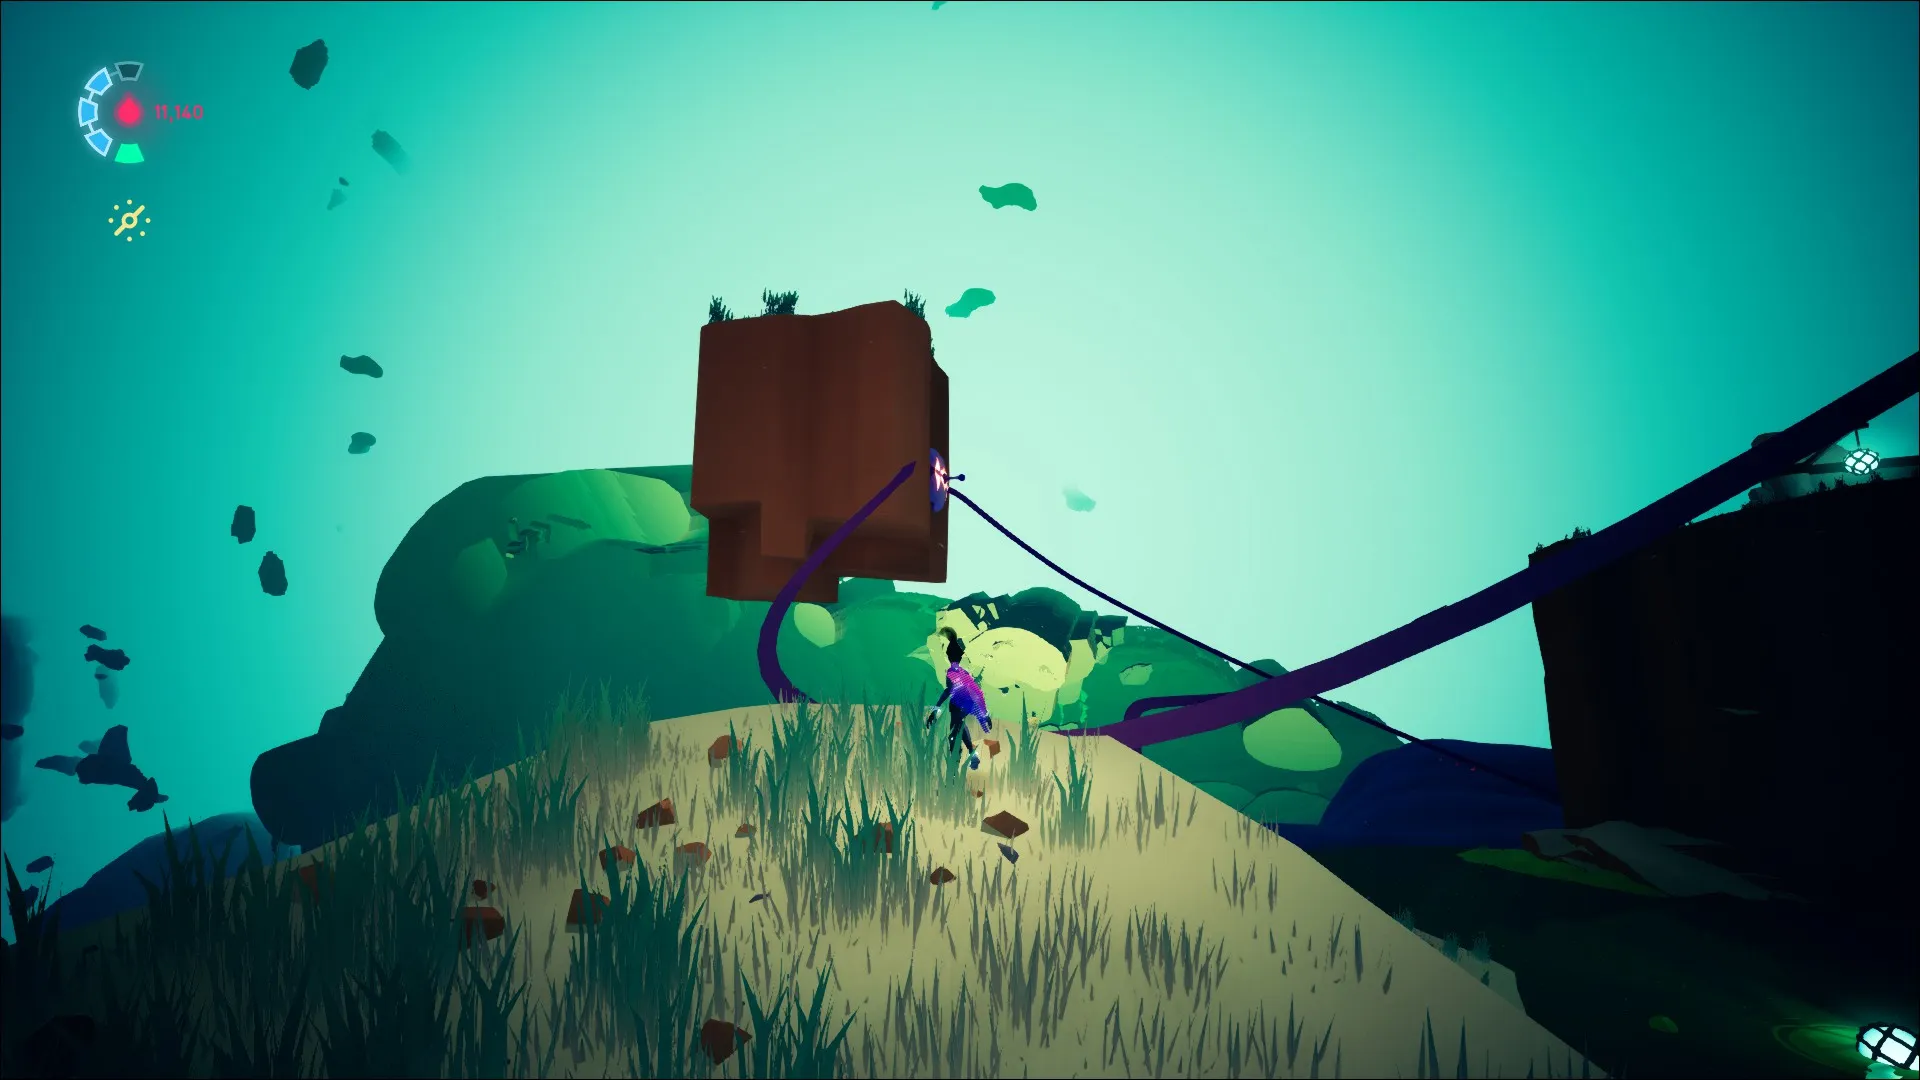
Progress until you reach the downed ship near a dock. The wreck is the first of four you’ll need to discover for Ames. Head to the end of the dock overlooking an island with white ruins on it and jump across.
There are three ramp mushrooms leading up to the stash. The ground level one will need to go up and to the right. The next one needs to go to the ruin across from the Voidrunner symbol structure.
The ruin mushroom should go directly toward the symbol. Grind across the tendril to unlock the stash.
Ghozam’s Suit Stash 3
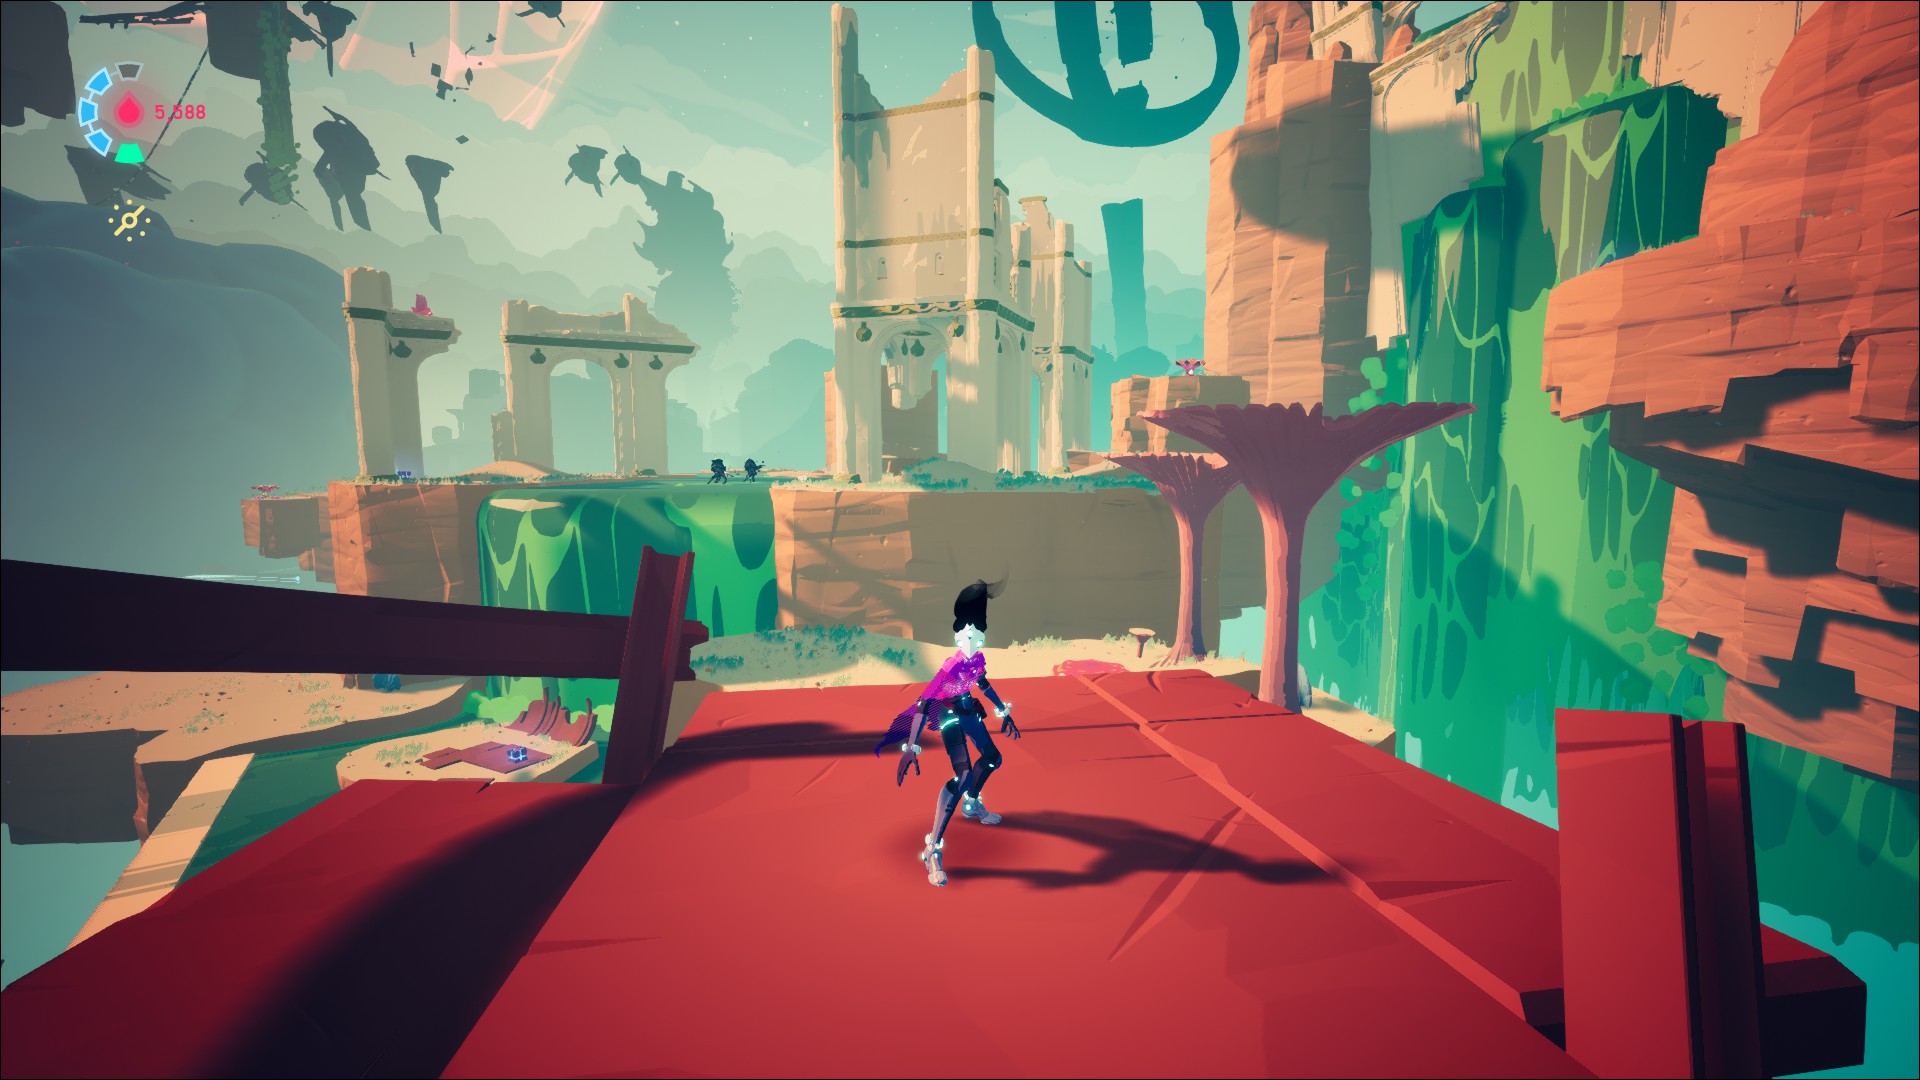
After the jump pad near the dock, you’ll enter a large open area with Cyd at the vertex of four paths.
Head to the right and travel until you see a set of ruins with three acid waterfalls. There is an anomaly challenge in the main area, but avoid the waterfall section to find the stash.
Instead, go toward an alcove between the waterfall and the cloud pillar. You’re on the right path if you pass a small pair of arches on your right.
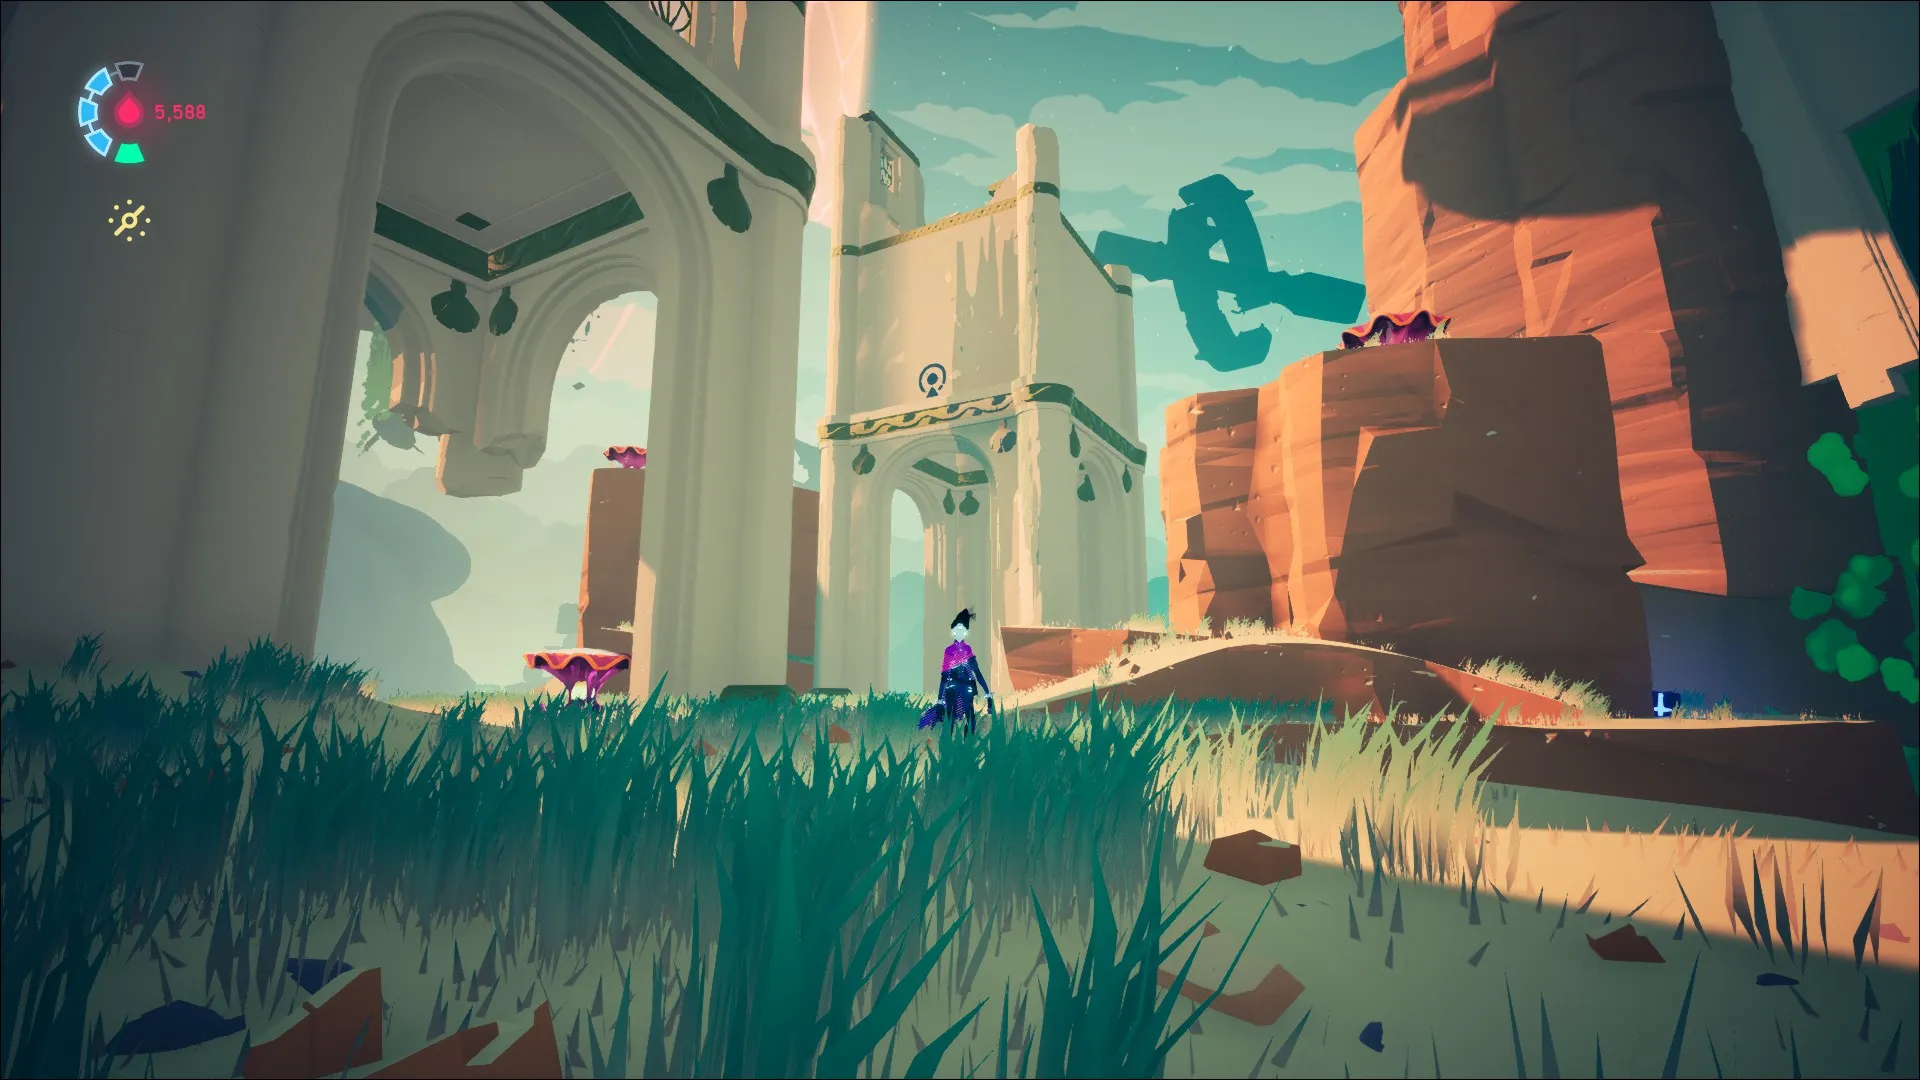
Travel past the checkpoint and keep right until you see the Voidrunner symbol. A dwelling just past it contains the stash at its end.

Ghozam’s Suit Stash 4
Head up the cloud pillar, and you’ll see two islands.
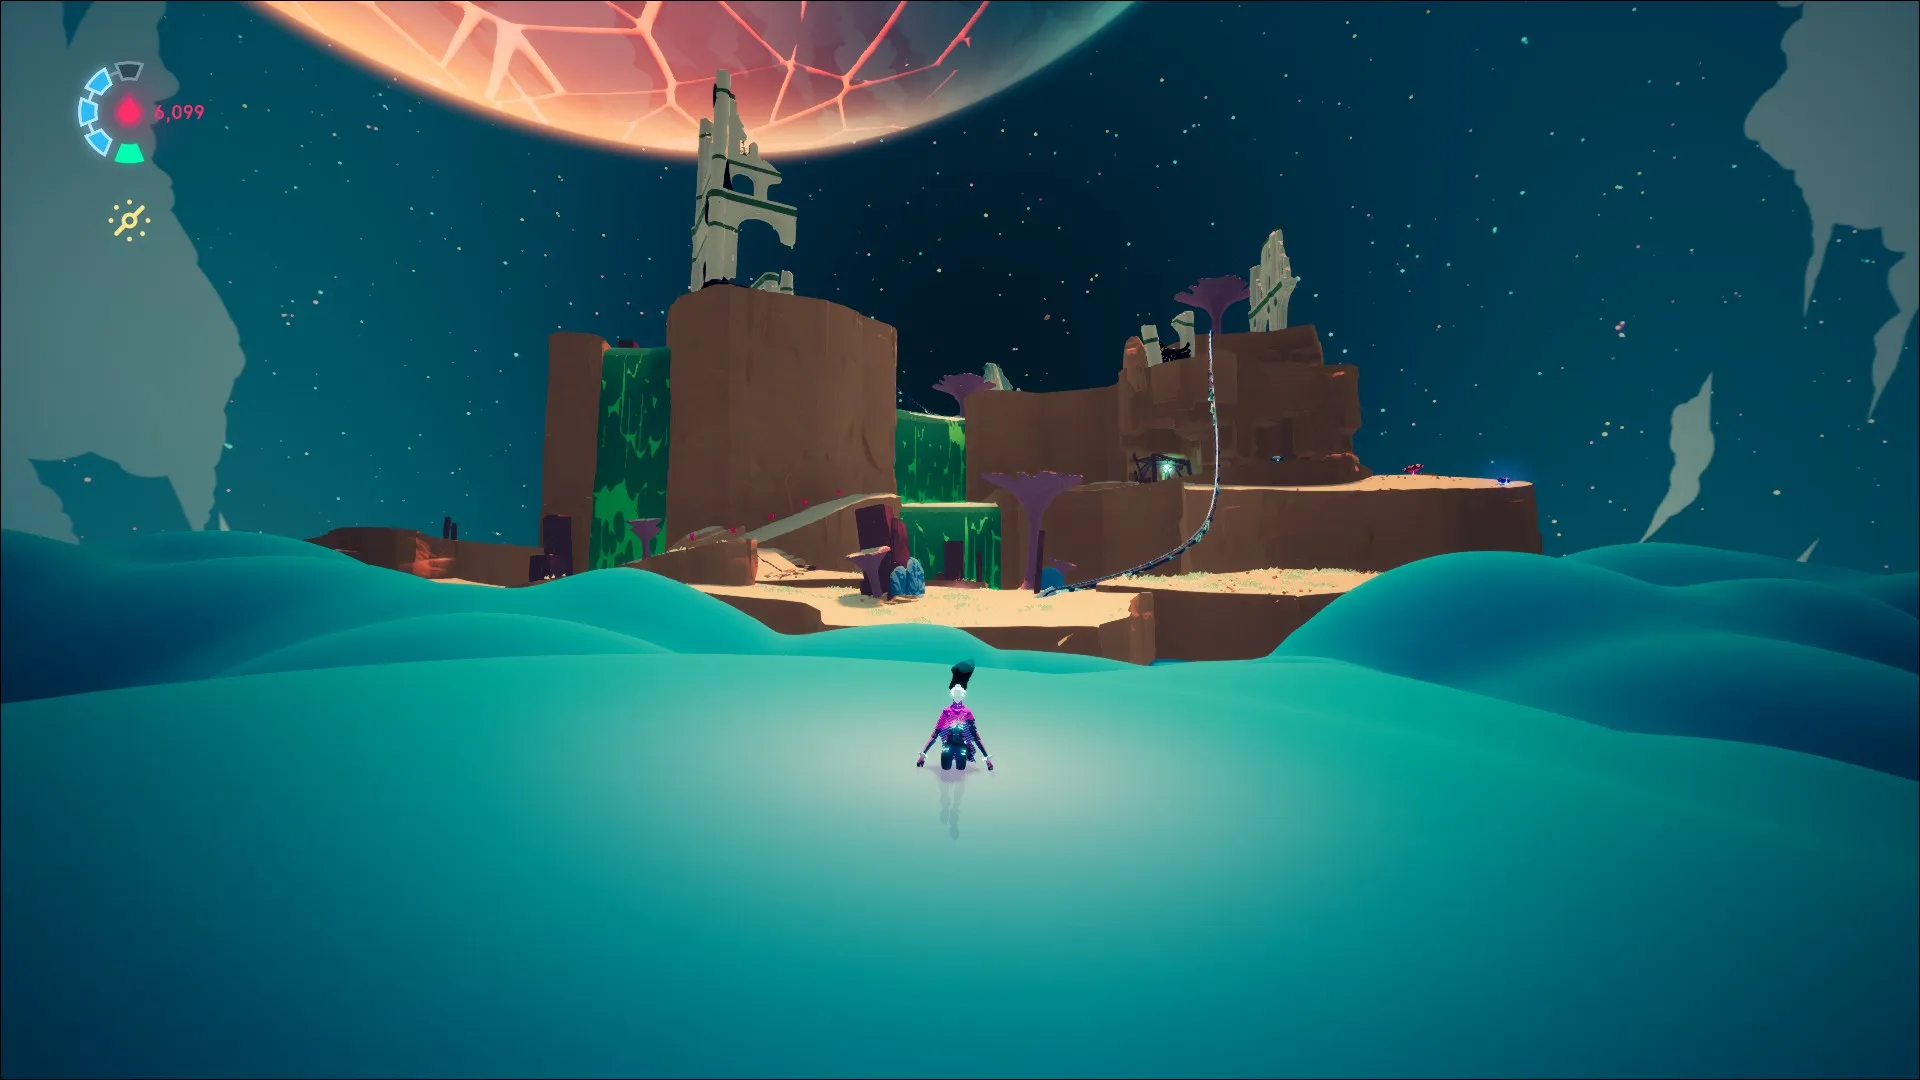
One of them is surrounded by an acid moat and has a hole in the wall that looks reachable by boost jump. It is not. To reach it, turn around and head to the other island on the other side of the pillar.
With the body of the pillar as your background, when you can see the dome on your right, follow the island cliff face to your left. Boost jump to the platform with two stakes protruding from it, then move down toward the checkpoint.
Activate the mushroom in the acid pool on your right.
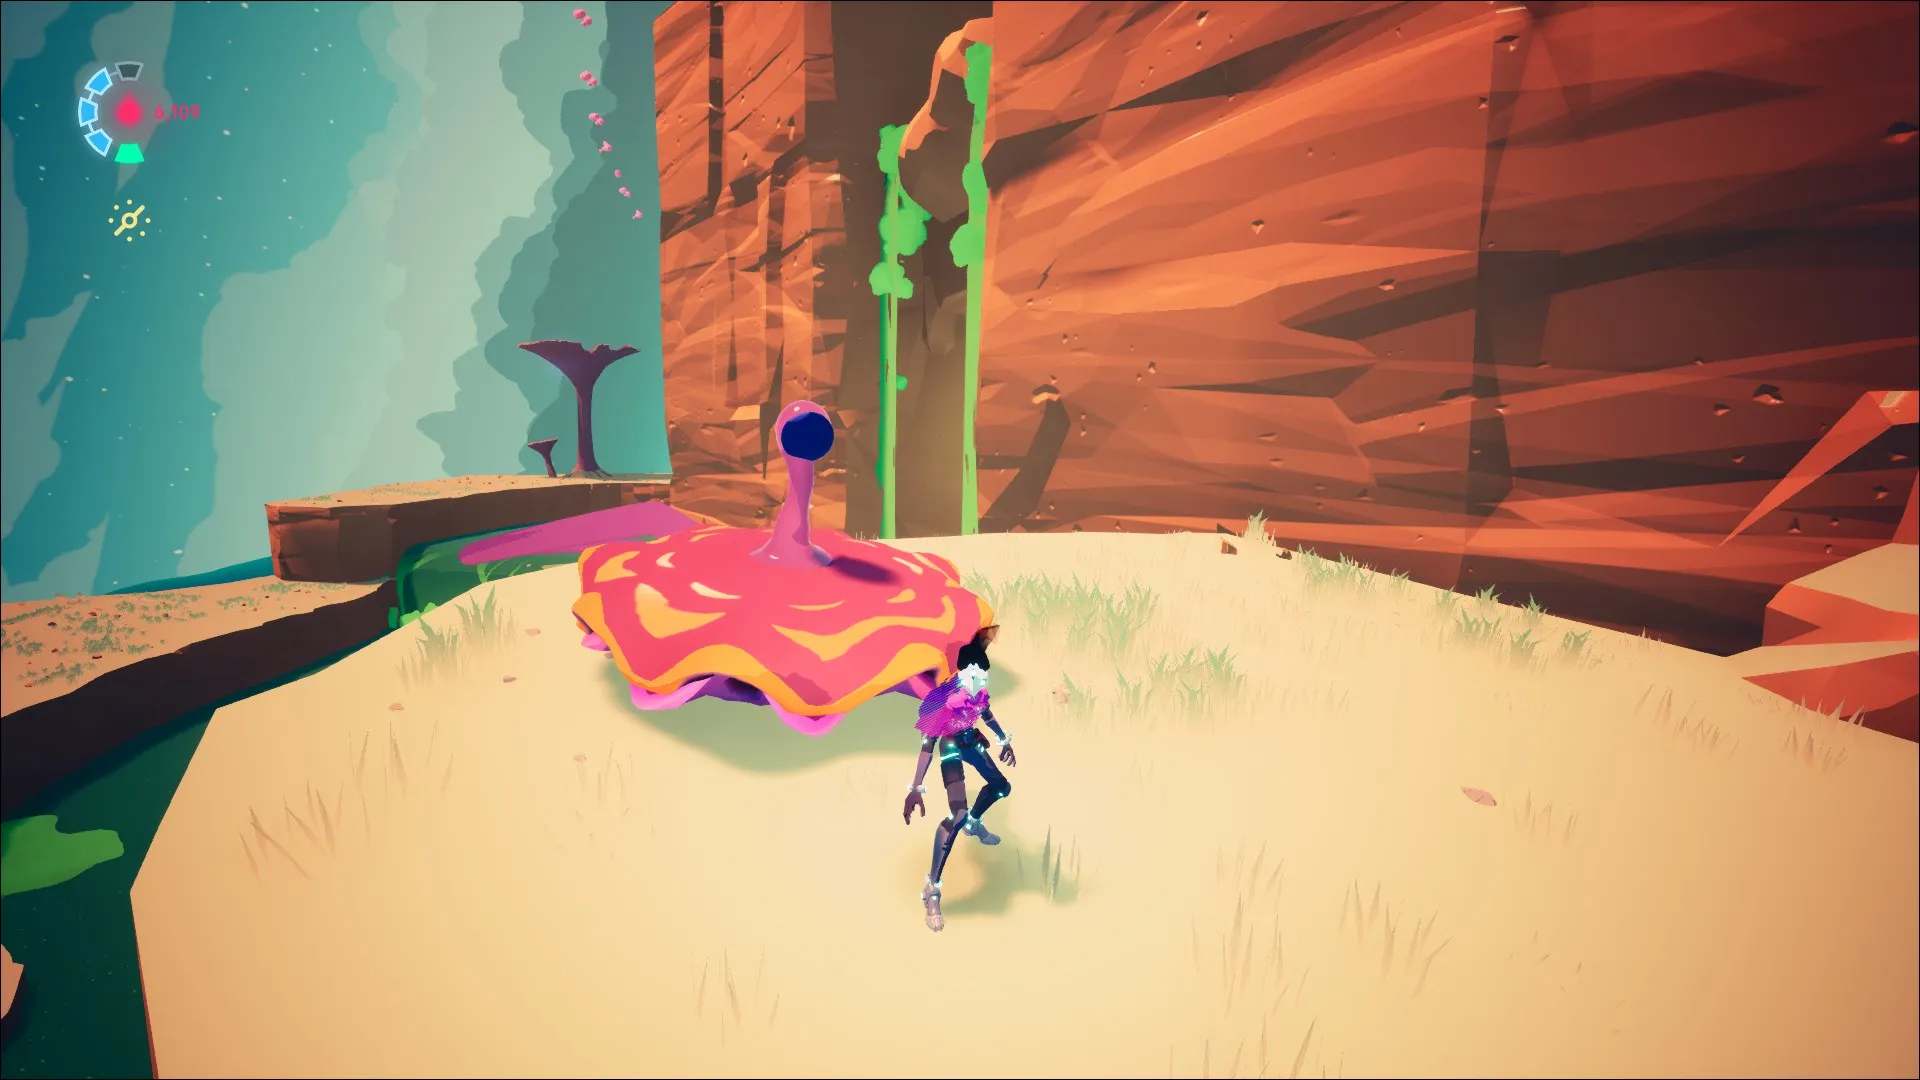
There’s another one to activate on the platform you reach. Grind on the tendril till your each the hole in the floor, and jump down.
Take the grapple point at the “bottom” of the shaft, and grab the checkpoint. You’ll need to navigate through this area for an anomaly. Head directly across the acid pool toward the Voidrunner symbol for the stash. Climb up the sludge and activate the glowing mushroom on your left.
Grind the tendril down the lying hole in the wall to find the stash in the alcove.

Ghozam’s Suit Stash 5
There’s another Ghozam suit stash on the floating islands, so exit the cave with Voidrunner stash 4 and return to the nearby checkpoint. Hit the directional mushroom below the checkpoint to take you up to the middle platform.

From there, jump across to the directional mushroom attached to the floating rock to your left and activate it.
Ride the tentacle down to the mushroom above and to the left of the checkpoint.
Jump onto that tentacle and grind around the cliff face until you see yet another mushroom.
Activate it and ride to the third floating rock with the climbable sludge.
You’ll need to activate a fourth mushroom to ride to the uppermost platform with a ruined building on it, getting closer to the Voidrunner collectible.
Activate the mushroom next to the Voidrunner symbol, ride it across to the anomaly, clear that, then ride back over to find the Ghozam suit stash on your left.

Ghozam’s Suit Stash 6
Make your way to the large domed structure. There’s an anomaly here, and once cleared, you can access the stash.
Go to the front of the building facing the large acid lake. Activate the mushroom just to the right of the raised section and jump to the climbable hanging sludge. Travel to the back of the room, then climb the second piece of hanging sludge to the roof. The stash awaits just above.
Related guides:
- All Solar Ash Crater & Broken Capital Stashes
- All Solar Ash Ironwood Basin Voidrunner Stashes
- All Solar Ash Luminous Peak Voidrunner Stashes
- The Best Ways to Farm Plasma in Solar Ash
And those are all of the Voidrunner stashes in Mirrorsea. Your reward is Ghozam’s suit, one of the better ones in the game if you’re looking for raw damage output. For more, check out our other Solar Ash guides here!


Published: Dec 2, 2021 02:56 pm