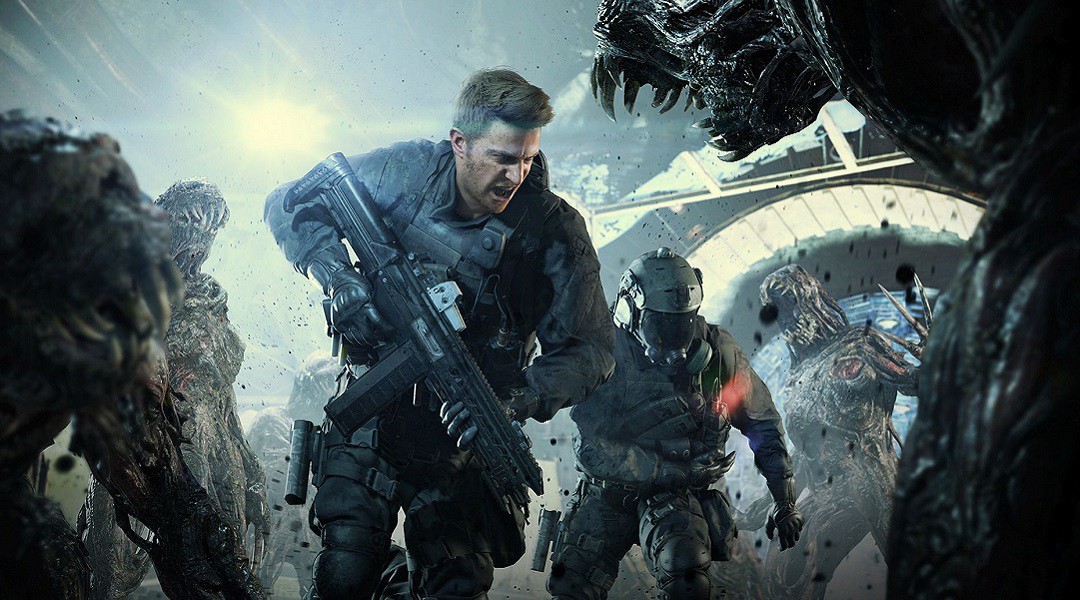
Resident Evil 7‘s latest DLC, Not A Hero, takes the survival horror of the original RE7 and adds in the action-packed feeling that more recent Resident Evil games were popular for. However, that doesn’t mean they’ve thrown out the puzzles entirely! Here are the solutions to Not A Hero‘s biggest headscratchers.
The Pulley System
The first puzzle you run into comes past the red shutter door in the central room. You need a key to save one of your comrades, and you’ll find it hooked to a crate full of mannequins (gotta love Lucas and his sense of ambiance). He’s even added a handy label for your benefit!
But of course, nothing’s that easy. The moment you attempt to take the key, it’s pulled upward by a pulley system. Follow the cord holding it up, and you’ll find a deconstructed crank.

To find the pieces you need to put everything back together again, start by heading to the far back-right end of the room. You’ll find a giant pile of rubble and a necessary gear. Pick that bad boy up.
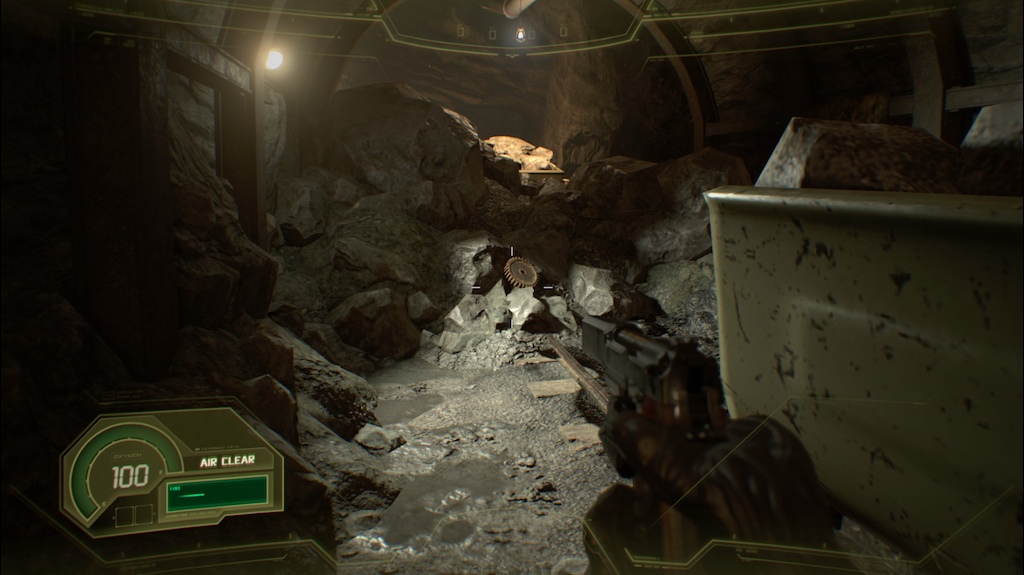
From there, turn around and head toward that big green trailer in front and to the left of you. Next to that is a big cable spool, and the crank you need.

After that, it’s just a matter of putting everything together on the pulley system itself and giving it a turn. Grab the key fast, though, because you’re about to have one great big pile of ugly breathing down your throat!
We Three Power Switches
Once you’ve passed the Alpha Molded and several racks of dead bodies past the green shutter, you’ll find yourself in a dark, dank hallway with three power switches that need to be turned on in the right order to progress.
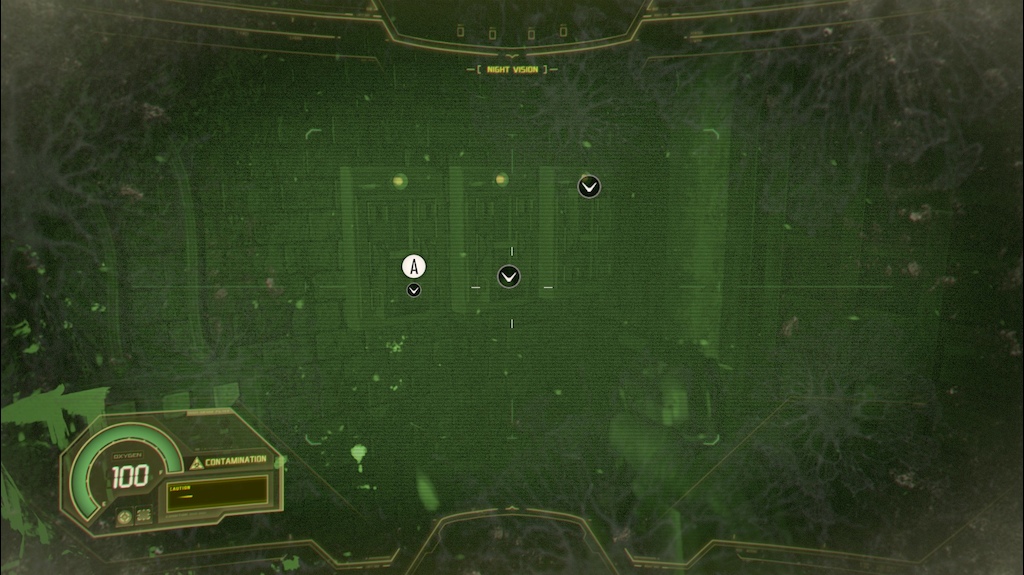
You can fiddle with them and experiment if you want, but the truth is that the answer is just up the hallway. Take a left at the end of the hall and you’ll see some arrows written on the wall (I don’t know what they’re painted in, and I’m not sure I want to know).
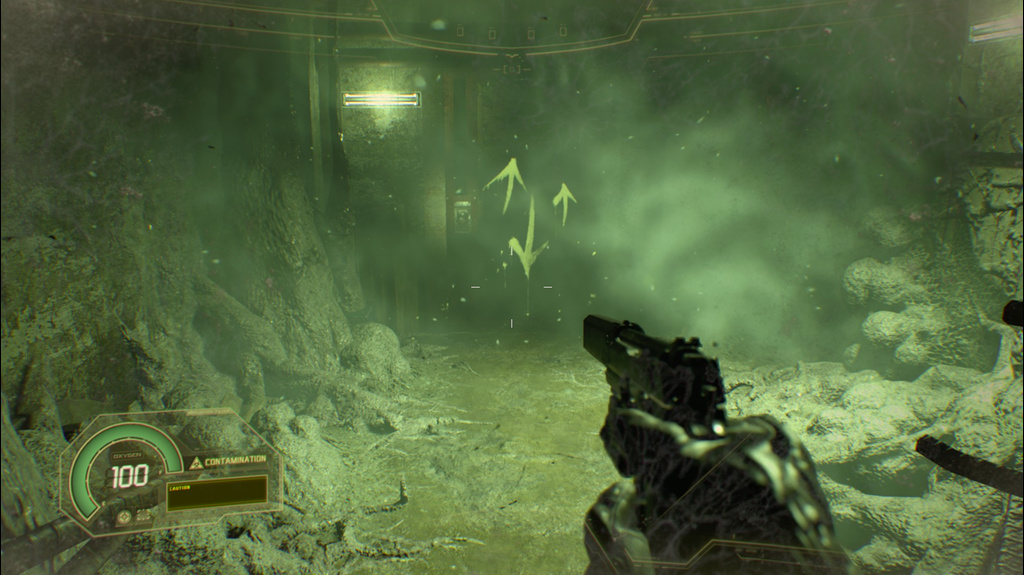
Those of you who have played any game before can take a wild guess as to what these arrows are meant to correspond to. Head back to the switches, and turn them in this order: Up, Down, Up.
The Rail Car Puzzle
Eventually, you’ll find yourself in a room filled snugly with four rail cars. In order to progress, you’re going to want to push them in this order:
1. Start with the rail cart covered in yellow tape. You’ll push it through a rickety log wall. Make sure to go ahead and fill the bloater back there full of holes before you move on, though.
2. Head toward the second cart that’s covered in blue tape: the one facing a wall that appears to be made of iron. Push it against that wall.
3. Now you’re heading toward the first cart covered in blue tape. You’ll push that one into the hallway that you entered the room for (not a move for the claustrophobic, but just trust me on this one).
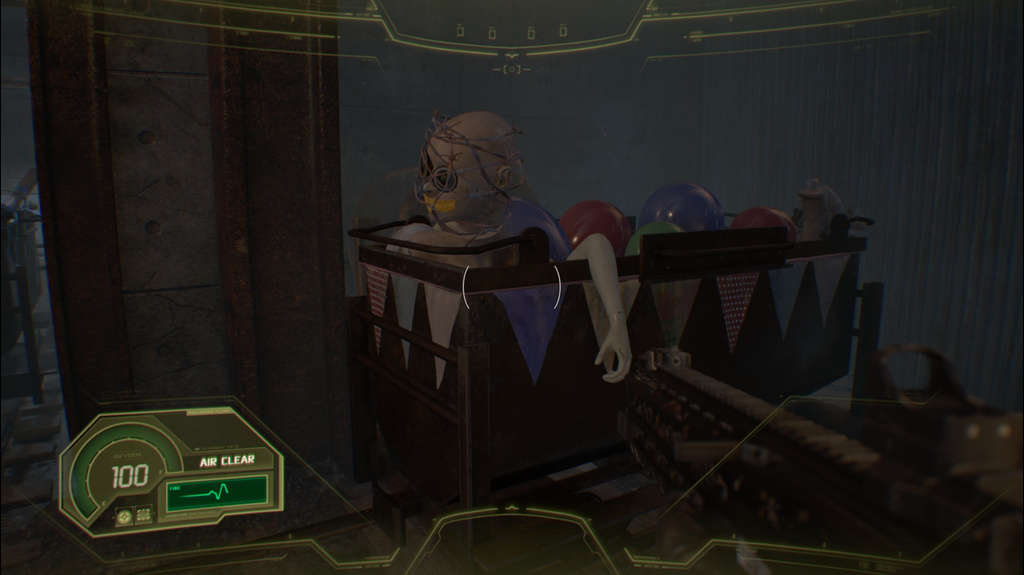
4. Finally, find that charming rail cart full of balloons and a handsome yet terrifying mannequin head. Push that through the log wall that’s protecting even more balloons. Now head through there and claim your Clown Key.
The Room Of Laser-Explosive Wonder
You’re going to be about 3/4 of the way through the DLC when you come upon the only living member of the original three soldiers that Umbrella Corps sent in before you. He’s lying on the floor in a room filled with lasers coming from every direction.
If you’ve played the original Resident Evil 7, you know the rules:
First, don’t walk through those lasers, or you’ll see why I called it The Room Of Laser-Explosive Wonder and not The Room Of Laser-Cake and Pie Wonder.
Second, don’t shoot at the damn things, or you’ll find out why I called it … well, you get the idea.
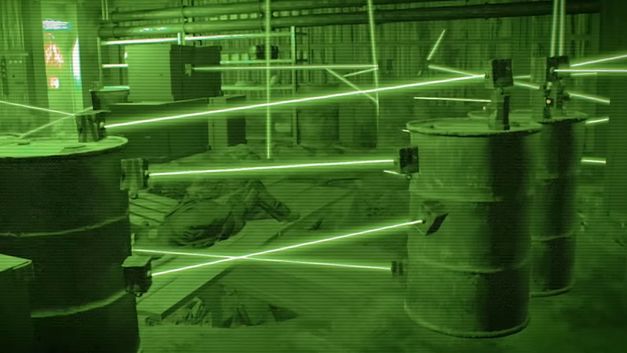
The key is to stay low and wind your way around the room by sticking to the walls as close as you can.
When you get to the soldier, the temptation will be to go immediately to him, splash some water on his face, and recruit him in your mission to turn Lucas Baker into a body full of holes. Resist this urge, and continue past him to the wall right next to the door you entered from.
Behind a pile of crates, you’ll find the power switch that controls the lasers.
Turn this switch off, and you’ll avoid Lucas attempting to blow you sky high when you go to wake up the unconscious soldier.
—
And those are the main puzzles you’ll run into during Resident Evil 7‘s Not A Hero DLC.
Did we miss any? Were there any spots in particular that you needed help with that weren’t mentioned here? Let us know in the comments below!


Published: Dec 14, 2017 02:17 pm