With all of the exciting changes and updates coming to Splatoon 2 this spring and summer, it’s the perfect time to jump back into the game and hone your skills to a fine, razor-sharp point. With that in mind, we’re launching Squid Strategy, a series of competitive Splatoon 2 guides tailor-made to keep you looking super fresh.
We’re kicking off with that most frustrating, baffling, and unique class of weapons: the sloshers. In a hyper-futuristic and fashionable world full of ink shotguns, sniper rifles, and gatling guns, there are few feelings more satisfying than laying the splat on an entire team with nothing more than a cute lil’ bucket. We’ll begin our Splatoon 2 slosher guide with the vanilla slosher weapon and its deco-branded variant.
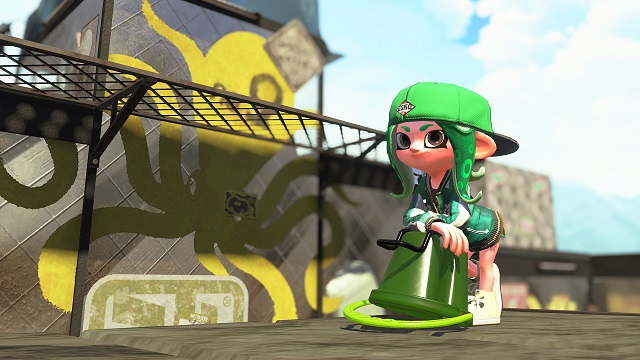
Slosher Guide
The slosher is an incredibly unique weapon in Splatoon 2, offering advantages and disadvantages that no other weapon has, so you’ll really need to change your playstyle heavily when you pick this weapon.
Having said that, the slosher itself is most effective when you remember the basics of good Splatoon 2 play: Work as a team, don’t get bunched up, and keep moving.
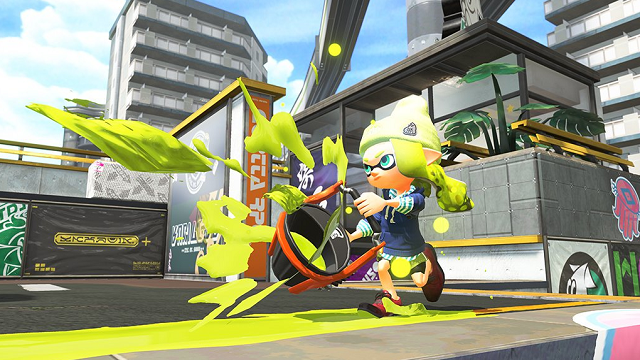
The best thing about the slosher in all of its iterations is that it deals the same amount of damage no matter how far away your opponent is from you. This makes it different from shooter weapons like the N-ZAP that decrease in damage the further the target is from you. And since the slosher is generally a pretty high-damage weapon, this means that as long as you’re within range and hitting your mark, you’ll be able to splat opponents in only two hits.
The downside of this is you are outranged by most other weapons in the game, save for rollers, brushes, and certain blasters and shooters made for short-range combat. This means that effective use of the slosher (no matter whether you’re using the slosher deco, the vanilla slosher, or the tri-slosher) hinges on your spacing with your opponent. Keep your distance against opponents using close-range weapons, and flank opponents using squelchers and chargers. If all else fails, throw out your secondary weapon and retreat. Both suction bombs and sprinklers are pretty great for a tactical retreat.
Your priority when using a slosher should be attacking enemies camping from high ground using the arc of the weapon, or in protecting high ground that you yourself have secured. In tight maps with a lot of verticality, like Arowana Mall and Moray Towers, this strategy is incredibly effective given all of the flanking routes you can take. It’s especially helpful to your team when your opponents have a charger-using inkling taking cover behind a wall. If you can close the distance safely and splash some ink over the wall, you’ll either splat your target or at the very least force them out of hiding and into the waiting maw of the rest of your team. Even on wider maps like the Kelp Dome and Sturgeon Shipyard, the slosher can be incredibly dangerous in picking unaware foes off through the grates, either from below or from above.
The slosher is a weapon that excels at pushing forward, but struggles in protecting objectives, simply because the splash doesn’t have a wide arc. Being effective with the slosher in close quarters requires fine-tuned aim.
In terms of specific battle types, the slosher is most effective in tower control mode, given how much it excels as a weapon when you know that an enemy will be attacking you from below. If you’re using the slosher, hop on the tower and trust your team to funnel enemies to you as you splat them one by one. And if somebody comes at you with tenta missiles or another attack that forces you to move, drop a sprinkler or a suction bomb to splat anybody unfortunate enough to think that you’d give up the objective that easily.
Though it’s most effective in tower control mode, the slosher is a formidable weapon in any situation just as long as you’re able to surprise opponents. Since it only takes two hits to finish an opposing inkling off, it’s really hard for your enemies to react fast enough to retaliate if you’re able to get the drop on ’em.
We recommend a build focusing on sub power-up abilities for the slosher so that you can compensate for a relative lack of range with the ability to hurl your sub weapons farther.
In terms of specific weapon counters, the slosher is most effective against rollers, brellas, inkbrushes, chargers, and short-range shooters and blasters like the Luna Blaster and Sploosh-o-matic.
Avoid direct contact with longer-range blasters, squelchers, and inklings wielding the Splattershot Pro, as their power over distance limits your options pretty severely.
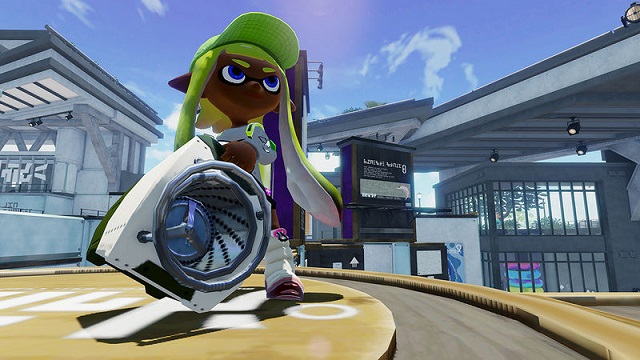
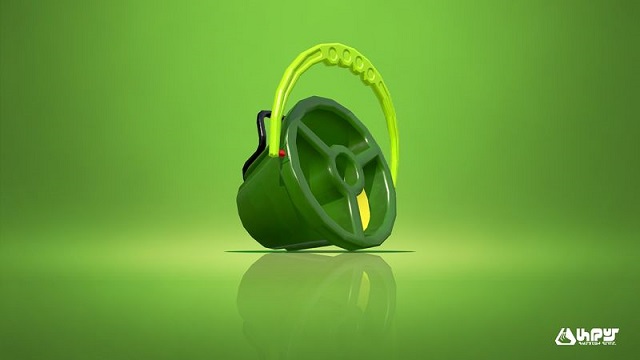
Sloshing Machine Guide
So you gave the slosher a shot, and it’s not for you. You’re having trouble aiming, and you’re getting torn up by blasters and dualie squelchers. Well, may I interest you in the Sloshing Machine?
Even in the unique class of slosher weapons, the Sloshing Machine is an outlier. It fires a high-arcing, long-range glob of ink that follows a mortar-like trajectory and deals splash damage once it hits the ground (or an inkling). This means that it’s kind of a mix between a slosher, a blaster, and a squelcher.
The downside of all this is that the Sloshing Machine is not a weapon anybody would call versatile.
Two direct hits with the Sloshing Machine’s glob will be enough to splat an opponent, while four indirect hits will do the job as well. While the slosher likes to live on (or near) the front lines, Sloshing Machine users will want to hang back. The severe arc of the ink glob means that it is most comfortable in long-range situations (for example, splatting enemies atop the tower control tower from below, or using the arc to flush out a charger user at the top of the pillar in Blackbelly Skatepark).
Using the Sloshing Machine to the best of its abilities will require more movement than using the normal slosher since you’re pretty much hosed if anybody gets close. The arc of the weapon makes it pretty hard to aim at somebody getting up in your face, so always have an escape route, and don’t hesitate to use an Autobomb to force your opponent to retreat for a second.
Generally, you’ll want to be using the Sloshing Machine to pick off opponents to allow your teammates to push forward.
We recommend gear with swim speed up abilities for Sloshing Machine users, as the ability will really help move quickly from one vantage point to the next.
The Sloshing Machine excels against blaster users, squelchers, mid-range shooters like the N-ZAP, and chargers. It’s countered by rollers, other sloshers, and pretty much any other weapon that excels at close range. Just don’t let anyone get close, though, and you should be okay.
Tri-Slosher Guide
Does hanging back and picking off opponents like that sound boring? Yeah, I thought so. Allow me to introduce the Tri-Slosher.
The Tri-Slosher is kind of like a shotgun version of the vanilla slosher, sacrificing range for a wider attack arc. This means that whereas other sloshers excel most in pushing forward with a team, Tri-Slosher users are much more comfortable protecting turf and letting opponents come to them, which gets really frustrating when the opposing team has secured the splat zones, forcing your team to go into attack mode.
Since the range of the Tri-Slosher is so short, you’re going to want to spend the majority of your time with the weapon hiding, lying in wait for people to surprise, or if that seems too passive, flanking opponents who are going after other teammates.
Like other sloshers, the Tri-Slosher will chew through opponents in two hits, meaning that aiming is a lot less important if you can get up into your enemy’s face. At point-blank range, the only weapons that rival the Tri-Slosher are the Luna Blaster, rollers, and inkbrushes, but even in these scenarios, if you play smart and keep a bit of distance, the Tri-Alosher will still have an advantage, especially if you can get above your opponent.
The really nice thing about the Tri-Slosher set is that the relative lack of range is offset greatly by the burst bomb subweapon. When you’re up against a squelcher or blaster user, keep your distance and guide them into danger using your subweapon before flanking them (or leading them directly into a trap).
In frantic situations, the Tri-Slosher is one of the scariest weapons in the game. It doesn’t have a long startup like rollers do, it has a wider range than the Sploosh-o-matic, and it has a relatively fast fire speed, so don’t be afraid to jump into the fray.
Speaking of jumping, we recommend a gear build with Drop Roller so that you can get into the action quickly and take super jump campers by surprise!
The Tri-Slosher excels against other slosher types, inkbrushes, most rollers, close-range blasters, and chargers. It’s countered by Dynamo and Flingza rollers as well as mid-range blasters.
Thanks for reading the first installment of Squid Strategy! Let us know what you’d like us to focus on for the next installment down in the comments!


Published: Mar 13, 2018 02:53 pm