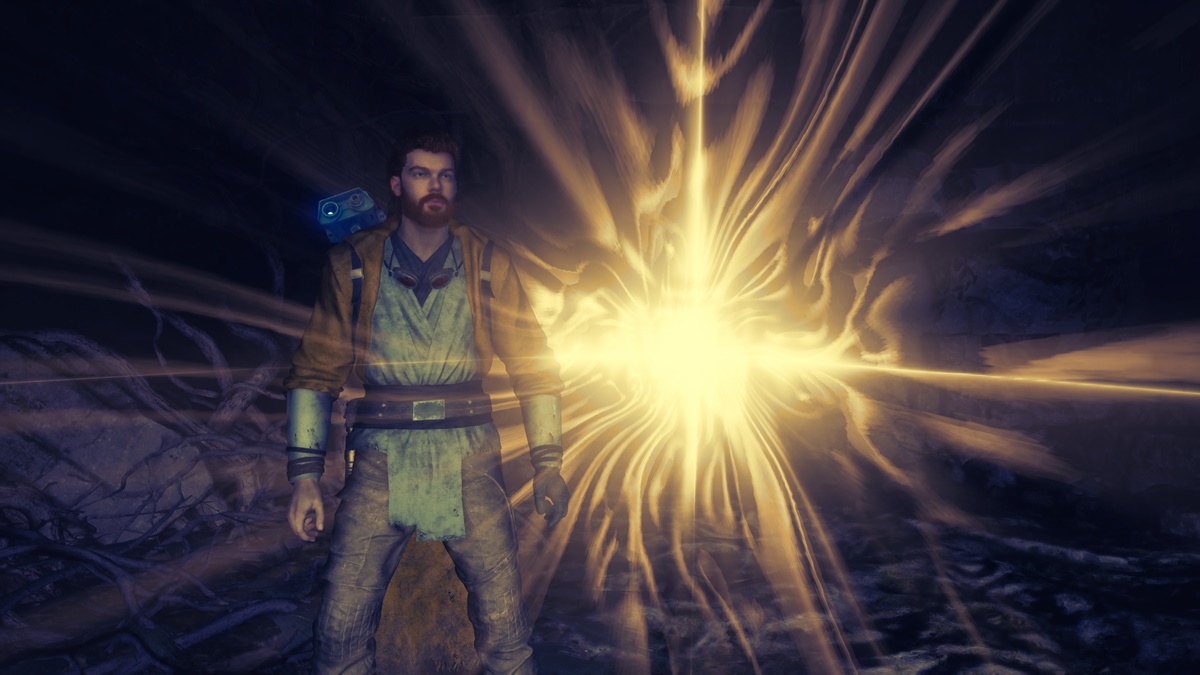
Force Tears are a type of special challenge in Star Wars Jedi: Survivor. These appear as small crystals with a bluish, almost purple hue. Upon interacting with one, you’ll be teleported to an arena where you have to complete certain tasks. Here’s our guide to help you complete all Force Tears in Star Wars Jedi: Survivor.
Where to Find All Force Tears in Star Wars Jedi: Survivor
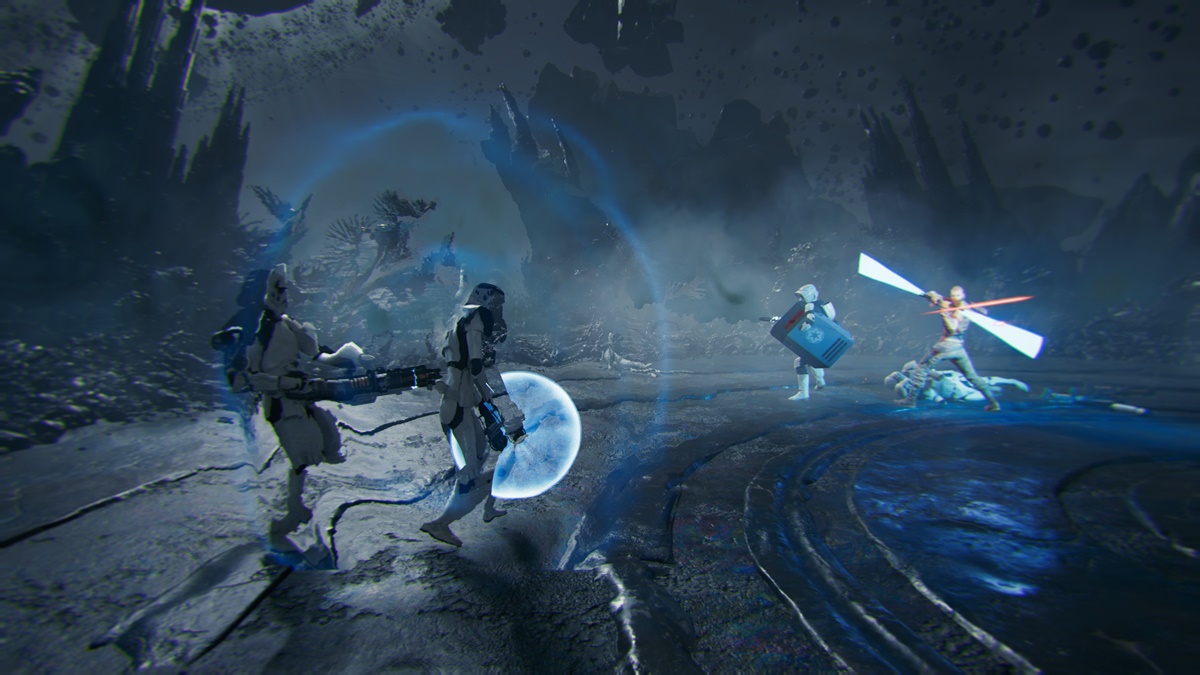
There are 14 total Force Tears in Jedi Survivor, and they come in two categories: combat and traversal-based. Combat activities will have you facing off against a set of enemies. Traversal activities, meanwhile, require you to reach the exit using various skills at your disposal.
Upon completing each challenge, you’ll receive a lot of XP, usually enough to add a skill point. You may also refer to our leveling and XP guide for other methods.
In any case, we list all of the Force Tears below, including their locations and how you can complete their objectives. Regardless of the numbering, you can tackle these challenges in any order, provided you’ve progressed further into the campaign to unlock the abilities that let you reach these areas. This is just the order in which I completed them.
Related: Star Wars Jedi: Survivor — How to Get the Commander Outfit
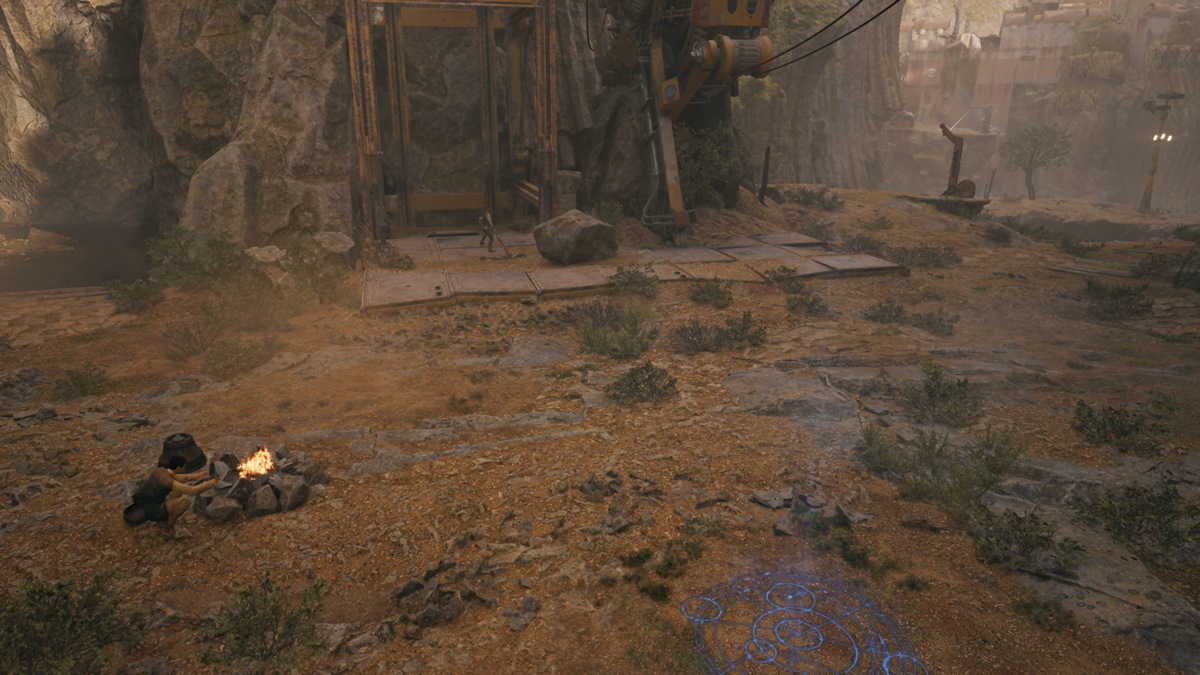
Force Tear #1: Fractured Resolve
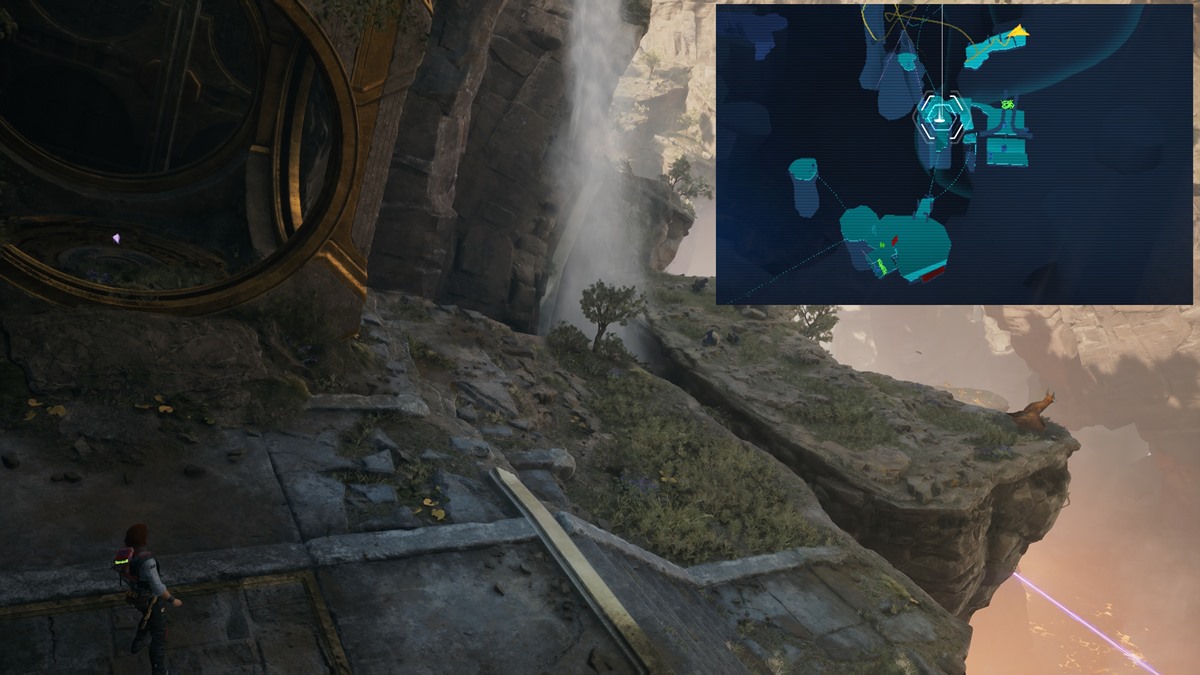
- Location: In Koboh — Swindler’s Wash. Check the waterfall where the Bilemaw resides.
- Challenge: Traversal — You’ll have to make it past several laser walls, all while jumping and sliding. Time your jumps precisely, as each one you do will cause a new laser wall to spawn along the other side.
 Screenshot by GameSkinny
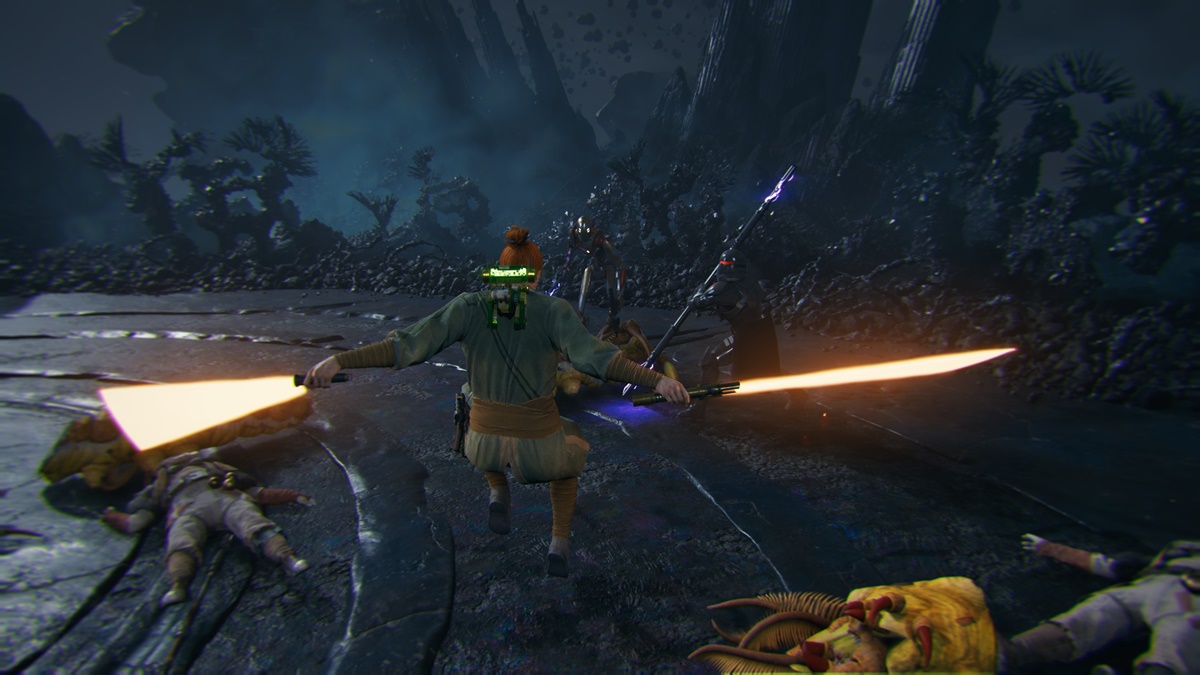
Force Tear #2: Fractured Duality
- Location: Climb to the top of the Pyloon’s Saloon tower using the vines.
- Challenge: Combat — Defeat all enemies using the Double-Bladed Stance.
 Screenshot by GameSkinny
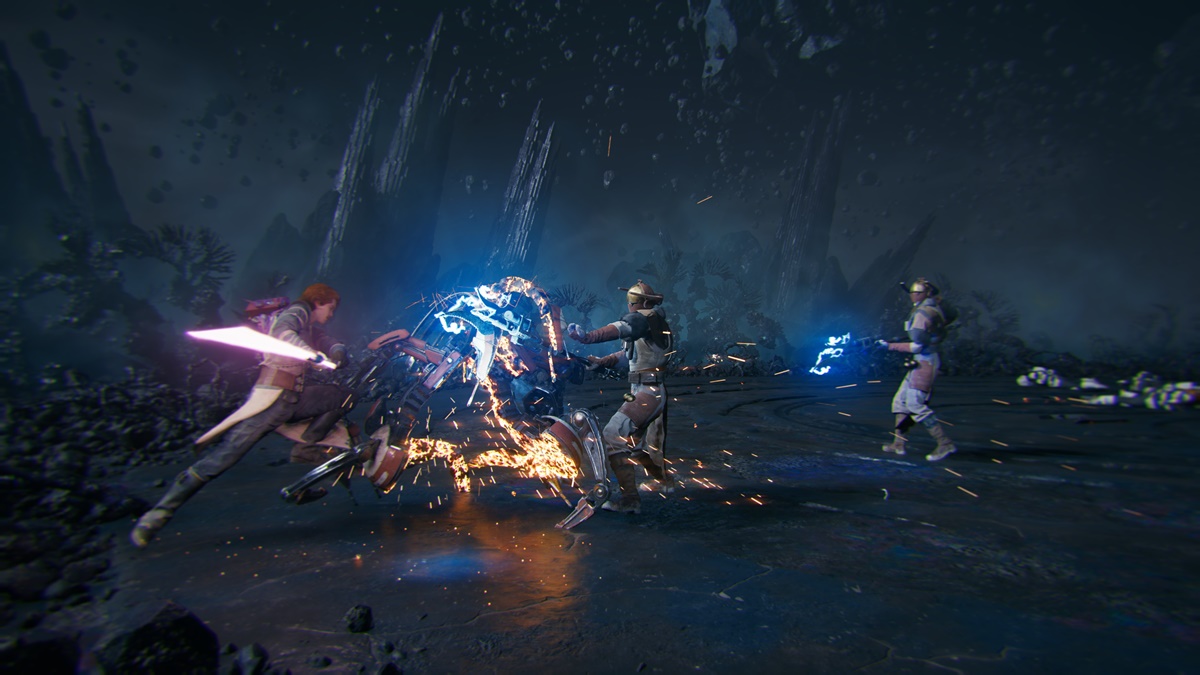
Force Tear #3: Fractured Endurance
- Location: Found in the Automated Forge section of Shattered Moon just after the Reprogrammed Magnaguard fight.
- Challenge: Combat — Defeat 150 B1 Battle Droids.
 Screenshot by GameSkinny
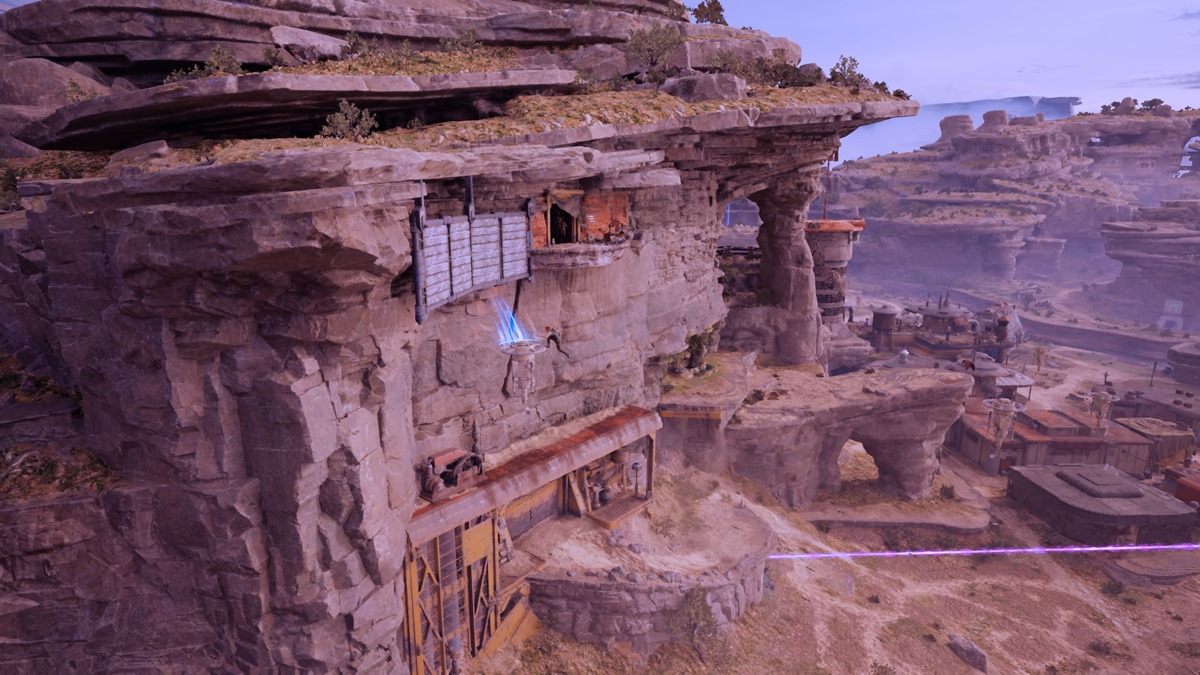
Force Tear #4: Fractured Punishment
- Location: In Koboh — Stone Spires/Devastated Settlement. You should be able to use the laser device to create air drafts. Ride a Relter that takes you to the ruins along the cliffside adjacent to the manse/courtyard.
- Challenge: Combat — Defeat a variety of animal creatures.
 Screenshot by GameSkinny
Force Tear #5: Fractured Dexterity
- Location: Jedha — Crypt of Uhrma. There’s a cliffside area with a tunnel that you won’t be able to go to due to the strong gusts of wind. You should be able to do so after obtaining the Air Dash ability.
- Challenge: Combat — Defeat all enemies using the Dual Wield Stance.
 Screenshot by GameSkinny
Force Tear #6: Fractured Power
- Location: Koboh — Fogged Expanse. Once you’ve reached this area as part of the campaign, you’ll end up in a small section called Marl Cavern. Just before the exit that leads to the Imperial Base, use the Electro Dart so you can wall run to the opposite ledge.
- Challenge: Combat — Defeat all enemies using the Crossguard Stance.
 Screenshot by GameSkinny
Force Tear #7: Fractured Momentum
- Location: Koboh — Smuggler’s Tunnel/Collapsed Passage. After obtaining Merrin’s Charm, return to this area below Pyloon’s Saloon. Pass through one of the green barriers here to reach this small nook.
- Challenge: Traversal — This is one of the most headache-inducing Force Tear challenges in Jedi Survivor. You’ll need to use double jumps, air dashes, and the ability to pass through green barriers, all while grappling onto ziplines and avoiding electric shocks.
 Screenshot by GameSkinny
Force Tear #8: Fractured Tradition
- Location: Jedha — Meditations Walls: Head to the left instead of to the right (where you went off to so you could avoid the Skriton). Enter the ruined building and use your wall-running and traversal skills to reach the ledge at the back.
- Challenge: Combat — Defeat all enemies using the Single Blade Stance.
 Screenshot by GameSkinny
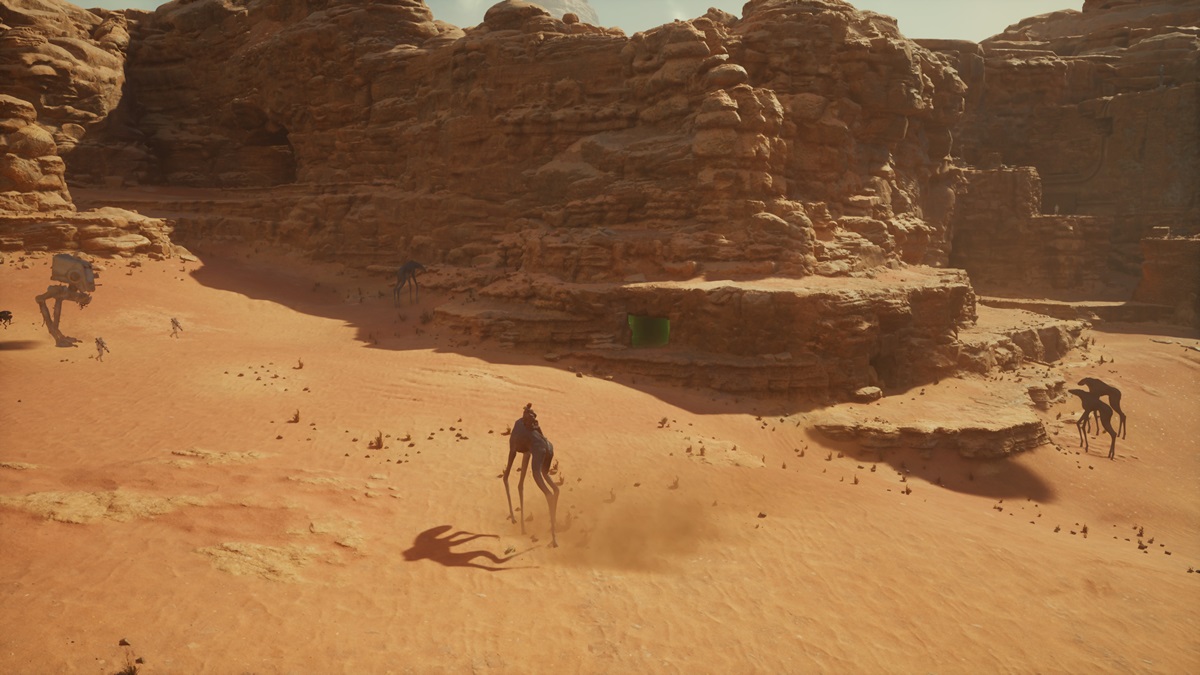
Force Tear #9: Fractured Determination
- Location: Jedha — Anchorite Base. Make your way to the left and cross the desert sands until you see a small cave with a green barrier.
- Challenge: Traversal — You’ll need to use multiple traversal skills, such as wall-running and passing through green barriers.
 Screenshot by GameSkinny
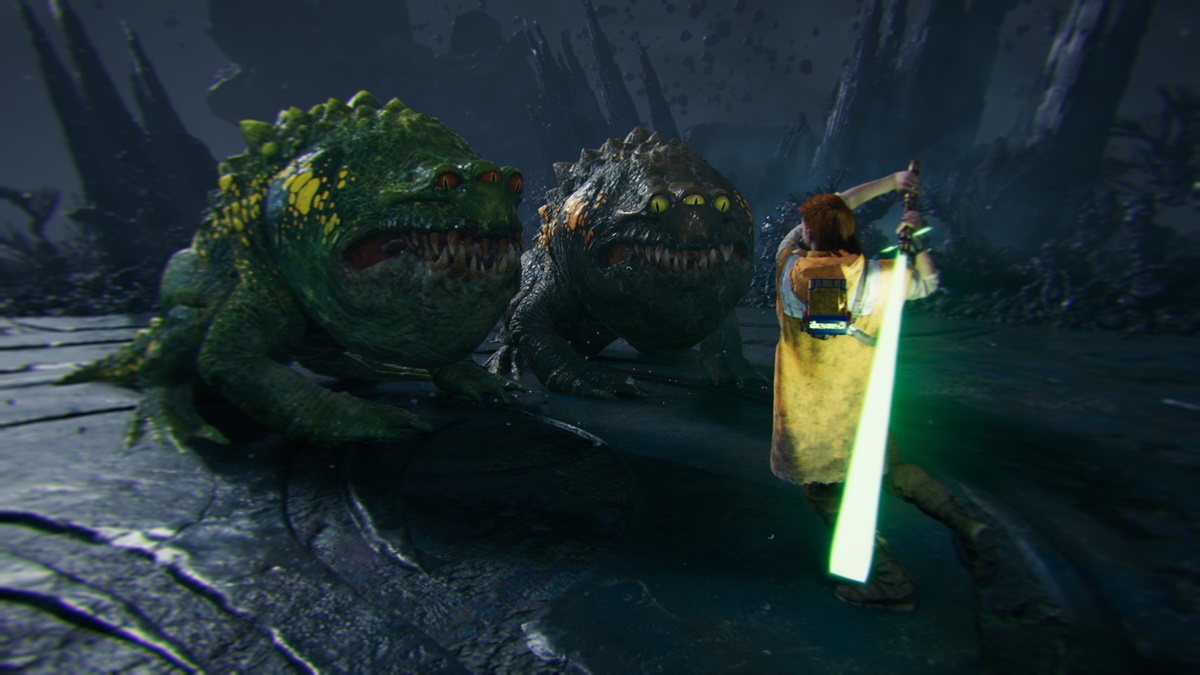
Force Tear #10: Fractured Burden
- Location: Koboh — Gorge Crash Site. Go to the first fast travel point on the planet. Step on the elevator that you used to get here, then jump off quickly. You should be able to use Force Lift to reveal a hatch.
- Challenge: Combat — Defeat three large creatures (i.e., Bilemaw, Mogu, and Gorocco). This is similar to an encounter in the Untamed Downs cave.
 Screenshot by GameSkinny
Force Tear #11: Fractured Delusion
- Location: Koboh — Rambler’s Reach Outpost. There’s a house behind Doma’s Shop that you can enter after using a variety of skills. Inside, you’ll find Soont Madas, and you’ll have to kill him after you discover his secret. After that, climb up the vines behind Doma’s Shop, and use the floating balloons/grapple upgrade to reach the cave up top.
- Challenge: Combat — You’ll need to defeat waves of enemies, and each wave happens to have a Soont Madas opponent.
 Screenshot by GameSkinny
Force Tear #12: Fractured Agility
- Location: Koboh — Boiling Bluff. You’ll see a couple of floating balloons. Use the device to reach those two, then have the Piasa (i.e., large bird) drop you off in a new area. You’ll find the Force Tear in the back corner.
- Challenge: Traversal — This is also a rather tricky task, as you’ll have to use floating balloons to grapple, sometimes at an angle, to reach the end.
 Screenshot by GameSkinny
Force Tear #13: Fractured History
- Location: Koboh — Fort Kah’lin. Interact with the frog statue and defeat the Spawn of Oggdo. After that, return to Doma’s Shop and interact with the statue there. A Force Tear will appear, leading to a battle.
- Challenge: Combat — As a treat for veterans of Fallen Order, you’ll have to defeat Oggdo Bodgo and a Spawn of Oggdo.
 Screenshot by GameSkinny
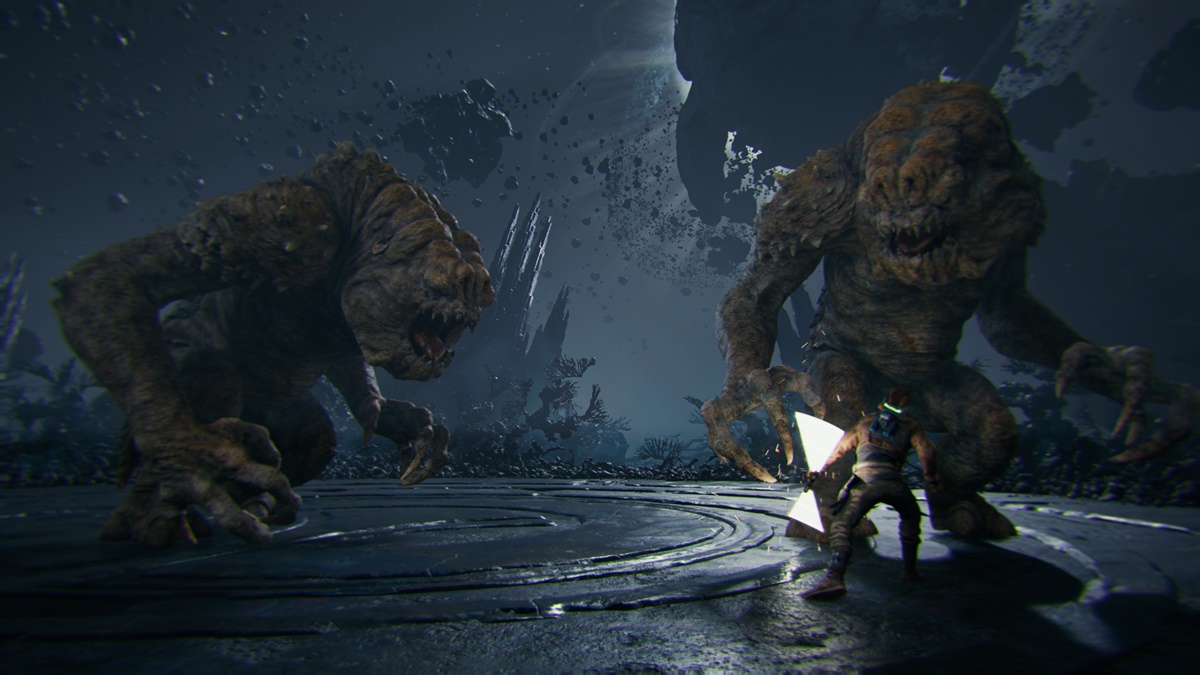
Force Tear #14: Fractured Tradition
- Location: Coruscant. Once you obtain the Lift and Slam power, return all the way back to the first area in Coruscant, essentially where you fell down near the beginning of the game. Use Force Lift to open the door.
- Challenge: Combat — You’ll have to battle not one, but two Rancors. Here’s our guide on how to beat Rancors to help you complete this Tear.
 Screenshot by GameSkinny
That’s it! You should have completed all the Force Tears in Jedi Survivor. Once you’re done, you’ll receive the “Blood, Sweat, and Tears” achievement/trophy. For more about the game, you can visit our Star Wars Jedi: Survivor guides hub.
Featured image by GameSkinny.


Published: May 8, 2023 05:24 pm