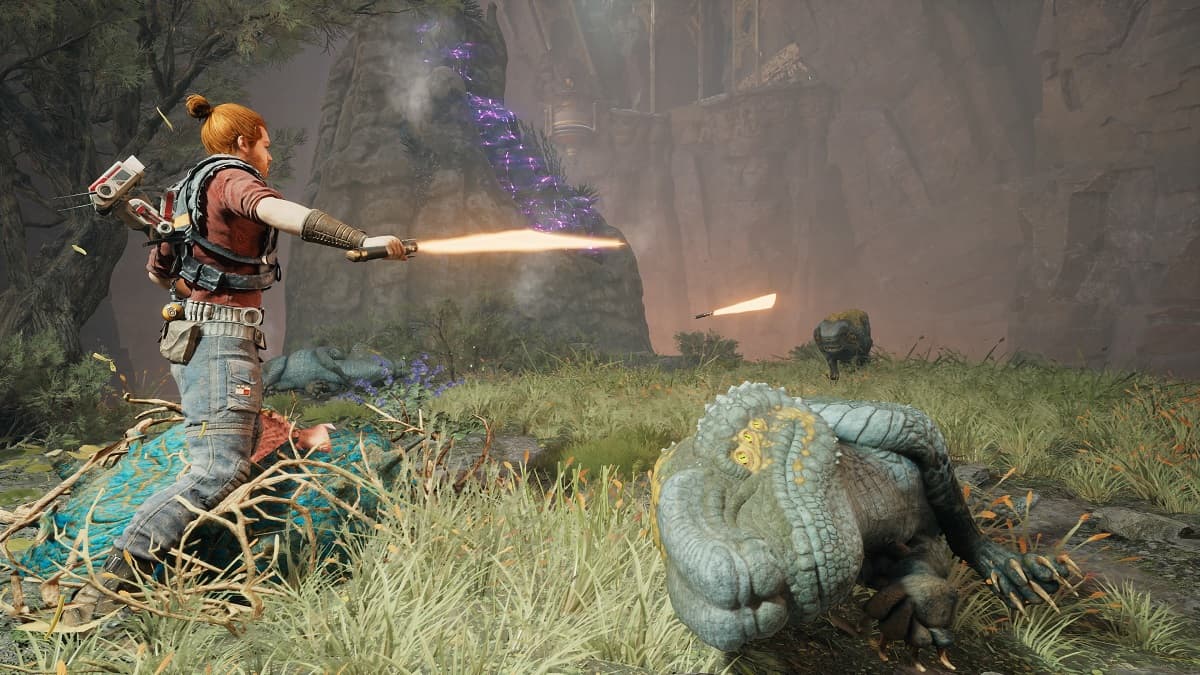
The first time we see a Lightsaber being thrown in the Star Wars universe is when Darth Vader throws his blade a Luke during their fight in Return of the Jedi. It’s an indelible moment and one that would be recreated multiple times in Legends and Canon. Just like in Jedi Fallen Order, you can learn how to throw your Lightsaber in Star Wars Jedi: Survivor, too.
How to Throw a Lightsaber in Star Wars Jedi: Survivor
Since Cal Kestis keeps all of his powers from Fallen Order, you can throw your Lightsaber from the beginning of the game. This includes the first fight against Sejan’s Stormtroopers. It becomes a useful attack as you face the Bedlam Raiders, Haxion Brood bounty hunters, and the various aggressive faun on Koboh and Jedha.
To throw your Lightsaber, use the following inputs:
- PS5: L1+Triangle
- Xbox: LB + Y
- PC: LMB + F
Keep in mind that it takes at least one bar of Force Energy to send your blade flying. If you find that you can’t, attack a few enemies to replenish your bar, or focus on abilities like Attunement, Lucid Attunement, and Enlightened Attunement in the Jedi Concentration branch of the Force abilities tree. These three skills improve Cal’s Force meter. Finally, there are Perks you can unlock and use that affect your Force Energy.
Stances and Lightsaber Throws
Lightsaber Stances have different Lightsaber throws associated with them. Some are more powerful than others, some provide better add clear, and others, like Dual Wield, allow you to block and throw. Experiment with throws to become familiar with the ones for the best stances.
Just like with regaining Force Energy, some Perks, such as Dexterity, increase the damage dealt by Lightsaber throws. Additionally, skills like Double Orbit for the Double-Bladed stance or Dancing Blades for the Dual Wield stance, add additional elements to Lightsaber throws.
Related: All Lightsaber Stances Ranked
Throws by Stance
- Single Stance Throw: This is your standard Lightsaber throw. The weapon is thrown out toward a single enemy and recalled. There’s a chance you can hit multiple enemies with this throw depending on how you turn Cal after the throw and where enemies are in relation to the saber’s arc.
- Double-Bladed Throw: This throw is, like the stance itself, best for taking on multiple enemies at once — or resilient ones. It goes out in an arc, spinning as it cuts through enemies and returns. It can be upgraded with an additional arcing throw with Double Orbit.
- Dual Wield: The Dual Wield throw is one of the weakest in the game. Seeing as the stance is best used to quickly build damage over successive, speedy hits, this throw dings enemies for a small amount of damage. However, it allows you to block both melee attacks and blaster bolts since you’ll have another saber in another hand. It can be upgraded with Dancing Blades.
- Blaster: The Blaster Stance doesn’t feature a Lightsaber throw. Instead, you have a more uncivilized weapon to deal damage at a distance.
- Crossguard: The Crossguard Lightsaber throw is an overhead throw that more resembles a Gamorrean battle axe sailing through the air than a Lightsaber. Like the stance itself, it deals significant damage even if it’s slow.
And that’s how to throw your Lightsaber in Star Wars Jedi: Survivor, as well as which stances allow for the technique and what you can expect from each. For more, head over to our Jedi Survivor guides page.


Published: May 10, 2023 08:56 pm