There are so many quests to embark on in Starfield, many of which being pretty extensive plotlines outside of the bounds of the main story. One of those is the Ryujin quest line. Following that, in this guide we’ll go over how to complete the Sabotage mission in Starfield.
How To Complete Sabotage in Starfield
Options for Engagement
The Ryujin questline wants you to channel your inner Metal Gear Solid instincts to complete it. By the questline’s very nature, you’ll be making heavy use of stealth tactics. In the finale, titled “Sabotage,” your sneaking skills are put to the test.
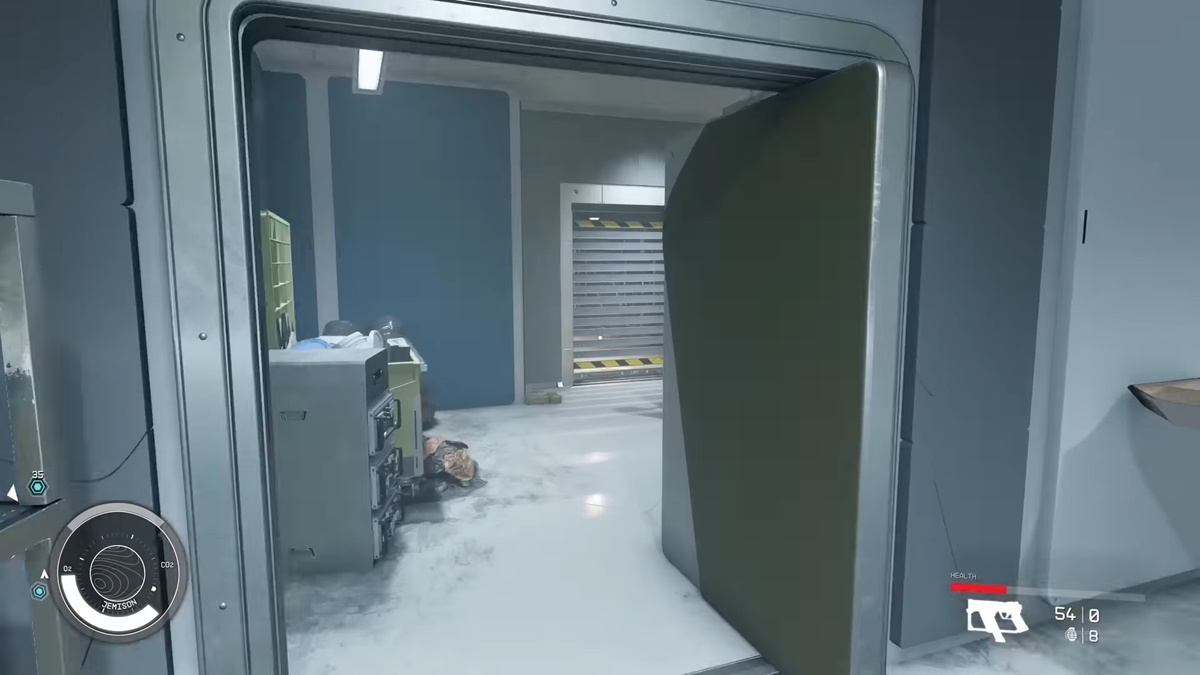
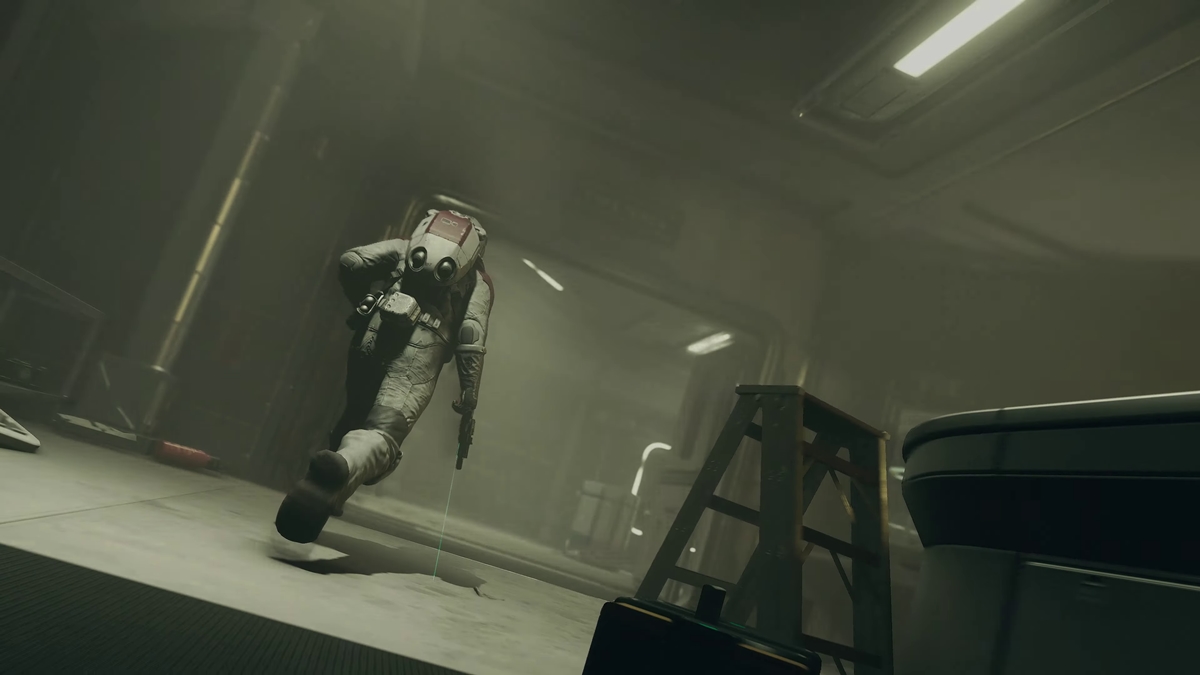
When you’ve steeled yourself and are completely ready for one heck of a tough test of your stealth and Manipulation abilities, it’s time to infiltrate Infinity LTD. You’ll have a handful of objectives to complete here, and a whole bunch of guards will be standing in your way.
Like many missions in Starfield, you have some options on how you want to approach the mission. You can use some social persuasion, go to the roof and disguise yourself in the Operative Suit, or you can kill everyone in the place and then complete the mission easily.
How to Use the Stealth Approach
Take the elevator to the roof and use your Manipulation skill to tell the guard to turn off the fan. Afterward, drop down and hack into the system and turn on the heating system. This will get rid of all types of extra security, leaving only the guards to stop you.
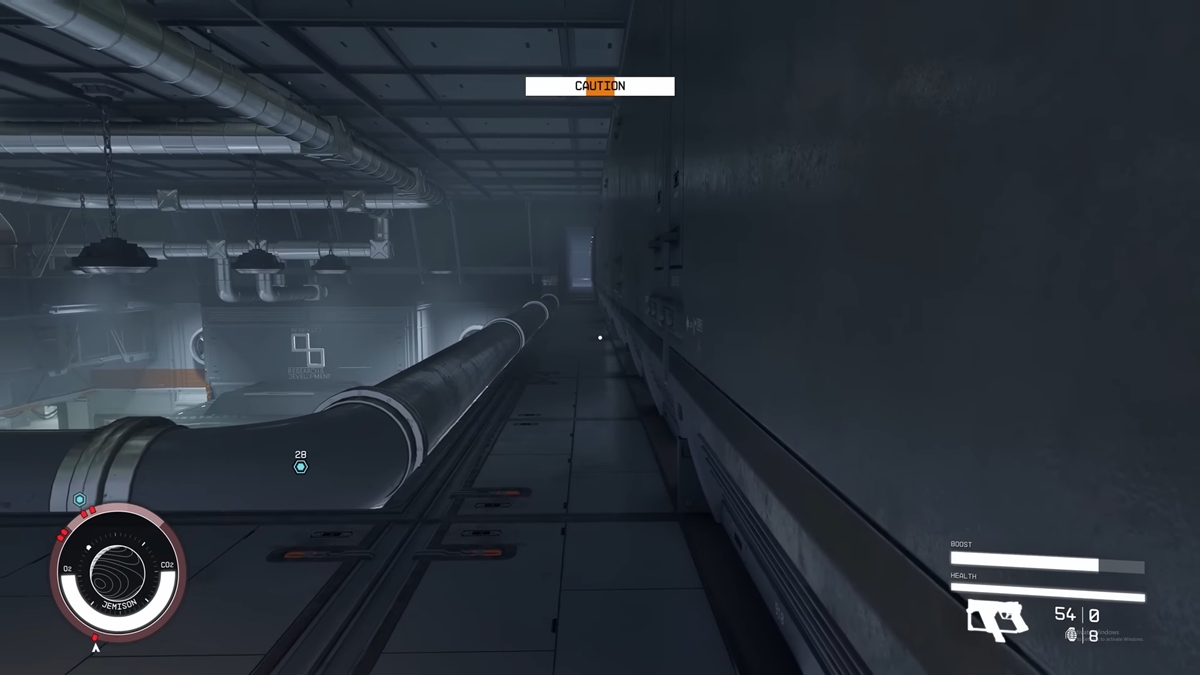
You will now need to navigate the beams and drop past the guard to get into the adjacent room, then hack into the computer and put on the Overseer Program. Go back out of the room and take a left, and drop onto the beams below. These guards can hear you, so go slowly here.
Navigate to the other side of the beams and drop into the bathroom, then sneak by the guard. Be careful, as this guard can be sort of unpredictable with his patrolling. Get to the cafeteria and run to the other side to find a vent. You’ll drop down here onto more beams. You can use your Manipulation here to send guards away to make this easier.
Find your way to the other side of the hallway to the elevator and drop into the elevator shaft, then follow it around and through the next vent. You’ll come across a hatch, so drop down and follow the hallway to the room on the right. You will find a pass that you require in this office here, as well as a computer to install the Overseer Program on.
You only have one one more left from here, so save here and continue on. Jump back into the vent the way you came. This time, jump across the adjacent pipe and hug the wall to the right, and follow it until you drop onto a walkway. There is a security camera here, so be careful. You can use the camera to your advantage here if you’re feeling lucky.
Guards are here and will come to you if the camera sees you. Once they arrive, you can send the guard away if you want, to allow you to explore at your leisure. Avoid him and go to the red door at the end of the hall, where you will use that pass you acquired earlier. Go to the left of the room and disable the alarms. Now, the Neuroamp can be looted without any issues. Head back out the way you came, being careful not to alert any guards on the way, and you’re done.
How to Use the Non-Stealth Approach
If you want to go in and take out every guard possible, you can also do that and not have to worry about crawling around. If you go this route, the mission is fairly simple and far less fun. It’s clear that this mission is built around being stealthy, as going in guns blazing is just taking out some relatively easy enemies while looting the place along the way. Follow the stealth walkthrough above, but just kill the guards that come by instead of manipulating them.
How to Use the Talkative Approach
This is another appropriate way to handle this mission. This method has you talking your way into the building, and it is significantly easier than the other options. You start by riding the elevator to the Marketing floor. From there, you’ll need to talk to Aelys Ortiz to explore at your leisure without any worry about the guards. You will get approached several times from here, but if you save before each encounter, you can ensure you’ll have a couple of chances to succeed in these conversations and get through unscathed. Once you’re clear, walk through and grab the Neuroamp, and you’re good to go.
Decide the Fate of Infinity LTD
There is one more thing to do: you need to decide the fate of Infinity LTD. This is the easiest part of the quest. With your newfound Neuroamp abilities, no matter what you choose here, the board will agree with you. It kind of lessens the tension of the final decision in this quest, and it doesn’t really hit as hard as, say, the UC Vanguard questline’s final decision.
Regardless of what you do, you will get paid a ton of credits, so it’s up to you what to do with the company. The result will have Masako or Ularu being fired, so your interactions with them up to this point will be the deciding factor on what you want to do with them. Neither character is all that sympathetic or compelling, so it was a coin flip for me.
The Ryujin questline is a fun one, and the final mission is easily the best. Now you know how to complete Sabotage in Starfield. For more information and guides on the game’s toughest quests, check out our Starfield guides hub.


Published: Oct 11, 2023 03:23 pm