
The new version of System Shock updates a few things, but it doesn’t replace any of its early-90s difficulty. That includes its basic critical path, where you’re often given little insight about what to do next. Here’s Part 1 of our System Shock main mission walkthrough.
System Shock Remake Main Mission Walkthrough Part 1
- Prologue
- Deck 1: Medical
- Deck 2: Research (1)
- Deck 0: Reactor
- Deck 2: Research (2)
- Deck 3: Maintenance
- Deck 4: Storage
System Shock, despite ostensibly being a remake, is still very much from an earlier era of game design. While it gives you a couple of clues about what you need to do to advance, it’s still incredibly hands-off compared to games that were being made even 10 years later. If you aren’t paying close attention, you might end up lost.
While this tries to be reasonably spoiler-free, it’s still a walkthrough, and as such, it involves unavoidable spoilers for the entirety of System Shock 2023. It’s split up by sections so you can go to exactly where you need to go if you’re stuck, but I’ve deliberately left out discussion of many of the game’s biggest surprises. It’s also worth mentioning that several major, memorable events in System Shock aren’t actually part of its critical path, including a couple of big story beats, two full boss fights, and most of what happens on the Flight Deck. As such, they aren’t discussed in this guide.
Two Things to Know Before You Start

At the outset of your run, there are two crucial things to keep in mind.
One is that Electric Packs are much more valuable than they initially look. It’s tempting to burn through them early on in order to conserve bullets, but you need to stockpile these for a specific section of the game. If possible, sling all the Packs you find into the cargo lift and don’t touch them. I’ll tell you when you need them.
The other is to always keep one Logic Probe on you. These are most frequently found as drops from Maintenance Bots and are common enough that you should end up with at least a few over the course of a typical run. No matter how annoyed you might be by the junction boxes, never use up your last Probe. There’s a particular moment near the end of the game where you’ll really need it.
Prologue
Explore your apartment for a couple of minutes until your laptop’s done running the crack.
Deck 1: Medical
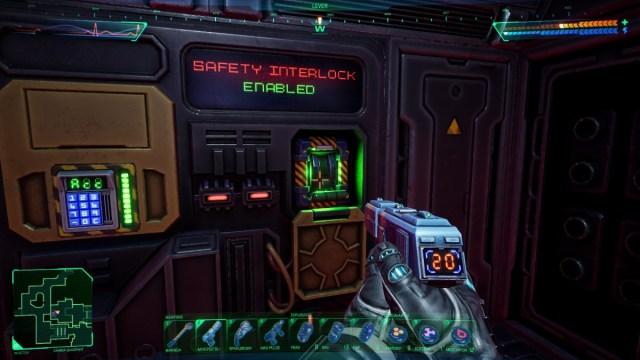
Push the button at the bottom of the ramp to open the nearby closet. Take everything inside. Use the crawlspace by the power station to enter the security booth. Take the data stick off the counter to learn the password to the door (451, naturally). Despite what Rebecca tells you, you don’t have to visit D’Arcy’s office, although there’s an audio log in there that’ll tell you why you’re doing what you’re doing.
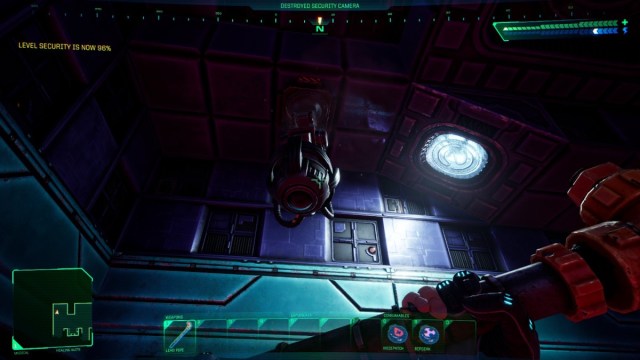
Your real goal is to destroy the Medical Deck’s CPU Nodes, as well as all the cameras you can find. Once you’ve lowered the level’s security enough (below), you can find and use an elevator to escape Medical.
In the hall outside the Healing Suites, use the lever to open the northern bulkhead. Go north, then east, and open a second bulkhead to admit you to Gamma Quadrant. Go south past the Snacktron into the small doorway. Take the south door and you’ll be in a corpse-strewn hallway with a Transderm machine on your right.
Head east and turn left to find a boardroom full of mutants. Go through the door to Beta Quadrant. Rewire the junction box to raise the force bridge. Cross it, then circle around to the north. The switch on the balcony raises a second force bridge below you.
Cross that bridge and follow the path west. When SHODAN springs her trap, use the wall switch to lower the two force walls between you and the control room, then throw the lever to activate the lift.
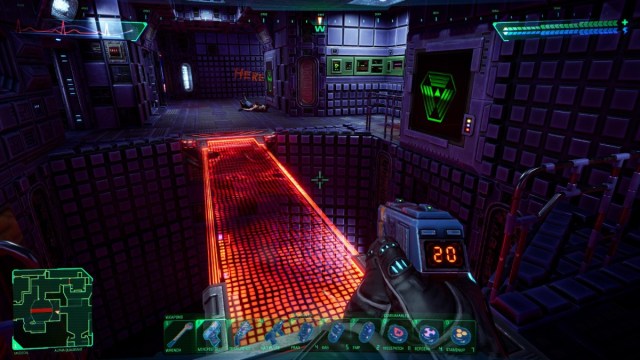
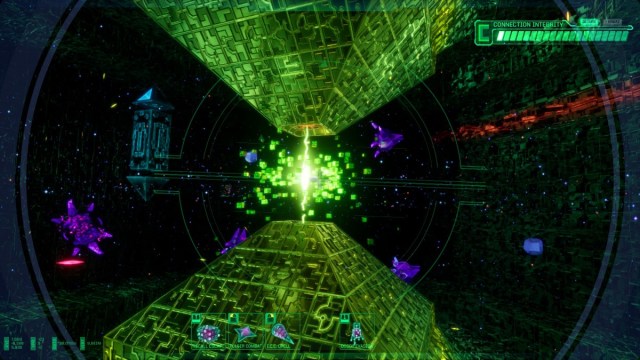
Follow the hallway west, past the “HERE” graffiti, and check out the charging room. Dispatch the 4 cyborgs inside, then use the jack in the room behind them. In cyberspace, shoot and destroy the Cyber Core (see below) to bring down the nearby force wall in real space.
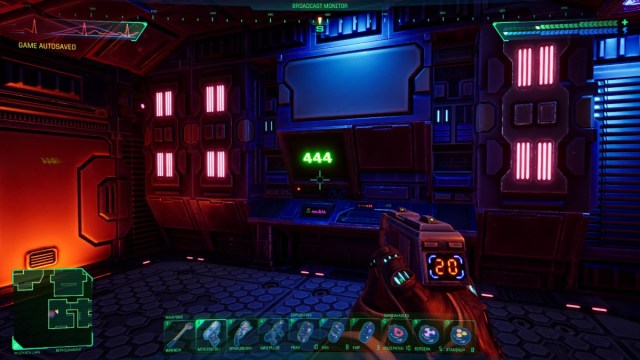
Destroy the 4 CPU Nodes in the next room with direct weapons fire. Bashing them up with your pipe or wrench is an option, but CPU Nodes explode on destruction, so it’s safer to use up some bullets or throw an EMP grenade.
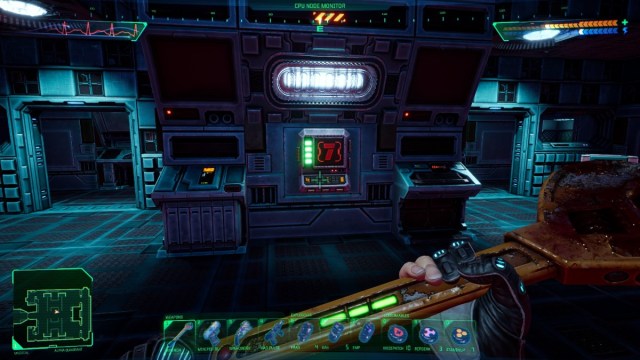
Every CPU Node you take out dramatically lowers the security level on a deck. At 0% security, SHODAN (usually) loses the ability to send in more enemies to harass you. More importantly, when you break all 4 CPU Nodes in Medical, a single random number appears on the nearby node monitor (below). Write this down.
Return to the “HERE” hallway and open the north door. This leads to the elevator to Research.
Deck 2: Research
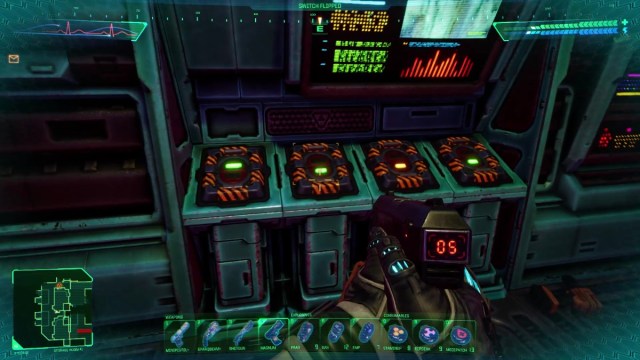
The elevator drops you off in Delta Quadrant. Go east to find the Central Hub, then north to Alpha Quadrant. In a large room on the east side of Alpha, you’ll find a power station and a bank of 4 levers, only one of which is down (below). Raise it to reset the power to Beta Quadrant.

Go to Beta and dispatch the elite cyborg in Admin Security to retrieve the Science keycard.
Unlock the Library and use the cyberspace jack in its datacenter. Clear the ensuing level by, once again, reaching and destroying the Cyber Core. Afterward, a 3-digit code will appear on a nearby monitor. This code is randomly generated on Mission difficulty 2 or higher. Write it down.
Use the Science keycard to open the blast doors that bar the way to the Gamma Quadrant. Destroy the 4 CPU Nodes in the Computer Room in Gamma, and once again, write down the number that appears on the nearby monitor.
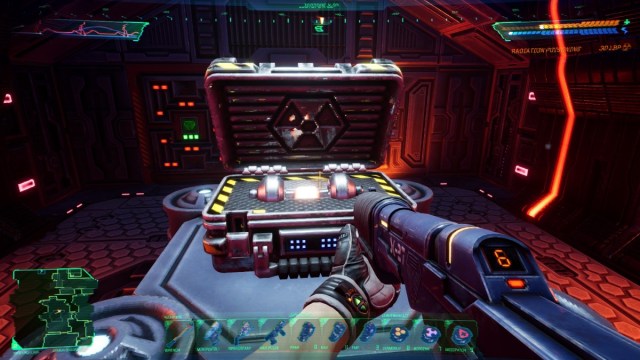
Heal up to full, then go to the storage room on the west side of Gamma. Open the door on its north side, hit the switch in the back, and retrieve Isotope X-22 from the case. Get back out before the radiation kills you.
That’s your last task for now on Research. Use the elevator in Gamma Quadrant to head down to the Reactor Deck.
Deck 0: Reactor
Go west from the elevator to find the Radiation Shield Controls. Throw the yellow lever next to the console and place the Isotope in the slot.
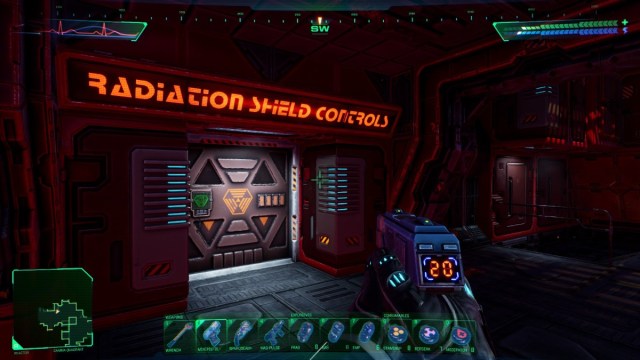
Pull the nearby second lever to activate Citadel Station’s radiation shield.
Your next goal is the Safety Override, but the fastest way there is also the most dangerous. Use the short door directly north of the Radiation Shield Controls to access a highly radioactive crawlspace. Heal through it and you’ll emerge in the Reactor Core next to the Override.
The alternative is to head east and work your way around to the north side of the central core. This takes significantly longer and you’ll get jumped by robots and Autobombs the whole way, but there’s useful loot along the way. The Reactor Deck also has one of 3 regeneration beds in the game, so you’ve got infinite health on Reactor as long as you can make it back to the infirmary without dying.
Either way, ride the lift up to the Safety Override. Input the code you got in the Library and throw the lever. You want to make sure the failsafe is disabled.
Deck 2: Research
Use your Science keycard to open the west door into Central Control. If you get jumped by 4 virus mutants on entry, you’re on the right track.
Fight to the east office in Central Control and press the button on the console. If you did everything correctly, you’ll fire the station’s mining laser while the shield’s engaged, which destroys the laser and saves Earth. (If you didn’t do everything correctly, SHODAN will gleefully let you fire the laser at Earth, which leads to a game over.)
(Pro-tip: if SHODAN doesn’t bother to try and kill you with the 4 virus mutants in the center room of Central Control, you forgot to do something on the Reactor Deck.) Return to the elevator in Gamma.
Deck 3: Maintenance
For right now, this is just a stopover. Enter the freight area in the center of the map and use its elevator to reach the Storage Deck.
Deck 4: Storage
Head east from your starting point and destroy this deck’s CPU Nodes. Once again, be sure to note the number that flashes on the monitor once the Nodes are destroyed.
Go back to the west. You’re looking for a room labeled Storage 1. From its entrance, use the lift to drop to the floor below and use the three intact switches on the nearby console.
This raises 3 force bridges above you. It’s also helpful to use the nearby levers to raise a couple of the lifts up to the same level as those bridges.
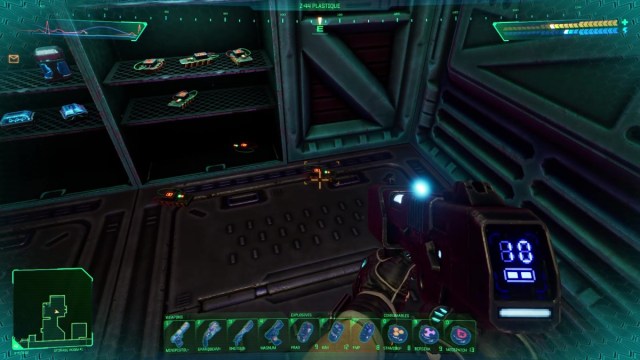
Return to the entrance and cross Storage 1’s top level to the Surveillance office. Here, you’ll find a number of Z-44 Plastique charges. There are 11 here, but you only need 4. You’ll use them much later in the game, so keep track of them.
Continue to explore Storage and destroy all the cameras you find until the local security level is 20% or lower.
You can now open a door on the east side of the map that leads to both Storage’s infirmary and Storage 9, which is locked. The 3-digit door code can be found in 2 pieces, in audio logs found in Storage 6 and Storage 2, but you’re never given the second digit. The full code is 838.

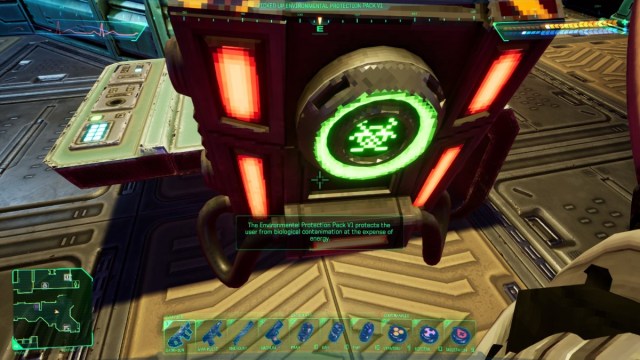
Inside, retrieve the Enviro-Pack v1, which gives you significant protection against biological contamination in exchange for draining your battery. You’re going to need this later.
Next up, we’ll move into the Executive Deck, which hosts one of the longest and most elaborate missions in the System Shock remake. Continue on to the next part of our System Shock remake walkthrough. For other tips, check out our System Shock guide hub.


Published: Aug 7, 2023 05:09 pm