Last time, we covered how to get through roughly the first third of this year’s full remake of System Shock, from when you wake up in Medical to your trip through Storage. This time in our System Shock walkthrough, we’ll discuss the next stretch of the game. Here’s how to defeat SHODAN in 2023’s System Shock.
System Shock Remake: main Mission Walkthrough Part 2
You should stockpile your Electrical Packs on your way through Citadel Station, and always keep one Logic Probe on you. You’ll find out why later on. Naturally, even though I’m trying to avoid them, watch out for spoilers for the entirety of System Shock.
Deck 5: Flight Deck
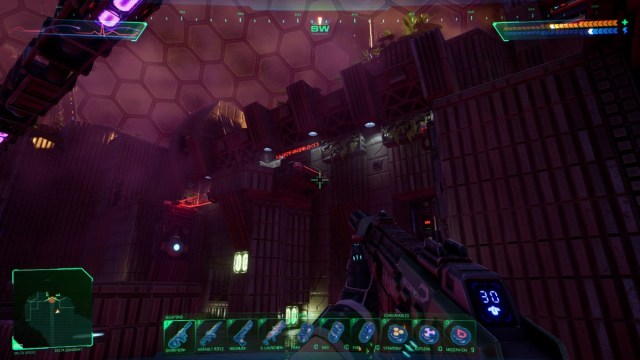
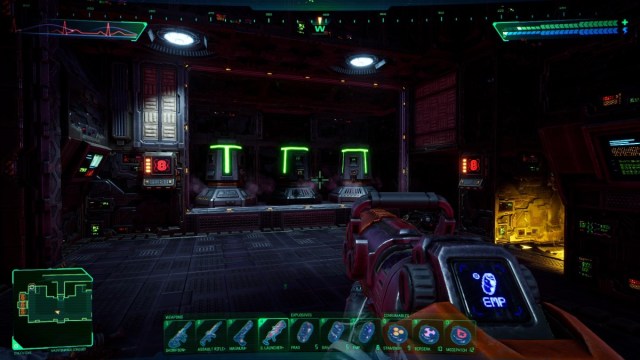
There’s a lot to do and see here, but the only thing you actually have to do is destroy the Flight Deck’s single CPU Node. The fastest way there is via a maintenance corridor from the central hub. From the elevator, rewire the nearby junction box to raise the force bridge. Cross that bridge, go through the door, then climb the ladder on your immediate right.
This brings you to the corridor in question, where several drones and mutants are stationed to guard the very radioactive storage room where the Node is kept. Blow it up and once again, write down the number on the monitor behind it.
Return to Maintenance via the freight elevator, then use the north elevator in Maintenance to reach the Executive Deck.
Deck 6: Executive
As you exit the elevator, note the flashing billboards in the hall outside. Write down the codes, which are randomized on Mission difficulty 2 or 3.
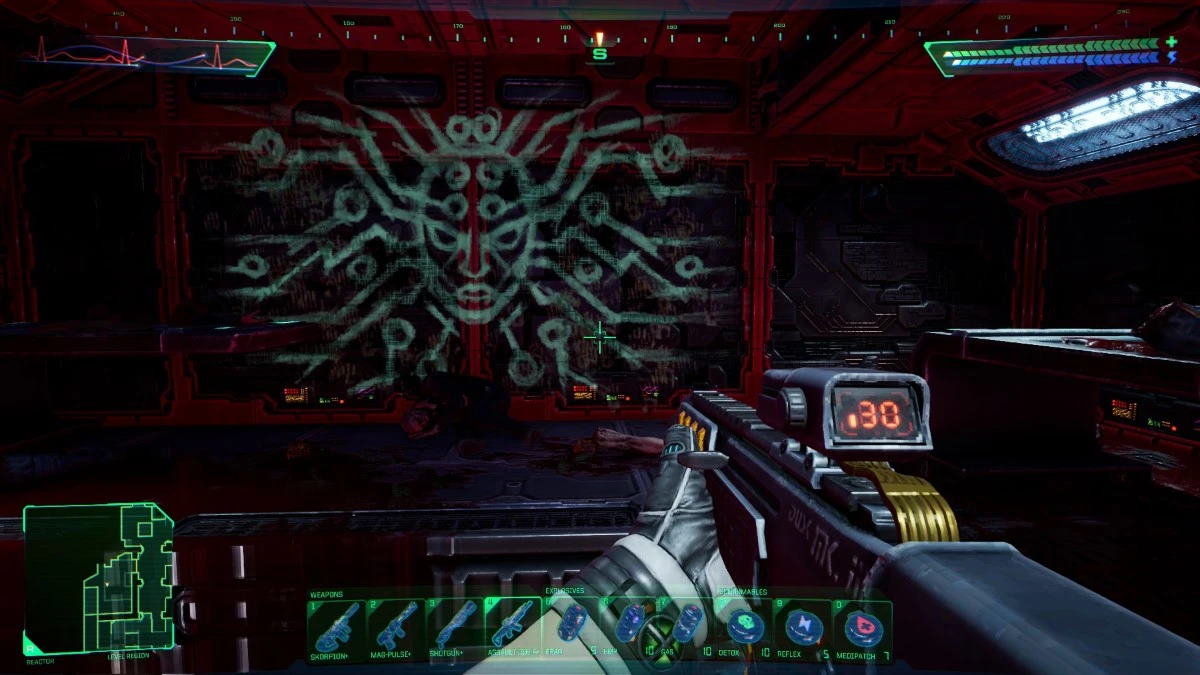
Your goal on Executive, as Rebecca has mentioned, is to find a way to jettison the Beta Grove biosphere, which SHODAN has repurposed to manufacture the custom virus that’s created the mutants on Citadel. However, as an audio log near Beta Grove’s entrance will explain, SHODAN has tampered with the jettison protocols to make them as arduous a process as possible.
Getting rid of Beta Grove requires you to deactivate safety interlocks in it, Alpha, and Delta Groves, then find and throw a master switch somewhere on the Executive Deck.
Go east from the elevator from Maintenance to find the entrance to Alpha Grove. Take the tram to get inside. In Alpha Grove, go southeast to find the switch that opens the door to Alpha’s Safety Interlock, then backtrack to the Interlock and activate it. Return to Executive, and this time, go north to find the Delta Grove entrance.
In Delta, destroy all the cameras you can find until the local security level is 20% or lower. This enables a lift platform (below) just northwest of the big holographic chess board which you can ride up to Delta’s Safety Interlock. Activate it.
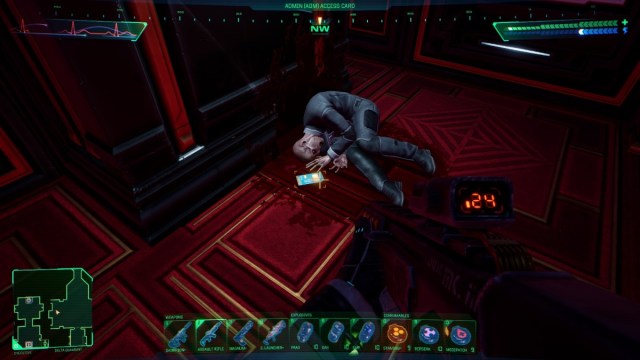
Once again, return to Executive, and this time, go northeast from the elevator to Maintenance. Retrieve the Admin keycard, which is found next to a dead guy in the dining room.
Work your way south from here until you find the Central Hub, then go through the door marked Beta, which is also the only other working door in the Hub.
You’ll end up in a big hallway, with a power station on its west end and multiple robots and mutants on patrol. At the east end of that hallway, you’ll find a lounge with an unlocked crawlspace against its back wall. Use that to reach a sealed office. A switch on the wall by that office’s desk (below) lifts a local lockdown so you can ride the tram to Beta Grove.

Incidentally, this doesn’t last forever. I’ve found that if you leave the Executive Deck after hitting this switch but before you go to Beta Grove, SHODAN will re-institute the lockdown. That forces you to backtrack to the office and hit this switch again. Go back west down the big hallway and turn left at the power station to go south. This takes you to the Beta Grove tram station.
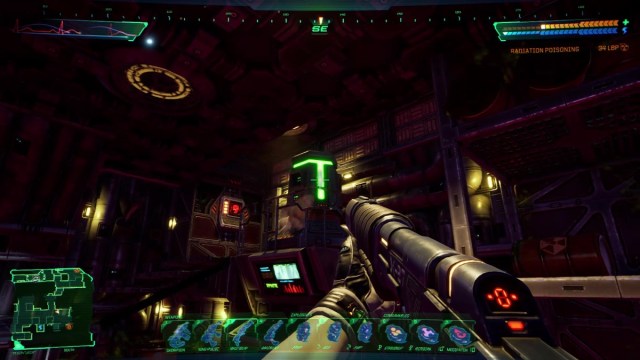
Before you enter Beta, grab all the Electric Packs you’ve been hoarding. Due to SHODAN’s contaminants, Beta Grove is one big biohazard zone (+/- 60 LBP), and your Enviro-Pack can only make it survivable (+/- 20 LBP) rather than lethal.
It’s important to keep your battery topped off on your way through Beta Grove, as you’ll be dead in seconds if your Enviro-Pack shuts down. There is a power station in Beta Grove, but it’s next to the Safety Interlock, so it only gives you a little wiggle room for your run back to Executive.
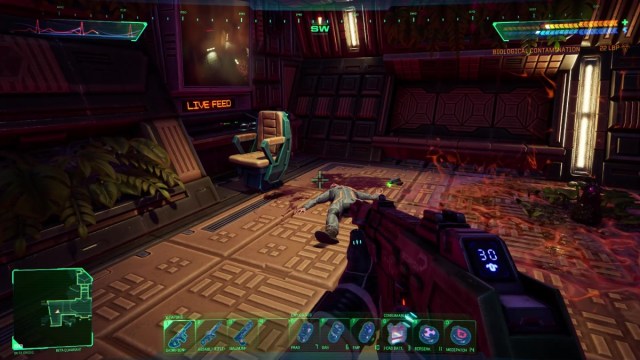
First, go southwest in Beta Grove, into a security booth, and hit the switch on the console by the Live Feed screen to raise a force bridge.
Next, return to the large courtyard south of the elevator. Go south from there to find and use the Safety Interlock. Get back out of Beta ASAP.
That’s arguably the toughest challenge in System Shock so far, especially when you don’t know it’s coming. There’s at least one more sequence like it in the game, where you’ll need to keep your Enviro-Pack powered in a hazardous environment, so don’t start randomly burning your Electric Packs just yet.
Go back to the big hallway in Beta Quadrant. The casino south of the lounge has a locked door in its southeast corner (below), and its keycode was one of those numbers displayed on the flashing billboards near the elevator to Maintenance. I’ve run through this level twice, and both times, the relevant code was on the second billboard from the left. Unlock the door to reach another crawlspace.
This leads you into a west-facing tunnel. First, follow it to a left turn, where you can find Executive’s well-hidden CPU Nodes. Destroy them and, once again, write down the number on the monitor.
Return to the tunnel and follow it all the way west. You’ll end up running into a boss fight with a mech who, if you scan him with your Target Identifier, turns out to be Cyborg Diego.
Use whatever you’ve got to deal with him. The most efficient way I’ve found to drop Diego is to retrieve the Laser Rapier from one of the executive bedrooms in Beta Quadrant. On Combat 2, with a Berserk Patch activated, it takes 4 hits from the Rapier to dispatch Diego.
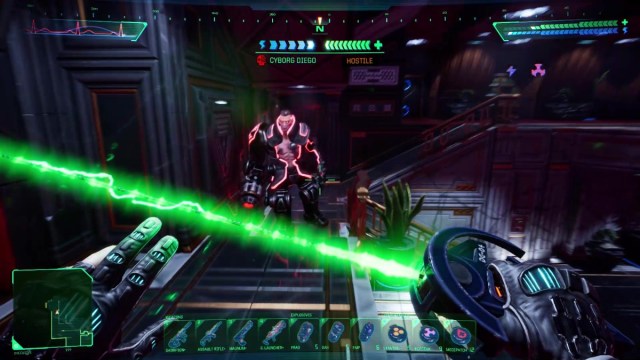
If you also pop a Reaction patch, you can land most of those hits before Diego has the chance to counterattack. If he lands a hit with his own laser sword, however, it can kill you in two hits through your Energy Shield.
Diego turns out to have been guarding his own office. Hit the Master Control switch on the wall by its elevator and you’ll be told that a relay’s broken down.

Now you’ve got to do some backtracking. Use the teleporter in Diego’s office to speed that up.
Deck 3: Maintenance
First, grab a Demodulator from the storage room on the south side of Beta Maintenance. It takes up enough inventory space that you didn’t really want to be carrying one of these around until now.
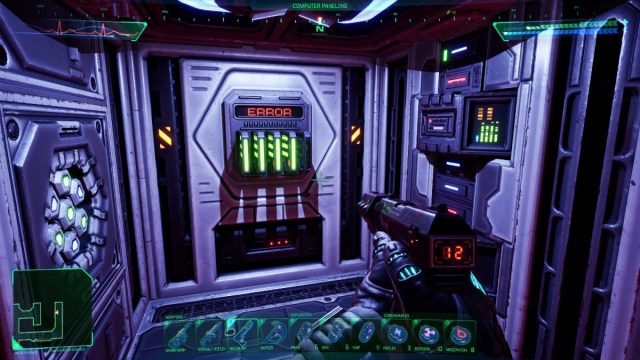
The relay you need to fix is randomly placed somewhere in one of the 4 maintenance corridors on this deck, one for each cardinal direction on your map. These corridors were locked up tight on your first visit to this deck, but got unlocked in response to your attempt to jettison Beta Grove.
(You’re told this if you use the Diagnostic Logs machine outside the Maintenance Office, but you don’t actually have to use that machine in order to unlock the corridors.)
Fight your way through each corridor until you find the busted relay. The one you’re looking for has a dead Demodulator that’s flashing ERROR. When you find it, interact with it to replace the bad Demodulator with your good one.
While you’re at it, destroy as many cameras as you can find until the local security level is 45% or lower. This will require you to at least visit each of the four maintenance corridors, as each one has a camera near its entrance.
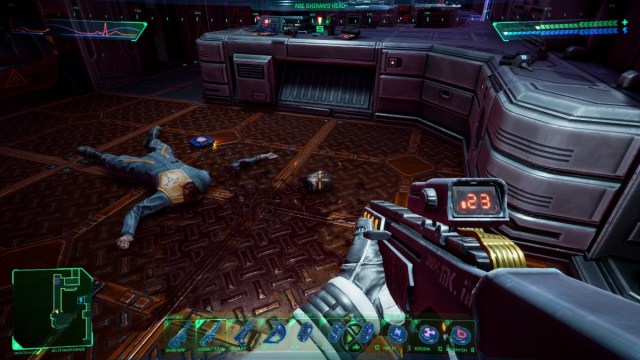
On the northwest side of the map, use the crawlspace near the Relay Analyzer to reach the inaccessible storage room to the west. The decapitated corpse in this storage room belongs to the late Abe Ghiran, and unlike all the other decapitated people you’ve seen so far on Citadel, his head’s actually a unique, interactive object. Take Abe Ghiran’s head with you, then use it on the retinal scanner outside the Maintenance Office to open the door.
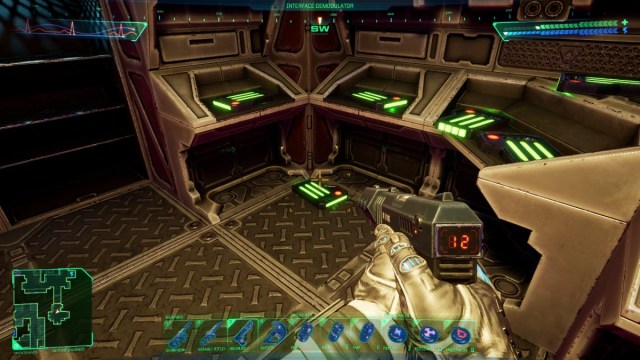
Inside the Maintenance Office, retrieve the Enviro-Pack v2 from the storage closet. This extends the Enviro-Pack’s protective effect to cover radiation exposure, which is absolutely crucial. Next, use the Office’s cyberspace jack in the Office to unlock the door to Maintenance’s CPU Nodes.

Use the lever on the wall by the Nodes to lower their protective force wall, then destroy them. This gives you the sixth and final digit in an important keycode, so be sure to write it down. All six digits in this keycode are always randomized on every run through the game.
Deck 6: Executive
Use the teleporter to backtrack to Diego’s office, then activate the Master Control switch near his elevator.
You can now go to the Beta Grove Control Room, which is found near the Beta Grove tram, and hit the jettison switch. This punts SHODAN’s bioweapons lab off of Citadel and, for the second time today, saves Earth.

The removal of Beta Grove also clears a local lockdown, so now you can take Diego’s private elevator to the Engineering Deck. Before you use it, make sure you’ve got 4 Z-44 Plastique and a Logic Probe on you.
In the next part of our System Shock remake walkthrough, we’ll break down what you have to do on Engineering, which is the last big run before you slide into endgame. In the meantime, check out our dedicated game hub for other tips on 2023’s System Shock, including part three to this walkthrough.


Published: Aug 7, 2023 05:19 pm