Last time, we handled the single longest part of System Shock‘s primary mission: jettisoning the artificial environment SHODAN was using as a grow site for biological weapons. Now it’s time to destroy SHODAN’s escape route by removing her ability to transmit herself off Citadel Station. Here’s how to reach endgame in this System Shock walkthrough.
System Shock Remake: Main Mission Walkthrough Part 3
As noted previously, you should be sure to always keep one Logic Probe on you. You’ll find out why later on. It’s also useful to keep a close eye on your supply of Electrical Packs. We’re done with Beta Grove, which means it’s no longer quite as crucial, but there’s at least one more part of SS that involves a significant environmental hazard. Naturally, watch out for mild spoilers for the entirety of System Shock.
Deck 7: Engineering
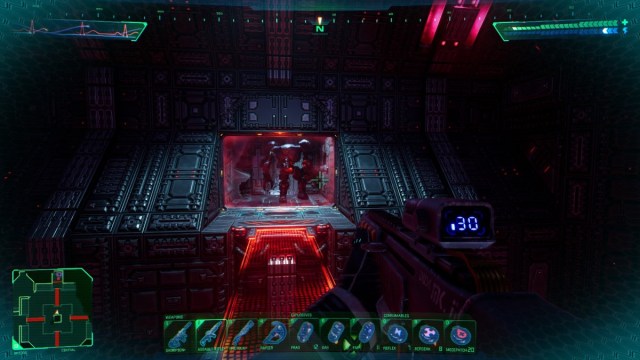
The Engineering Deck is a complicated, dark maze. The 4 Antennas you’re here to destroy are all inside clearly labeled rooms, but those rooms are all secured by a cyberspace lock courtesy of SHODAN. From the elevator, go east via the door to the south to find the Core, which serves as a central junction point between Engineering’s four Quadrants.
Activate your Enviro-Pack v2 and go through the Gamma Quadrant door, into two dangerously radioactive, well-guarded rooms. On the other side, you’ll end up in this level’s Administration office, where you’ll find a cyberspace jack, the Engineering keycard, and this level’s CPU Nodes.
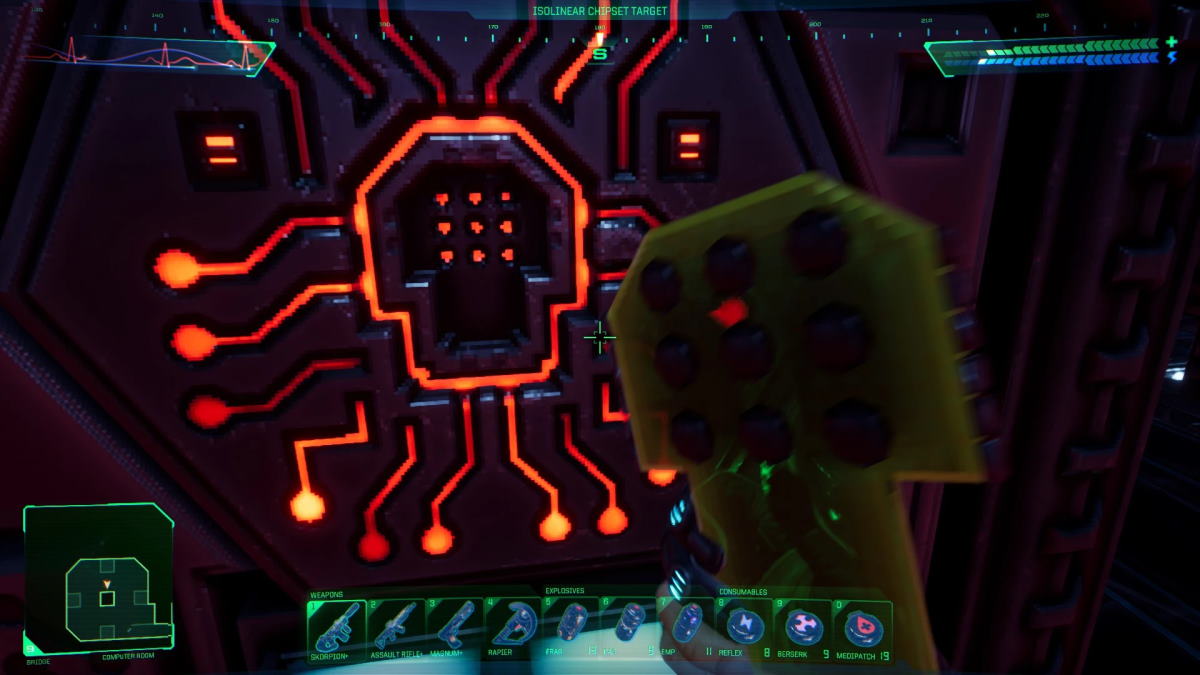
Use the jack to access a particularly long, intricate cyberspace stage. Inside, destroy 4 Cyber Cores to open all 4 antennas’ doors.
Each of the 4 antennas on Engineering can be found behind a clearly labeled door. In each case, walk up and interact with the antenna to plant a Plastique charge with a 10-second fuse. I might be stating the obvious here, but be sure and leave before it goes off.
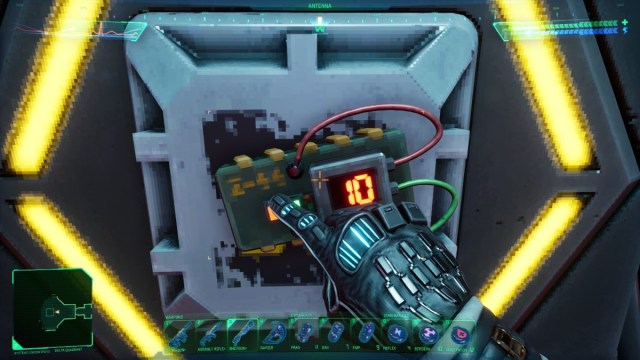
SHODAN springs a particularly nasty trap when you try to destroy the Gamma Antenna, where she’ll drop a force wall across the exit right after you plant your bomb.
Use a Logic Probe on the nearby junction box to drop the wall and escape before you’re killed by your own explosion. There are a couple of other ways around this trap, but this is the easiest. It’s why I’ve been advising you to keep a Logic Probe on you.
When all four antennas are destroyed, SHODAN is now trapped on Citadel. You’ve achieved your current goal, which is quickly replaced with another: activate Citadel’s self-destruct.
While you’re on Engineering, it’s also worth taking a detour from the elevator to Executive to find the Turbo-Motion Boots v3, which are on the floor near the one power station in Engineering’s Delta Quadrant. V3 of the Boots allow you to hover a substantial distance into the air, which is a crucial asset in the final stage of the game. It also lets you find some secrets, like Skully, that were previously locked down.
Deck 0: Reactor
Your next task is to activate Citadel’s self-destruct, but that involves a trip into the Reactor Core. If you poked your head in here the last time you were on the Reactor Deck, you likely noticed that the Core’s both incredibly well-guarded and highly radioactive.
With your new Enviro-Pack v2, you can survive the latter. As with Beta Grove, however, the Enviro-Pack only lowers your exposure to the point where it’s dangerous rather than lethal. You’ll need to keep your health and battery topped off, which is why you were still stashing Electrical Packs as mentioned above.
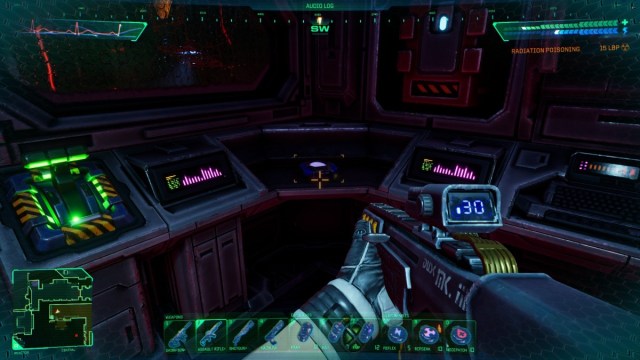
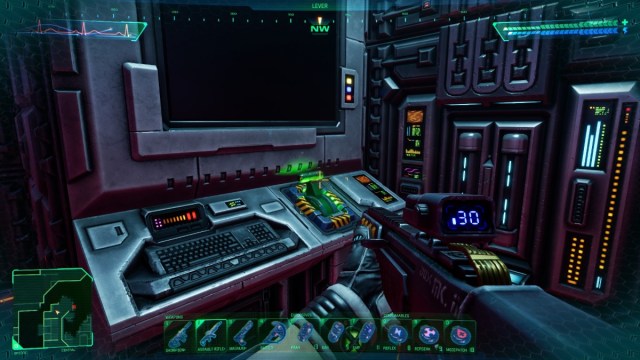
In the Reactor Core, throw the lever in the northern control room (below, left) to drop the forcefield around the Core, then go inside the Core itself.
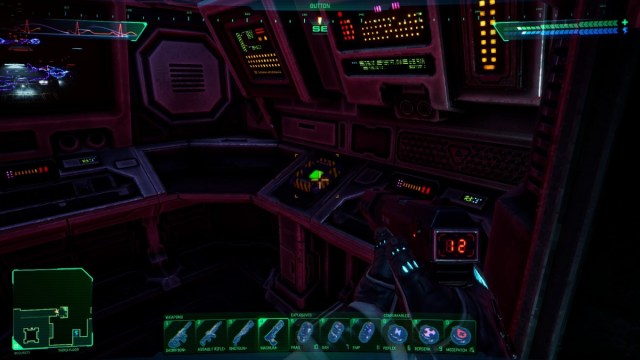
There’s a console on the Reactor Core that allows you to input a six-digit passcode. This is the System Authorization code that you may have heard mentioned in a couple of audio logs.
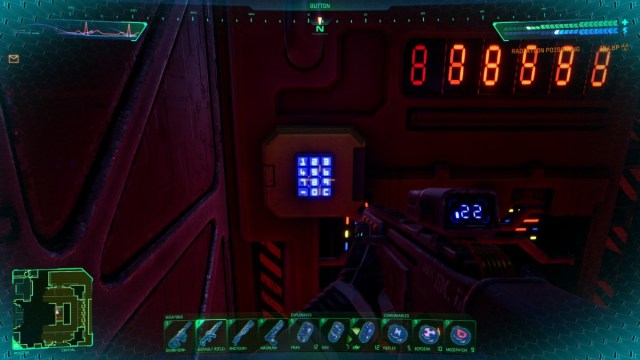
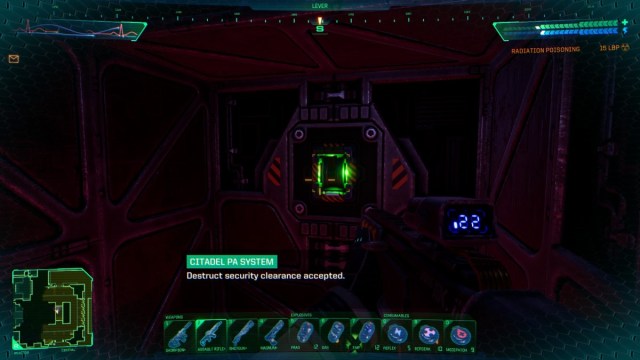
It’s made up of the 6 digits you received by destroying the CPU Nodes on Medical, Research, Maintenance, Storage, Flight Deck, and Executive, which you need to input in that order. Input that code and throw the lever across from the console to initiate Citadel Station’s self-destruct sequence. It doesn’t start a countdown, but it does mean you need to find a way out of here.
Deck 8: Security
Rebecca mentions going to the Flight Deck to grab an escape pod, but it’s not actually a necessary step. If you go straight to Security from here, via the elevator on the southern edge of the Engineering Deck, the game proceeds as normal.
Leaving Security’s elevator room marks a point of no return for the rest of Citadel Station. Bring everything you think you’ll need with you, either in your inventory or via the Cargo Lift.
This includes Tri-Credits. Security doesn’t have a recycle station, but there are several vending machines that you might want to use. From your entry point, go north and ride the lift up to Extraction. Press the switch in the big office to drop the force wall on the elevator.
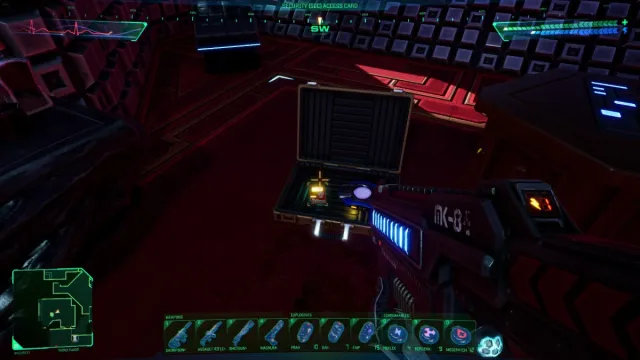
Your goal is to reach the third floor cafeteria. Enter the office and retrieve the Security keycard from the briefcase on the floor.
While you’re here, wreck all the cameras and CPU Nodes you can find. Once the security level is 20% or lower, you can return to the central area and ride a lift up to the Repair Bay.
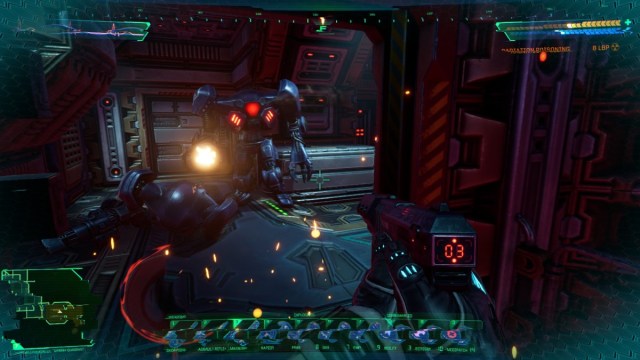
In the charging station, be ready to fight several tough security droids at once before you hit the button on the wall. This activates the exit door.
Once you’re past that, you enter a detention area, which leads to a residential block. There are a number of ways through here, and you’ll end up at a security booth with a button on its console. Push it to raise a second force bridge in the central area.
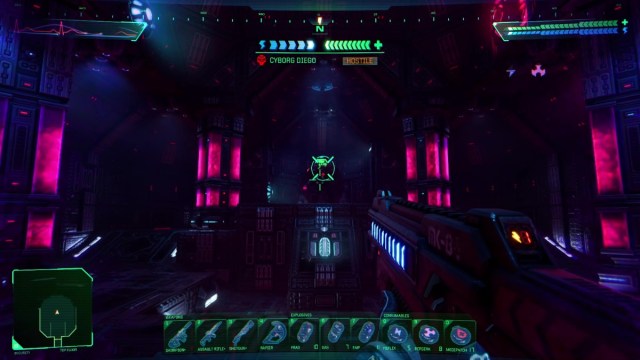
Use those force bridges to enter the central pillar, where you’ll find a ladder that takes you to the final elevator in the game. Before you go, however, you’ll need to fight Diego one more time, and this time, he’s got a missile launcher, so trying to snipe at him from behind cover is a losing proposition.
Once he’s down, retrieve his personal keycard from his corpse and use it to open the Bridge elevator.
Deck 9: Bridge
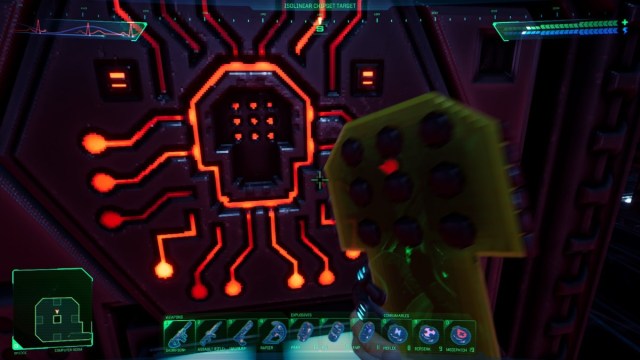
As Rebecca mentions, your first goal on the Bridge is to find and rewire 3 junction boxes. You must also retrieve and install the Isolinear Chipset, which is mentioned in a couple of audio logs that you may or may not have found.
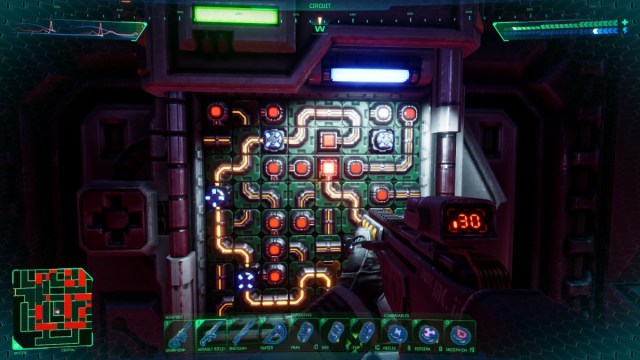
The first junction box is west of the elevator. You’ll enter a square-shaped room with a Security-3 bot. Dispatch it and use the switch on the nearby pillar to open one of the nearby cells. Throw the lever on that cell’s wall to open a second cell, then use its lever to open the third, which contains the junction box you need.
The second junction box is east from the elevator. Hit the switch on the wall to drop a few of the force walls in the floor, then drop down and fight through the Security-3 bots in the maze. When you solve the junction box, it also enables a repulsor lift that lets you escape the maze.
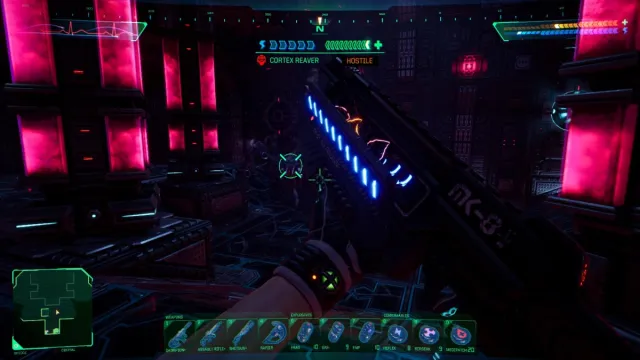
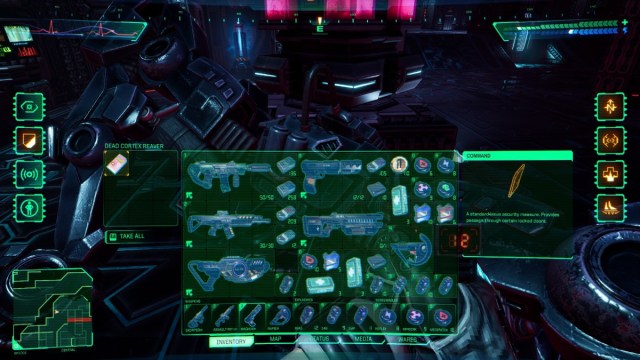
The path to the third junction box starts south from the elevator, and leads you through a suspiciously silent maze. When you solve the box, a small army of Autobombs are released into the corridors behind you. The Isolinear Chipset is found on a Cortex Reaver which is waiting for you in a room to the south of the elevator.
Once all 3 junction boxes have been hacked, go west to install the Isolinear Chipset in the Bridge’s security office.
You can now confront SHODAN directly, but first, it’s worth your time to use the v3 Turbo-Motion Boots to access a hidden lever that’s found northeast from the elevator. Throwing that lever purges the radioactive contaminants from the Bridge’s central chamber, which is a big help. This is a tough enough sequence without also having to worry about radiation poisoning.
Once you’re inside the central chamber, throw the switch on the back wall (below) to begin the process of powering up the nearby repulsor lift.
You’ll need to throw two more switches in the rest of the room to reroute power and complete the process, all while SHODAN harasses you with waves of high-end cyborgs.
Ride the lift up to a teleporter and go through it. Deal with one more Cortex Reaver and loot its corpse for the Command keycard, which unlocks the door to the final cyberjack in the game. Go use it.
Cyberspace
Pick up the Cybergun and use it to destroy the barrier ahead of you. Ride the lift forward to one of 3 islands that surround SHODAN’s central core. If you stand on the pad on the ledge that faces the core, you’ll raise an archway, which represents the start of the process of re-engaging SHODAN’s ethical restraints.
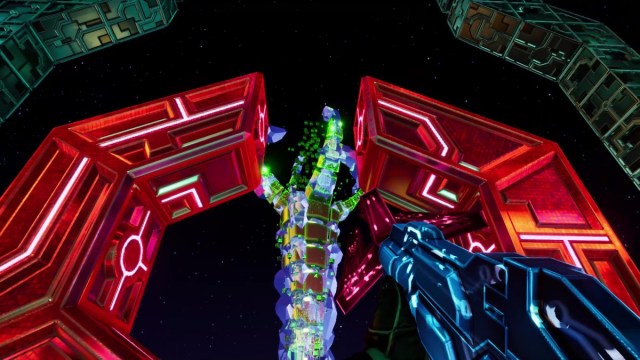
Shoot the pillar until you see a beam of light appear, then turn around and dispatch the cyberspace enemies that spawn behind you. When no more enemies are left, continue to shoot the core until a spiked ball emerges from the archway and floats over to orbit the pillar.
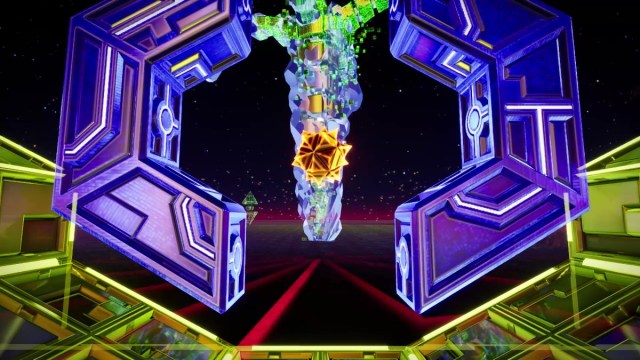
Repeat this process 3 times, once on each island, to shut down SHODAN and complete System Shock.
Congratulations; this isn’t an easy game, whether you used a walkthrough for it or not. If you want some more tips on topics that this no-frills System Shock walkthrough didn’t cover, check out our dedicated System Shock hub.


Published: Aug 7, 2023 05:24 pm