
Many things make Halo a great series, but the thing that sets it apart the most is its vast catalog of Easter Eggs. The series has no shortage of these, and one of its most popular — the Halo 2 Scarab Gun — is maybe its best.
Whether you’re just looking to play with the legendary hidden weapon or looking to unlock the “Scarab Lord” achievement in the Master Chief Collection, attaining this weapon will be tricky. The traditional method involves luring a banshee all the way through the tunnel on Metropolis, while the new-age method involves using the Feather skull and a rocket launcher to super-launch to the gun.
For this Halo 2 Scarab Gun guide, however, we’ll be tackling this Easter Egg with a much more consistent, much cooler method.
How to Reach the Halo 2 Scarab Gun
The Scarab Gun can be found atop a very tall building on the level Metropolis. The method that we’ll be using requires two controllers in split-screen on Easy difficulty. You’ll use a pelican to fly up to the skull.
Pelicans aren’t traditionally pilotable, but by using a glitch called Arbitrary Unit Possession, you can trick the game into spawning you as a marine who can pilot the pelican.
How to Spawn as a Marine
Load up Metropolis on Easy difficulty in local co-op split-screen with the Envy skull enabled. This skull replaces your flashlight with cloaking, which will be imperative in getting this to work.
As soon as the level loads, enter the warthog to your right with player one and wait for the two marines to hop in. It is very important that you don’t shoot, throw grenades, or honk your horn at any point.
Hop into the scorpion with your second player and drive it to the left, towards the corner between the concrete wall and the ledge of the bridge, seen below:
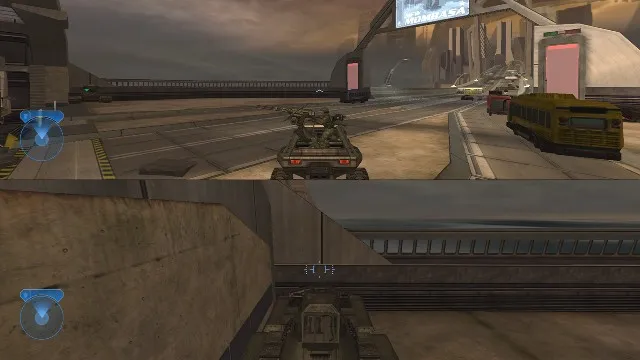
Make sure you are aligned as in the image above, then hold forward and aim about 45 degrees to the right and up. This will allow you to drive partly up the wall, though it can be a bit finicky.
Turn left once you are at the peak of your climb, such that the scorpion is leaning against the other wall. Take your hand off all buttons and the scorpion will slide partly down the wall. Exit the vehicle. The result will be a scorpion resting at a slight upward angle against the left wall.
Exit the warthog with player one and melee your second player to death six times, but be careful not to pick up any of their grenades or weapon drops. After each death, move a few feet to the side, so that they respawn away from their previous corpse. You don’t want them picking up old drops either.
Following the final respawn after the six deaths, have the second player carefully pick up two grenades from the ground and nothing else. Move player two over to the scorpion and have them crouch-walk under it, then towards the lowest point of the tank.
With your first player, jump up on top of the scorpion, then over the edge and off the bridge to your death. If done correctly, you should not respawn, as there is no room around player two to do so. Pause the game and restart the mission.
Enter the warthog and pick up the marines again with player one, then drive to the corner where you previously set up the scorpion. Exit the hog and climb up onto the ledge, but don’t jump off the edge yet.
Now, you must progress across the bridge with player two without getting shot at. This means you can’t allow the enemies to shoot at all, so you’ll have to be sneaky. If you hear a shot of any kind fired at any point (including wraiths, marines, etc.), revert the checkpoint.
Progress along the right side of the bridge to the right of the flipped truck. When you pass it, immediately activate cloaking at the point pictured below and keep running to the next flipped truck.
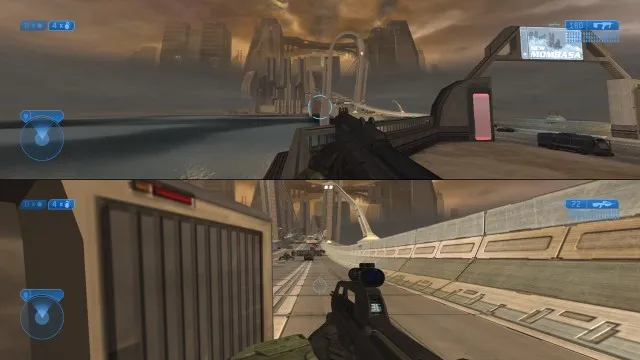
Keep running forward. The ghosts should ignore you. Once you run past the cab of the red truck, activate cloaking a second time, at the point shown here.
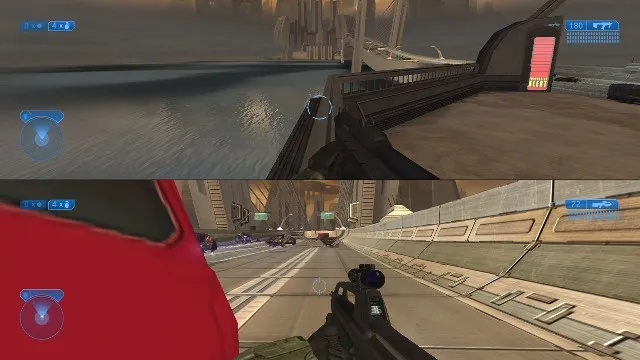
Once you reach the next red truck, hug the right side of the truck and wait for cloaking again. This should be the first time you completely stop moving.
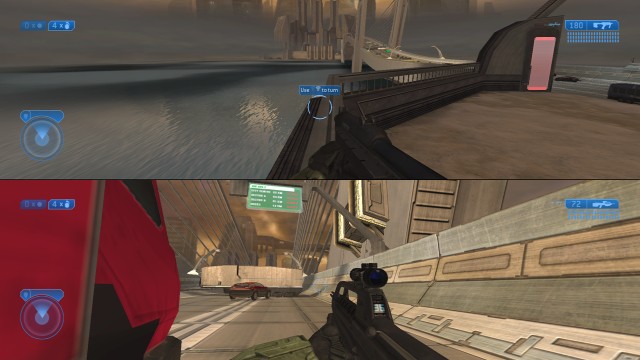
Activate it and run forward and to the right of the white truck ahead. Jump up the incline to your right and hide behind the giant strut on the bridge, as seen below.
Throw two grenades off the cliff, wait for camo, then activate and run forward to the second cable. Crouch here, out of sight, and wait for camo again. Run to the fourth cable, then repeat until you are at the sixth cable.
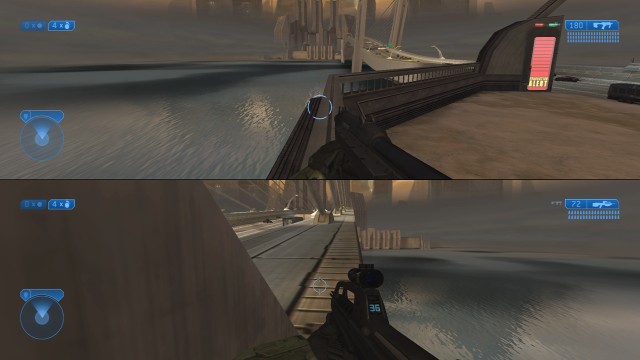
Wait for camo, then have the player by the warthog jump off the cliff. At the same time that you jump the player off, activate camo with the other player and start jumping and meleeing as you continue to run down the side of the bridge.
Stay to the right of the cables, and even when your camo runs out, keep going, past the wraith. After you’ve passed four cables, stop jumping and meleeing, but keep running.
Assuming you didn’t trigger any enemies to shoot, your second player should now spawn behind you as a marine. The hard part of the trick is now done.
At this point, you are free to shoot as you please. Board the wraith with Chief, kill the driver, then enter the wraith with the marine. Since you are playing as an NPC, the auto-turrets in the wraith will fire for you, and you can boost a lot more frequently, which is pretty neat.
How to Pilot the Pelican
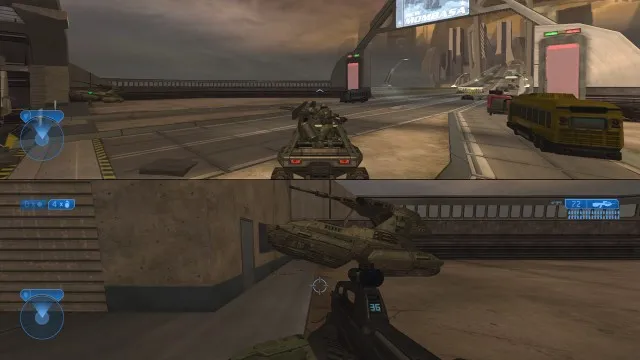
Continue forward until you are in the tunnel and see a warthog appear on your right. Get on the turret with the marine, and in the driver seat with Chief. Drive it up the ramp ahead of you, past the blockade.
The game will keep trying to eject you from the warthog since marines aren’t supposed to be in one at this point, but just keep re-entering it. It’s essential that the marine is in the warthog when you pass this load zone, otherwise, he can be despawned.
Weave the hog through the debris in this area, then drive up the incline to the right at the end, past the second large blockade. Drive over it, take a right into the small room, then drive through the tunnel ahead and to the left. Continue driving through the level until you reach the section with the two wraiths.
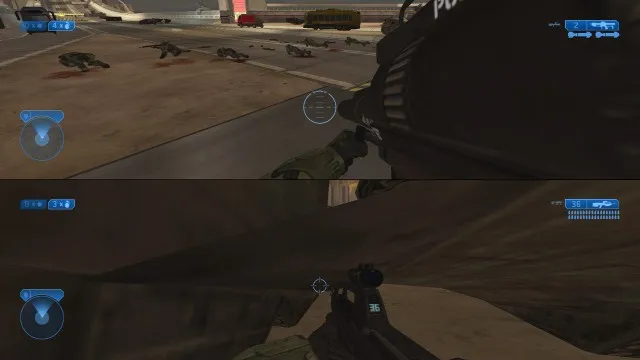
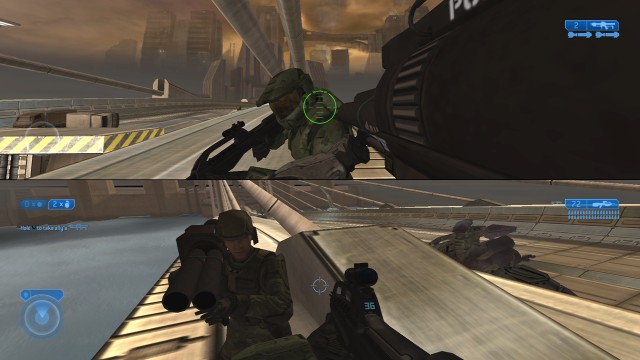
Kill the wraiths, then the snipers that the phantom drops off, and the jackal snipers. At this point, a pelican should swoop in and hover above the bridge closest to the building that you need to enter.
Climb up the stairs to this bridge with the marine and wait for the pelican to come overhead. When it stops, stand underneath the turret at the front, look up and hold the reload button to boot the pilot out. Climb in with the same button and you are free to fly around!
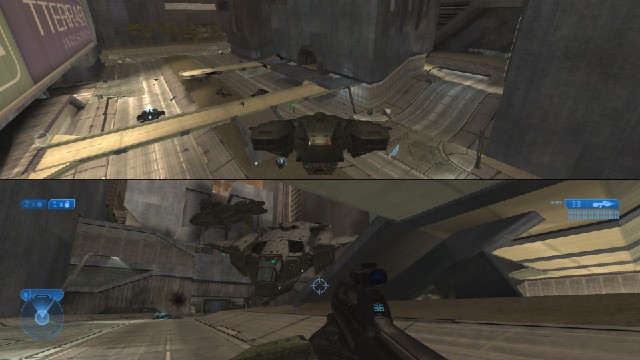
Use the jump button to fly up, and the crouch button to descend. Other than that, the flying controls are the same as a banshee.
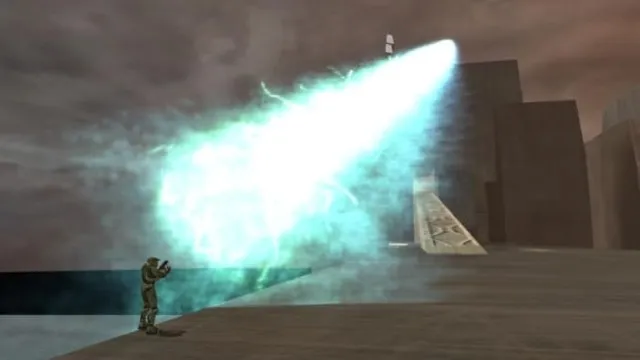
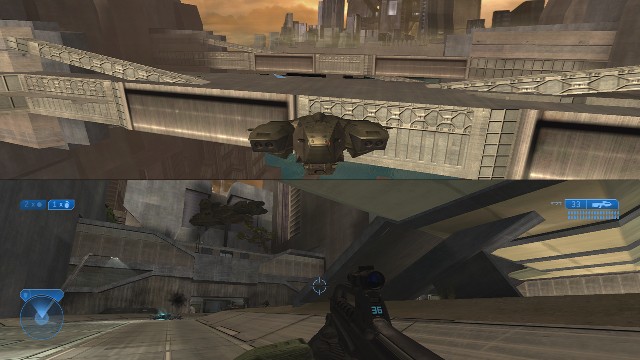
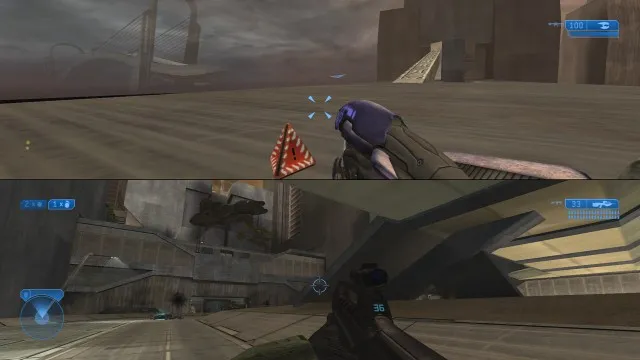
Ascend straight up, all the way above the building pictured below. You should be able to see a small orange pylon on the building, with a peculiar plasma rifle sitting atop it. Fly down to it.
This is the Scarab Gun, the most powerful weapon in the series. You can then fly back down to Earth with your newfound superweapon and tear through the rest of the level.
And that’s how to get the Halo 2 Scarab Gun Easter egg the easiest way possible. It’s still involved, sure, but it’s the most effective way to get the gun.You’ll even get an achievement for all of your efforts.


Published: Jun 14, 2021 03:33 am