The ultimate combination of platforming fun and level editor, The Sandbox Evolution is two games packaged into one. You can spend all your time unlocking the developer designed levels and trying out user generated areas, or you could focus instead on putting together your own complete worlds for others to play.
Giant underground complex filled with lava, explosive traps, and sabretooth tigers? Why not? How about some ancient jungle ruins populated by spikes and acid-spitting plants instead? Even a futuristic city skyline is entirely possible.
Along the way the player will pick up collectibles, battle enemies, find ways around obstacles, and hopefully make it to the end point.
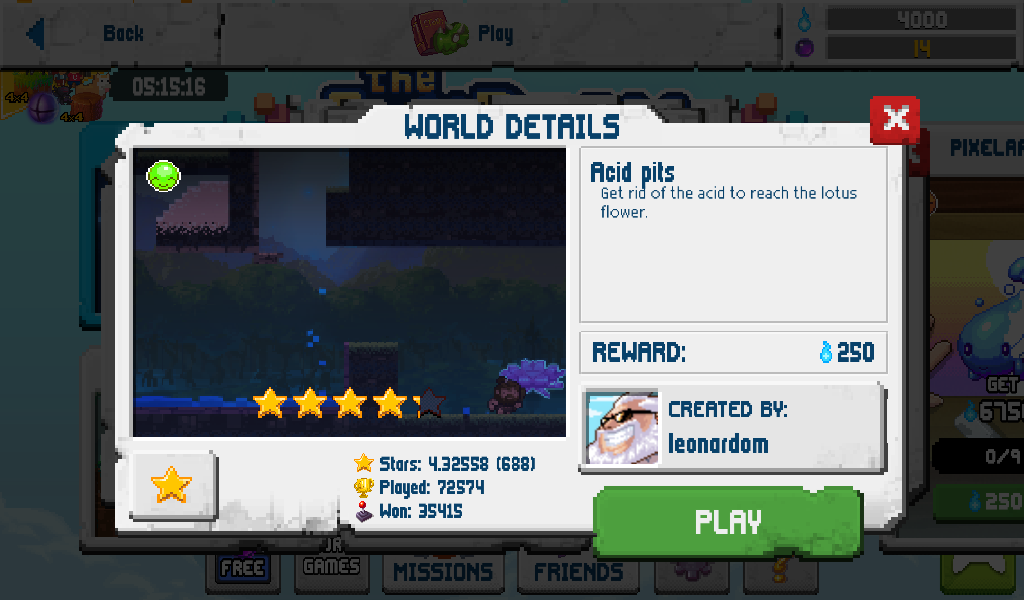 There are a wealth of user generated levels to explore!
Creating Sandbox Evolution Levels
While the Sandbox mode lets you put together anything you want while mixing together different terrain types, there’s a much easier way to design full levels for other users to try out.
In the Create tab, simply choose “Make Game” instead of “Sandbox” and you’ll have a fuller suite of options to play with that are designed around building a functional level.
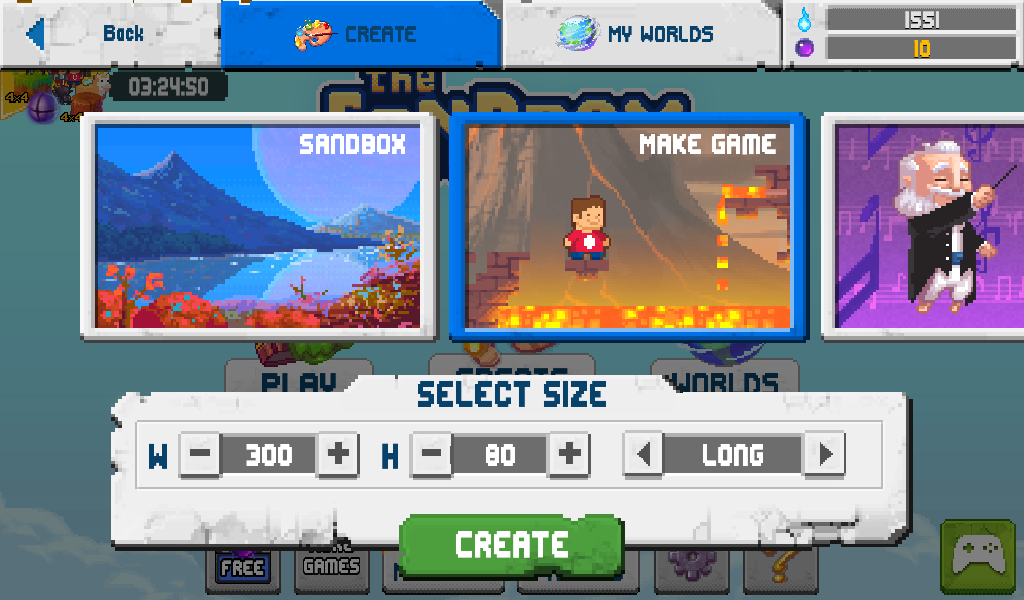 Staring a new level to design
When first starting you will only have a small number of elements to place, which greatly restricts your level design options. Many of the level creation elements can be unlocked just by watching video ads, but quite a few (and usually the most exciting options) require large amounts of mana or karma to unlock.
Be sure to see our basic Sandbox Evolution tips and tricks guide for info on earning more in-game currency without dropping any actual money.
After selecting the vertical and horizontal edges of the area, one of the first things you’ll want to change when creating a level is the background image. Obviously you don’t want skyscrapers sitting behind your lava covered mountain range, and you don’t have to stick with whatever is randomly generated when you start a new level.
To change the background to match your visual theme, pull up the temperature control options panel and tap over to the “Visual” tab, where dozens of different options are available.
Next up is the most crucial choice to the entire level: the hero who will play it through. There’s no point making a level with long chasms or high peaks that rely on double jumping if you don’t pick the Avatar hero, for instance.
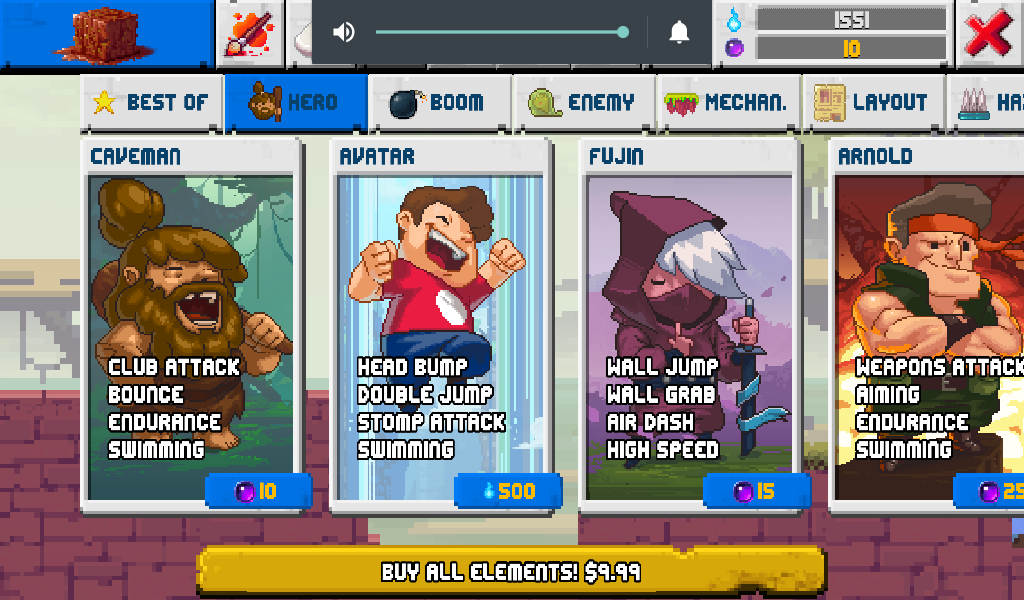 Selecting A Base Hero
On the other side of that equation though, don’t discount a player figuring out interesting ways to complete a level anyway by utilizing each hero’s unique abilities. The cave man can’t double jump, but he can bounce higher when jumping on an enemy – so placing a few creatures beneath a tall ledge can result in a chance at success.
For action-focused levels that are more about slaying enemies than figuring out how to reach difficult locations, the Arnold, Darkmage, and Bullsaurus heroes are excellent choices.
A hero’s weapons aren’t just for bashing enemies though (and even the Avatar can dispatch foes by jumping on their heads). The previously mentioned cave man can destroy some types of terrain by using his club, thereby creating new paths around obstacles or difficult enemy creatures.
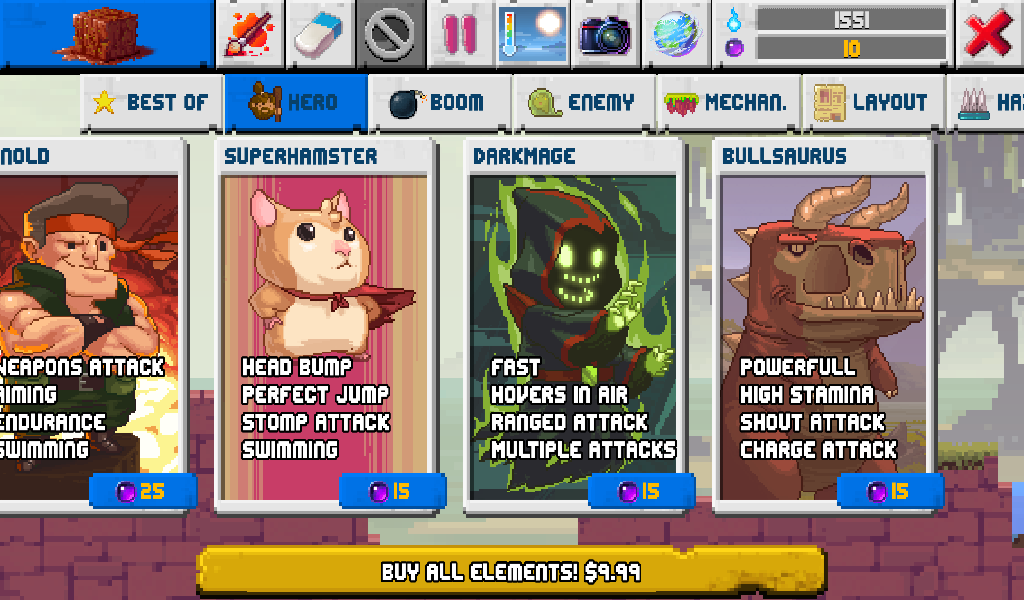 Combat Oriented Heroes
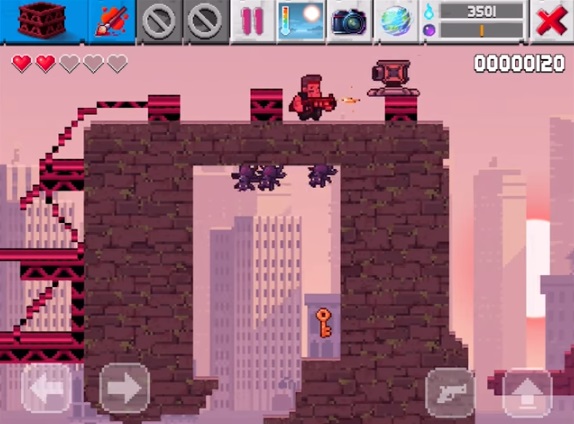
Placing Enemies And Objects
Each enemy element has a specific movement and attack pattern, and learning this pattern is crucial to proper placement so you create a level that’s challenging but not impossible. The spiders, for instance, will move up and down on their single strand webs based on where you tap to place them. Placing them lower gives them a longer up and down range.
Consider your level design scheme when placing enemies – a good level should feature ways of getting around (or over or under) enemies instead of having to defeat them all in order as they move across the screen. Your secondary routes might be hidden or difficult to reach, but if a player is thinking smart and paying attention to his or her surroundings they should become clear.
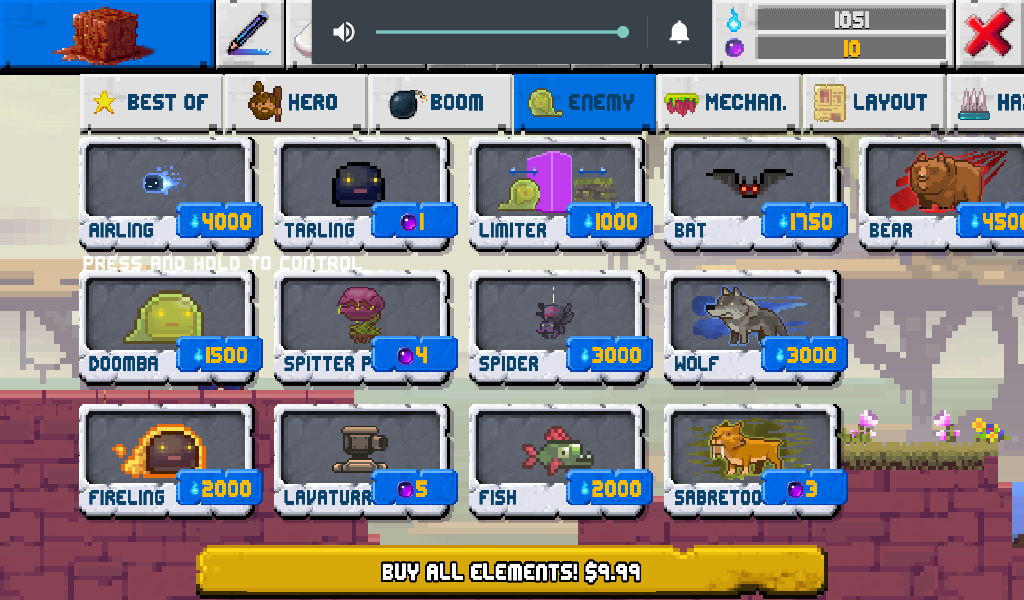 So many enemies to choose from!
For most enemies the direction they are facing isn’t relevant, since they will move back and forth anyway, but for objects like lava turrets the facing direction can completely change your level design.
Unfortunately the direction a turret faces when placed is randomized: there’s no reliable way to make a turret face left or right as it sets down. If its not going the direction you want, keep placing more turrets until you get one facing the opposite way and then use the eraser to get rid of the rest.
 I might have too many turrets… nah, they’ll figure it out.
Besides direction, another important consideration for level design is platform movement. Horizontal and vertical platforms automatically move side to side or up and down until they hit an obstacle.
To effectively place these moving landing pads, make sure you have a wall or some type of terrain in the way or they will keep floating away until hitting the edge of the level.
Be sure to also keep in mind the screen cut off from the width and height of your level. If you go with a horizontally wide but vertically short level of only 40 pixels or so high, don’t set an item near the top of the screen where the player can’t jump.
The edge of the screen acts as a barrier just as solid as metal or stone, preventing the player from effectively interacting with anything too close to the top.
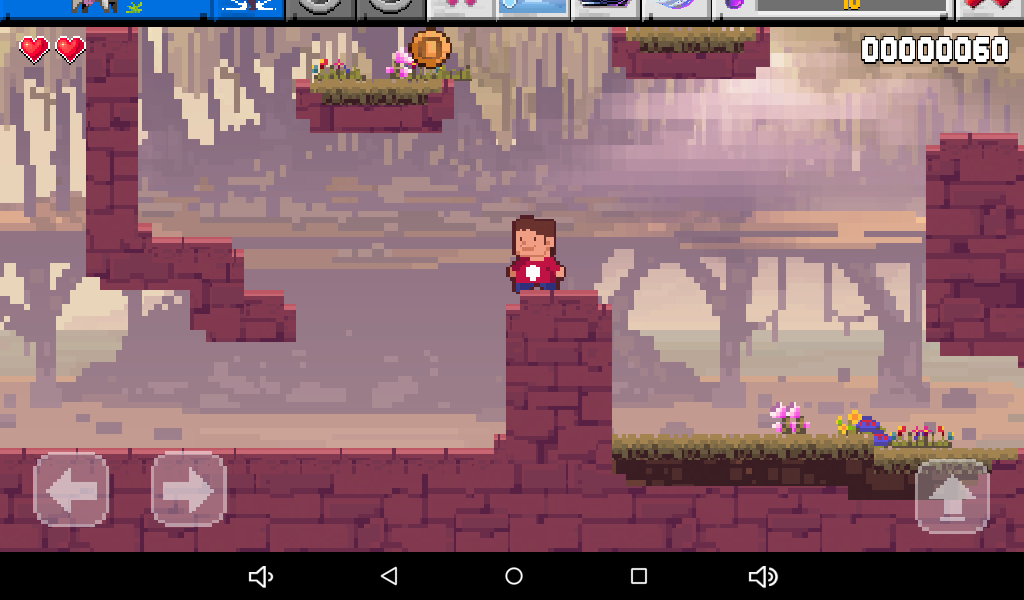 Because its at the top edge, there’s no way to get to this coin
Final Level Building Considerations
Always consider how the different elements you place can change the terrain, even after the player starts the level. While Make Game mode offers simpler ways to put together large structures and specific terrain shapes, those same principles from mixing elements in Sandbox mode can be used in your level design.
For instance, consider how a large quantity of acid placed on one side of a wall might be used other than as an obstacle to avoid. If the player breaks through the wall and releases a trickle of acid on the other side, that can be an interesting way to create an opening through some soft dirt below.
 With so many different elements, the design possibilities are endless
This same principle can be used to create all kinds of interesting effects. Acid touching metal will generate electricity, which can light up signs and give the player a fun little Easter egg message for finding a secret (or even turn on arrows pointing the direction they need to go next).
When you’ve fine tuned all your element placements, enemy patterns, terrain combos, and moving platform schemes, there’s still one last component that too many people overlook in their rush to finish.
Most importantly: don’t forget to play test your level! Click and hold the hero you’ve chosen to give the level a run through before you even think about publishing to the cloud.
 Have fun navigating your completed level!
With these Sandbox Evolution level building strategies in mind you are well on your way to creating an epic challenge for millions of other players to enjoy!
Think your level will get rated a full 5 stars? Be sure to share with us any you’ve made or the best user generated levels you’ve played in the comments below.


Published: Jul 5, 2016 02:58 pm