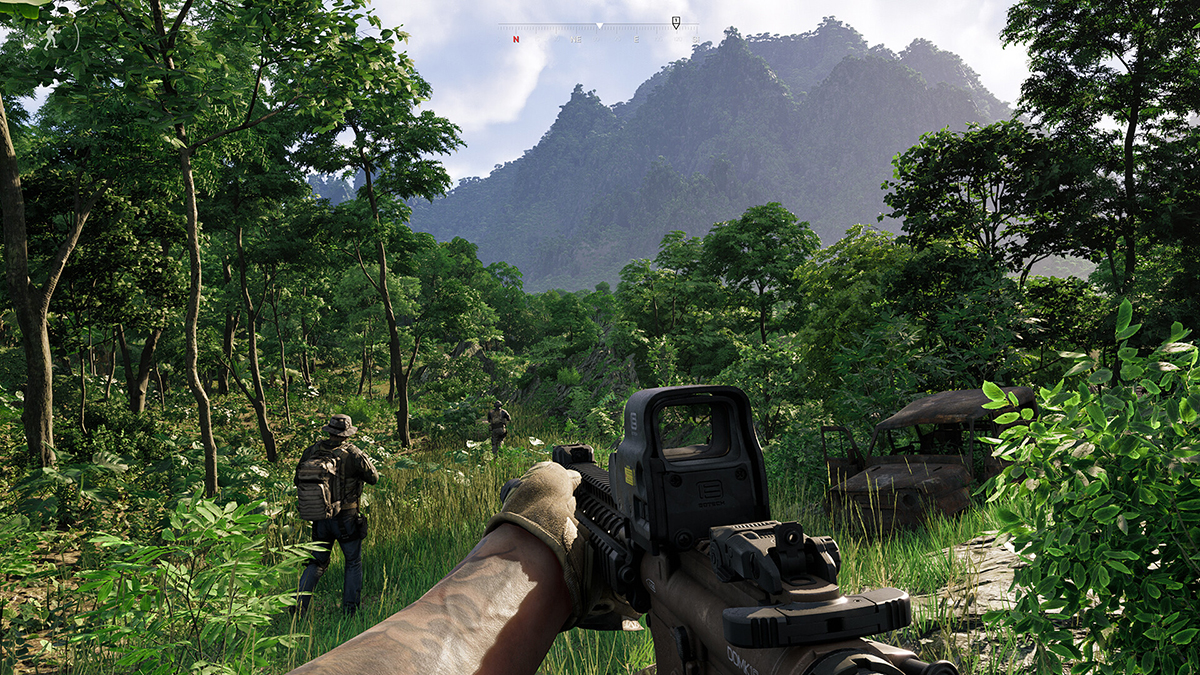
Gray Zone Warfare is an odd duck, a mix of Escape from Tarkov, DayZ, and Arma, among other influences. If you’re unfamiliar with any of the games that informed GZW‘s design, knowing some strategies to succeed in the early game will make progressing and enjoying the experience much easier.
5 Things You Should Know When Starting Gray Zone Warfare
There are dozens of tiny details that help make Gray Zone Warfare more enjoyable early on, from knowing quest locations to which trader items offer the best value and so on. However, today, we’re talking about larger, more significant strategies that make playing GZW more enjoyable and your progression more consistent.
1. Don’t Overextend
From a combat perspective, not overextending seems like a no-brainer — and it is. If you and your teammates (if you have them) are outnumbered or out of position, going for a risky push or difficult shot is more likely to get you killed than it is to win you a fight. And while you can get your gear back more easily in Gray Zone Warfare than you can in many of the games that inspired it, if you’re running low on cash to regear, one mistake can cost you immensely.
On the flip side of that coin, when you’re doing tasks (GZW‘s name for quests), you’ll sometimes find that you can complete multiple in the same location. Like in Tarkov, some of these tasks require that you find specific items and return to base with them intact. Dying with the item means it’s lost until you return to the objective area and pick it up again.
In other words, you don’t want to collect too many quest items or life-limited objectives and then lose them because you made a single mistake. If you complete two or three tasks, don’t be afraid to cut your losses and book it back to camp. You can also take that time to deposit any excess loot (weapons, consumables, and other valuables) in your stash. Maybe even sell a few things for some extra dough.
2. Carry Valuables in Your Secure Container
Every edition of Gray Zone Warfare comes with a secure container of some size, with the base version having a two-square by two-square case. The items you place in the container are the only ones that won’t be left on your body when you die, meaning so long as you’re using your secure container, you’ll always have what’s inside.
Remember, too, that you can move items in and out of your container at will, so what you leave camp with need not be what you return with. As a rule, you should usually have the following items in your container:
- At least one full stack of ammo for your main weapon.
- A full suite of meds (bandages, Surv Kit, etc).
- A quest item (if you have one)
- Item holders if you have them (key holder, etc.)
Depending on the size of your secure container, you will need to make some sacrifices in what you bring, and sometimes, you’ll need to move one or more items out to make room for something more valuable. No matter the case, it’s imperative you master using your secure container because it will save you time, money, and sanity.
3. Optimize Inventory
Like your secure container, the size of your stash is also determined by your edition (for now, anyway), so organizing and optimizing how everything is organized will ensure you have plenty of room for all the juicy loot you find out in the jungle.
Organizing your inventory takes a few forms, but here are my two biggest tips:
- Create category sections. In other words, have a section of your stash for ammo and weapons, another for armor, another for backpacks and rigs, and so on. Leave a bit of space for expanding each section as you collect additional loot, as well.
- Use containers that are bigger on the inside. A trademark of extraction shooters like Tarkov, and now in Gray Zone Warfare, are containers that take up a set number of spaces and contain more spaces within them. Early on, you’ll only have access to the M-FAC, or mini first aid kit, which takes up one space but has two spaces inside it. There are other such containers, and more will undoubtedly come to the game with time, but learning the best items to put in each will be invaluable.
I suggest categorizing your larger-on-the-inside containers as well so you always know what to put where and where to get whatever you need.
4. Don’t be Afraid to do a Knife Run
One of the most refreshing things about Gray Zone Warfare, as a jaded Escape from Tarkov player, is the ability to return to your body and possibly collect the gear you died with. Depending on your finances, you might need to do a knife run to get your kit to save yourself the cash.
Knife runs are exactly what they sound like: you respawn back at base with nothing but your knife, and you go to where you died with nothing but that knife. Sure, there’s a not-insignificant chance you die and probably lose the gear forever, but the only cost of a knife run, ultimately, is time. And that time cost depends mostly on how long the helicopter ride back to your body is and how much you spend looking for said body. A knife run is riskless in every other way that matters.
5. Quest, Quest, Quest
In one of the few direct pulls from Escape from Tarkov, Gray Zone Warfare‘s Vendors Task mechanic, quests by any other name, are key to progress. Not only are they currently one of the best sources of money, but you also need to complete them to unlock higher-tier gear — weapons, armor, meds, cases, etc. As such, you’ll need to complete as many quests as possible as quickly as possible so you stay on a level playing field with the rest of the player base. Having the best gear feels good, too.
That means you’ll need to prioritize quest/task objectives before PvP and more general looting. If you need to run because you have a hard-to-get quest item in your inventory, then do it. There’s no shame in dipping out of a fight you don’t know you can win, especially if you’re close to increasing your Vendor level. You can always knife run back to your PMC if you lose it. The same cannot be said of quest-required items.
Those are my five beginner’s tips for the early game in Gray Zone Warfare. Some of them apply no matter where you are in the game’s progression, but mastering them when you’re new will only serve you as you put in more hours.
For more, check out our Gray Zone Warfare guides hub, which includes content on how to increase your FPS.


Published: May 1, 2024 02:42 pm