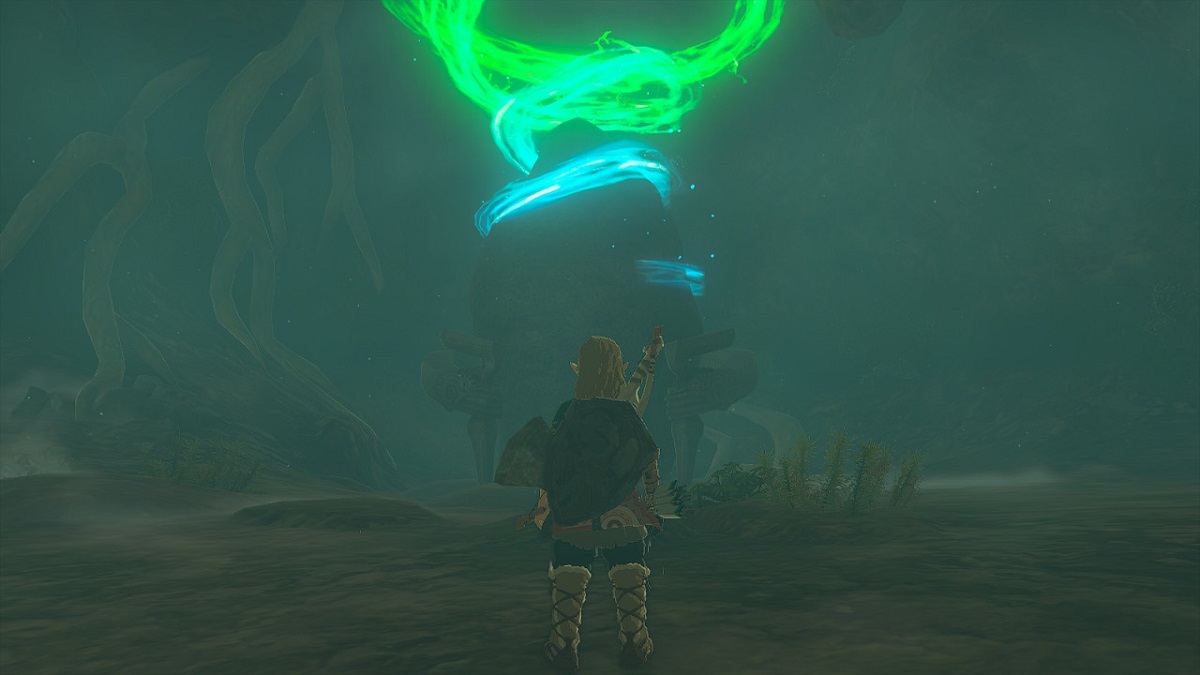
Completing The Legend of Zelda: Tears of the Kingdom Nachoya Shrine is the last thing you’ll do in the game’s tutorial area. You’re almost out of the Sky Islands and to Hyrule. The Nachoya Shrine puzzles are fairly easy to complete, but you can die here if you’re not careful. Here’s our walkthrough to get the last Light of Blessing you need.
Tears of the Kingdom Nachoya Shrine Walkthrough
Since you’ve unlocked fast travel after completing the other three Shrines and opening up the Temple of Time, use that to hop over to the Nachoya Shrine in the southern part of the map. It’s at coordinates (0388, -1660, 2299).
How to Solve the Nachoya Shrine Puzzles
When you arrive at the coordinates location, you’ll be met with a puzzle before even reaching the Nachoya Shrine. And it can be a frustrating one.
Use Recall to reverse the spinning mechanisms and hop over to a ledge to the left of them. Doing this can be tricky, and I fell into the water below the mechanisms several times before getting to the ledge. I found that stopping the mechanism with a platform straight down gave me enough time to dash and jump to land on it.
Once across, follow the path through the tunnel. You’ll eventually reach the Nachoya Shrine itself on the right, in a larger part of the cave. Inside the Nachoya Shrine, you’ll be faced with a series of puzzles involving water and rafts. Don’t fall in the water, or you’ll die.
Nachoya Shrine Puzzles 1 & 2 Solutions: Rafts
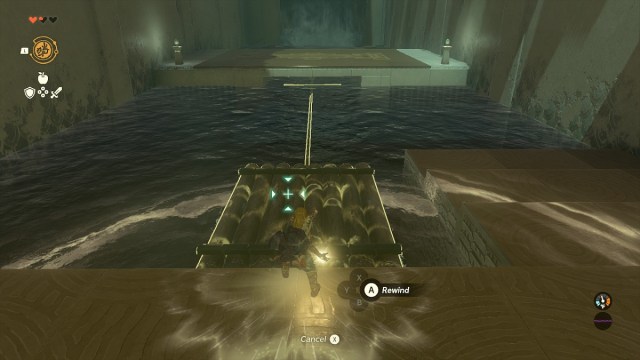
For the first puzzle, wait until a raft almost goes beneath you, then use rewind to change its direction. Hop on, and let it take you across the water. Do the same on the other side to let the raft take you up the waterfall. Don’t worry if the raft goes underwater here. Link won’t receive any damage.
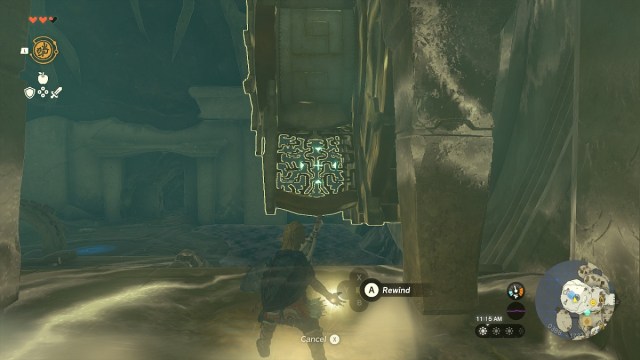
At the top, rewind the large brass cog on the left to reach a chest. Jump down into the pool below, then head over to the door across from the brass cog. This leads to the end of Nachoya Shrine and is the last puzzle standing in your way.
Nachoya Shrine Puzzle 3 Solution: Clock Hands
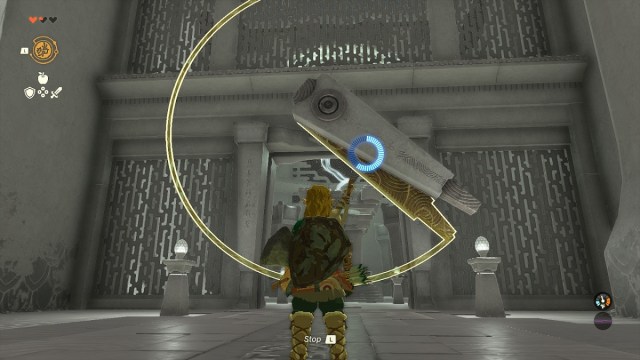
You’ll notice that there are two large clock hands going in opposite directions. When they cross at either the top (12 o’clock) or the bottom (6 o’clock), the gate leading to the end of the Shrine opens briefly. To solve this puzzle, wait until the hands almost meet at 12, then use Recall on the hand in the background. Then send it right. This should lock the hands together, keeping the door open as they spin in one direction.
Go up to the altar and get the last Light of Blessing. Now you have four of them, which you can use to upgrade your hearts, adding one heart to your health bar. Travel back to the temple by traveling to Ukough Shrine. Pray to the goddess statue by the door to upgrade your hearts. Then open the door, and make your way to Hyrule.
That’s how to complete the Nachoya Shrine in The Legend of Zelda: Tears of the Kingdom, as well as how to solve its puzzles. For more tips and walkthroughs, head over to our Tears of the Kingdom guides page.


Published: May 18, 2023 02:04 pm