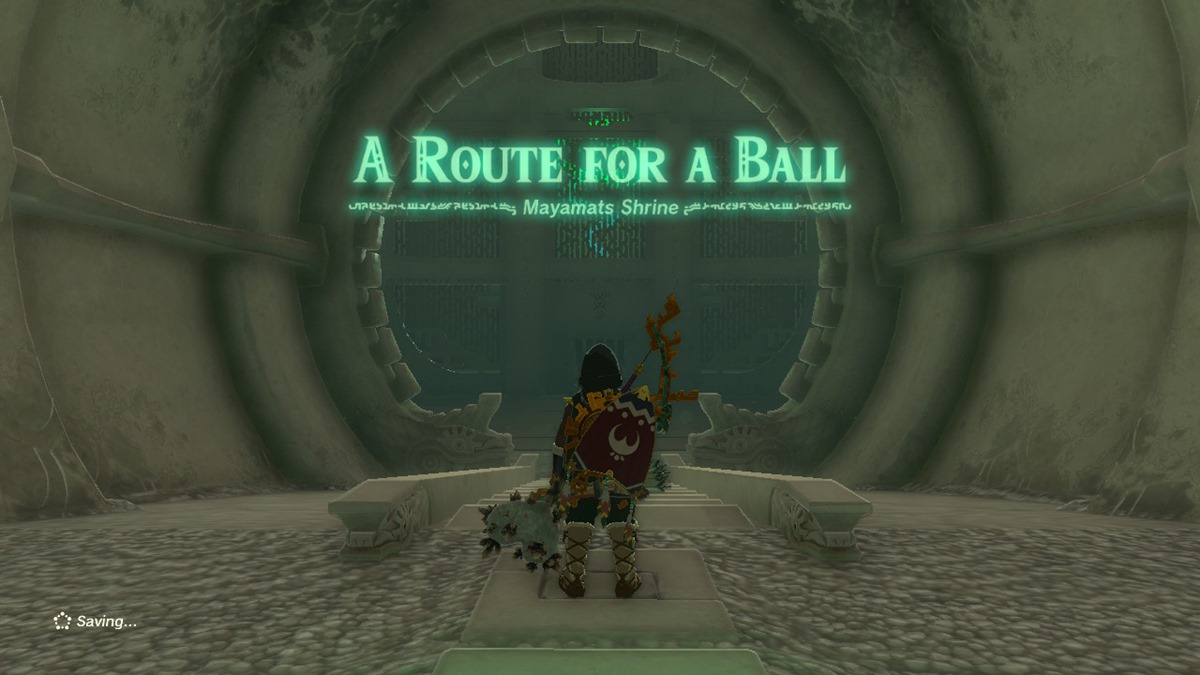
The Legend of Zelda: Tears of the Kingdom A Route for a Ball puzzle is in the Mayamats Shrine, and it can be somewhat tricky. To complete this one, you’ll need to ensure that orbs roll a certain direction, but deciphering that direction can be difficult. Here’s our guide to help you solve the Mayamats Shrine A Route For a Ball puzzle in Zelda: Tears of the Kingdom.
Mayamats Shrine A Route For a Ball Puzzle Solution in Zelda: Tears of the Kingdom
Mayamats Shrine Location
The Mayamats Shrine is found in the Gerudo region. To get there, I used the Gerudo Highlands Skyview Tower’s launch pad. Then, I glided slightly to the southwest while following the ridge. The location itself is near the edge of the map. The coordinates are (-4637, -1514, 0452).

TotK Mayamats Shrine A Route For a Ball Puzzle Walkthrough
The Zelda: Tears of the Kingdom Mayamats Shrine A Route to a Ball puzzle is all about getting an orb to roll down the main set of rails. Upon entering and riding the updraft, you’ll notice a large orb on a high ledge. Use Ascend to reach it. From there, you’ll need to do a few tasks.
First A Route For a Ball Puzzle Solution
Place the large orb in the lower area so you can climb on it. You can jump across to get the chest (it has a Large Zonai Charge). In my case, however, I found Link’s little hop motion a bit clunky. That’s why I just placed the ball closer to the chest, attached it, then brought it back. You may also place it further away, bring it back to jump on top of it, then cast Recall.
Second A Route For a Ball Puzzle Solution
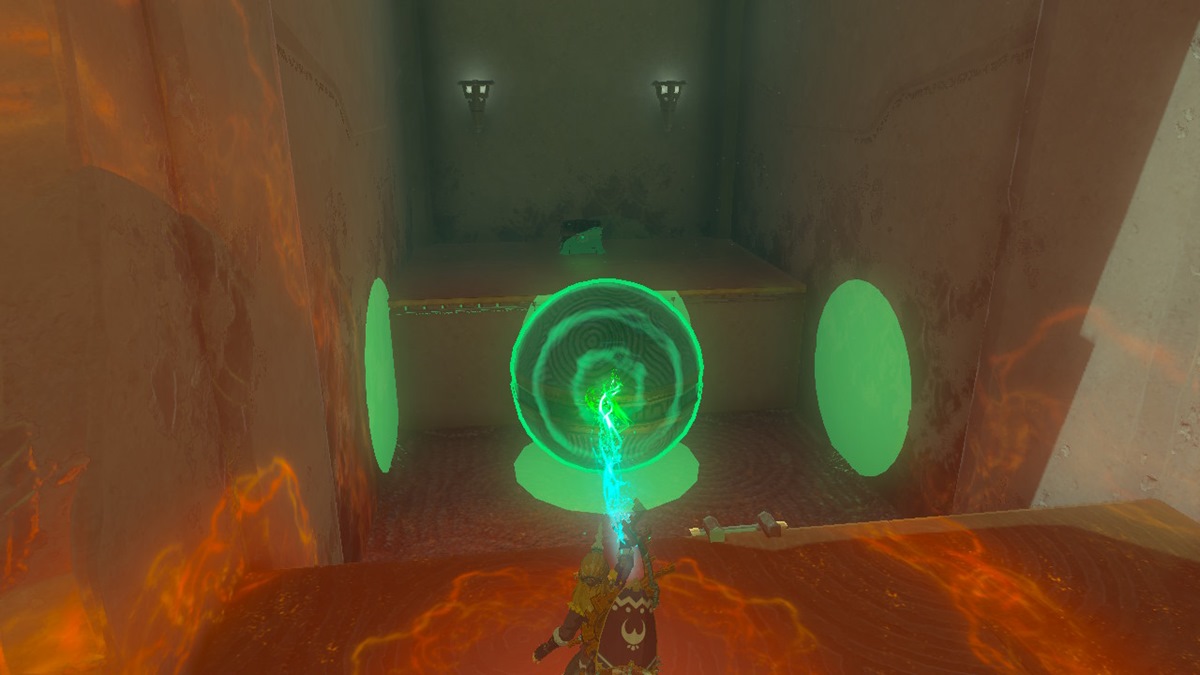
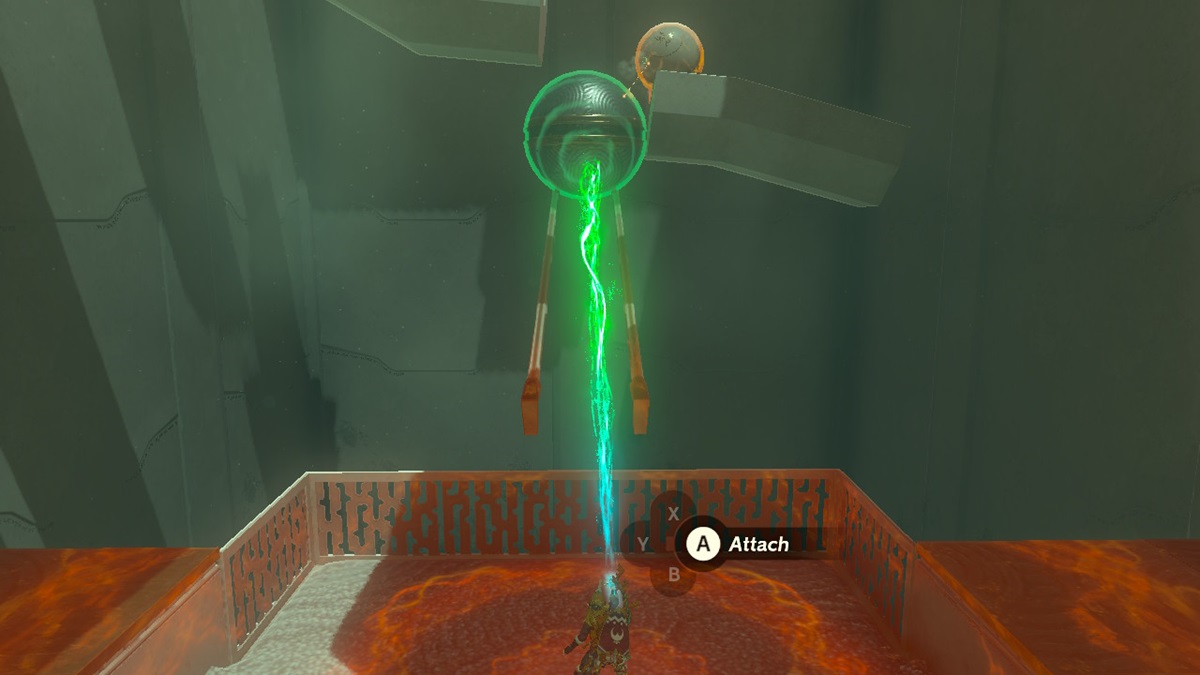
Next up, you’ll want to place the large orb in the middle of a structure that looks like a funnel. Use Ascend to reach the top, then bring it with you close to the chasm. You’ll notice a smaller orb rolling down a set of rails. With Ultrahand, move the larger orb toward the far edge. This will allow you to use the attach action just as the second sphere is falling down.
Third A Route For a Ball Puzzle Solution
With both orbs attached to one another, it’s time to head back to the main area of the TotK A Route For a Ball puzzle. Position the two so that the larger sphere is above the rails and the smaller sphere is below.
Once you let go, the combined contraption will roll all the way to the end. However, because they’re attached to each other, they’ll bump into the wall instead of falling down the pit. All that’s left is to glide back down to detach the smaller orb.

Once you drop the orb in the bullseye target, you’ll complete the Zelda: Tears of the Kingdom Mayamats Shrine A Route For a Ball puzzle. Now you have another Light of Blessing in your possession and a fast travel point to this area of the map. Both very good things. For more tips and walkthroughs, visit our Zelda: TotK guides hub.


Published: May 22, 2023 01:30 pm