
In week three of Destiny 2‘s Season of the Haunted, the Sever activity revolves around Commander Zavala and his centuries of grief. After completing enough waves of NIghtmare Containment and collecting Bound Presence, select the Sever node in the Moon destination map to launch the activity.
Sever – Grief Mission Walkthrough
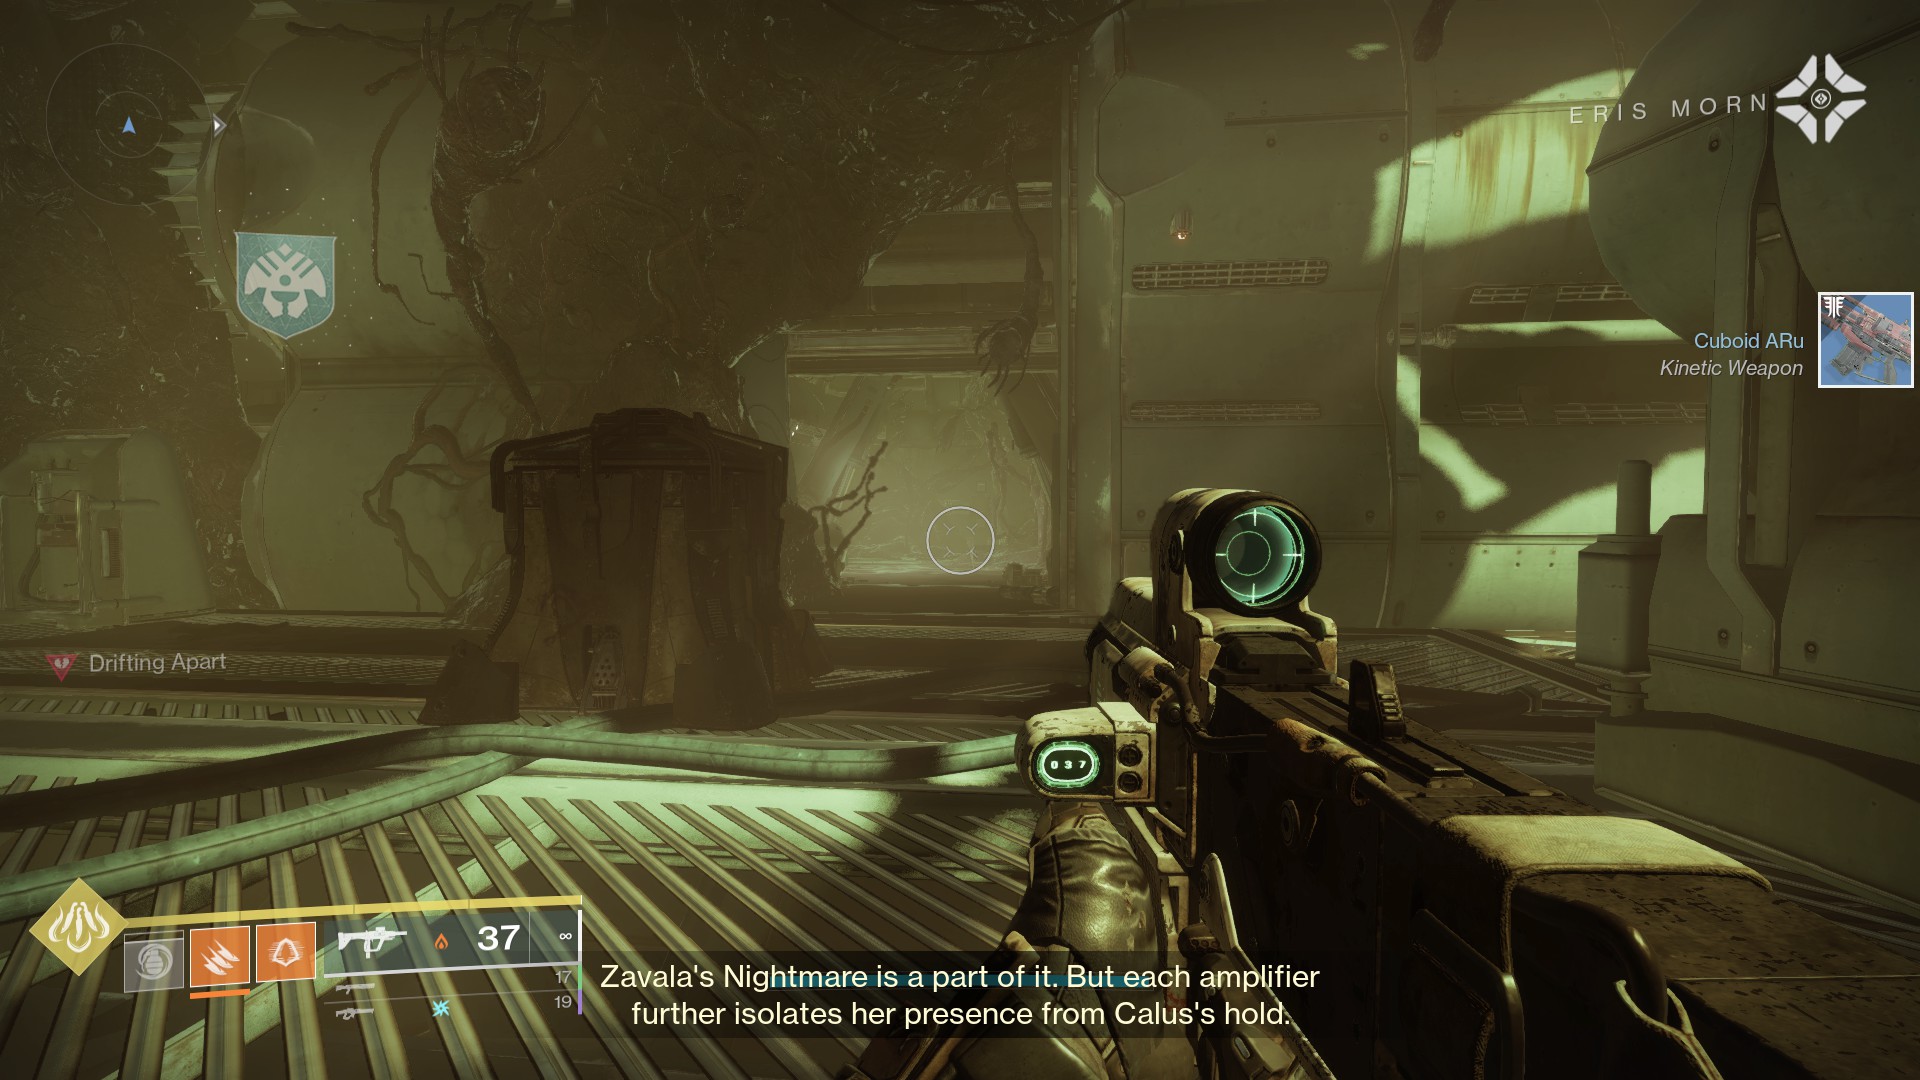
Head forward once you arrive in the Leviathan, then turn around when you can go no further. A narrow tunnel to the left of the entryway will take you to a large room filled with giant planters.
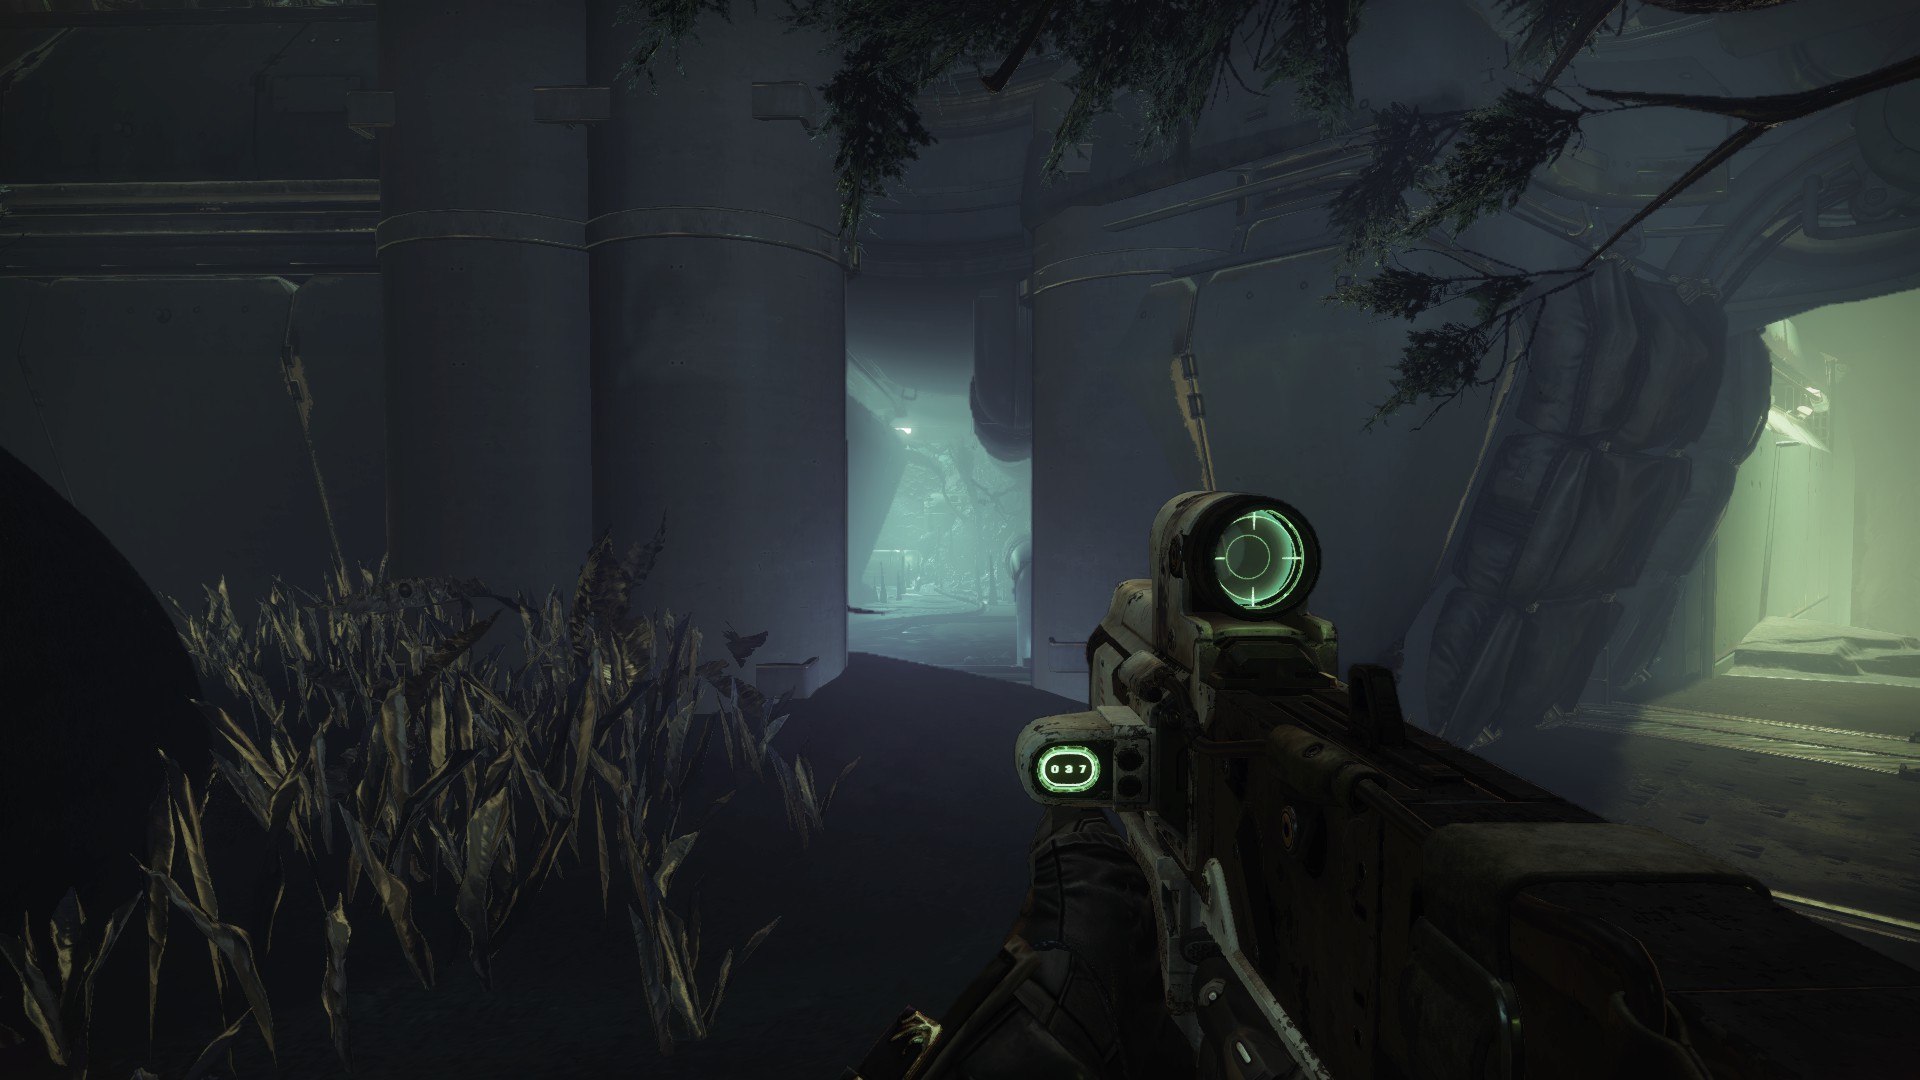
Jump through the planters and head left. Scorn enemies and Loyalist Warbeasts will come at you from the hallway you’ll need to follow. Take them out and make your way through the yellow-lit path until you reach a door that won’t fully open.
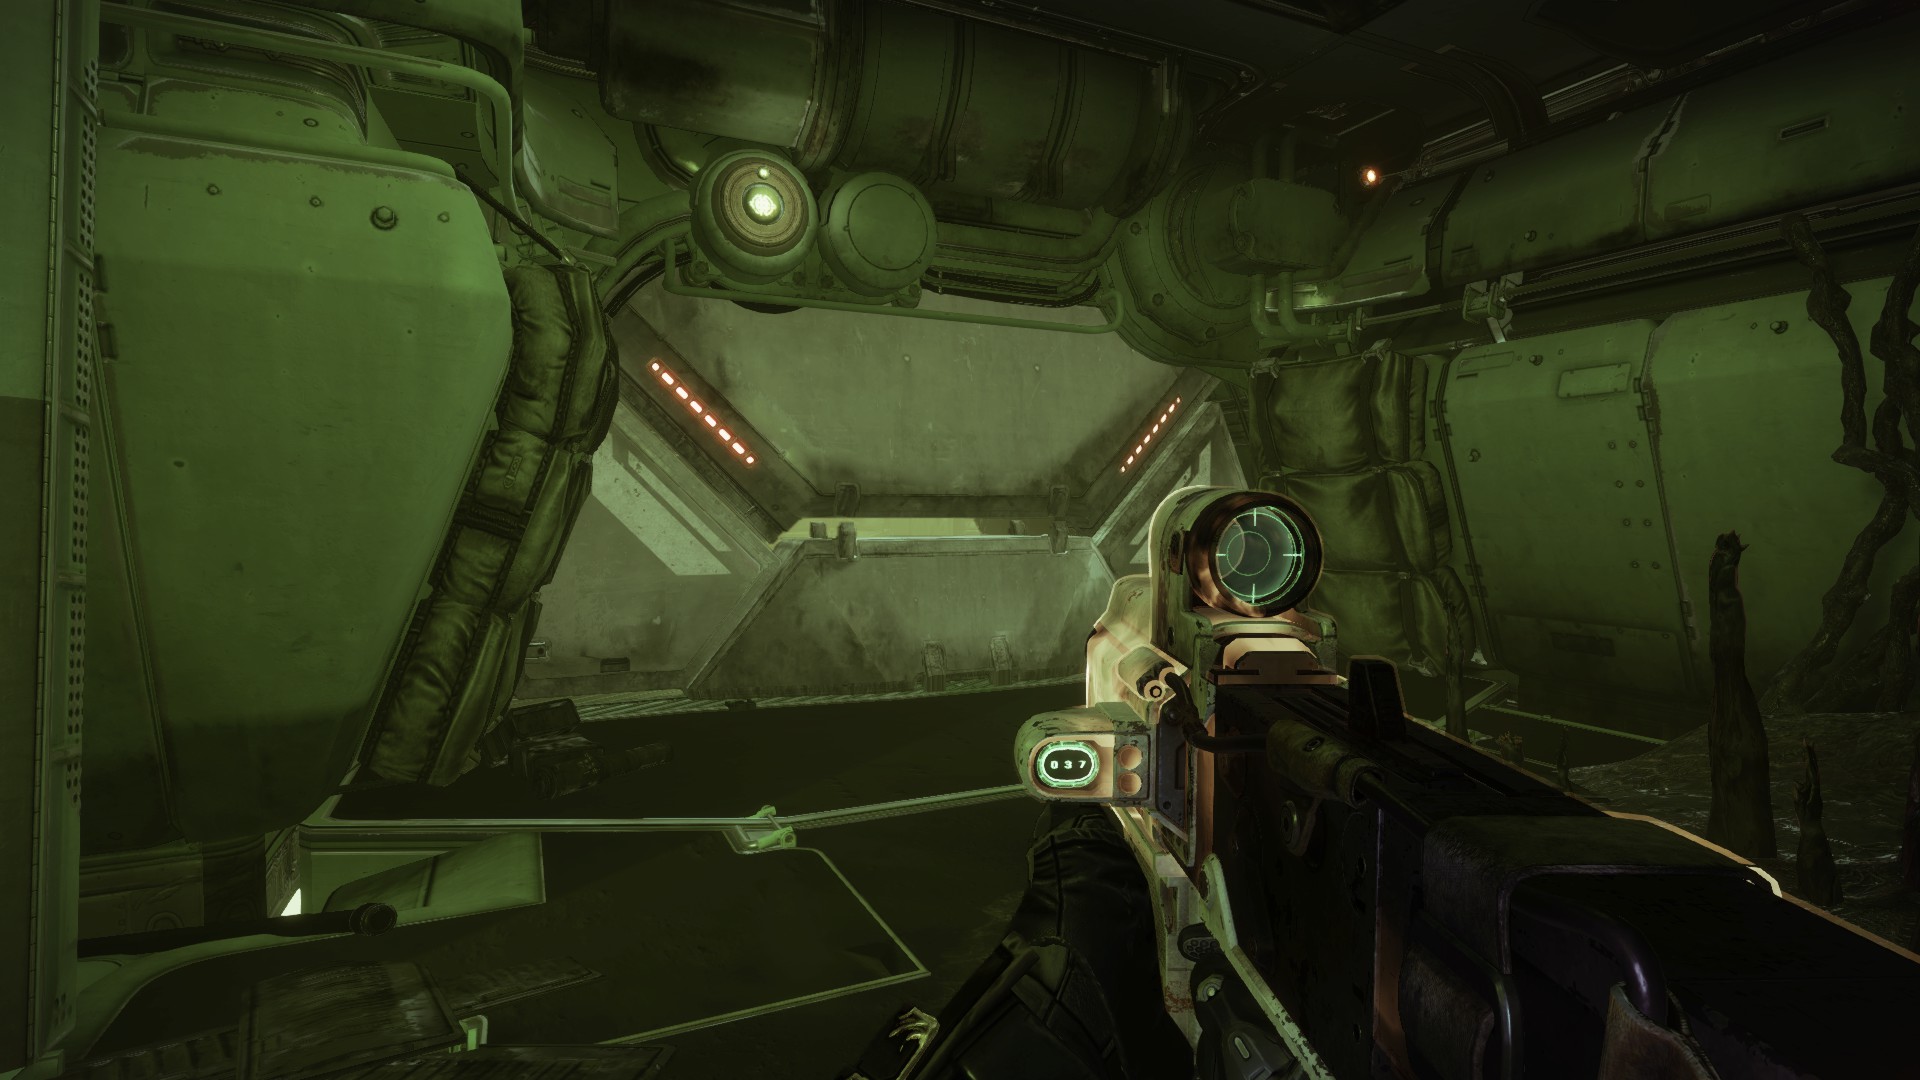
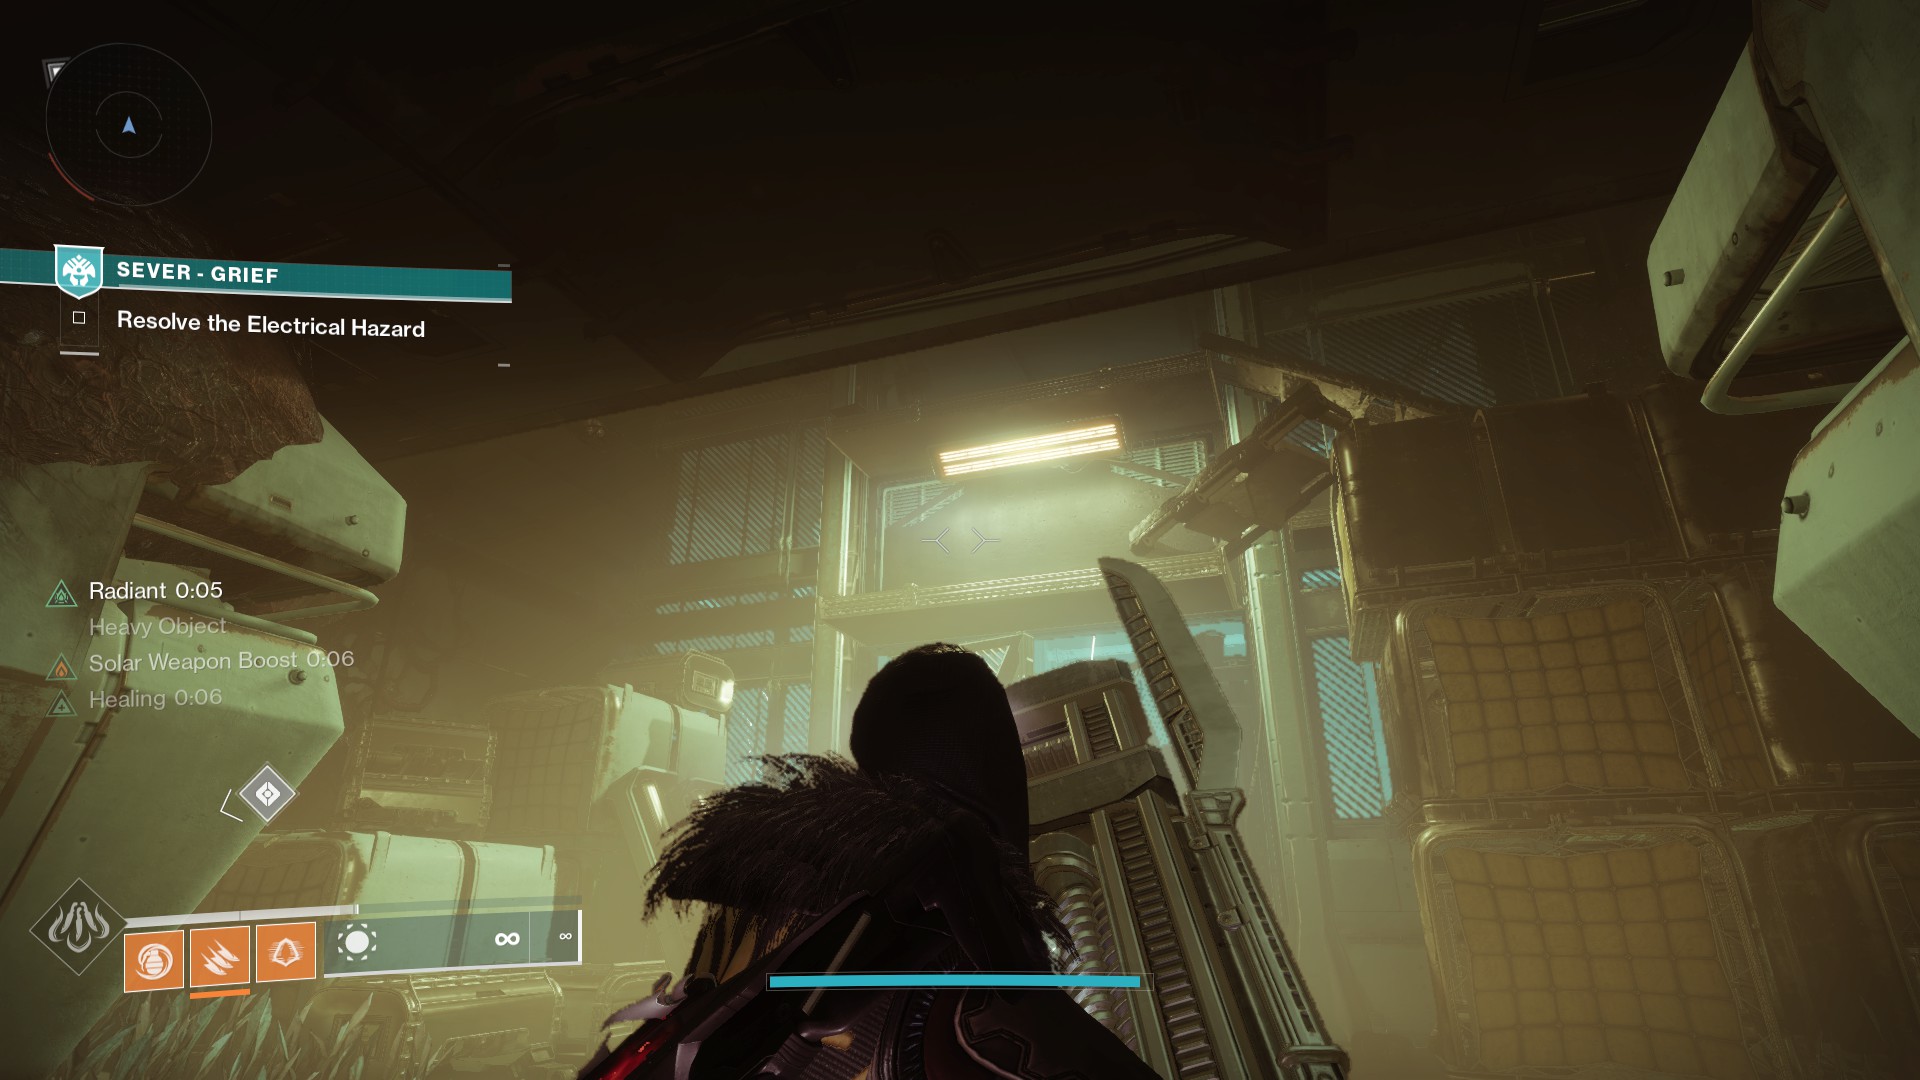
Set the Ritual Amplifier in the fungal growth nearby to open the door. Go through, and you’ll see your path blocked by a large room filled with discharging electricity.
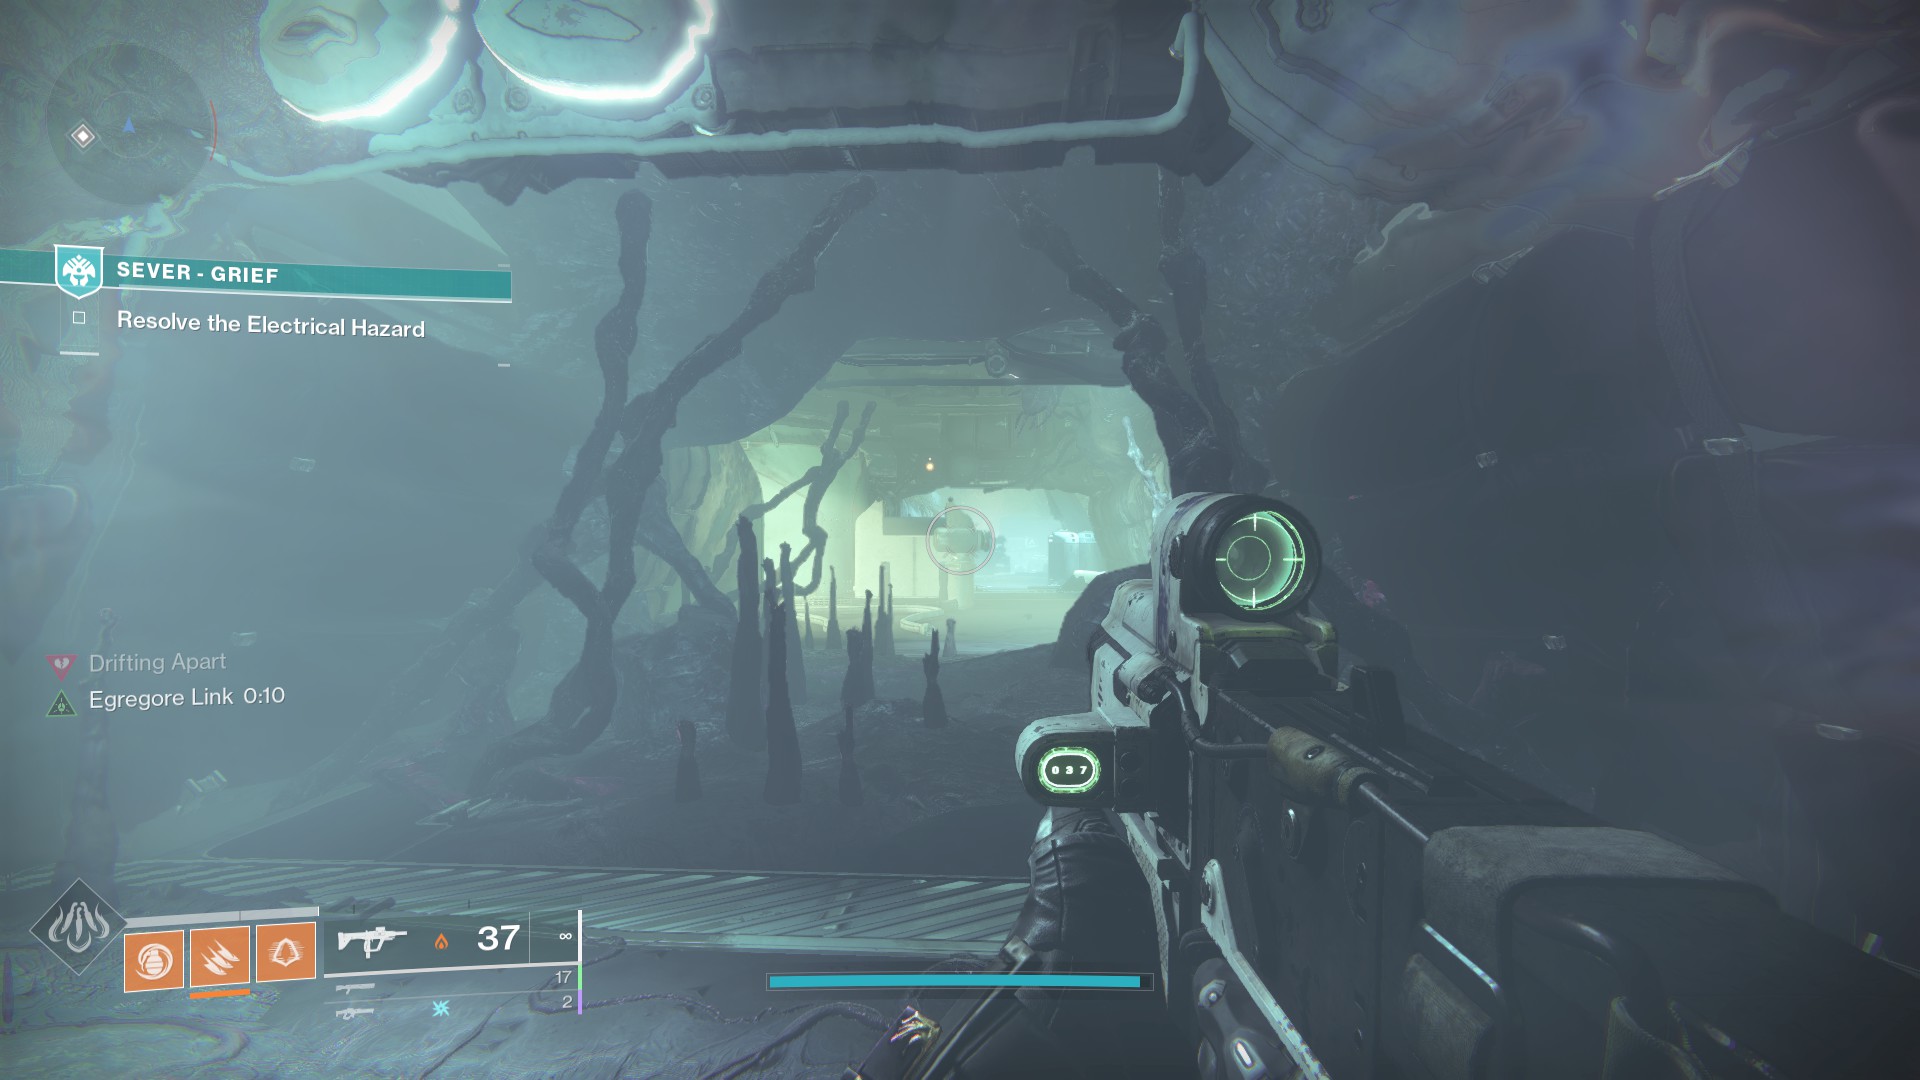
How to Get Around the Electrical Hazard
Touching the electricity will kill you, so instead, activate the Egregore spores and head through the door opposite them.
At the end of the hallway beyond the door is a large wrench.
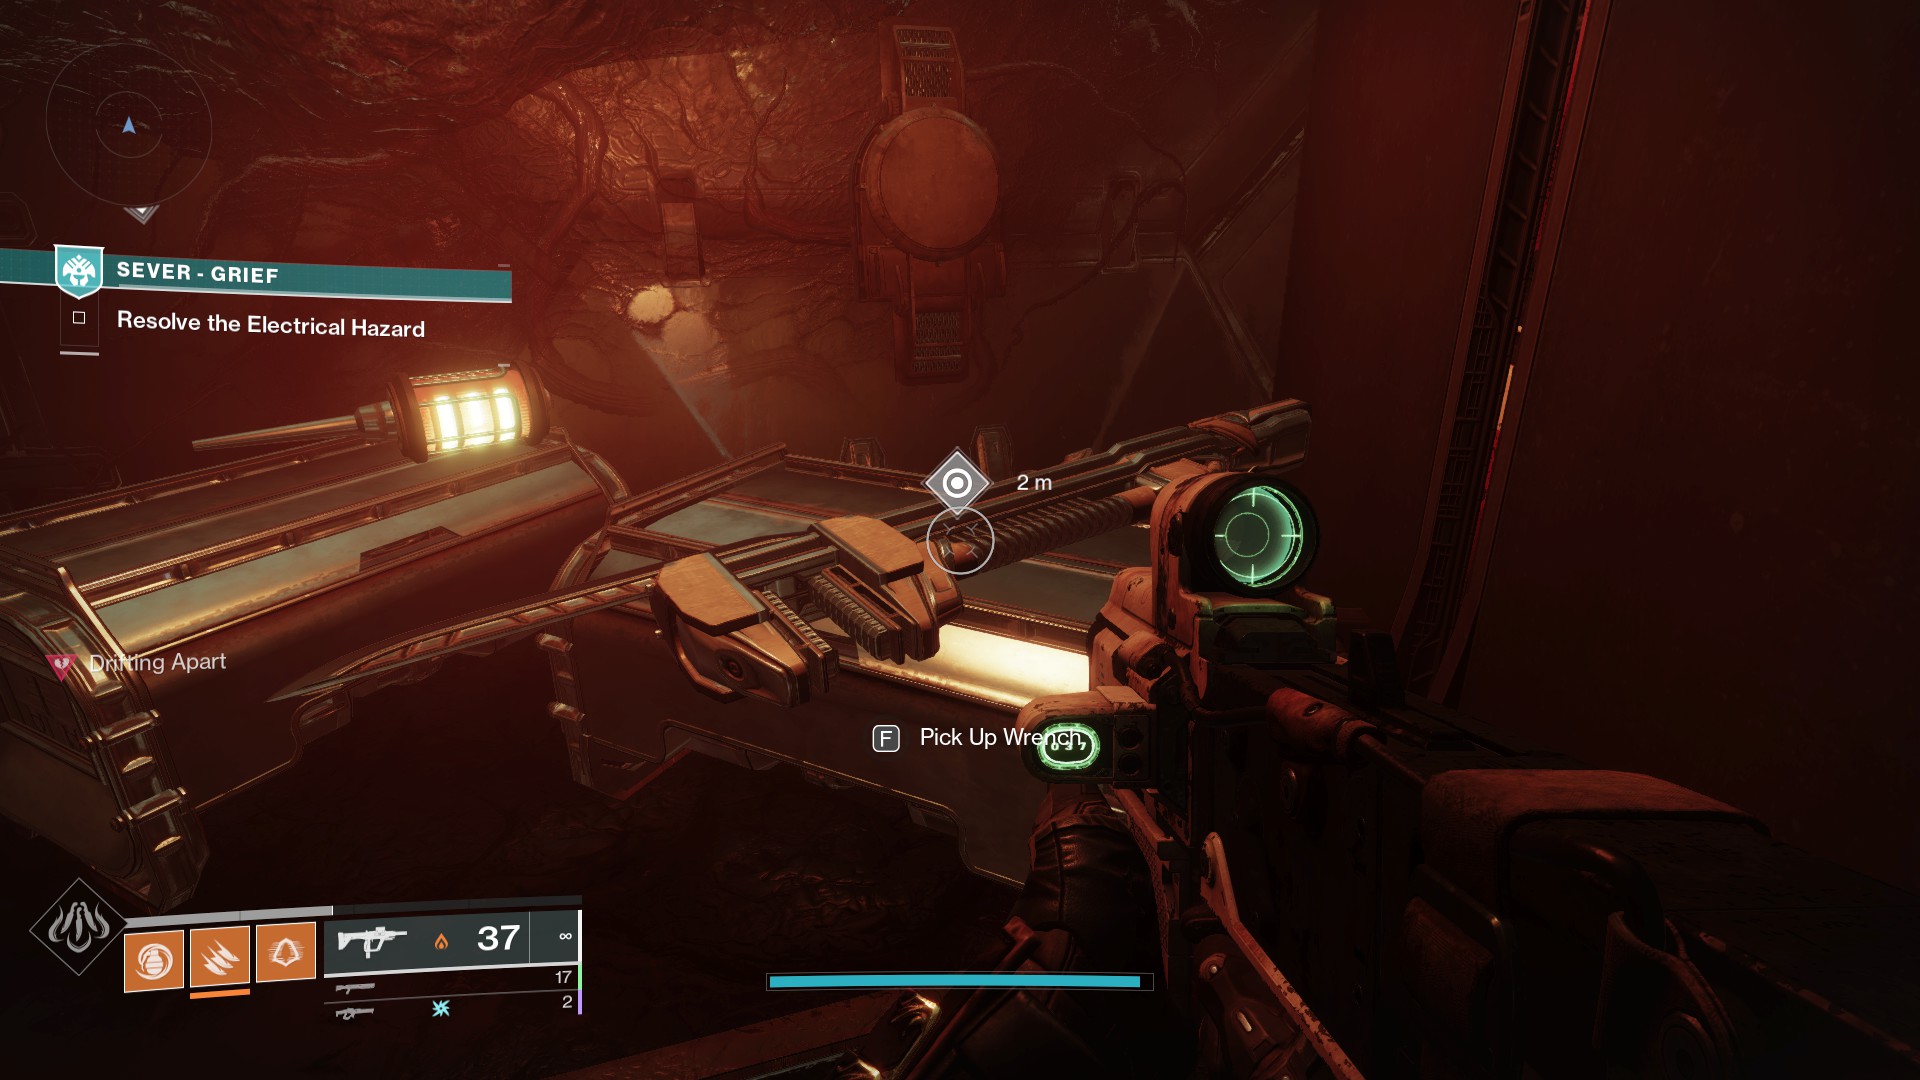
When you pick it up, you’ll be heavily encumbered. Drop the tool briefly to deal with the few enemies that spawn, then make a quick right to a room filled with boxes.
Jump up onto the boxes. At the top-most platform, head onto the pipes above the electrical arcs and make your way to the left to the Egregore spore area.

There will be a mark on your HUD telling you where to put the wrench. If you fall into the electricity, you’ll die and need to head back to the wrench and start this section over again. Deposit the wrench on the machine near the Egregore to disable the electrical arcs.
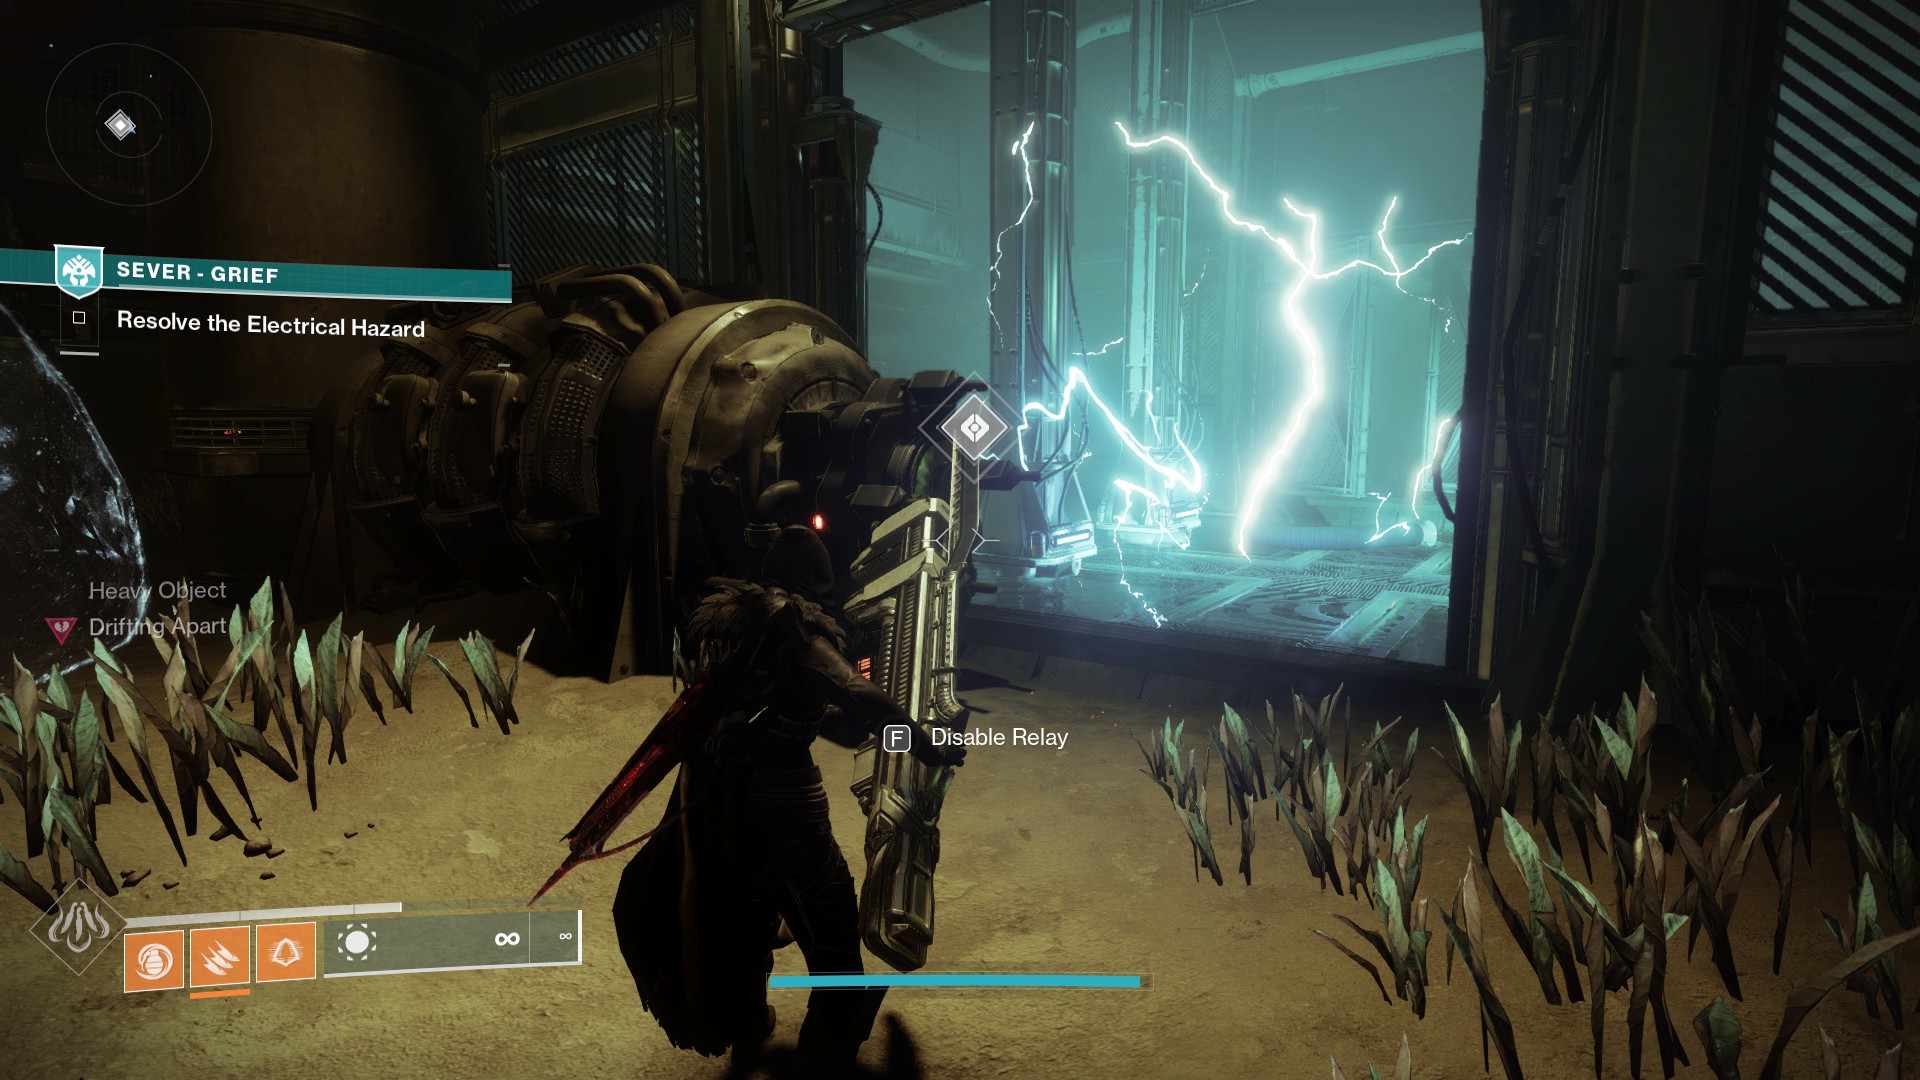
Then, head across the area to a console with three green-glowing lights to disable the lockdown and open the nearby door.
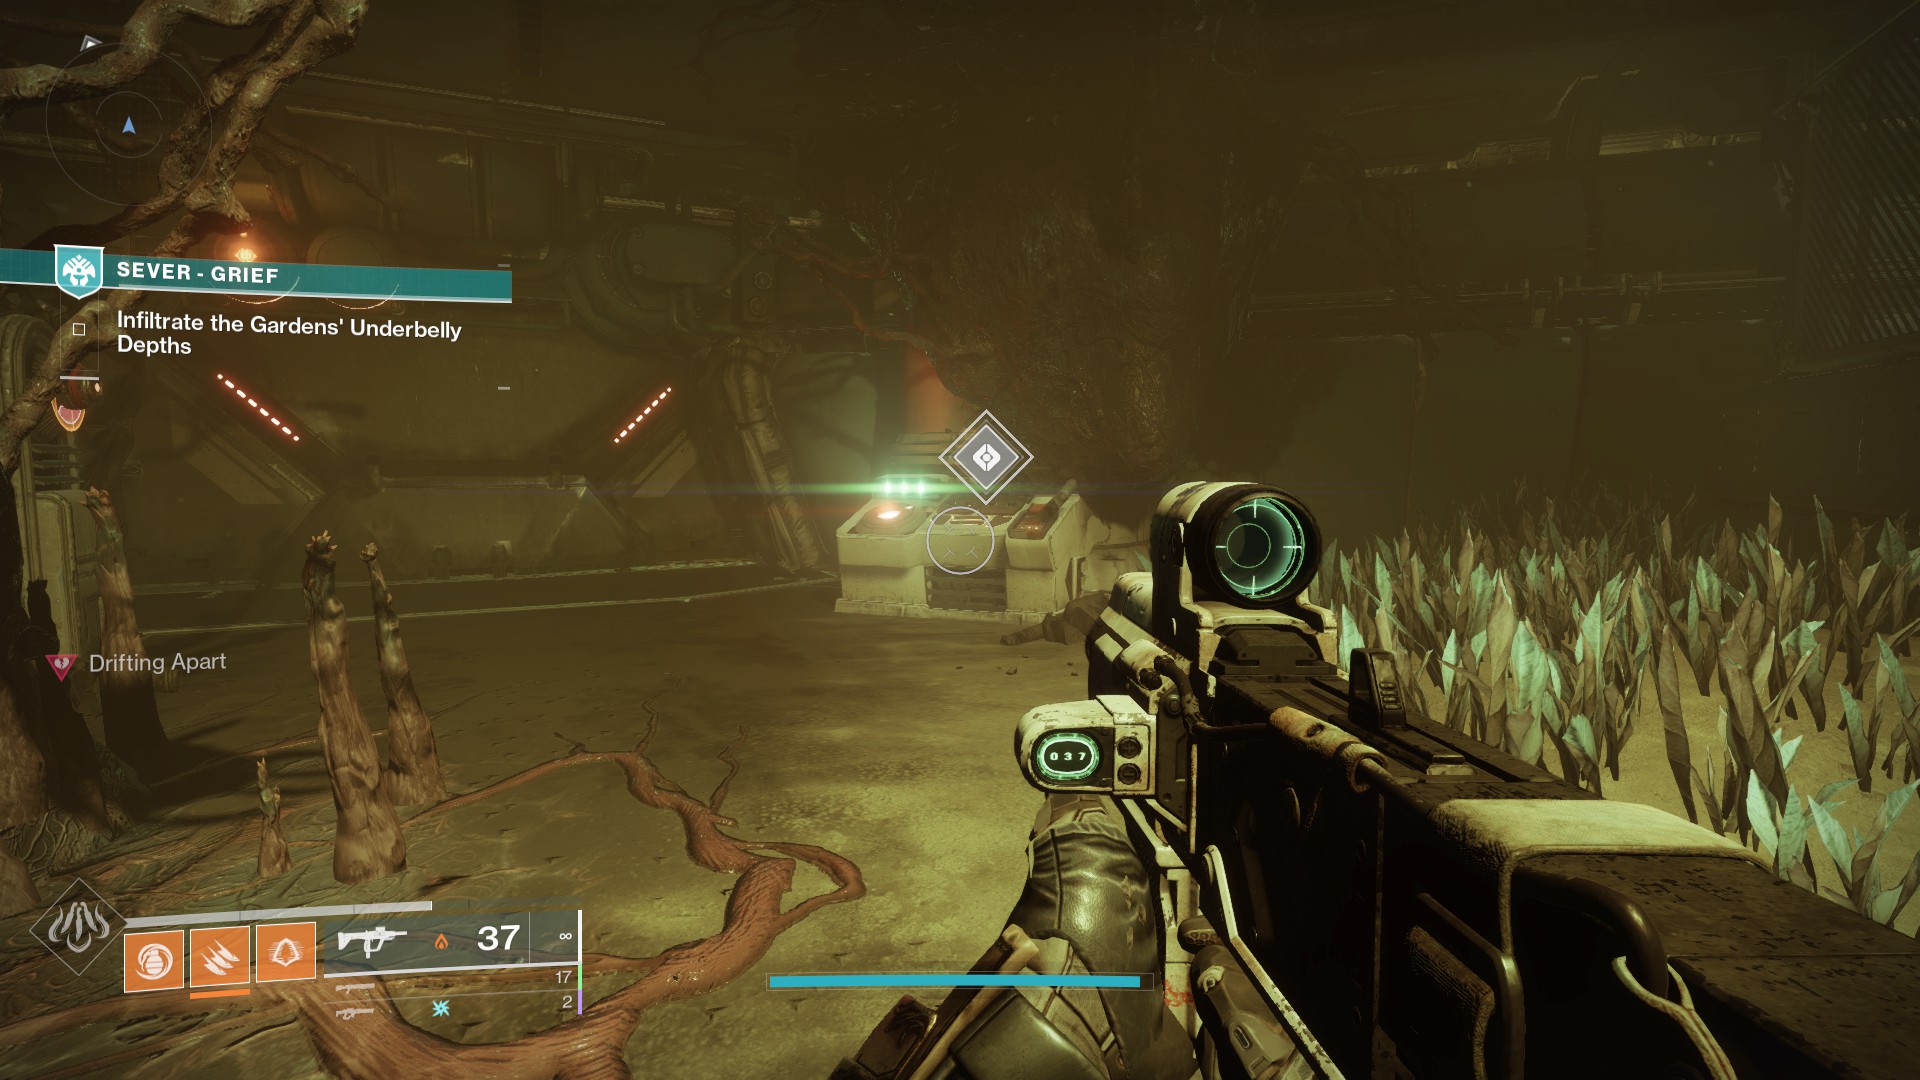
How to Clear the Festering Scorn and Regroup with Commander Zavala
Through the door leading out of the electrical hazard is a large area infested with Scorn. Kill enough of them to reach 100% progress on the Scorn defeated task.
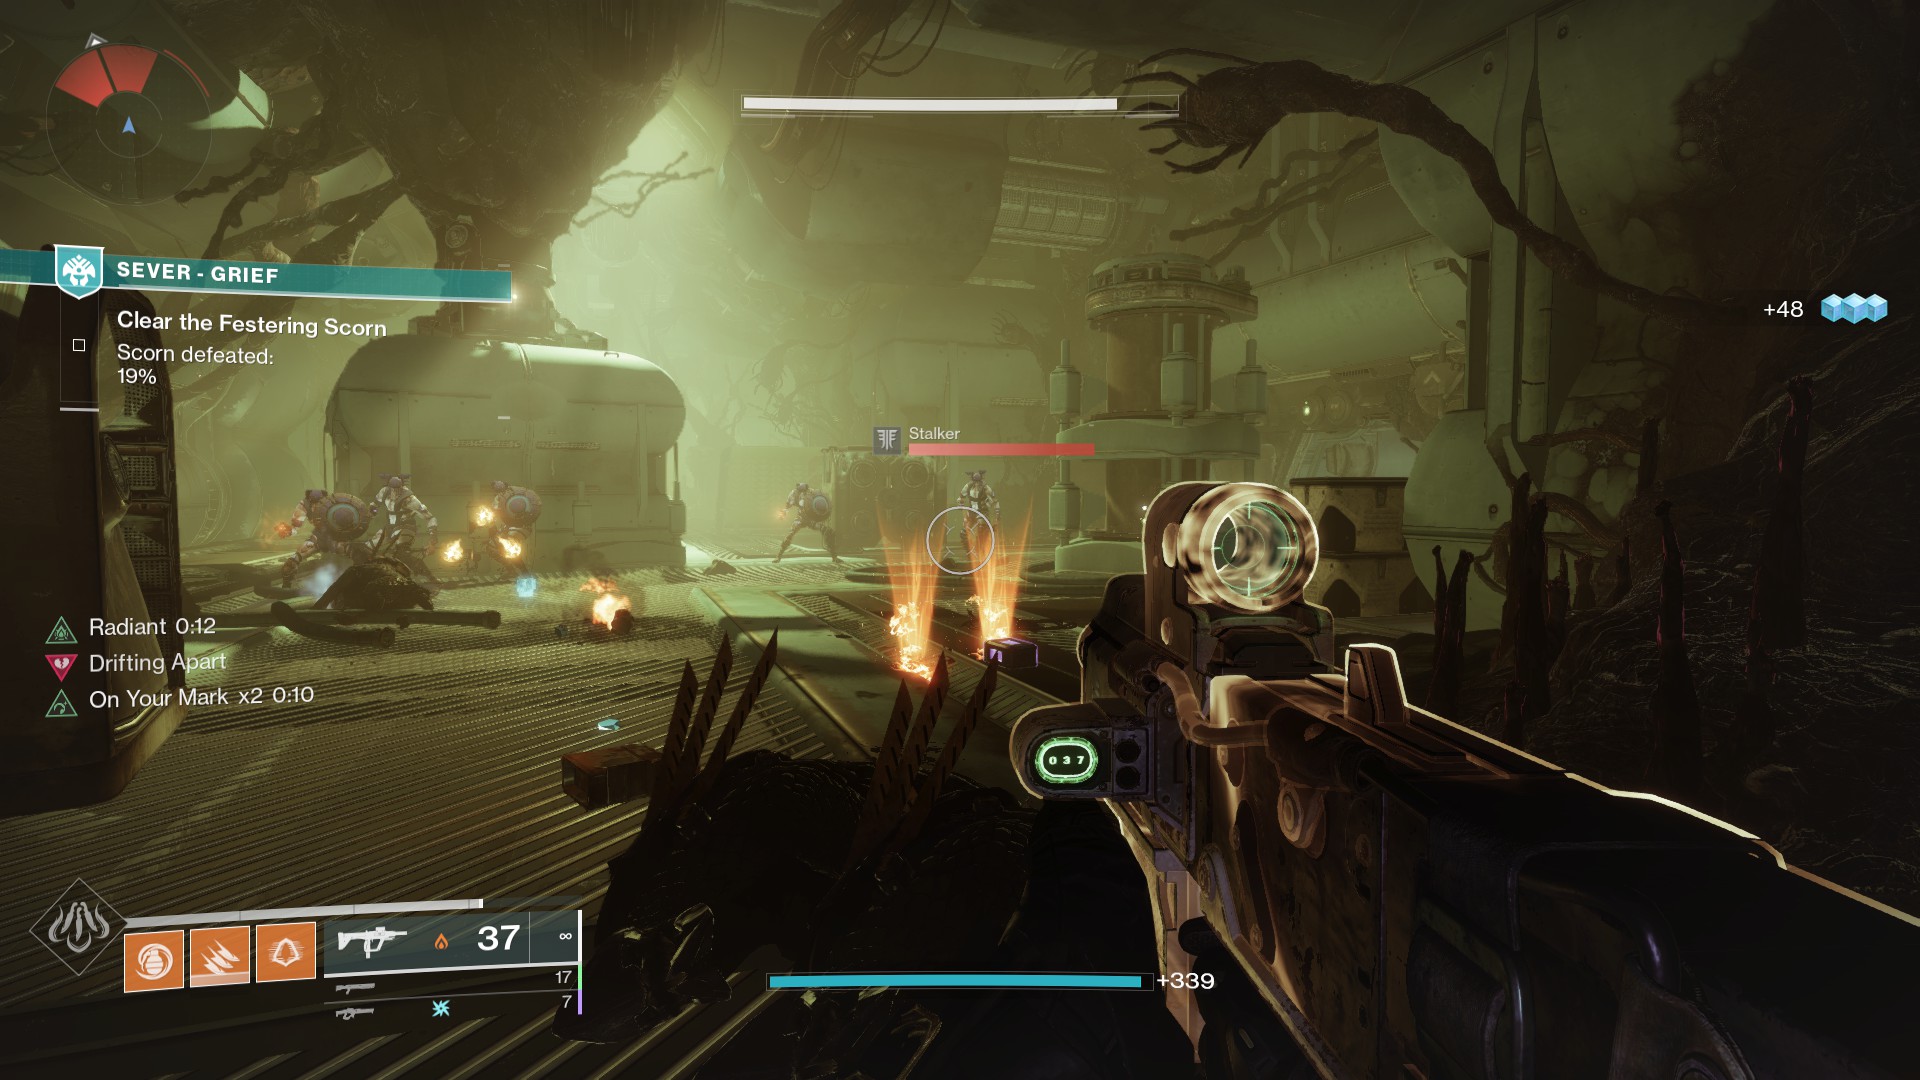
Don’t stray too far from the door you used to enter this area, and let the Scorn come to you. Once you’ve defeated all the ones near the entrance, head further in, making your way to the back of the room where the last enemies will spawn on a platform above you. If you missed any Scorn, head into the blue-lit hallway to clear out any stragglers.
With the Scorn dealt with, head to the middle of the room and turn right to see a small chamber surrounded by and filled with fungal growths.
Head in and place the Ritual Amplifier, then return to the far end of the room. You’ll be jumping up a series of platforms to reach the top of the cylindrical space.
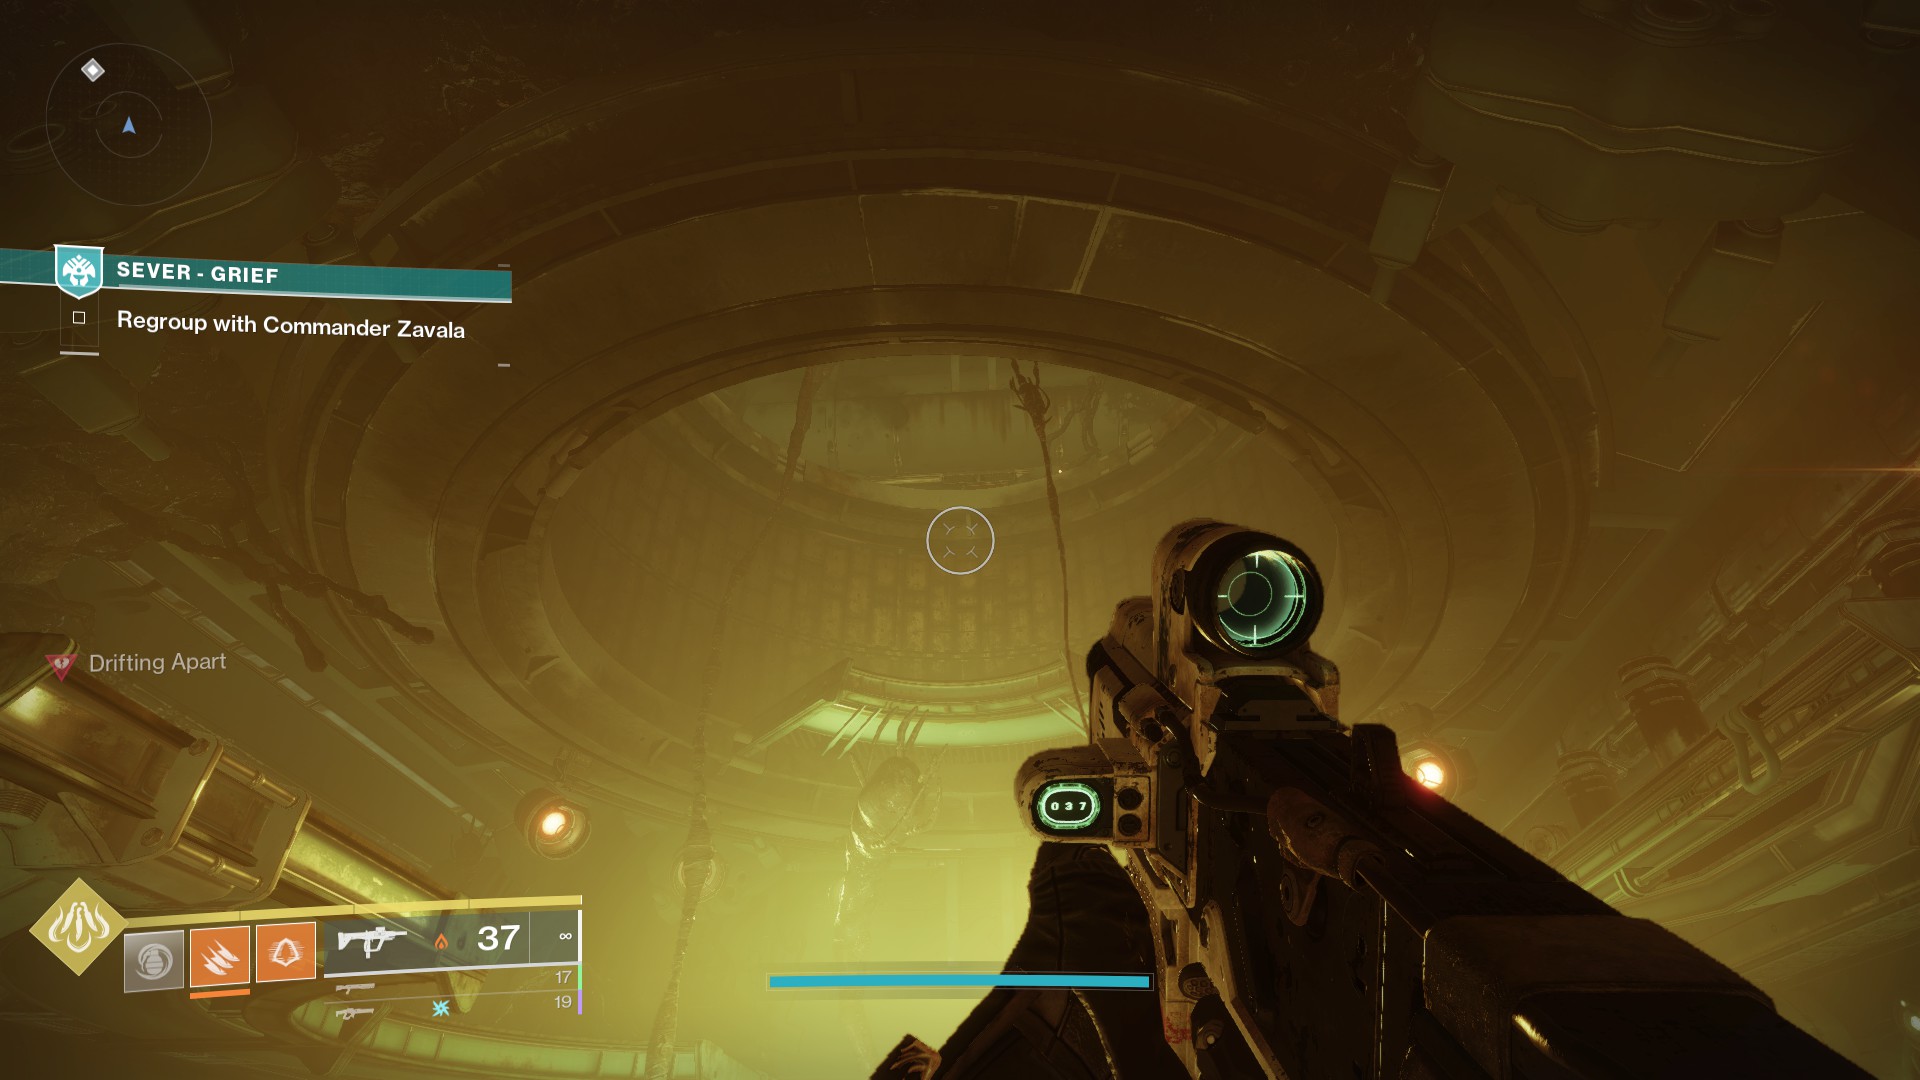
If you find it impossible to make the next series of platforms, wait where you are, and a machine should extend a platform out of the wall, allowing you to continue upward. At the top of the area, you’ll see Zavala and the Nightmare of Safiyah conversing.
You must listen to the entire conversation until the Nightmare leaves, and Zavala says to continue on your own. Once he says so, the door leading out of th area will open.
How to Reach the Severance Site
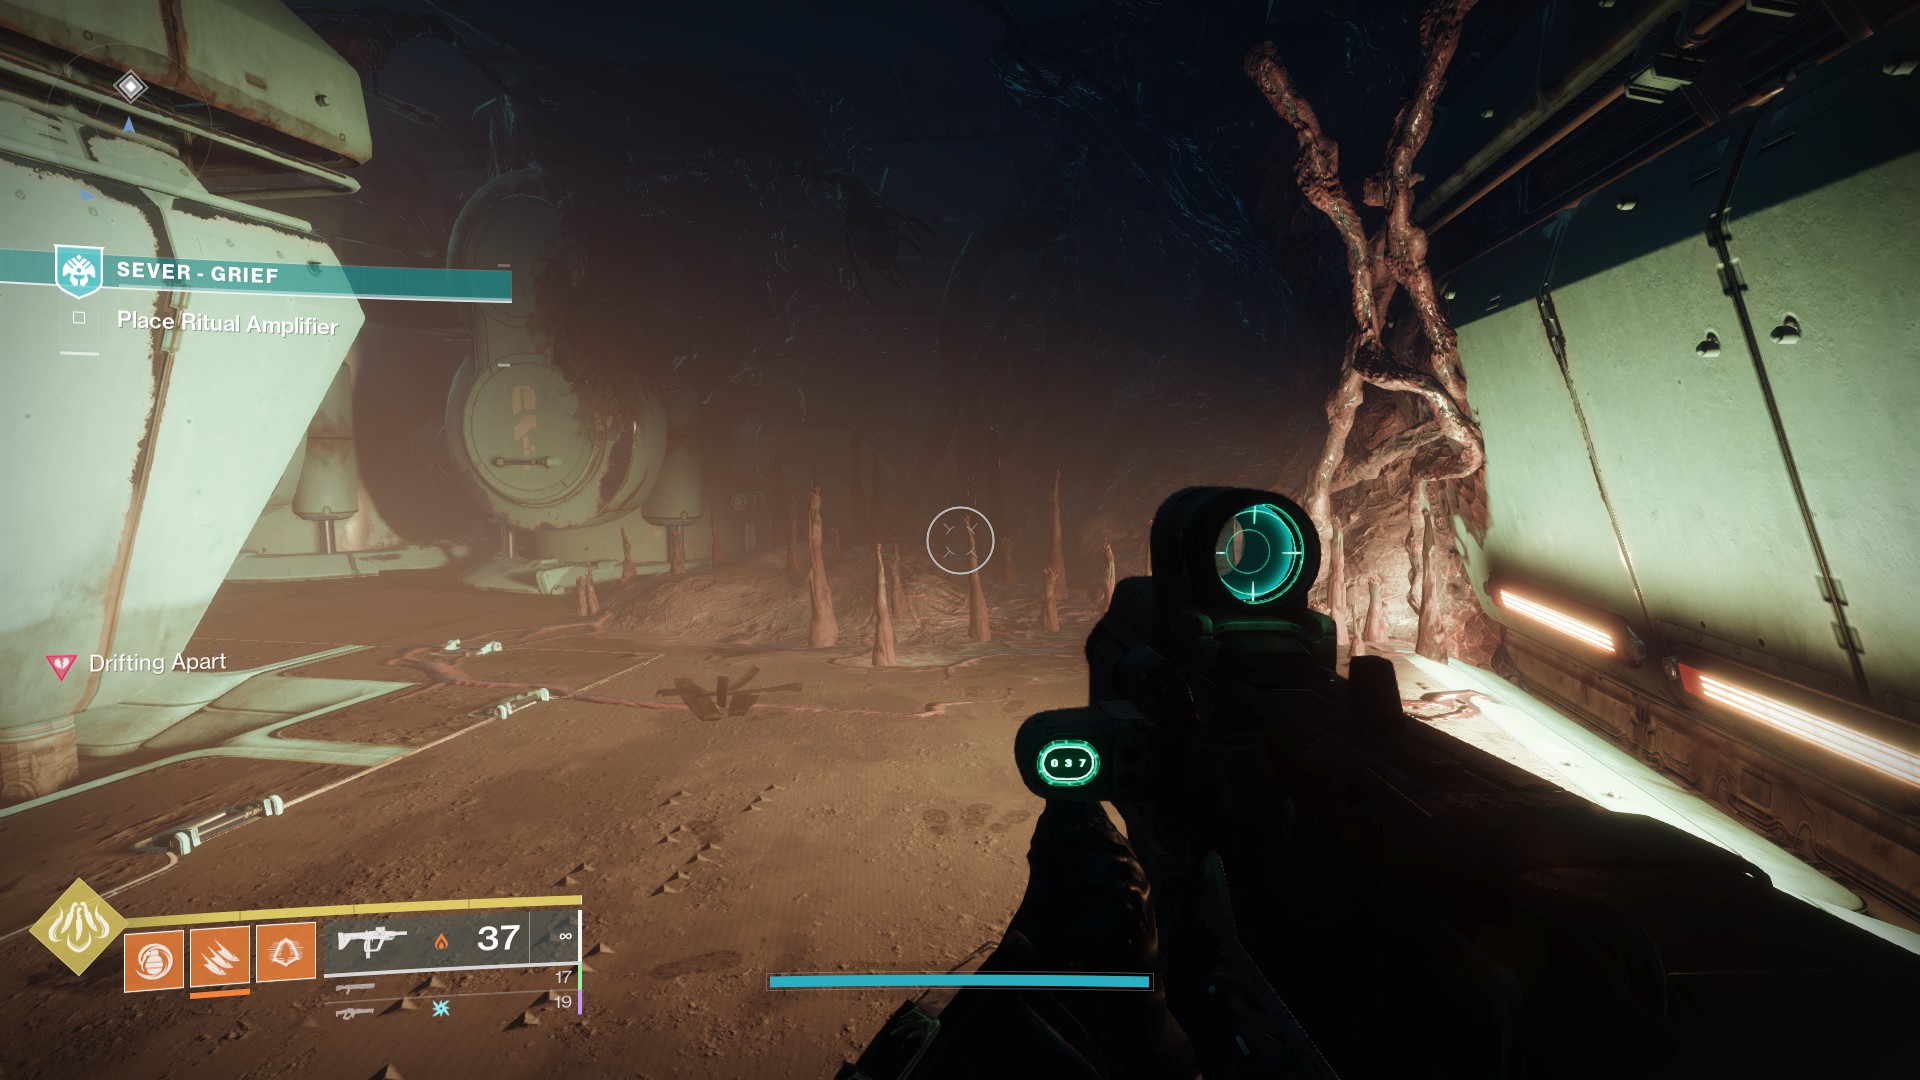
Follow the path leading away from Zavala, and you’ll soon reach the final Ritual Amplifier site. Place it and continue to your left.
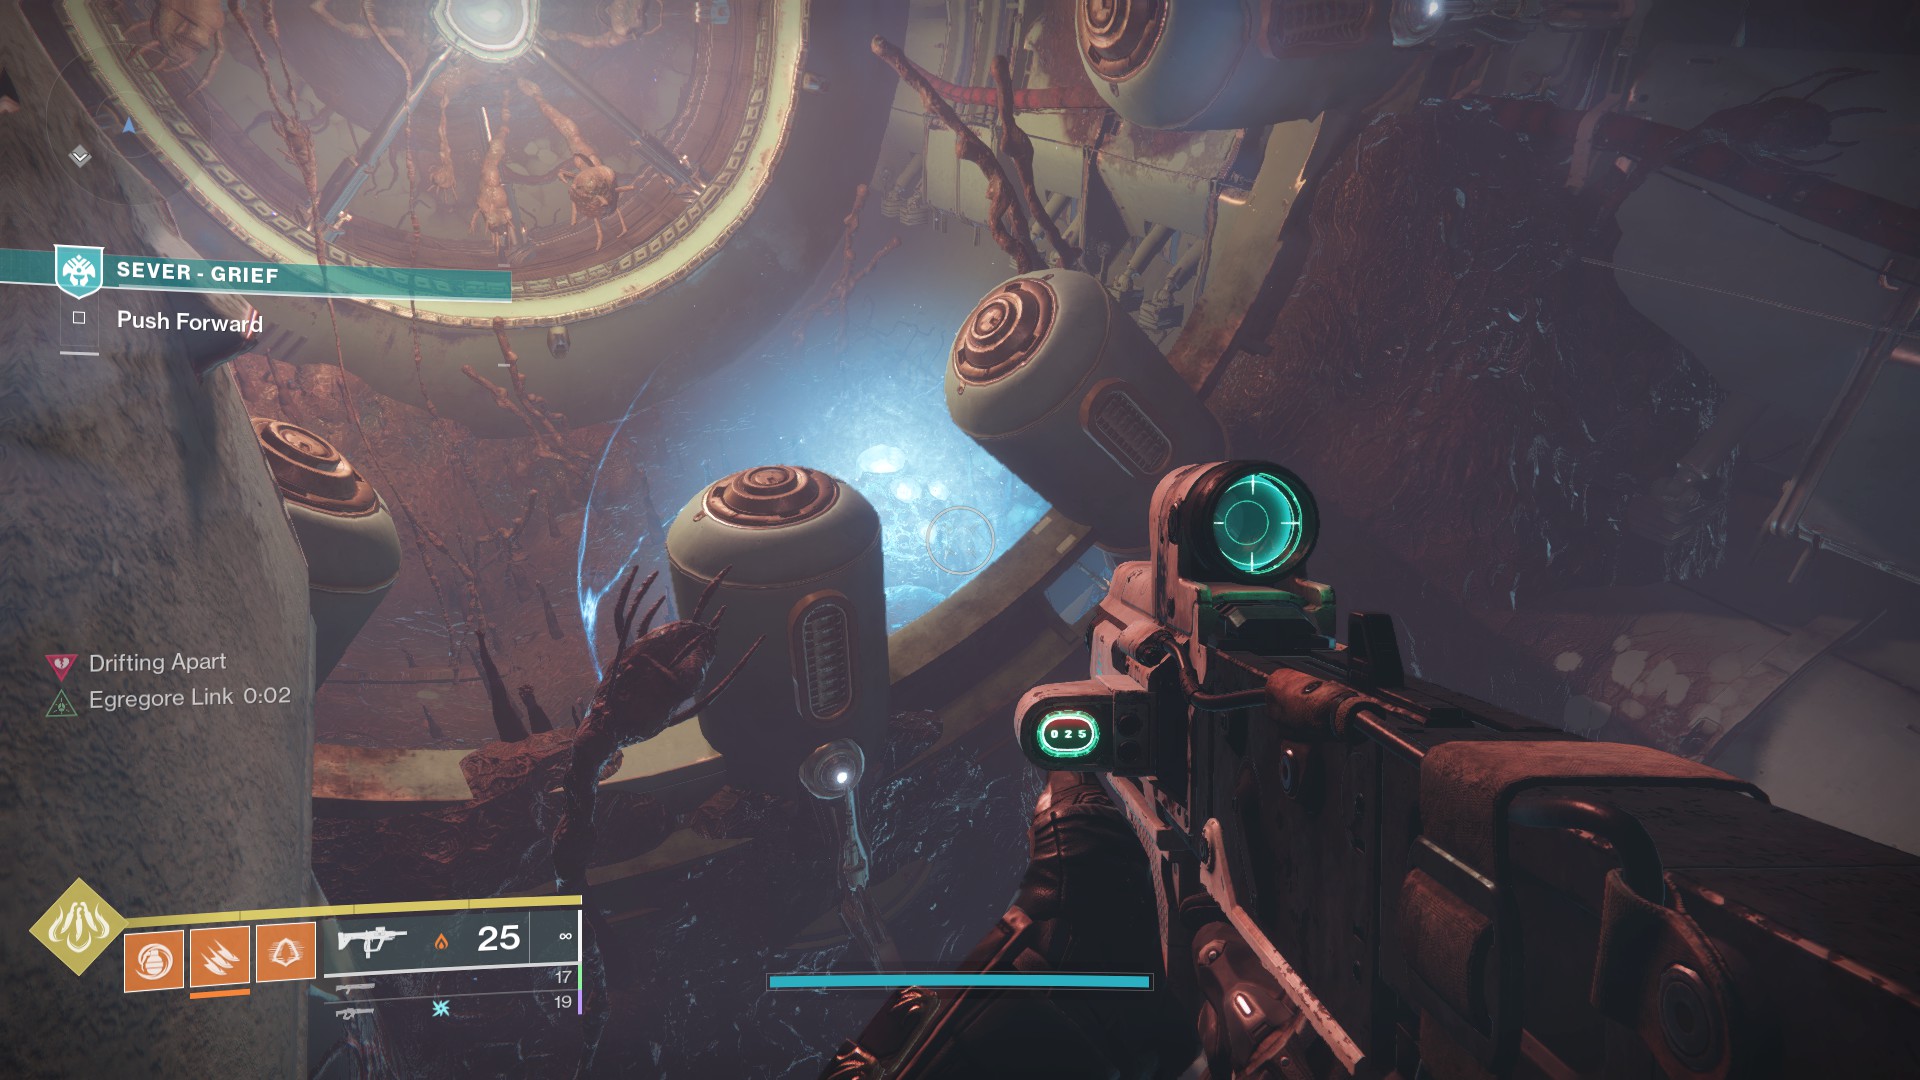
In the next room, jump across to the far side and look right. The Leviathan will shake, and some small cylinders will fall off the platform you need to jump up to.
Continue across the room to reach the Egregore spores.
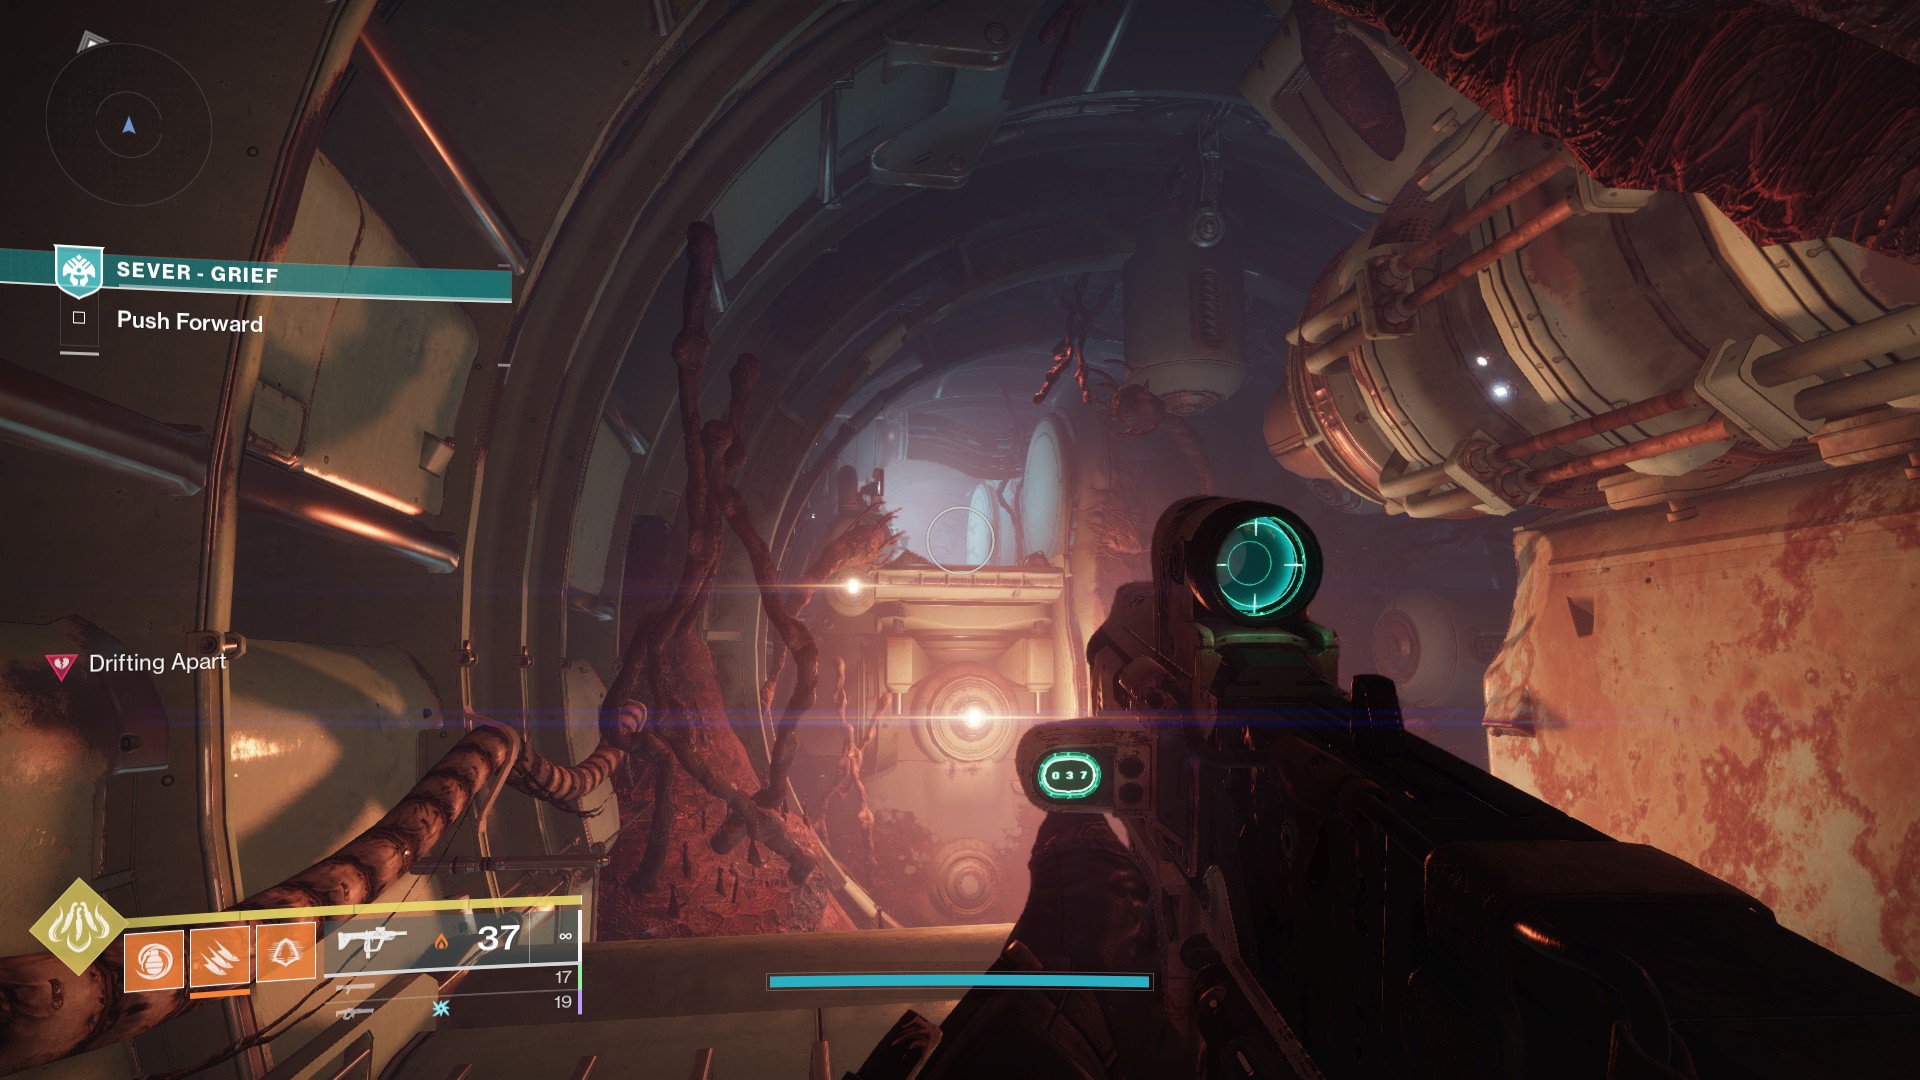
Shoot them, and turn around. Head into the red pipe below you with the blue glow coming out of it.
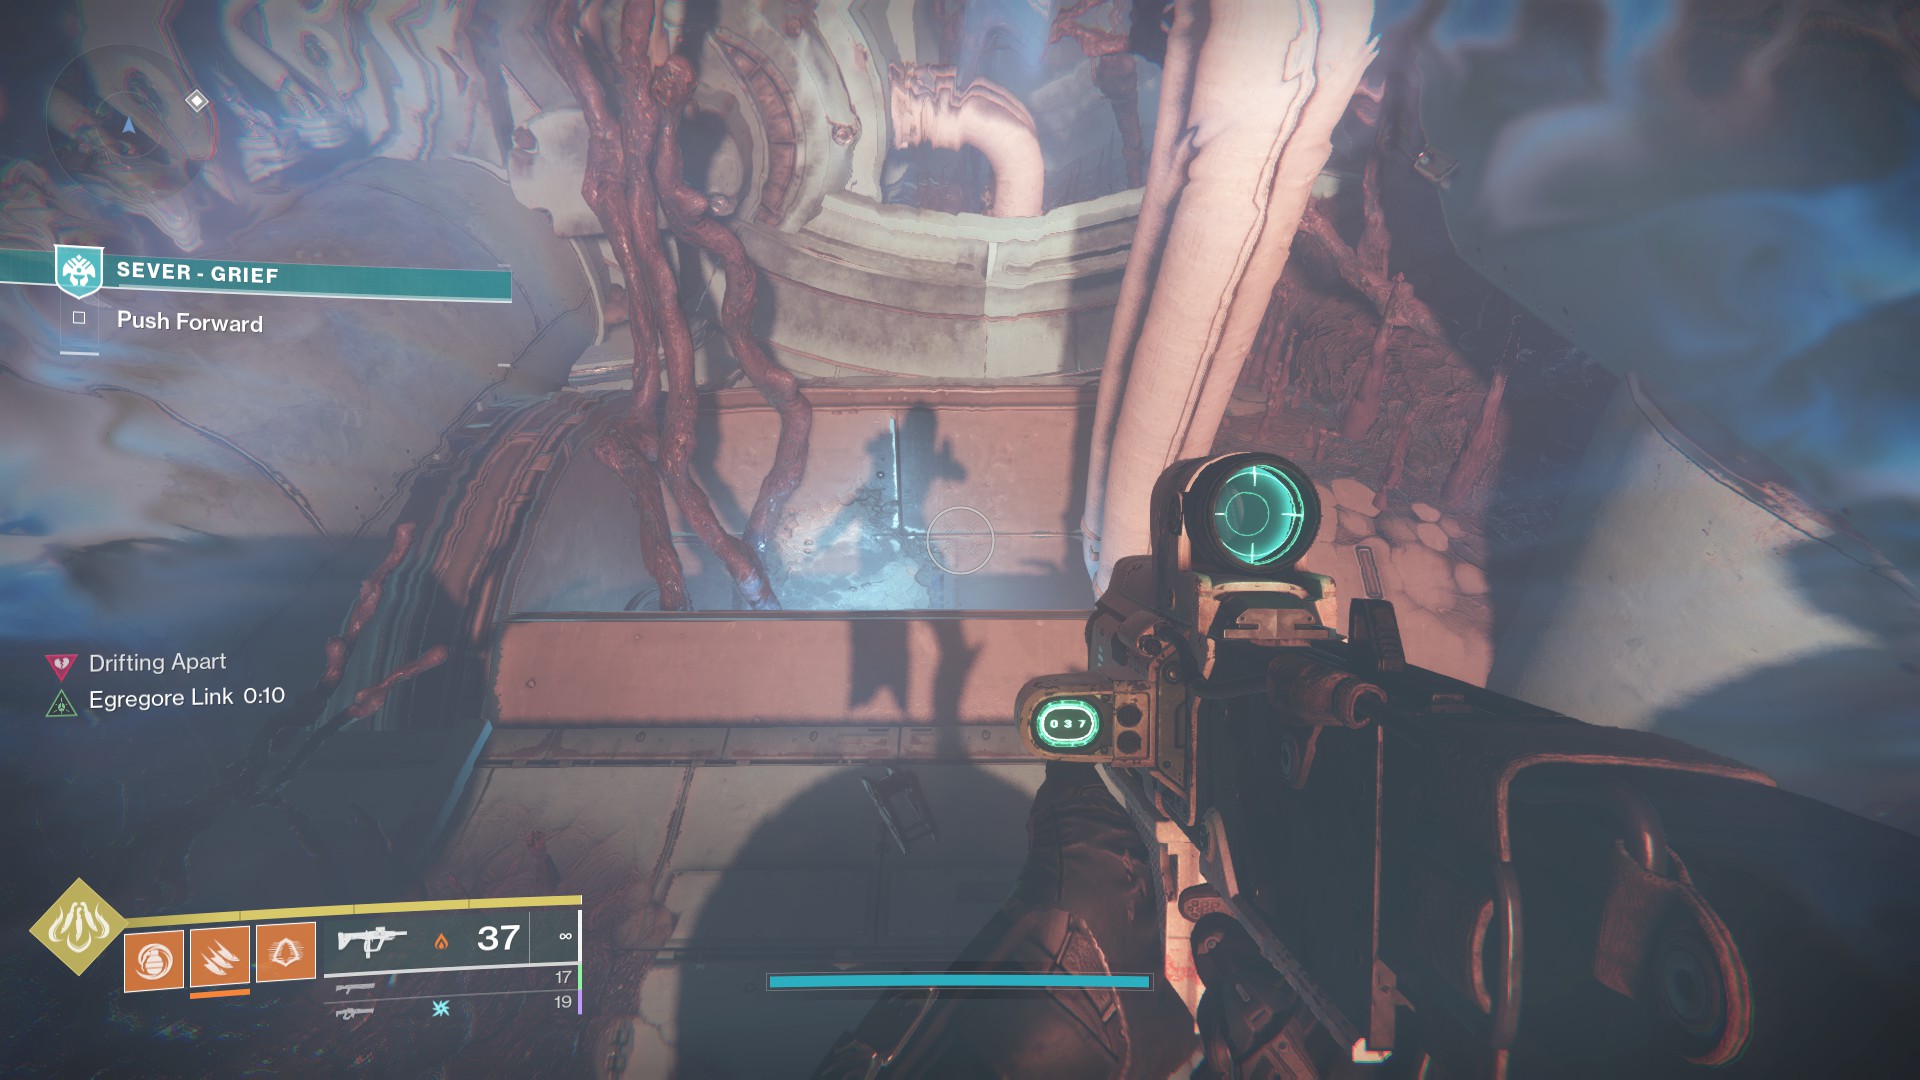
With the Egregore Link buff active, follow the pipe to its end and take the vertical pipe down to the Severance site. Plant the Banner if you need ammo or Super energy, then head over to Zavala and the Nightmare of Safiyah and begin the ritual.
The boss of this area, the Nightmare of Kethiks, Grief Unforgiven, will spawn, along with a horde of Fallen enemies.
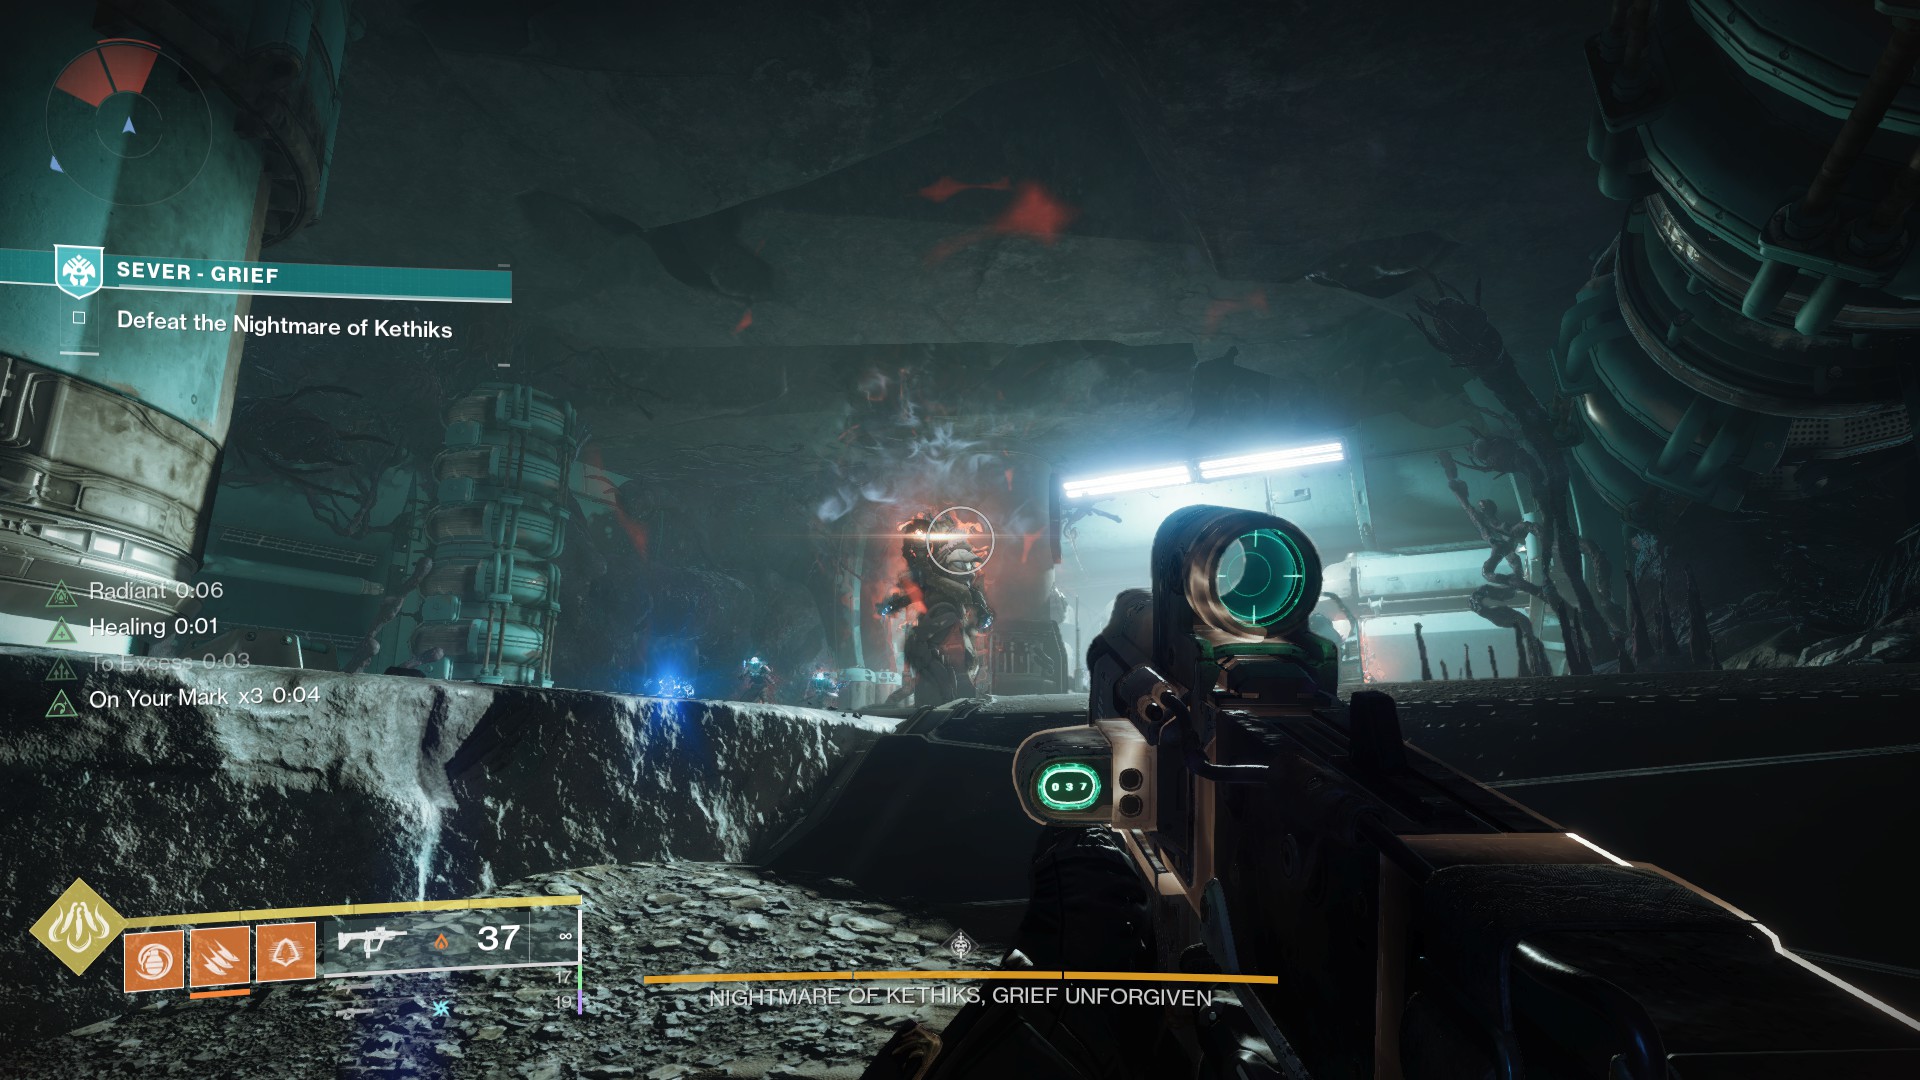
Take Kethiks’s health down by ⅓ to force him to go immune and disappear. Scorn enemies will begin to spawn alongside Fallen. Continue fighting them until Kethiks returns to the battlefield. Repeat the process to force him to leave. Defeat more Scorn and Fallen, and he’ll return a third time. Your respawns aren’t restricted here, so you can die as many times as it takes to defeat the boss.
Once the Nightmare of Kethiks is dead(?), return to Zavala and the Nightmare of Safiyah and open the Opulent Chest that’s spawned. If you want to listen to their story, doing so will take about a minute, but the quest completion timer should already be running, allowing you to return to the Tower or anywhere else you want to go whenever you choose.
And that’s how to complete Sever – Grief in Season of the Haunted in Destiny 2. It’s a real emotional kick to the chest this week, and that trend is bound to continue as the season marches on. While you wait for the next story beat to drop, try farming for the Austringer Hand Cannon or Beloved Sniper Rifle, and check out our Destiny 2 guides hub for much more.


Published: Jun 10, 2022 02:57 pm