Returnal will chew you up and spit you out if you aren’t careful. One mistake can and will cost you dearly whether you’re a beginner or seasoned in the cycles. New players especially can use all the help the game will give them, and that isn’t much. Though there are some tutorials to aid you in your journey across Atropos, much of what you’ll learn comes from experience.
To help you along, that’s why this guide exists. Here you’ll find six essential tips for newcomers to Returnal and the horrors of planet Atropos.
Returnal Beginner’s Tips and Tricks Guide
Tip #1: Stay Mobile
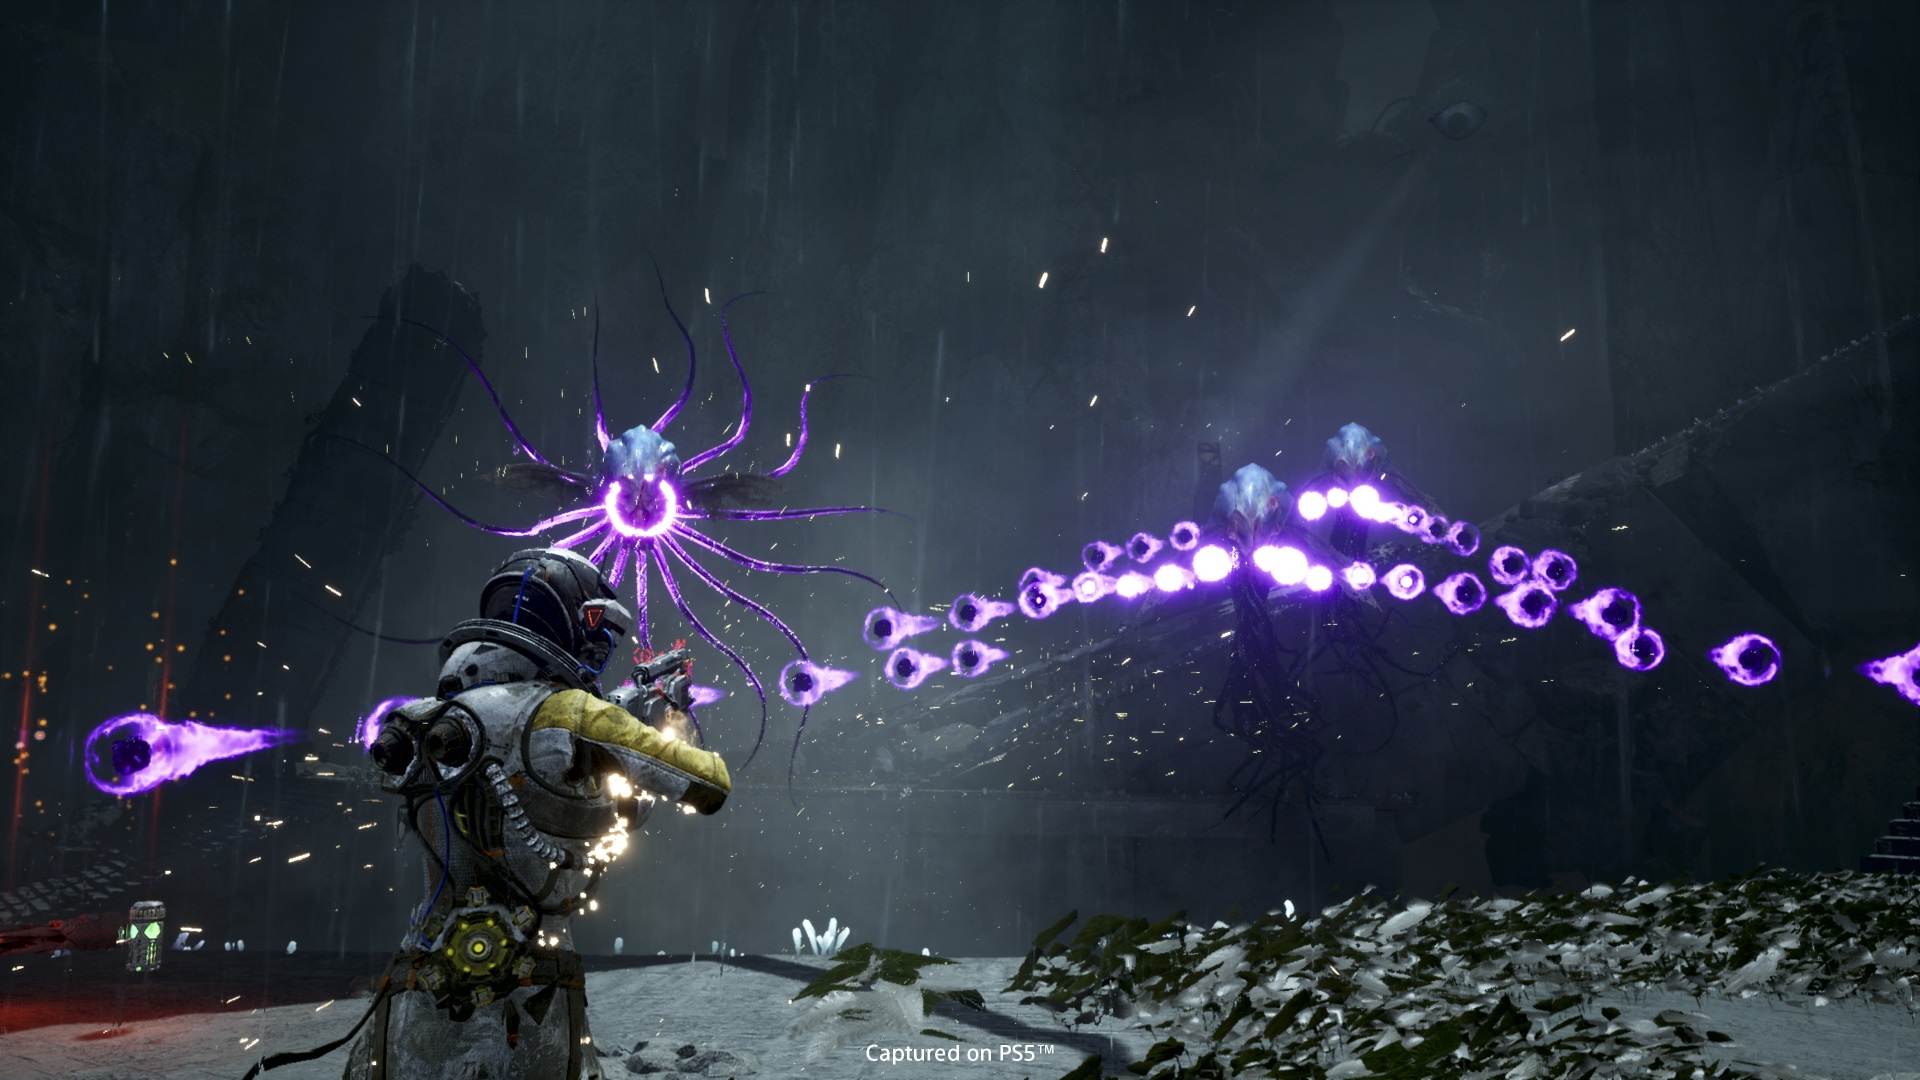
Some roguelikes give you opportunities to assess the situation and strategize between fighting enemies. Returnal does not. You’ll be constantly bombarded by the game’s bullet-hell mechanics, and in later levels, enemies are liable to get in your face more often than not. Bosses likewise take up almost the entire arena with lasers, firebolts, and a hundred other objects meant to kill you.
Your best defense is to stay on the move. Until you’ve cleared a room completely, you should never stop running, jumping, dashing, and generally being mobile. Returnal will give you more tools to get around as the game goes on, such as the Icarian Grapnel, and every arena offers opportunities to use them. So use them.
The real trick, however, is moving intelligently. Just jumping and dashing without purpose is liable to get you killed. You have to move with intention, always aware of where you land and what threats await you once you’re back on the ground — or if anything is coming at you in the air. Water and bottomless pits are their own problems, and carelessness around them could also send you back to the Helios.
In summary, always be moving in Returnal and always be mindful of the dangers of where you’re moving.
Tip #2: Clear Rooms Cautiously
Every encounter room in Returnal spawns a set number of enemies when you walk inside. You might not, however, spawn all of them at the start. More could appear as you make your way around the space.
There are specific points that, once crossed, cause more enemies to appear in more linear rooms and level layouts. In other words, you might have five flying enemies when the gate opens. If you run all the way to the other end of the room without clearing it methodically, you might need to deal with 20 or more foes.
Your answer to this problem is to clear enemies as soon as you see them and be careful not to progress too far to avoid spawning additional threats you aren’t yet prepared to face. You’ll have to manage this with also getting the Obolites enemies drop, so it’s a good strategy to kite enemies toward you when possible.
Tip #3: Sleep to Recover Health

Whenever you’re in the forested Overgrown Ruins, where the Helios rests, you can return to the ship and sleep in the bed inside it. Doing so will restore about half of your starting health bar and give you a valuable lifeline if you’re having trouble with the early areas or ran afoul of a nasty encounter room.
Tip #4: Collect Health Items Sparingly
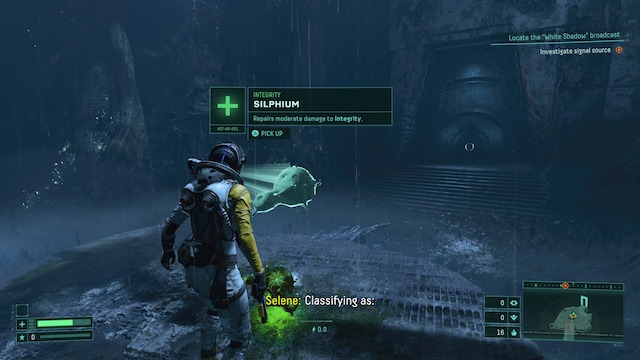
Scattered throughout most encounter rooms are Silphium health-restoring items. Picking one up when you’re at full health will grant you a point towards a small health upgrade. Small and regular-sized Silphium grant a single point. Large grants two.
If you’ve taken any damage, you’ll have your health restored based on the size of the Silphium. Small Silphium doesn’t restore much. The largest offer a full heal.
It can be tempting to pick up every heal you come across, whether to increase your health pool or to give yourself a boost for the next fight. Don’t be tempted. If an encounter leaves you very low, pick up a couple to ensure your survival later on. Otherwise, leave them and return to them later.
You’ll want to save around five or so healing items per level for one of two reasons: either you’re fighting the boss or progressing to a new area. Even if you have Silphium Vials from Fabricators or random drops, you’ll want to save those for emergencies. If you’ve cleared everything, the healing pickups around the level are a more consistent safety net.
Once no enemies remain in a biome, or you’re going to otherwise progress, then and only then should you pick up all the Silphium. You’re liable to give yourself a solid boost to your health pool or get yourself topped off for the challenges to come.
Tip #5: Collect all the Obolites, and Fear Not the Malignancy
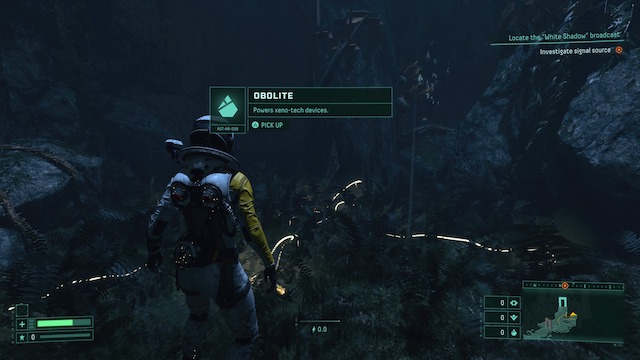
Every enemy you kill drops little yellow orbs called Obolites. You’ll see clusters of the things around the map as well, including larger stones you can only destroy with an upgrade called the Atropian Blade. Make sure you collect every single one of these little buggers.
You’ll also find Obolites in breakable statues across Atropos. You’ll know which ones to break based on their glowing yellow eyes. Also keep an eye out for Xenophagus, which are sarcophagi that sometimes hold Obolites.
There are even large purple stones afflicted with Malignancy, which come with a chance of a Malfunction that grants some detriment to your play until cured. There’s no reason to fear Malfunctions, especially in regards to the purple Obolite stones. Unless you’ve attached a parasite that increases Malfunction severity or removal difficulty, a malfunction is more likely a minor inconvenience than anything else.
No matter where you are in the game, the additional Obolites from the purple stones are too worthwhile to pass up. Just don’t push it. Critical Malfunctions are nasty.
Tip #6: A Higher Weapon Level is Not Always Better

You’re Proficiency is bound to increase as you play through Returnal, increasing the weapon level of any new armament you find. It is a mistake to think a weapon with a higher level is always an upgrade, though. You have to consider your playstyle, the weapon’s abilities, and the Alt-Fire when thinking about making the switch.
Be aware that if you don’t ever use a weapon, you’ll never unlock abilities for it, so there’s value in doing runs while knowing you’ll fail to unlock new specs for your guns. You might also come across your new favorite weapon or something that carries you farther than you ever thought you’d go.
Regardless of the reason, you don’t need to and shouldn’t pick up every new gun you find just because its number is a little higher. Take some time to think about how you’re playing, what the gun can do, and what you like most.
—
Those are our beginner’s tips and tricks for Returnal. For more help, consider checking out our other Returnal guides, where we have articles for the best starting weapons, what reconstructions are for, and more.