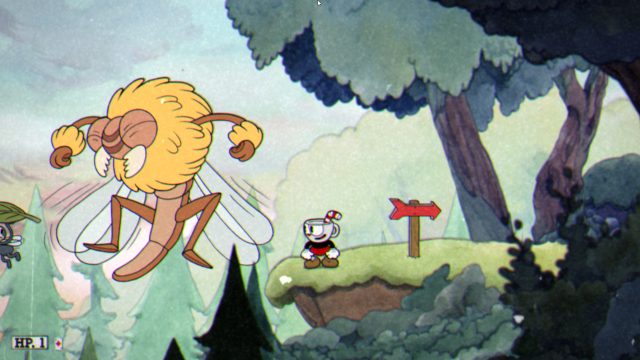
How are you even supposed to be a pacifist in a game so bent on killing you? Well, for starters: You don’t have to be nice all the time to get Cuphead‘s Pacifist achievement.
As one might expect, the out-of-place Pacifist achievement does require that you take it easy on your foes to some degree, but only certain ones. All those bosses you have to go against? They’re still fair game when going for this achievement, but lesser enemies get a huge breather while you’re trying to take it on.
You only have to show mercy during run & gun stages to get the achievement, which requires that you complete every run & gun stage without killing a single enemy. That sounds a lot more realistic, and it is possible even if you aren’t amazing at the game. Trust me.
So how are you even supposed to do all this? First, you have to know these few points:
- You can parry-kill enemies in run & gun stages and still have it count toward the achievement, and in many instances this is required
- Getting past some obstacles or minibosses that seem impossible often requires parry-jumping over them
- You cannot use the Whetstone Charm
- You can use Special Art 2 (Invincibility)
You can choose pretty much any Charm you want, but I highly recommend using the Smoke Bomb over the others since you can avoid so much damage. Coffee is pretty useful as well, provided you make good use of the Invincibility Special Art.
Just to note: you can tell if you have successfully completed a stage the pacifist way as your letter score after you finish will be a ‘P’ and from then on the stage’s flag on the world map will have a ‘P’ displayed.
![]()
How to Get Past the “Impassable” Obstacles at Each Stage
Forest Follies
Before the acorn dispenser is a mushroom that puffs out small clouds you can parry. You can parry to get over the dispenser and keep moving. (Be careful not to go down to the dispenser before the mushroom sends out a cloud, as you cannot get back up.)
Treetop Trouble
Just dash through the bug at the end of the stage.
Funfair Fever
Don’t fret once you get inside the circus tent and run into the robots acting as walls: You can jump right over or dash through them and keep moving. The same can be said for the cannons after them.
You can also dash through that dastardly hotdog at the end.
Funhouse Frazzle
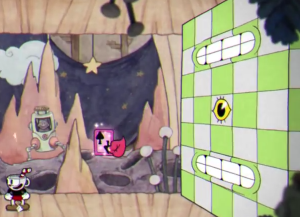
You can get through the segments with the walls with mouths by simply waiting and then running through one of their open mouths when you get the chance.
Rugged Ridge
Just be patient and dodge the enemies on the elevator when the time comes. The elevator ride doesn’t last forever, and in time you will be able to walk free.
To get past the walls that spit ink, wait for them to spit out a pink parry glob and parry your way over them to keep moving.
Perilous Piers
There shouldn’t be anything here that’s especially troublesome.
Your reward
Doing all of these the pacifistic way is a hard task, to say the least, but your efforts won’t totally be in vain. You do get some rewards for your hard work in completing Cuphead‘s run & gun stages the nice way.
The first is, of course, the achievement. But the real prize lies in the optional black & white video and additional audio options available at the turtle NPC once you’re officially a Pacifist achievement holder. If you’re a sucker for old cartoons or are simply now a diehard fan, these options are not to be passed up.
Be sure to check out our other Cuphead guides for more tips and tricks.


Published: Sep 30, 2017 01:30 pm