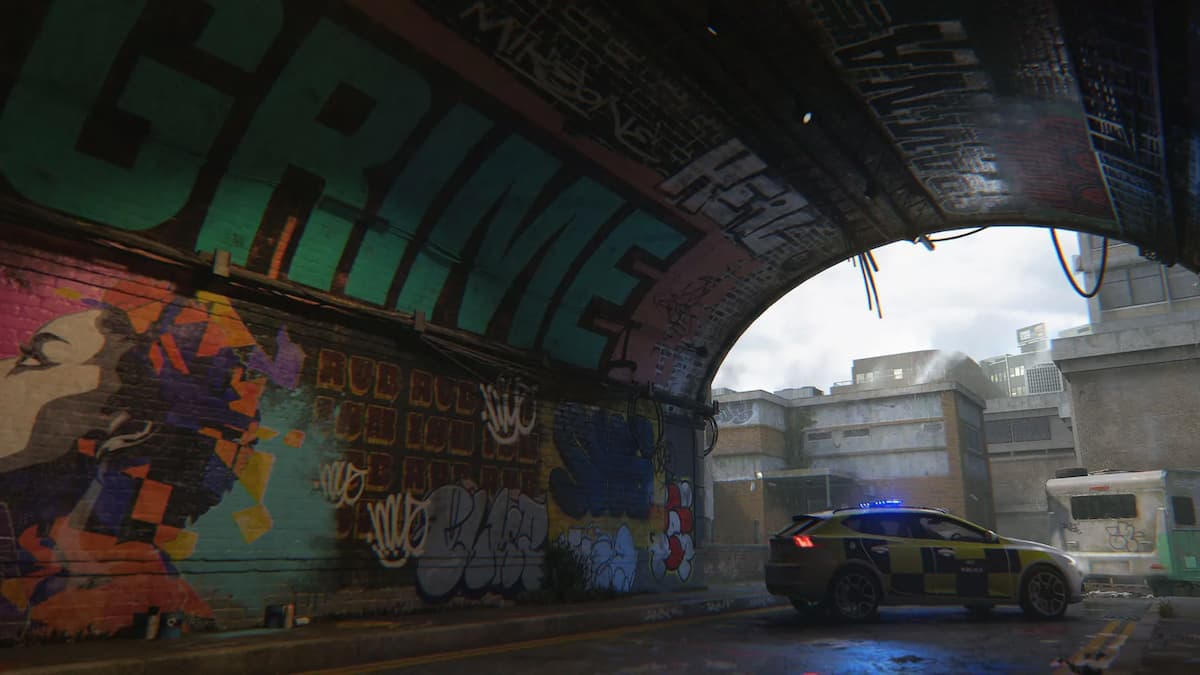
Battlefield 4 ships with ten maps and each is available to play on all game modes. Depending on which mode you choose the layout will change with certain modes better suited for close combat and others for full-out land and sea combat.
Siege of Shanghai was one of the first maps available for preview because it was the only map included in the beta testing. So many hardcore players are already familiar with this map and have that perfect hiding spot. Your strategy should change with each game mode because players will be at different spots depending on your objectives.
Taking the Points
The basic concept in Domination mode is to capture and control each of the three points for as long as possible. While you are taking the points your team will be trying to maintain their ticket count while simultaneously taking down the enemies’ ticket count. I know it’s a lot, But don’t worry here are a few pointers!
When you start the match, you would think the hardest point to capture is always the one in the middle, because both teams are trying to make a mad dash to the center–but this is not the case for the Siege of Shanghai. The point is that you will spend the most time defending and capturing will be point C, but it should not be the first point you go for unless you spawn from that side of the map.
First off, help your team capture the point closest to your spawn. It will either be A or C. A lot of people tend to skip past them but it is an easy way to get 200 points for a flag capture assist. With your flag captured, you can go one of two ways–you can go for the unattended B point, or you can start to surround point C since this is the most difficult to capture and defend.
Capturing A
Control point A is the easiest of them all because it is so protected by walls. Basically, if you start out on this side of the map you will get A first–no questions asked. There is really no best way to capture the point, just do it quickly and it doesn’t hurt to bring a few squad members.
Capturing B
If you decide to go for B and you are coming from control point A, the best way to go is through the door at the back of the room. Exit control point A through this door and hang a left to find point B–watch out though, because enemy players might hide out behind some of the barriers placed in the middle of the road.
Make your way forward and crouch behind the boxes the are at the right of the square. This is a great place to quickly capture the flag without exposing yourself to enemy players that might be making their way to the point, or snipers that are on the roof top. You’ll have a slight advantage coming from this side, because you are closer than players who spawned on the other side of the map.

Don’t sit where this guy is! Sit where he is looking–the boxes behind the white car!
If you are coming from the side of the map that has point C, you need to go to the same area. Except when you go, make sure you keep an eye out for the room that will be on your right side, there will be a lot of enemies coming from there! Make use of the white walls on the side of the street so you won’t get shot from people on the roof.
Capturing C
The team that starts closer to C usually has an early advantage to take control. But, like I said before, C is the hardest and most time-consuming point. You will have to capture this point the most and it is a good idea to keep some soldiers defending. The reason this point gets so much action is the roof is accessible from an elevator inside the building. If you can get to the roof, you will easily be able to get a couple kills.
Surprisingly, a lot of people don’t know that if you go up the ramp on the outside of the building, you find a ladder that you can jump on to and get to the roof. That way people who are watching the elevators won’t automatically see you, and you can clear out the enemy team and claim the roof as your territory!

See where he’s looking, that’s the middle, don’t go there unless you’ve checked the roof!
So when you capture C, NEVER go into the middle of the building when you first get there. You need to scope out where your enemies are. Look at the roof, the landing platform, and the room with the cars, because I can guarantee there will be enemies in those three places! Once you have those areas cleared as much as you can, make your move to the center, where you will be able to hide behind one of the boxes for long enough to make the capture.
Domination is fast paced and exciting, but you do have to have a bit of skill. Make sure you practice your aim before playing this mode–trust me, you will need it!
If you liked this guide and want to see others, check out ChizeloffdaBlock’s Guide List.
If you would like to see a guide for a specific mode or map comment below! I am always up for suggestions!


