Category: Tips Is The Answer in Persona 3 Reload? FES Content Detailed Thomas Wilde Thomas Wilde Feb 2, 2024
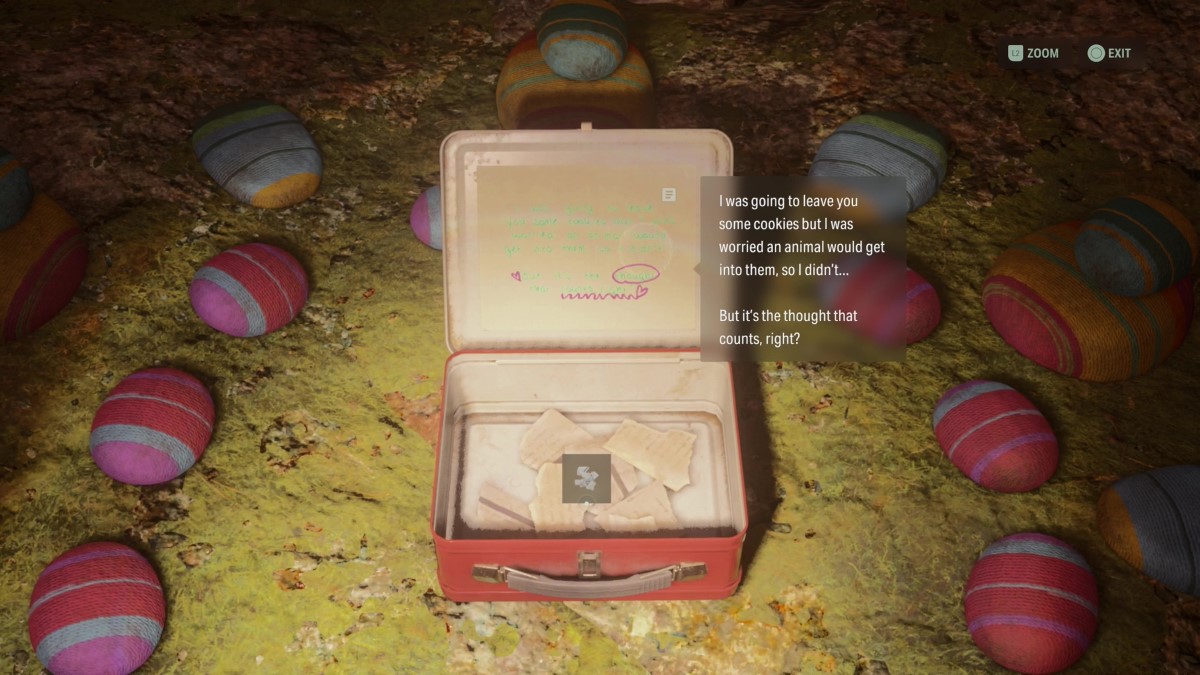
Category: Tips Alan Wake 2: All Alex Casey Lunchboxes in Bright Falls Thomas Wilde Thomas Wilde Nov 3, 2023
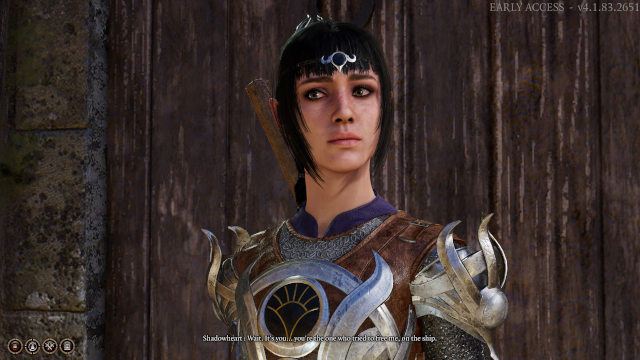
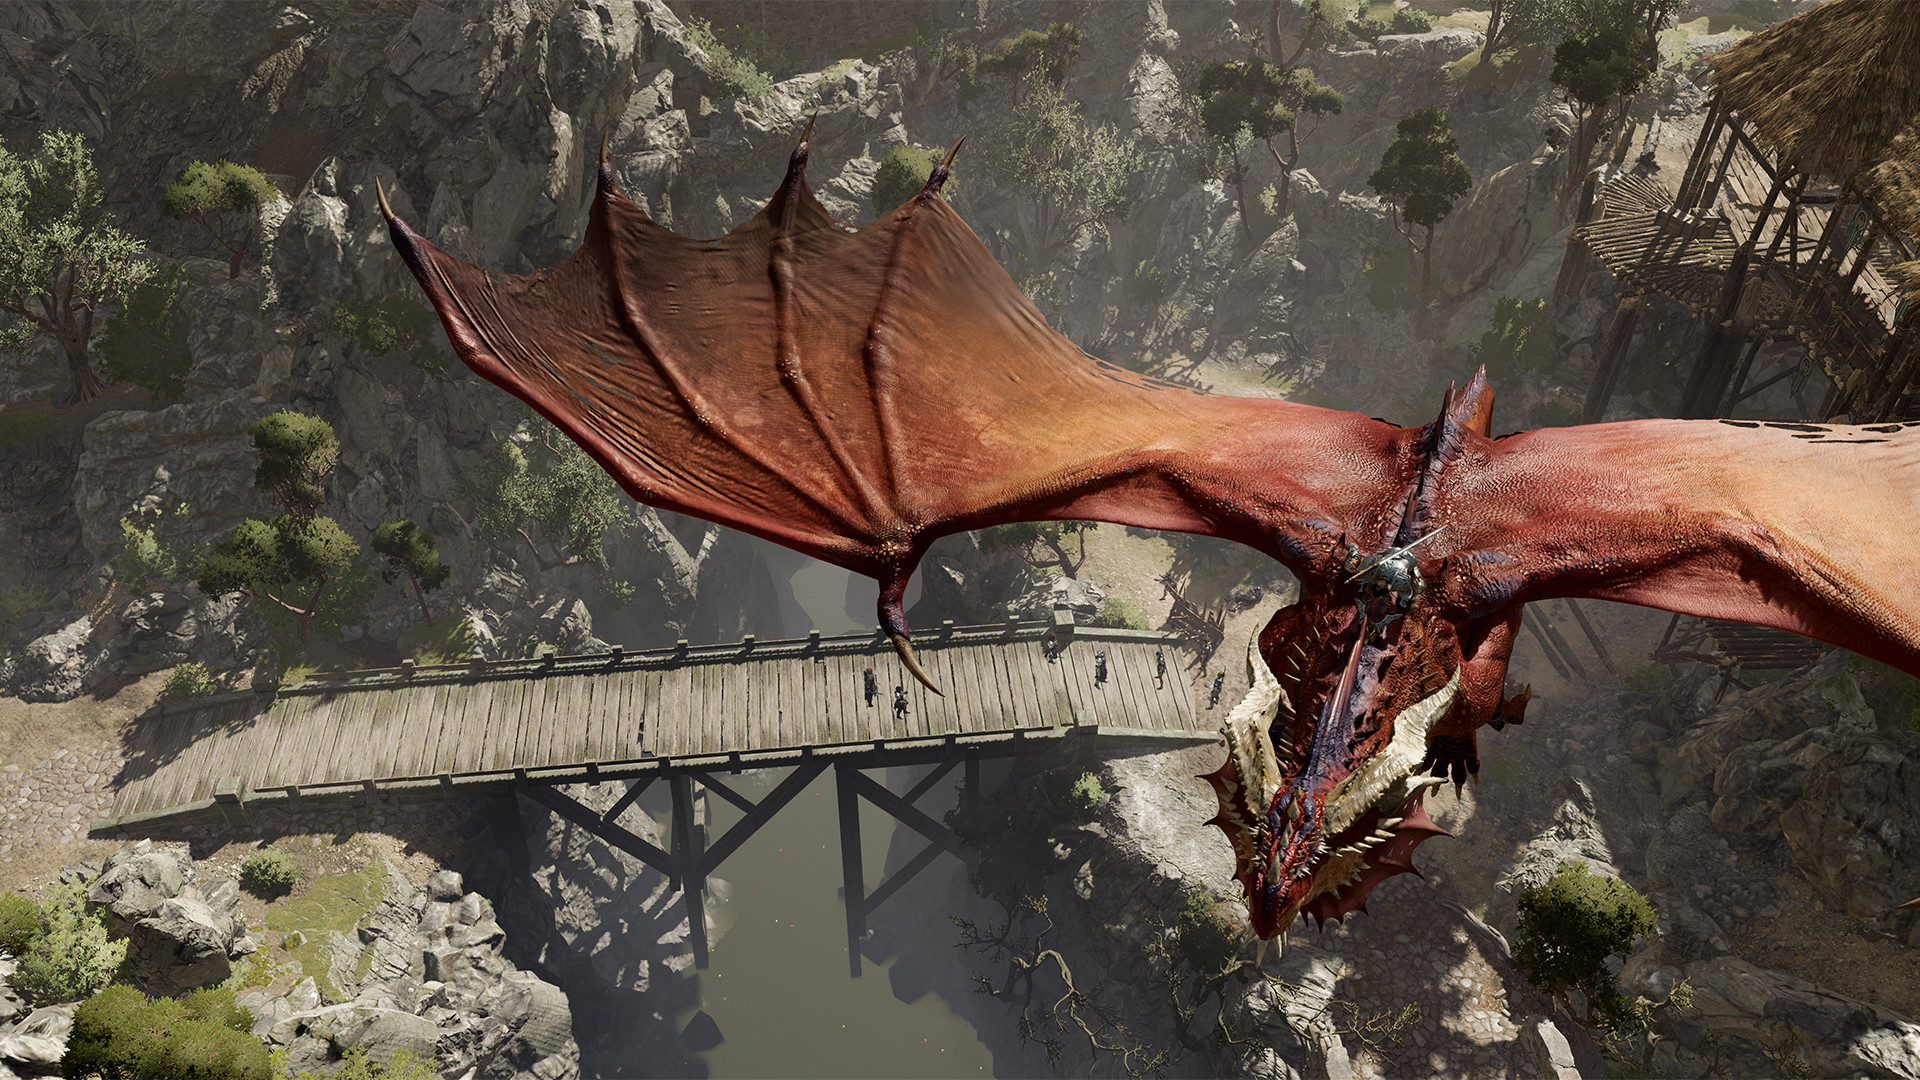
Category: Tips Baldur’s Gate 3 Combat Guide: Advanced Tips & Tactics David Jagneaux David Jagneaux Aug 4, 2023
Category: Tips Need for Speed: Unbound — How to Get the BMW M3 GTR Serhii Patskan Serhii Patskan Dec 8, 2022
Category: Tips Is The Answer in Persona 3 Reload? FES Content Detailed Thomas Wilde Thomas Wilde Feb 2, 2024
Category: Tips Alan Wake 2: All Alex Casey Lunchboxes in Bright Falls Thomas Wilde Thomas Wilde Nov 3, 2023
Category: Tips Baldur’s Gate 3 Combat Guide: Advanced Tips & Tactics David Jagneaux David Jagneaux Aug 4, 2023
Category: Tips Need for Speed: Unbound — How to Get the BMW M3 GTR Serhii Patskan Serhii Patskan Dec 8, 2022
Category: Tips Pokémon Scarlet and Violet: How to Unlock the Swim Upgrade John Schutt John Schutt Nov 25, 2022
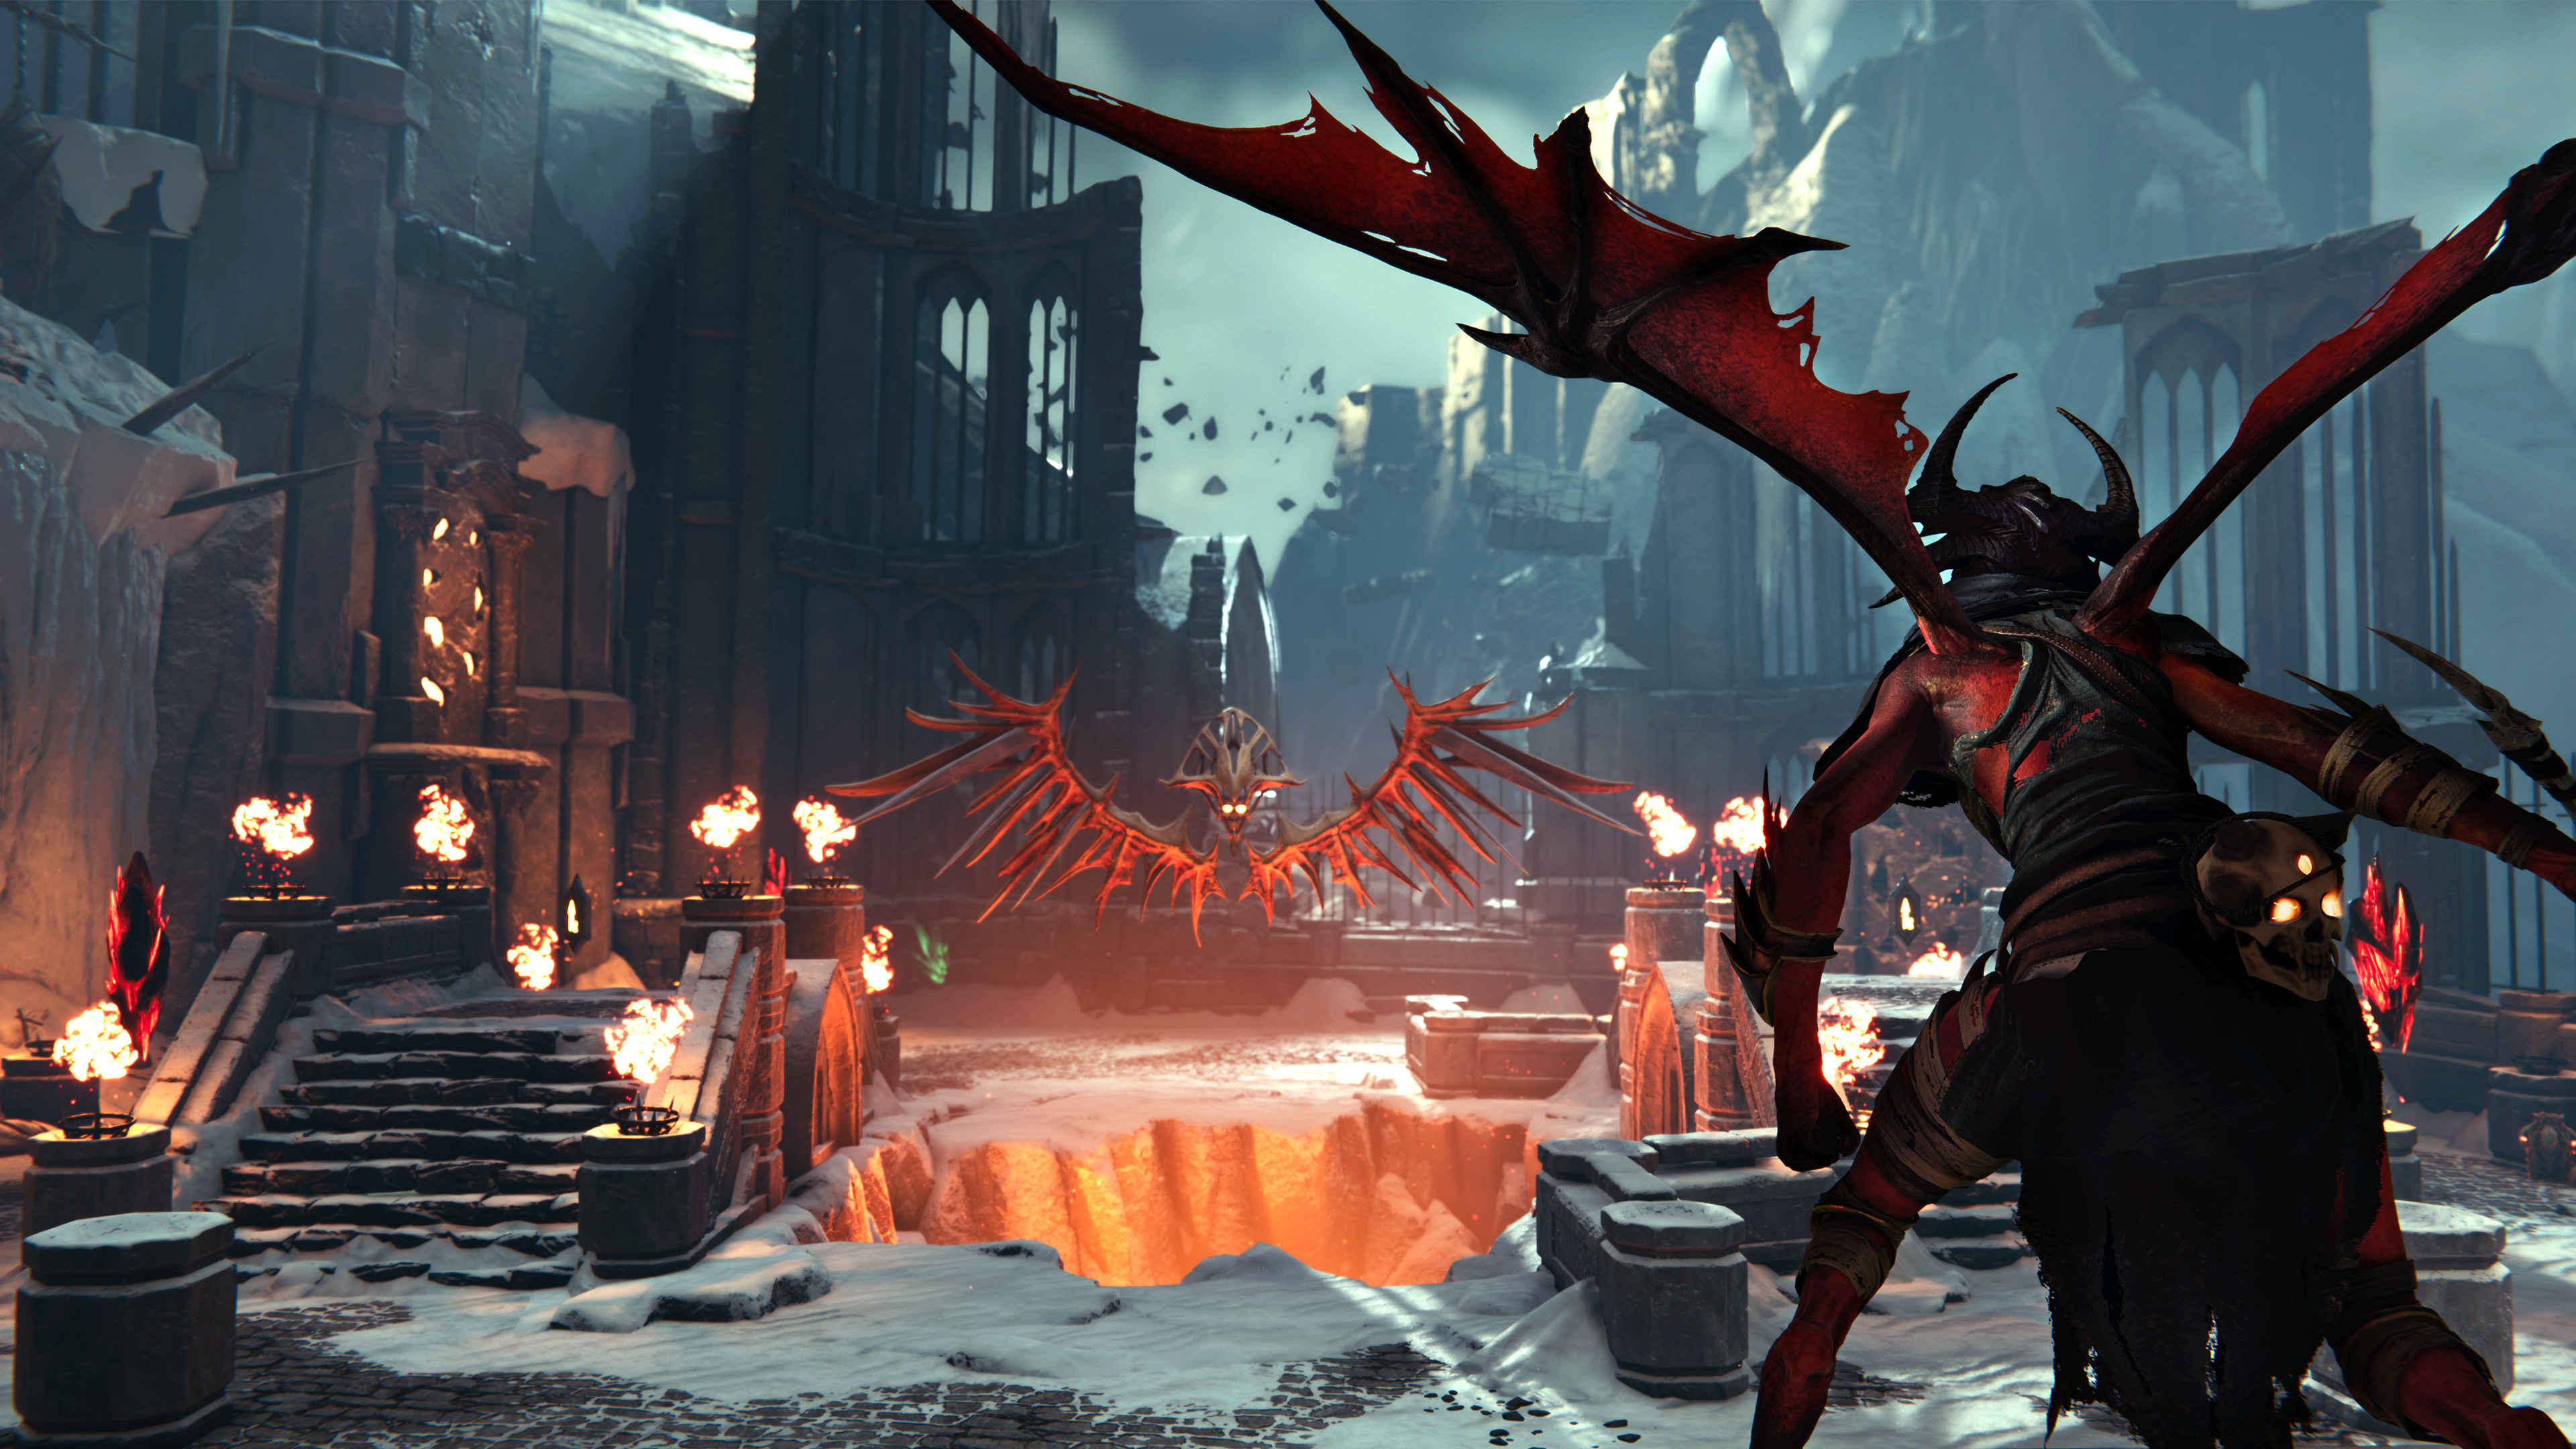
Category: Tips Metal: Hellsinger — Best Sigils for Getting High Scores John Schutt John Schutt Sep 15, 2022
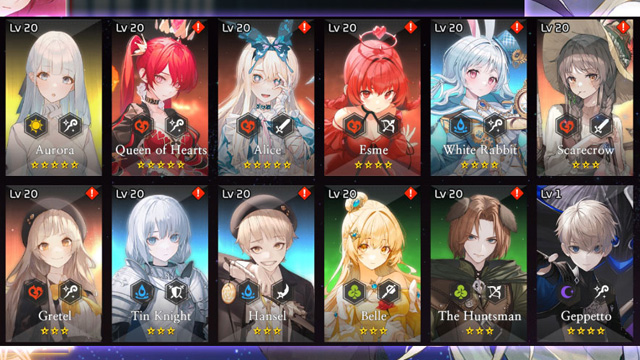
Category: Tips Grimlight Best Characters Tier List & How to ReRoll Serhii Patskan Serhii Patskan Jul 17, 2022
Category: Tips Total War Warhammer 3 Multiplayer Not Working Fix Serhii Patskan Serhii Patskan Feb 24, 2022
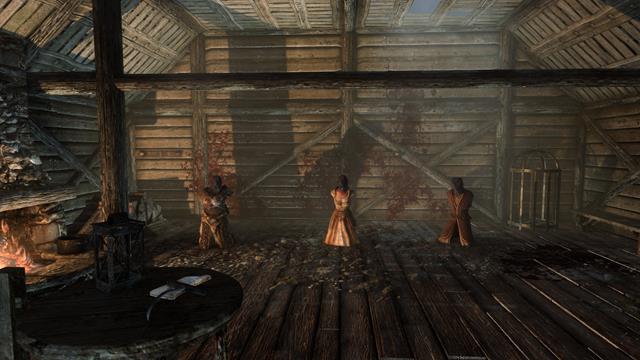
Category: Tips Skyrim: Ill Met by Moonlight Walkthrough Guide Jason Rodriguez Jason Rodriguez Dec 1, 2021
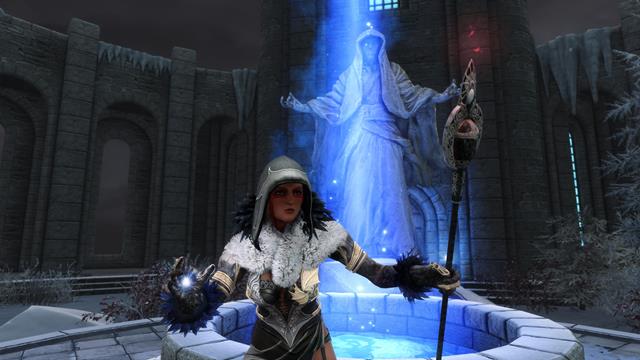
Category: Tips Skyrim Illusion Guide: All Spells, Perks, and How to Level Jason Rodriguez Jason Rodriguez Nov 30, 2021
Kingdom Hearts Birth by Sleep Guide: Ventus’s Ultimate Command Deck Jackson Ingram Jackson Ingram Jul 5, 2015