The Blind Well is one of the oldest horde mode-style activities, and it’s a core part of at least the first week of Season of the Wish. If you’re newer to the game and weren’t around for the Forsaken expansion, here’s how to complete the Blind Well in Destiny 2.
How to Play and Complete the Blind Well in Destiny 2 Season of the Wish
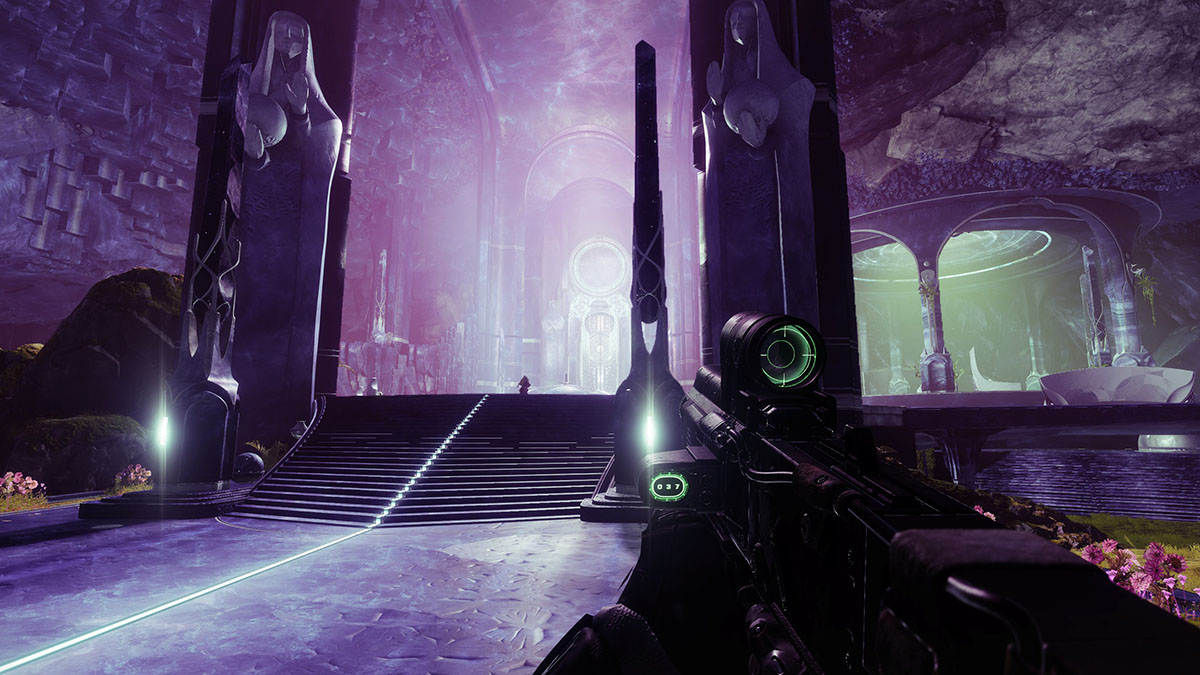
The Destiny 2 Blind Well activity is on the Dreaming City destination, so you’ll need to unlock access to that first and foremost. Once you have the Dreaming City unlocked, open its map from the Director screen and launch the activity from the spinning symbol on the right side of the menu.
As an aside, let me just say how much of a relief it is that you can load into the Blind Well directly from the map. Time was you had to make your way there physically, and while not the worst fate, it was still annoying for repeated runs. Use these links to jump to a specific Blind Well section.

Once in the Blind Well, approach the central pit and place a Charge of Light into one of the ports on its sides. Ideally, you’ll be placing Tier III Charges of Light, which you can buy from Petra Venj for some Glimmer. The Tier you select determines the difficulty of the encounter, but Bungie has changed things so that enemies are always a bit more powerful than you, relatively speaking.
All that said, the core of the Blind Well is the same no matter what difficulty you play.
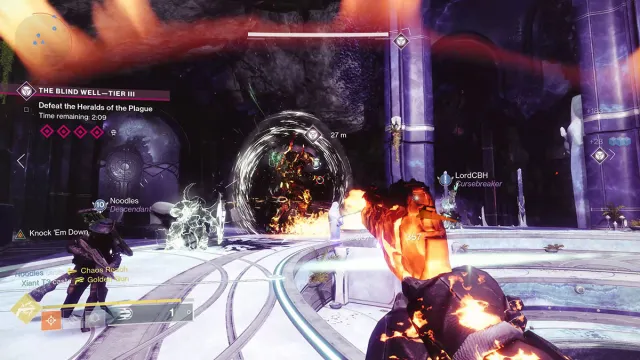
Blind Well Phase 1
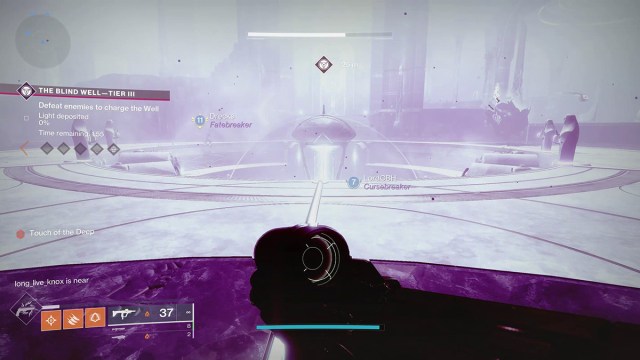
The first phase of Blind Well is the tutorial for the remaining ones, minus the boss wave. A shield will appear around the central pillar in the pit. Standing inside it will grant you the Touch of the Sky buff, protecting you from the acrid mist that’s now filled the rest of the room.
Leave the shield and the Touch of the Sky buff will decay after four seconds, leaving you with the Touch of the Deep, which will drain your health until either removed by going back under the shield or outhealed by one of the many healing methods available in Destiny 2.
Your job is to stay inside this shield and defeat enemies until the progress indicator on the left side of your screen reaches 100%. You and the other Guardians in the activity have two minutes to accomplish that task, though in my experience you’ll only need a minute to do so.
Blind Well Phase 2
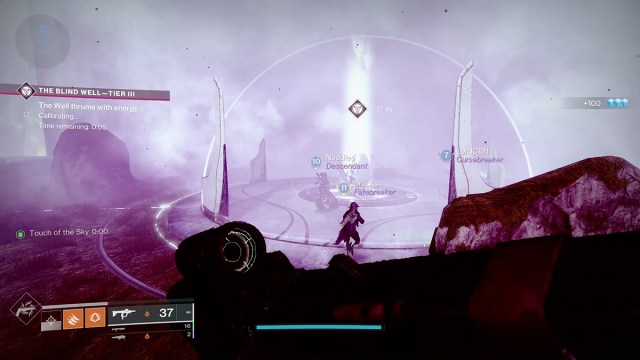
After completing the first phase of the Blind Well, the shield around the central pillar will drop, and one of the egg-shaped devices on the outskirts of the arena will instead gain a shield. You and your fellow Guardians must go there lest you succumb to the mist. Shortly after the new shield goes up, enemies will begin to spawn, and the process of defeating them for progress repeats.
There are a few wrinkles in this second phase of Blind Well.
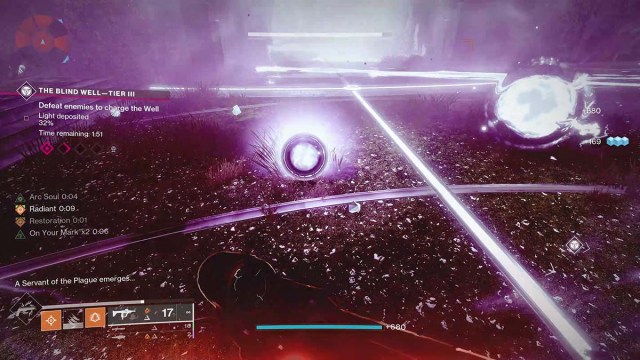
- The first are the white-glowing enemies that appear: The Anathema. Defeating them drops a glowing orb that grants a single Guardian the Harmony buff when touched. Harmony allows you to traverse the mist safely and increases the recharge rate of all their abilities, including your Super.
- Not long after the Anathema dies, a miniboss called the Servant of the Plague will appear. Only those with the Harmony buff can drop the Servant’s shield.
Finishing off the Servant of the Plague drops three Harmony orbs for your team. The buff duration might even last until the next Anathema spawns and maybe even the Servant. Both the Anathema and Servant are worth much more progress than rank-and-file enemies.
You and your teammates will need to reach 100% progress at several more shield nodes, as once one of them completes, the shield will shift to another node close by. When you do finish, the boss wave starts.
Blind Well Boss Phase
Defeating bosses in the Blind Well is a test of everything you’ve learned to this point. You’ll need to defeat Anathema enemies to spawn Harmony orbs to break the boss’ shields, then defeat the bosses that appear within the time limit. The additional mobs that spawn are there to add threats, as well as provide ammo and Super energy.
You’ll have two and a half minutes to defeat all the bosses that appear, so you’ll want to make good use of your Power weapons and as many Supers and abilities as you can. I don’t recommend trying to take the bosses on alone, or any of the Blind Well really, but because of the strict time constraints, you’ll need help from fellow Guardians to get this done.
If you’re running a Tier I or Tier II Blind Well, after defeating the boss, you’ll be done. However, if you’re doing a Tier III, the time has come for the bonus boss phase.
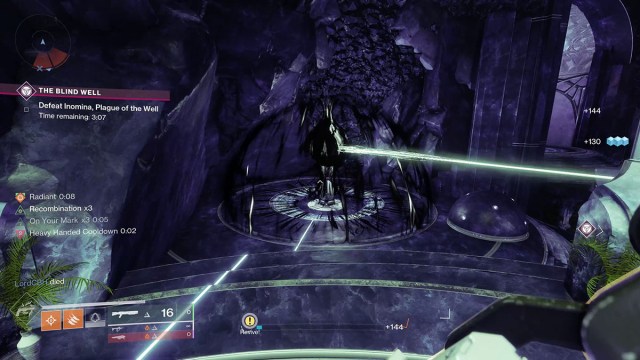
Heroic Blind Well

Are the Tier III Blind Well bosses dead? Good. Now, return to the central pillar and place an Unstable Charge of Light in the port that faces the back of the arena. Doing so will spawn Inomina, Plague of the Well, a massive Taken Servitor. You’ll have a little over three minutes to kill it.
After taking off about 10% of Inomina’s health, it will summon a shield connected to two nearby Taken Blights. You need to destroy both Blights to drop the shield and continue doing damage.
Inomina has a lot of health, but there’s only one of them. You’ll probably need two immune phases to take it down depending on how effective your teammates are at dealing damage. Most of my runs are done well before the timer gets anywhere close to zero, but if there aren’t many other Guardians with you or they don’t have the best builds, you could need three phases.
Defeat Inomina and you’ll complete not only the Heroic version of Blind Well but the whole activity itself. Your rewards will be commensurate to the effort you and your teammates put in, with a better chance at a weapon, tons of additional currency, and Riven reputation.
If you’ve never done the Blind Well before in Destiny 2, the novelty and simplicity might be refreshing. I spent more than two years doing it, and the fact it’s tied to the Season of the Wish story is irksome. Bungie is aware of this sore spot, so hopefully they can make some minor changes to things.
That’s how to complete the Blind Well in Destiny 2. For more on the latest season and the game in general, check out our guides on getting Lair Keys, the 13 Exotics you need right now, and more in our D2 guides hub.


Published: Dec 1, 2023 12:11 am