Doom Eternal sentinel batteries are some of the most critical collectibles in the game. You need these to unlock all of the doors in the Fortress of Doom and gain access to sealed upgrades and outfits for the Slayer.
You’ll run across a few of these batteries in the course of regular play. Still, others hide behind platforming puzzles, challenges, and other hidden crevices throughout Hell and beyond. This guide will tell you where to find each sentinel battery in Doom Eternal.
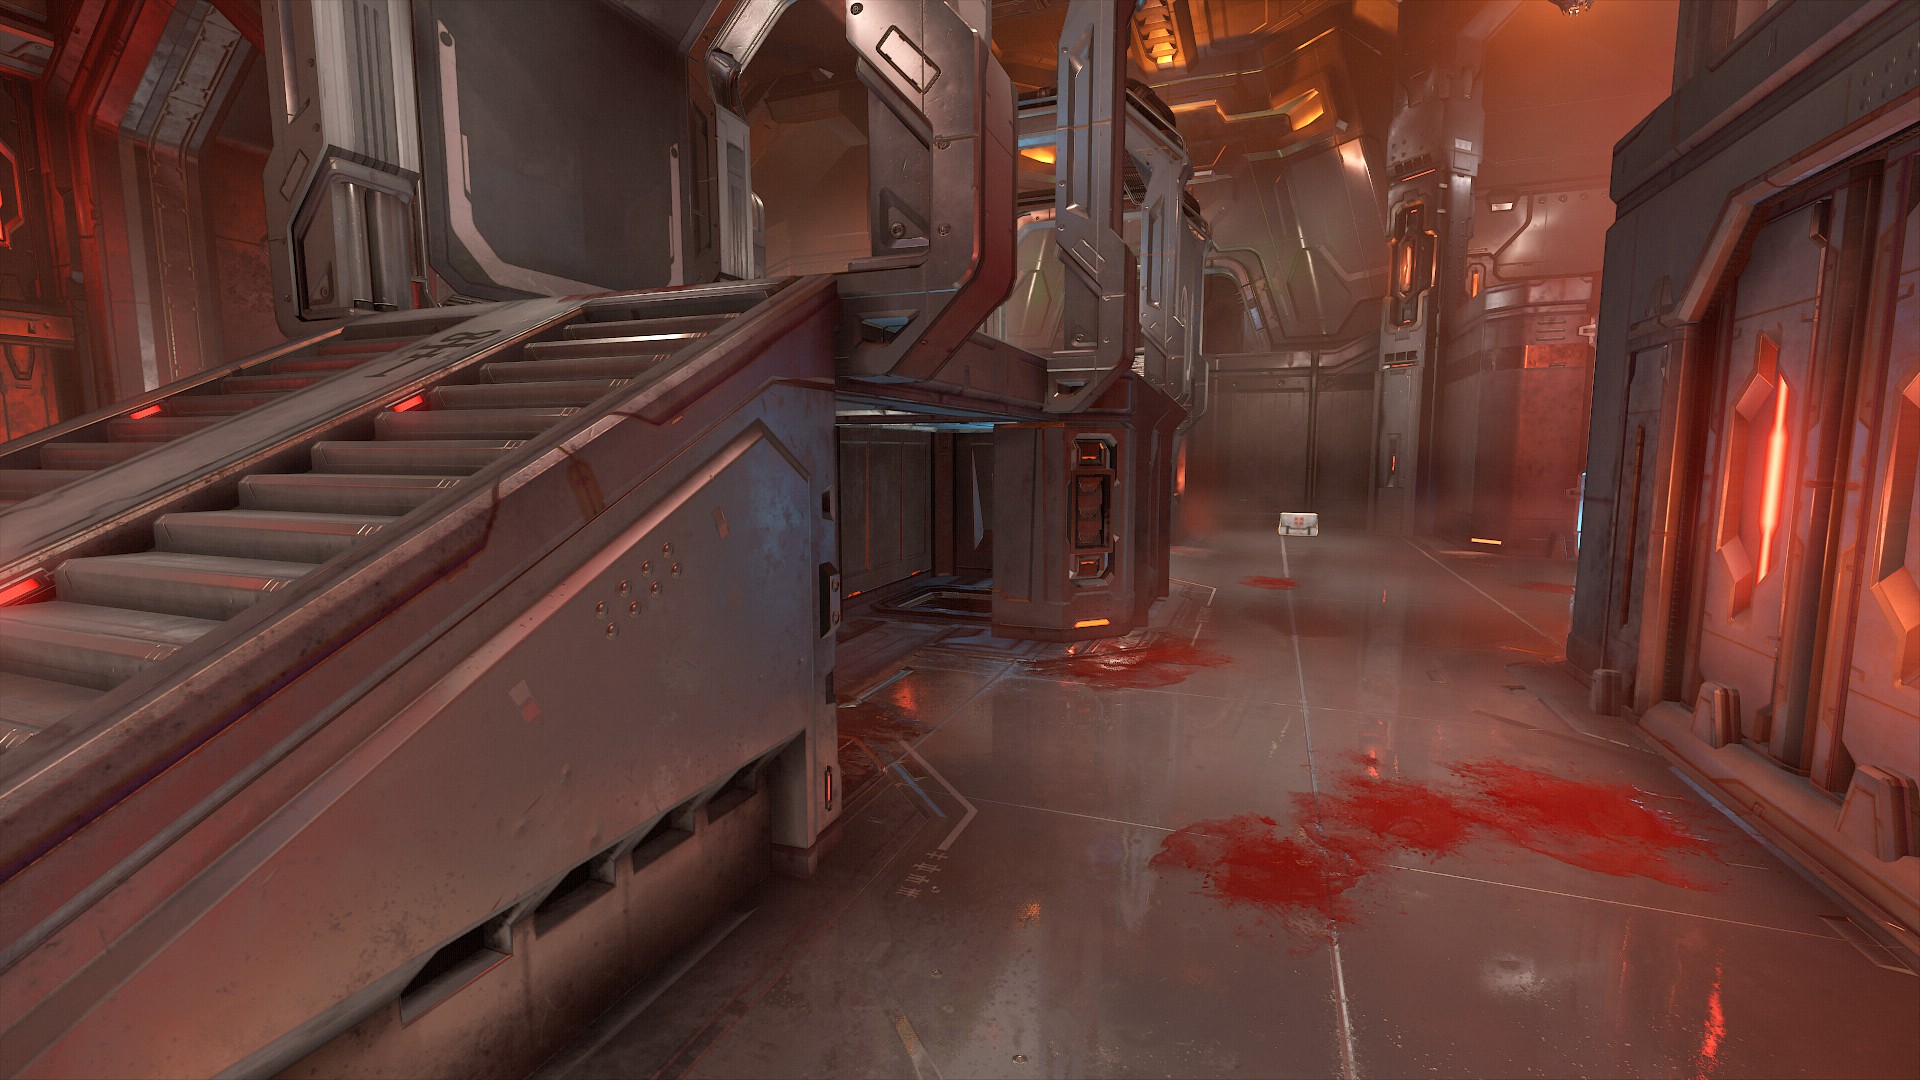
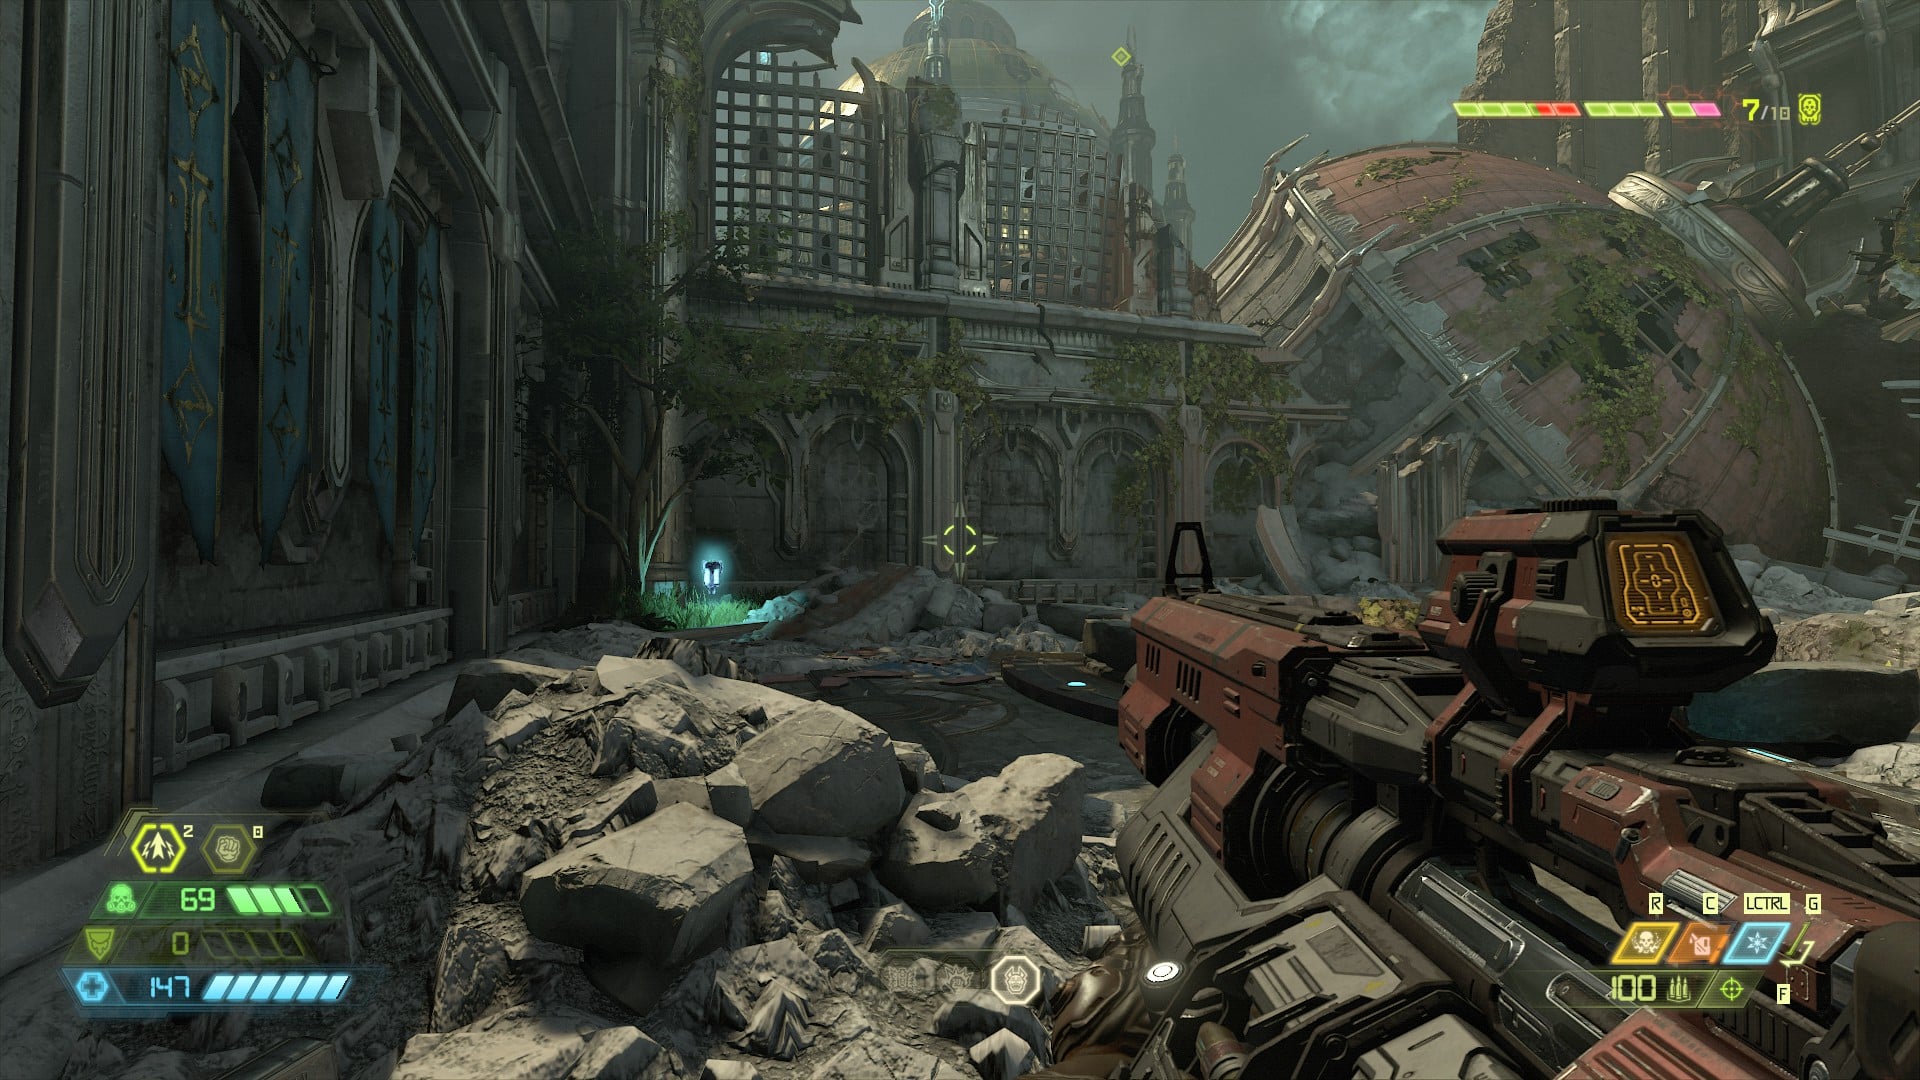
Note: Some images below do not have the batteries in them, but they show where the batteries are. Images were captured post-playthrough, where I collected most of the items in the level beforehand.
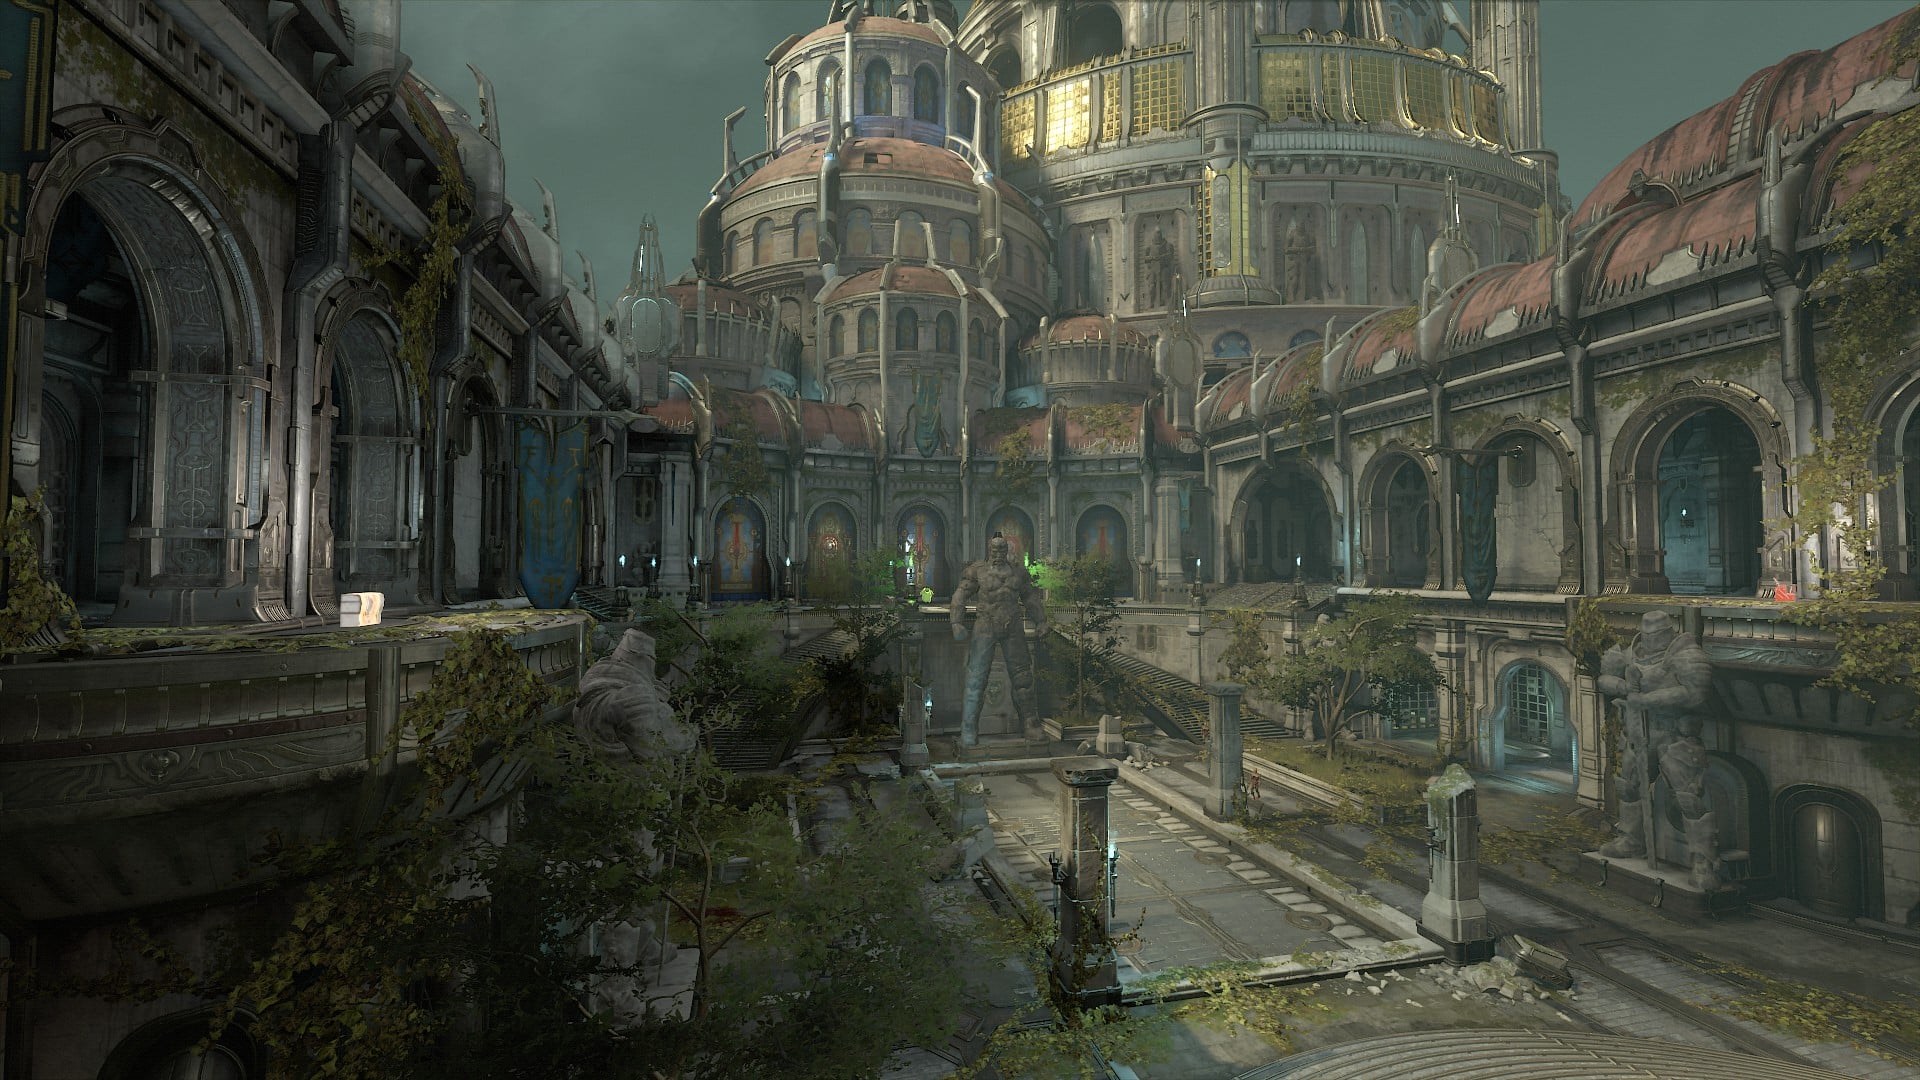
Exultia Sentinel Battery Locations

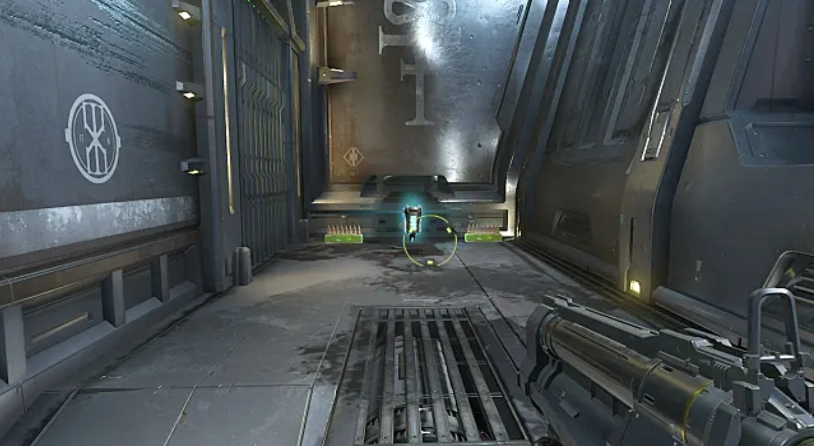
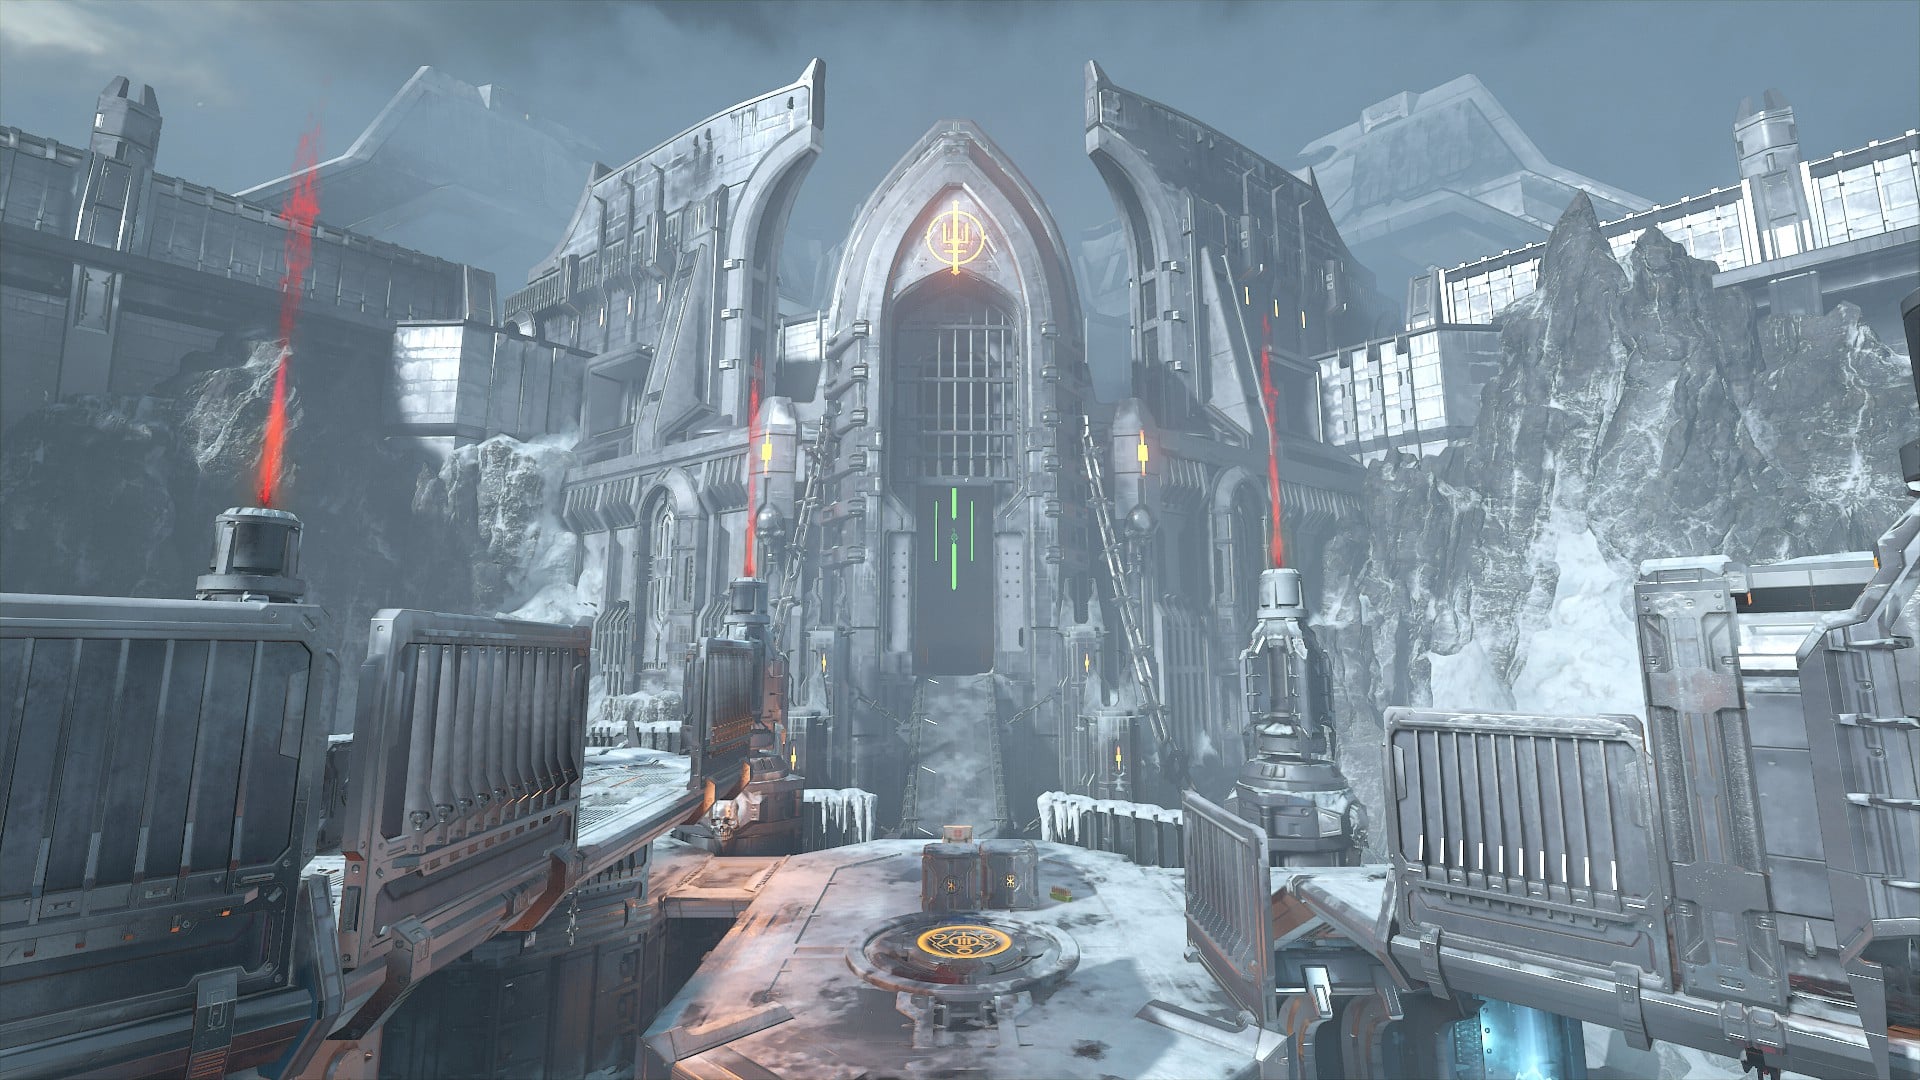
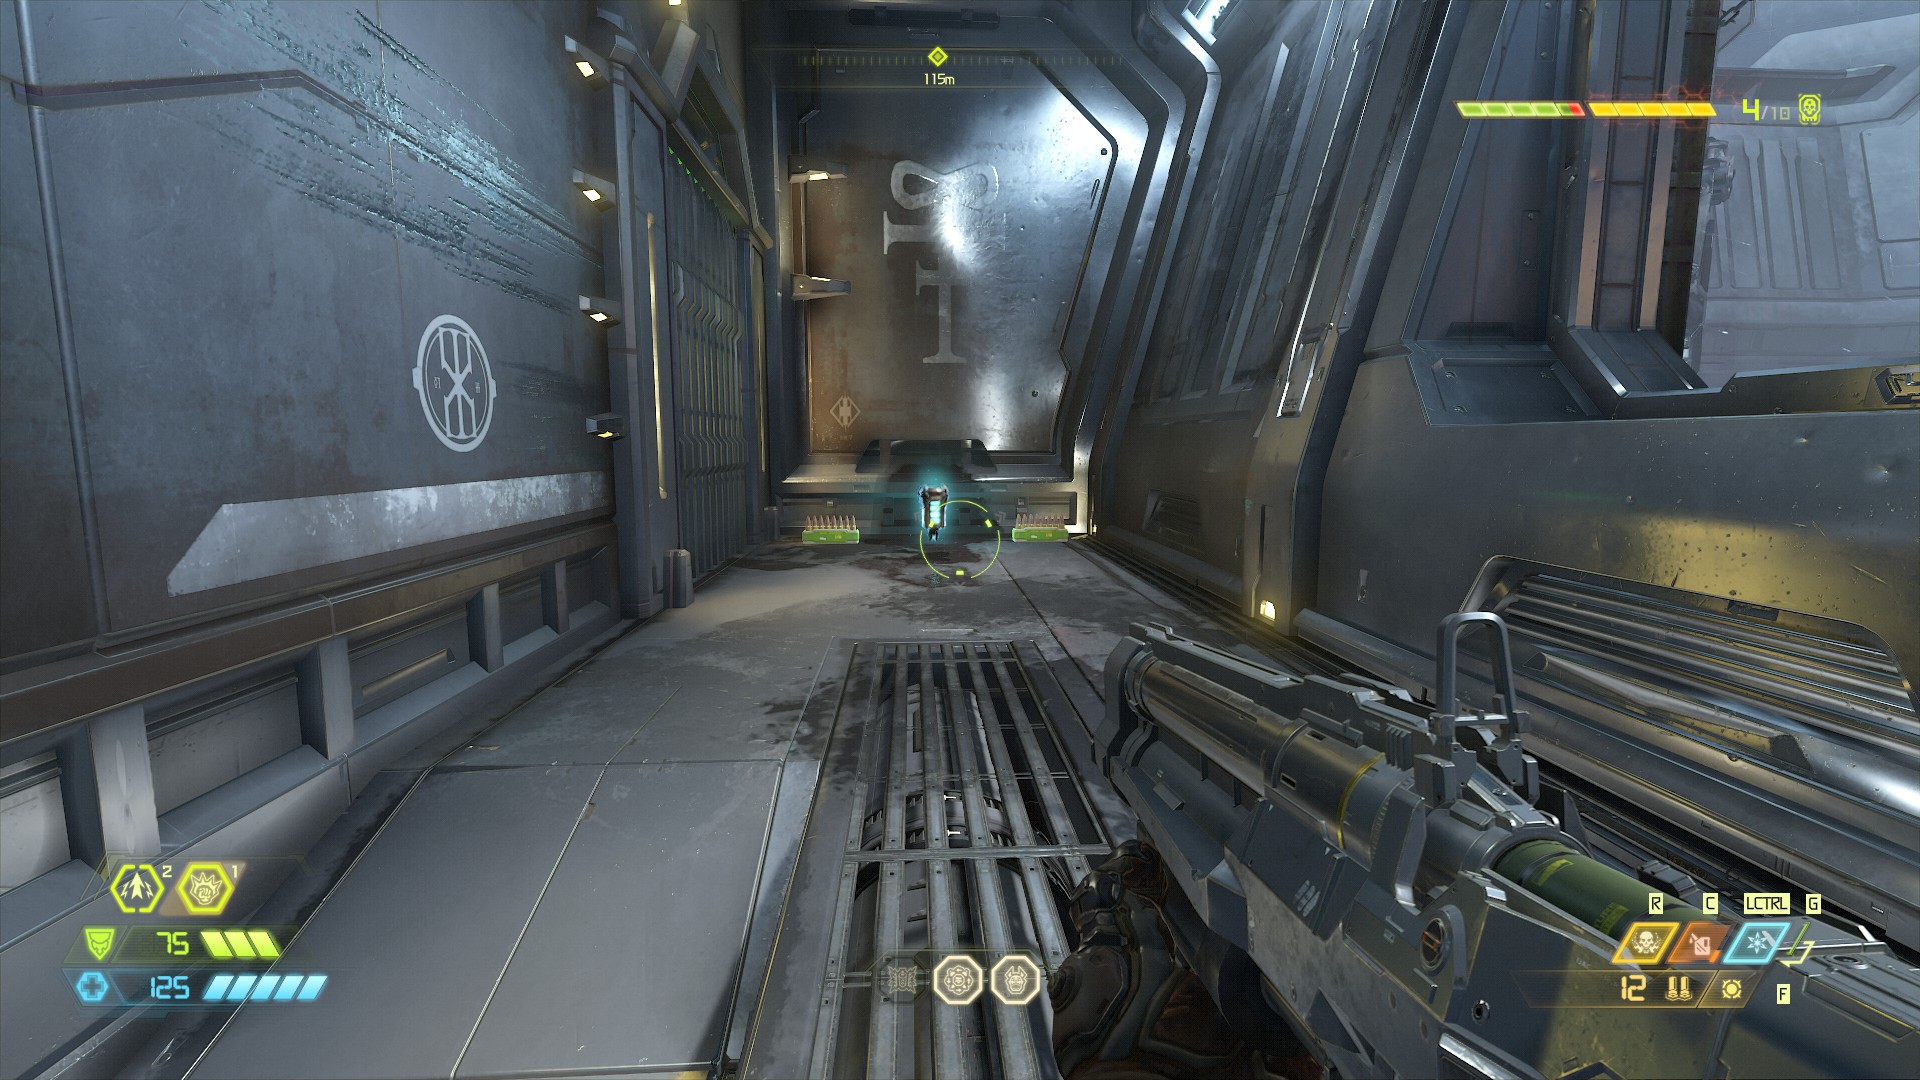
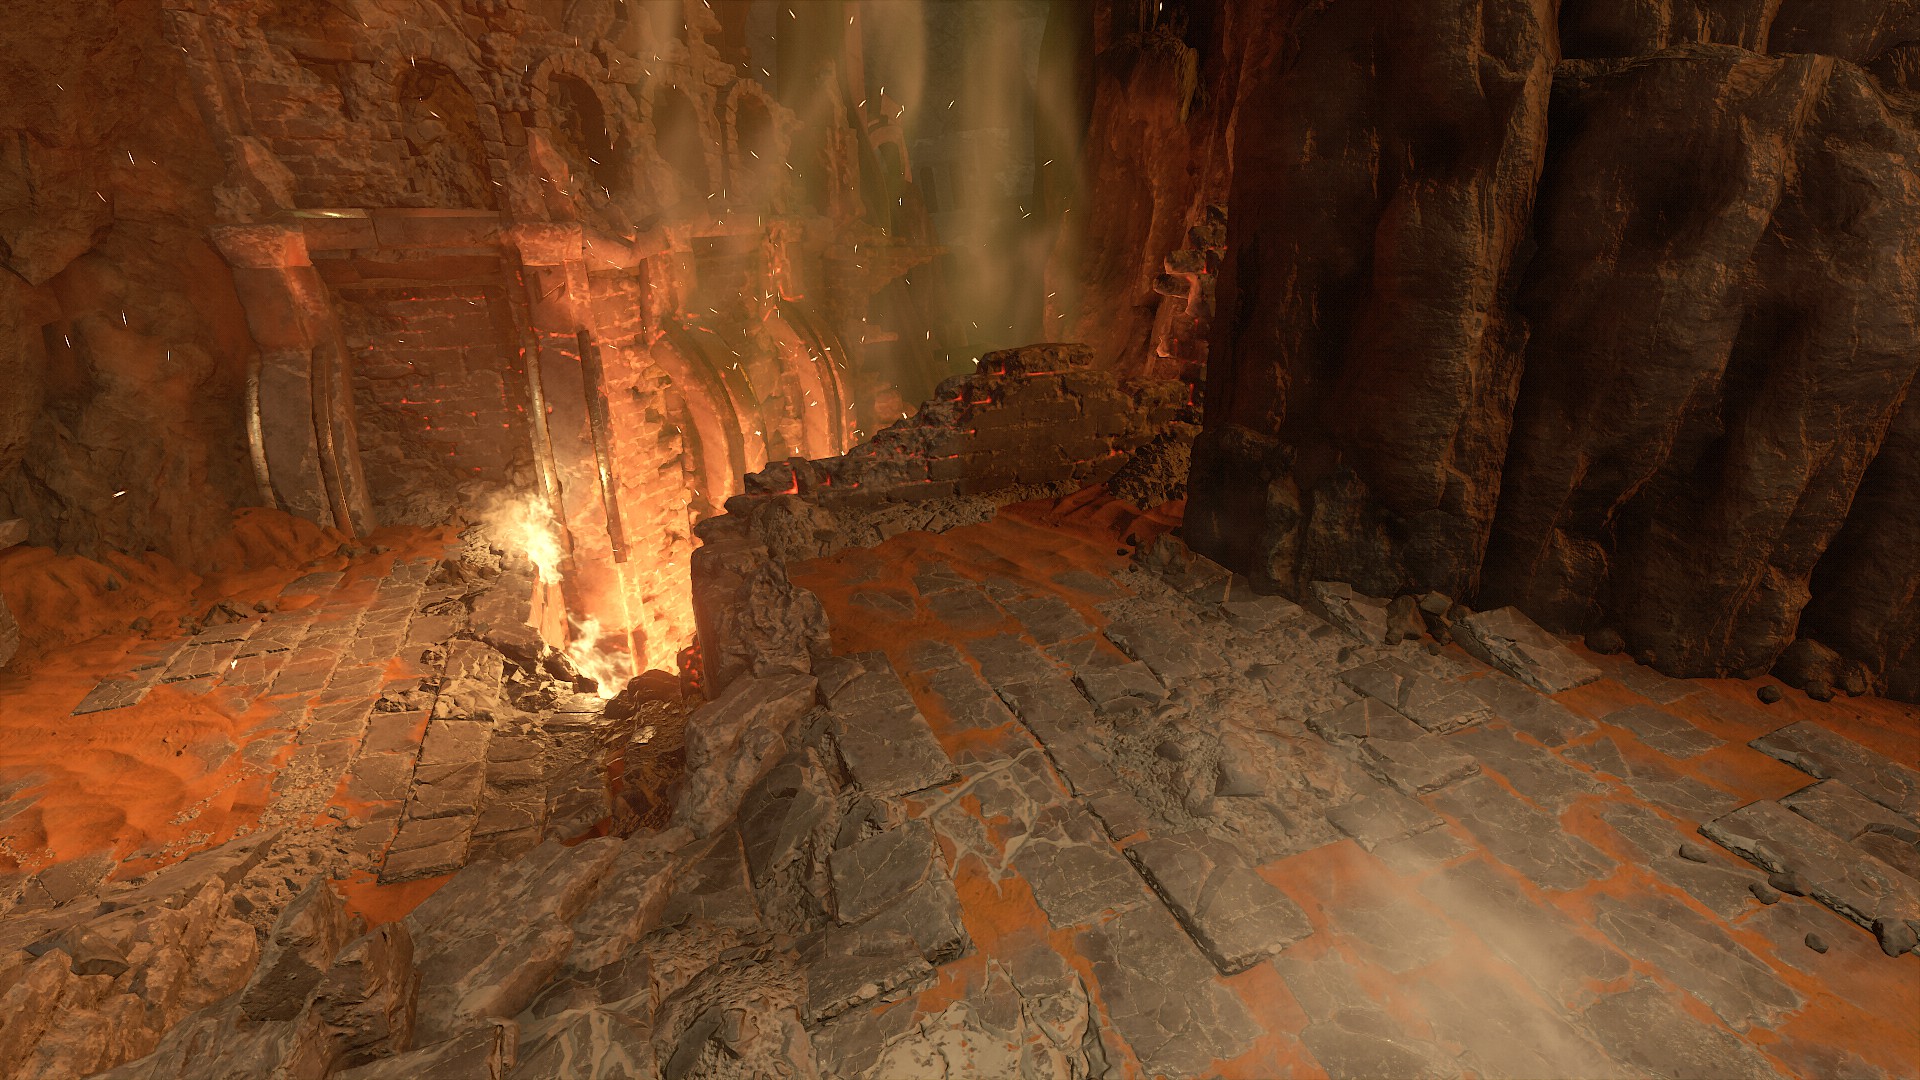
You’ll come across the first sentinel battery in the game over the course of finishing the Exultia level. It is just before the transdimensional portal.
Initially, it’s locked behind a large gate, and you’ll have to go through the level to raise it. Once the gate is out of the way, you can’t miss the battery.
Cultist Base Sentinel Battery Locations
Cultist Base Battery 1
The first Battery sits high above the first major combat arena. Clear the area of enemies, then look for a small ledge along the cliffside, near where you entered the area.
Jump to the ledge. Break open the grate, and punch the button behind it to unlock a gate below the main arena (below where the horde of zombies was when you first came into the area). Beyond the gate is a jump pad.
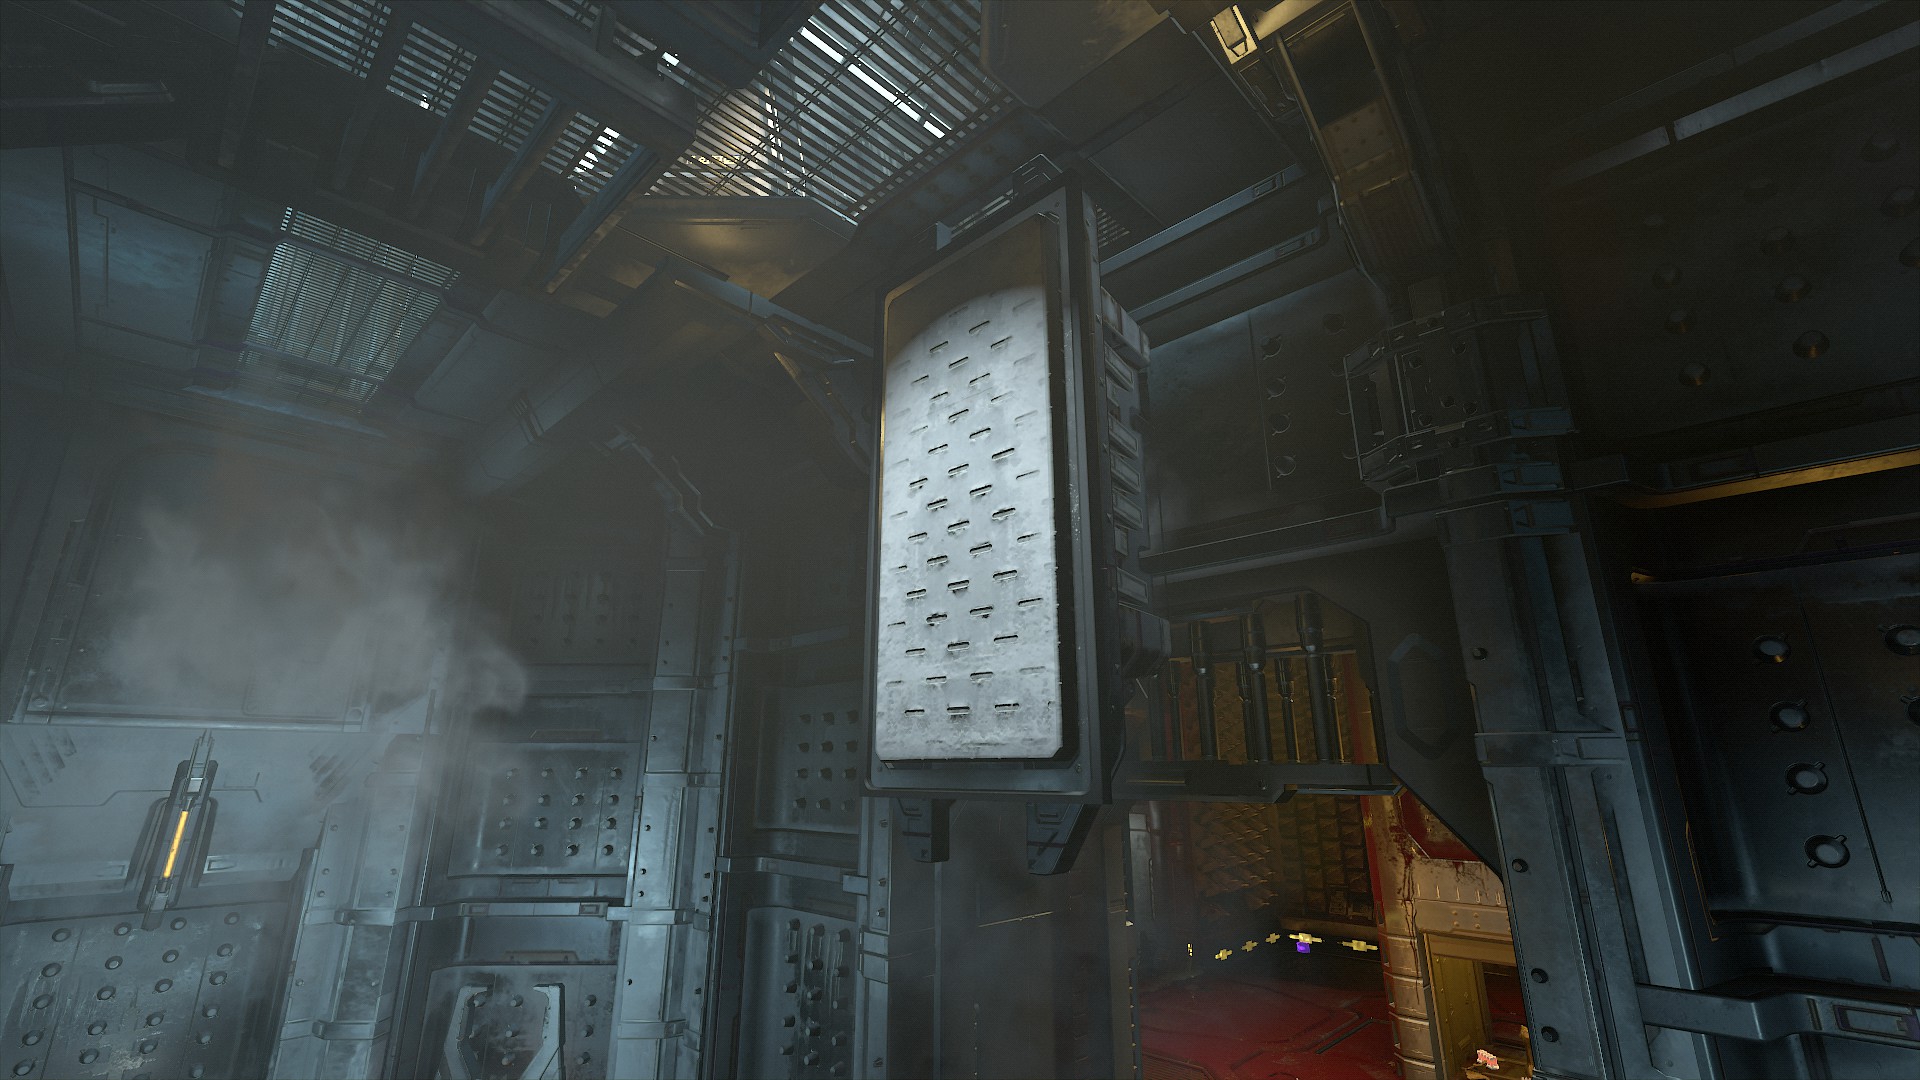
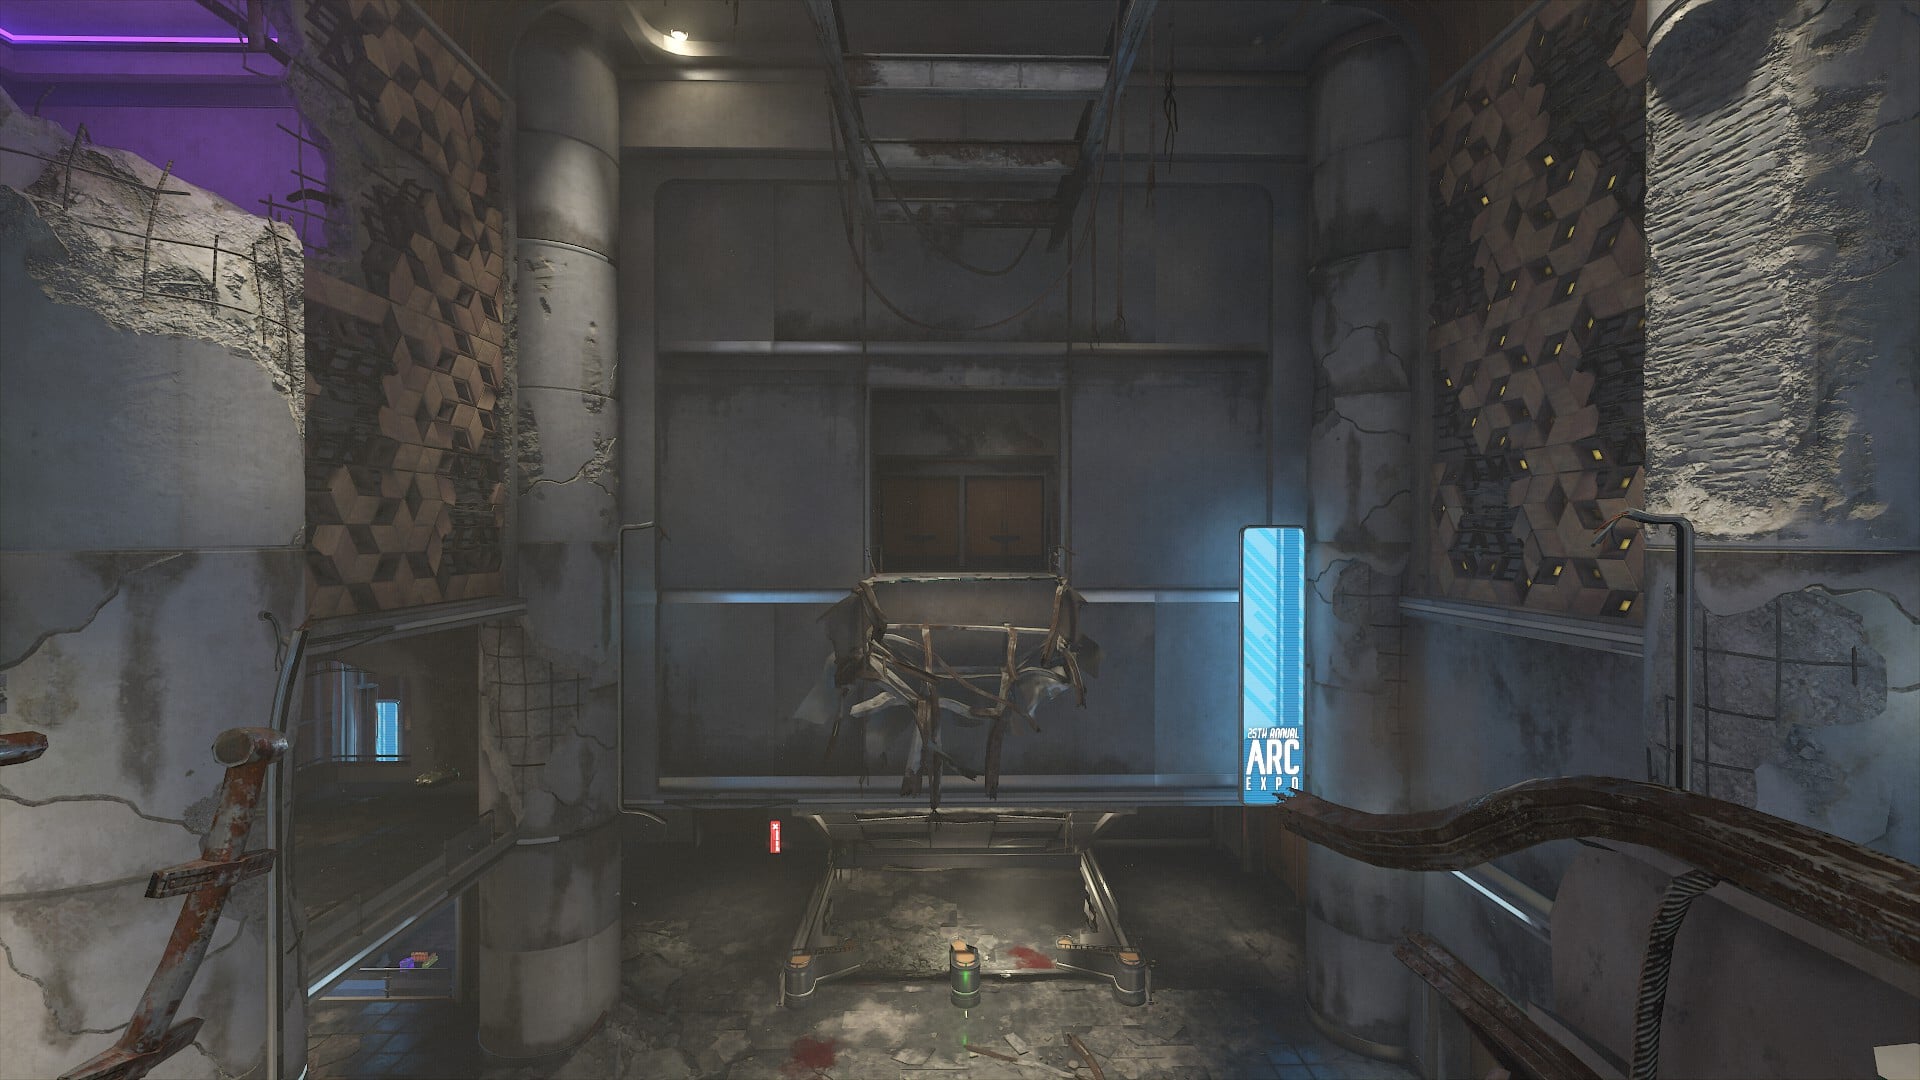
Take the jump pad up, and double-jump/double-dash to the battery’s location, nestled in the cliff ahead (shown below).
Cultist Base Battery 2
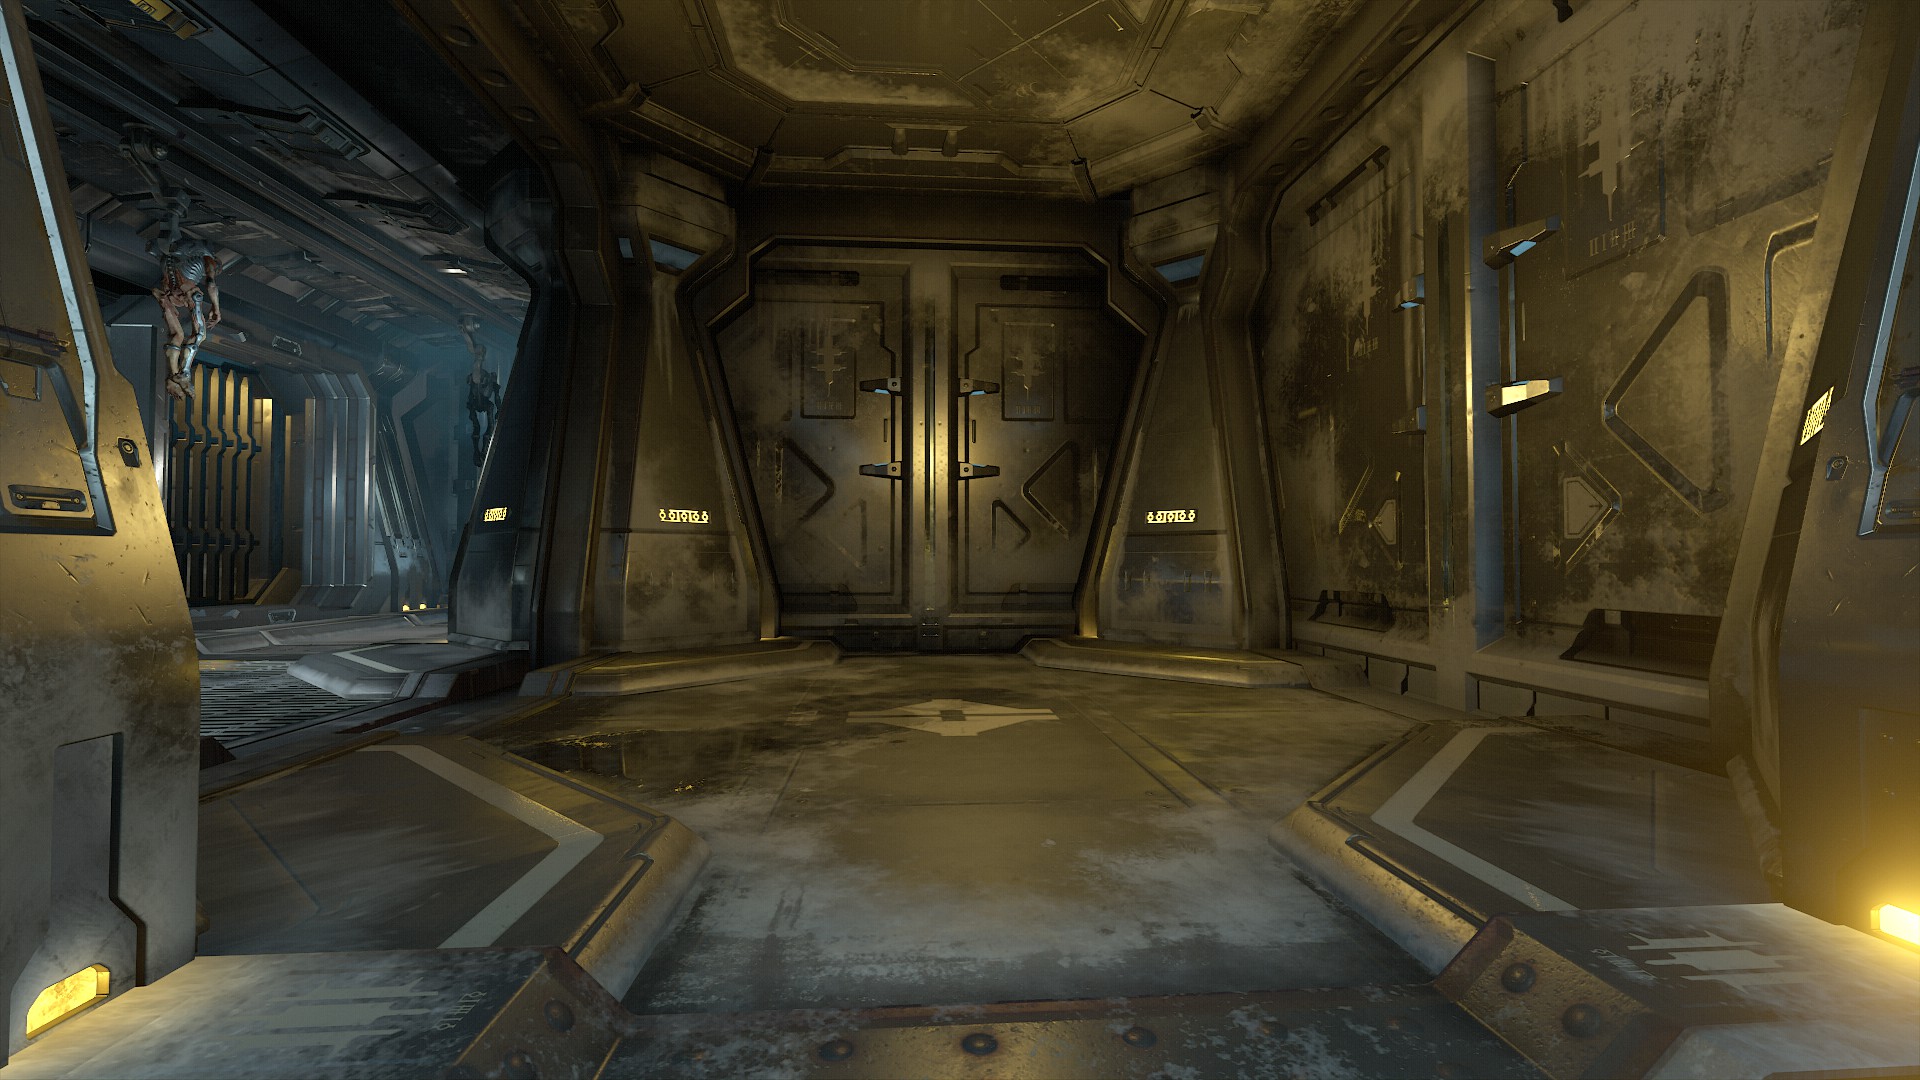
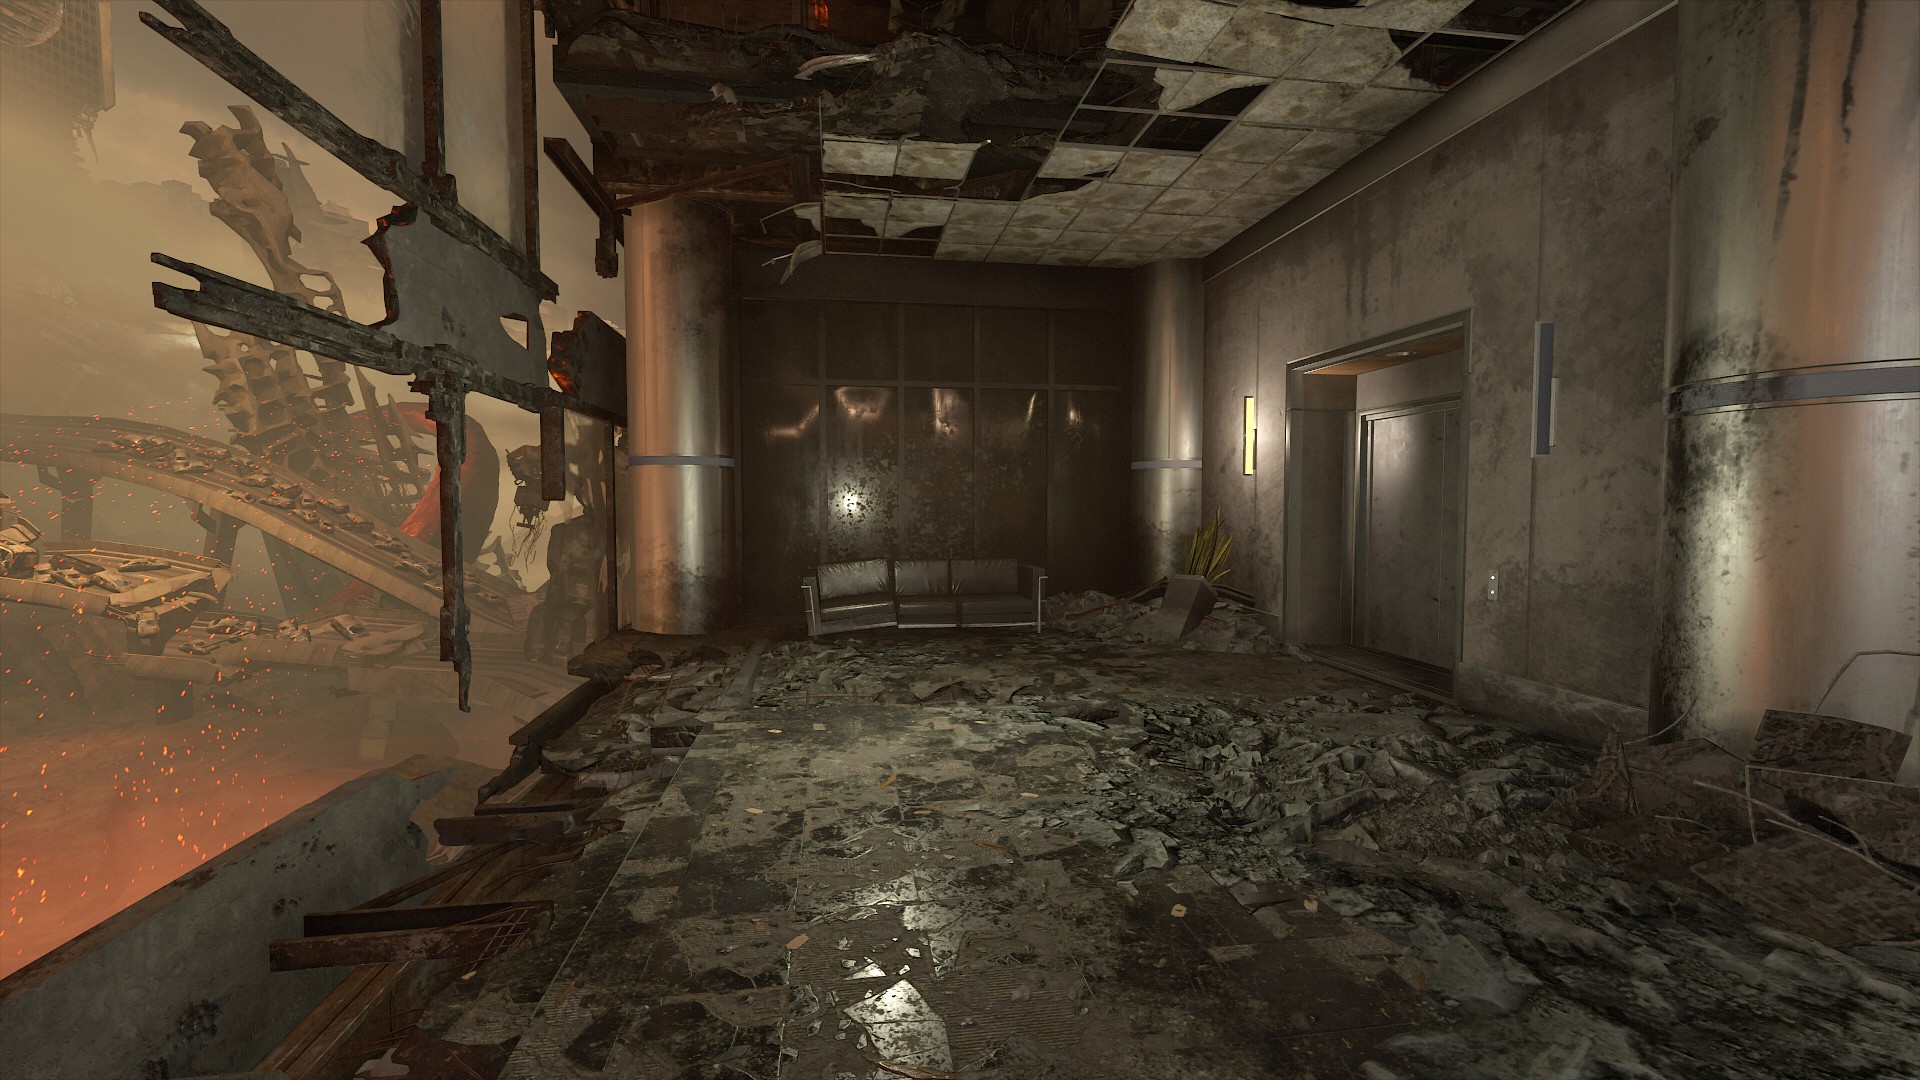
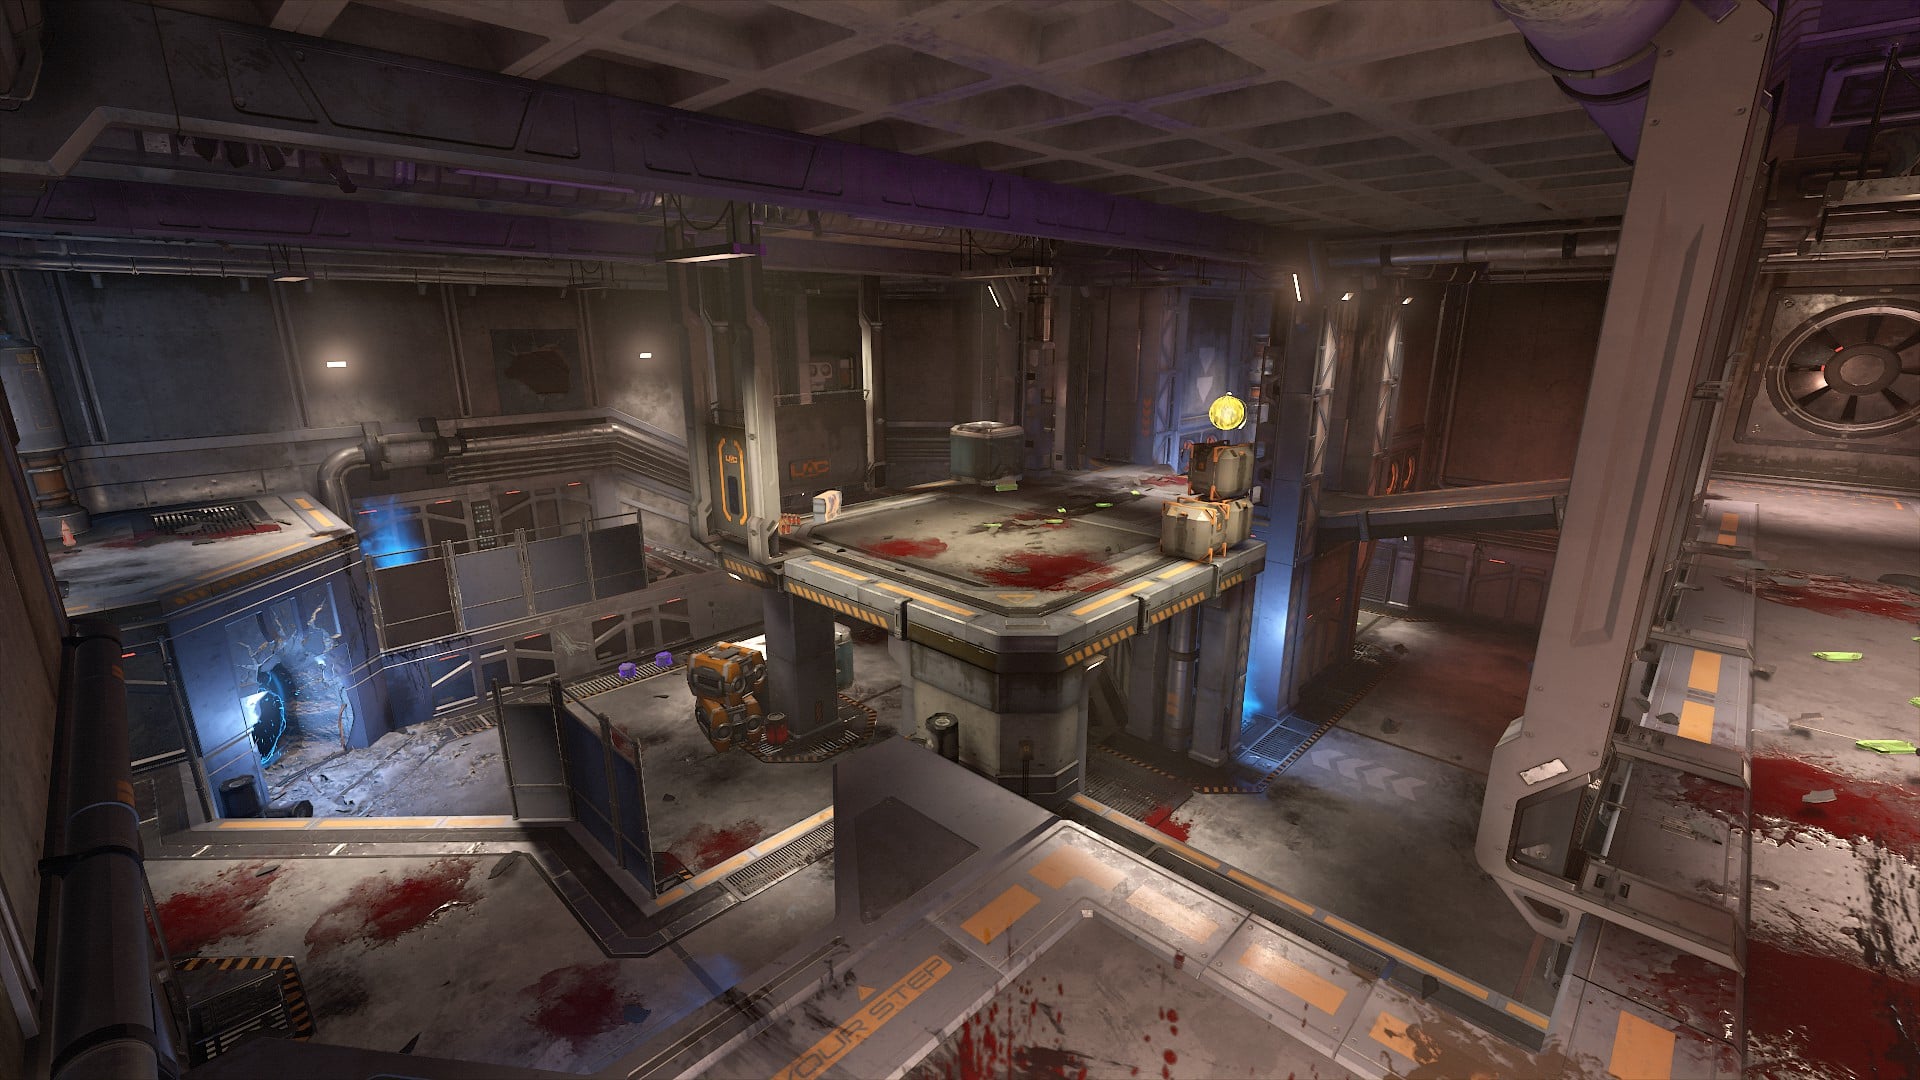
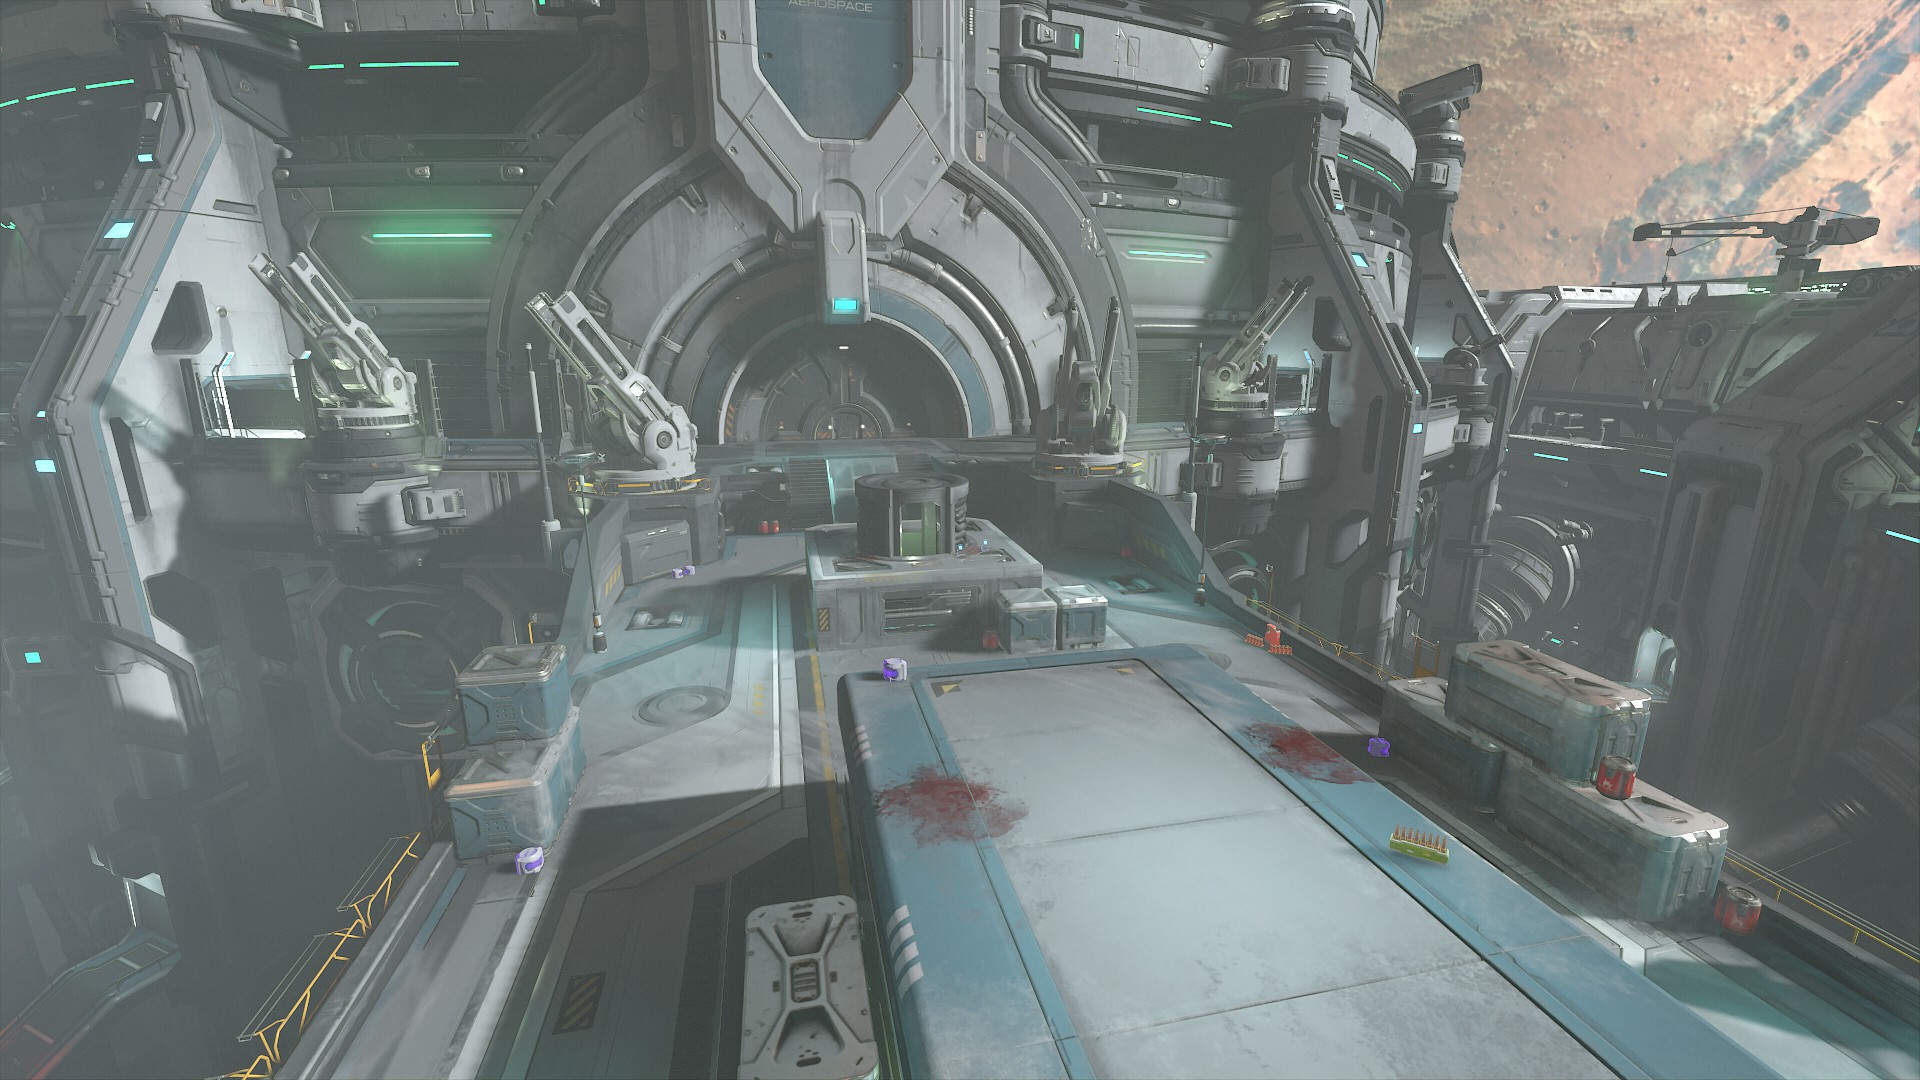
After grabbing the sentinel battery above and completing the next section that pits you against demons in a long corridor, you’ll exit outside and get a Praetor Suit token. Continue down to one of the level’s toughest combat arenas (pictured below).
After the fight, go inside the keep and turn left at the intersection and follow the hallway down until you see the battery out in the open.
Cultist Base Battery 3
Shortly after you get the Sentinel Crystal while looking for your Super Shotgun, you’ll enter a room with two elevators to your left and right.
Take the elevator immediately to your left and go down one floor.
Once on the bottom floor, follow the hallway around until you see a Cacodemon float above some yellow-hued boxes. Kill the demon and jump up to the main floor. There are more elevators. Take the one on the left, this time riding up.
Jump on to the next floor and run until you see a large green button in front of a contraption.
Punch the button to release the monkey bar, shoot the other green button across the way, swing through the opening, and dash onto the climbable wall.
From the wall, look left. You should see an elevator with a large armor pickup in it.
Take this final elevator up, run around the corner, and you drop into the battery hallway. Collect the battery to open the gate.
Doom Hunter Base Sentinel Battery Locations
Doom Hunter Base Battery 1
You’ll find the first sentinel battery of Doom Hunter Base in the back of the level’s first combat arena, hidden, as they tend to be, behind a grate.
From the back of the room, go toward the entrance and look for an opening underneath the center platform about halfway down. There’s a breakable vent.
Break said vent and follow the tunnel, then jump up to the little room with the battery.
DoomHunter Base Battery 2
The second battery in this level is on the critical path. It can be found in the same area as the red key.
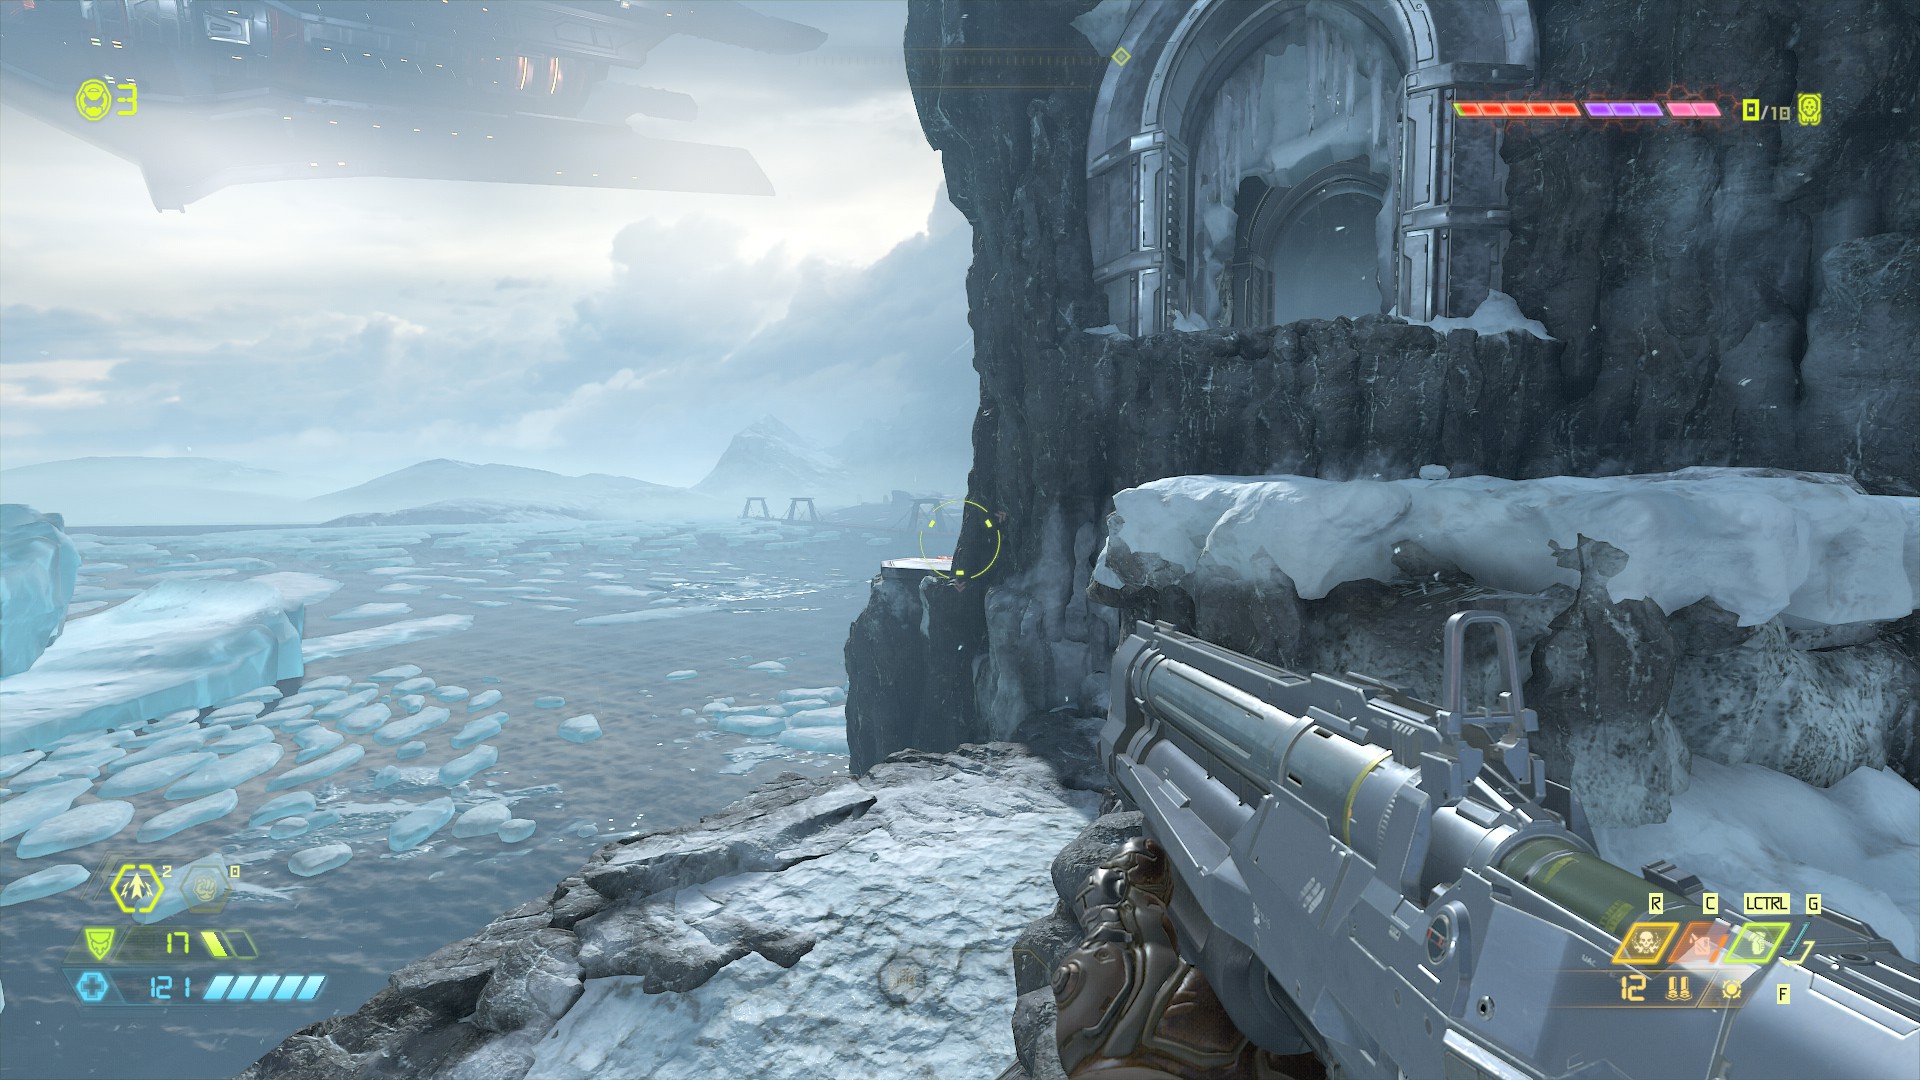
Move through the level until you come across a set of bridges and a massive outpost connected by floating, climbable walls and monkey bars. It’s high above the snowy mountains below. The start of the area looks like this.
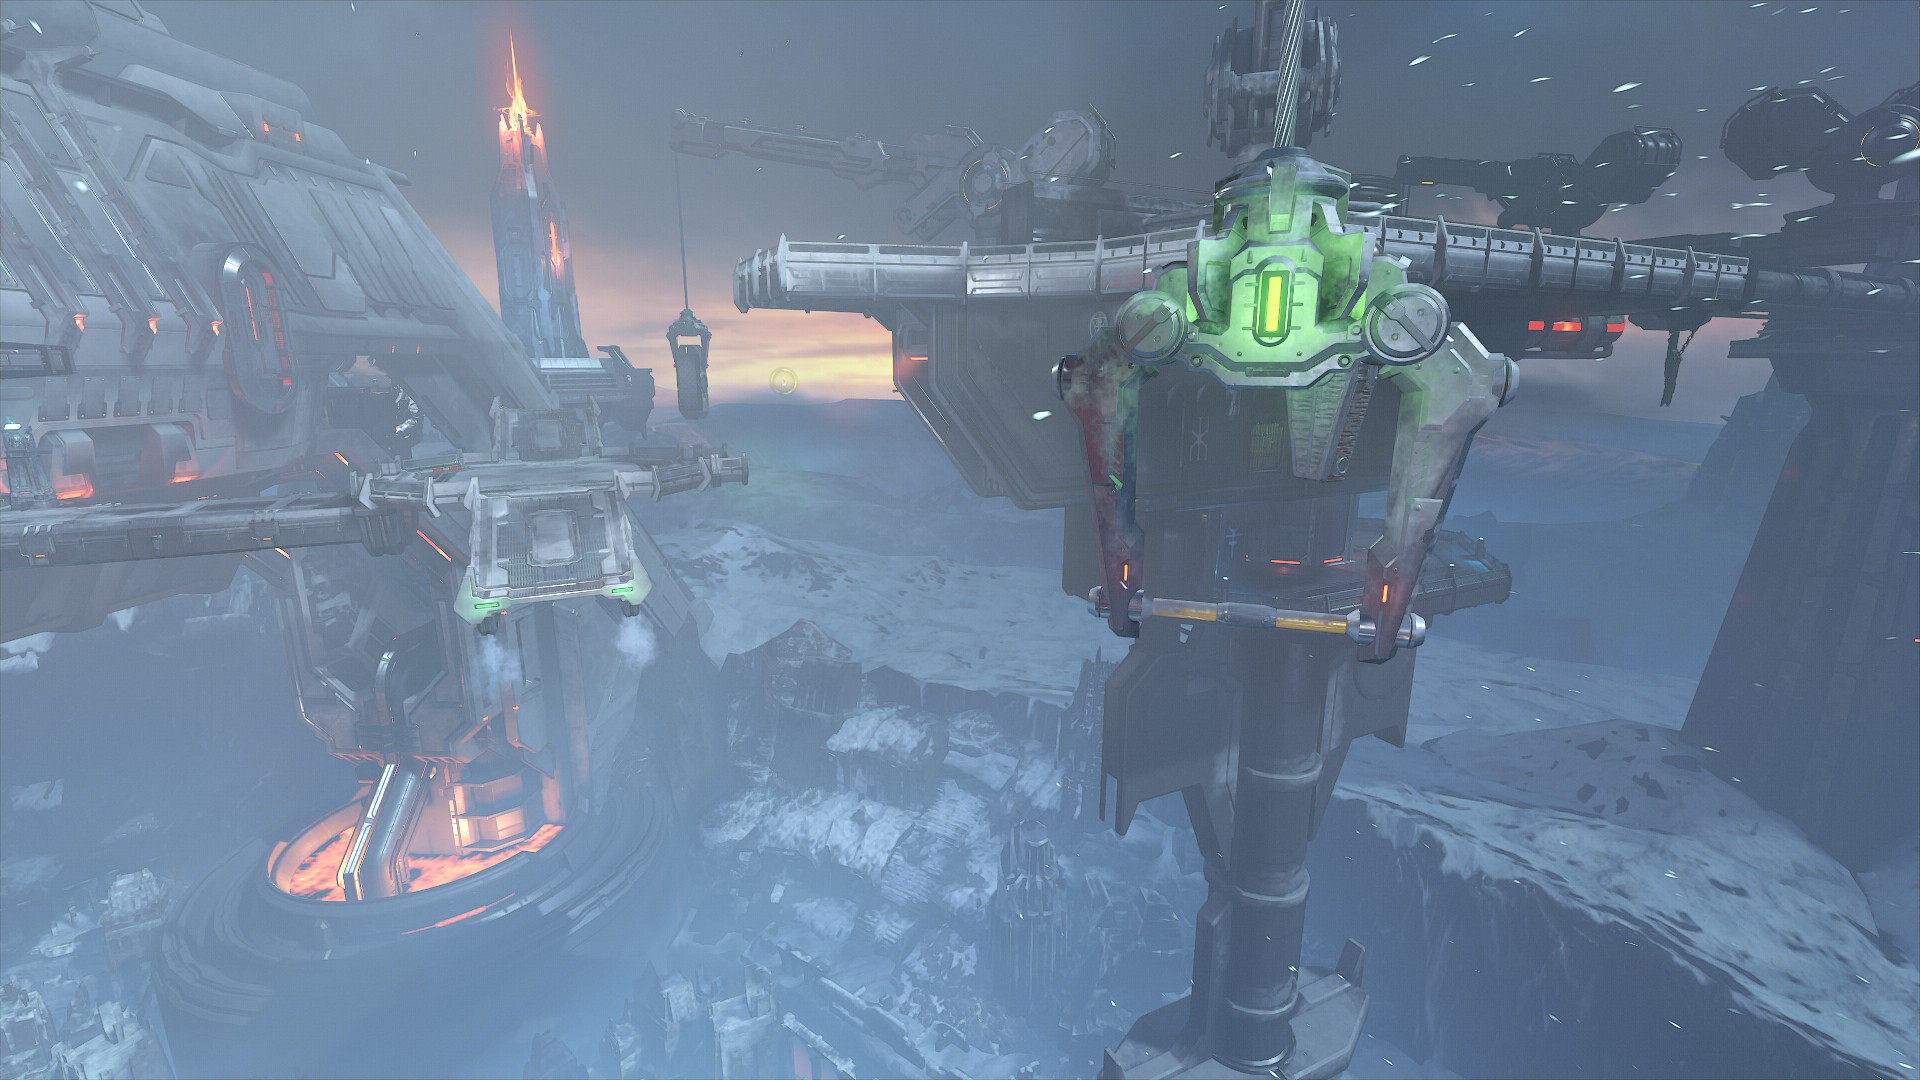
Swing on the monkey bars and jump to the central platform, then head toward the hanging climbable wall. You’ll see a dash recharge nearby leading to the outpost. There’s an open window in the side you’ll want to jump through.
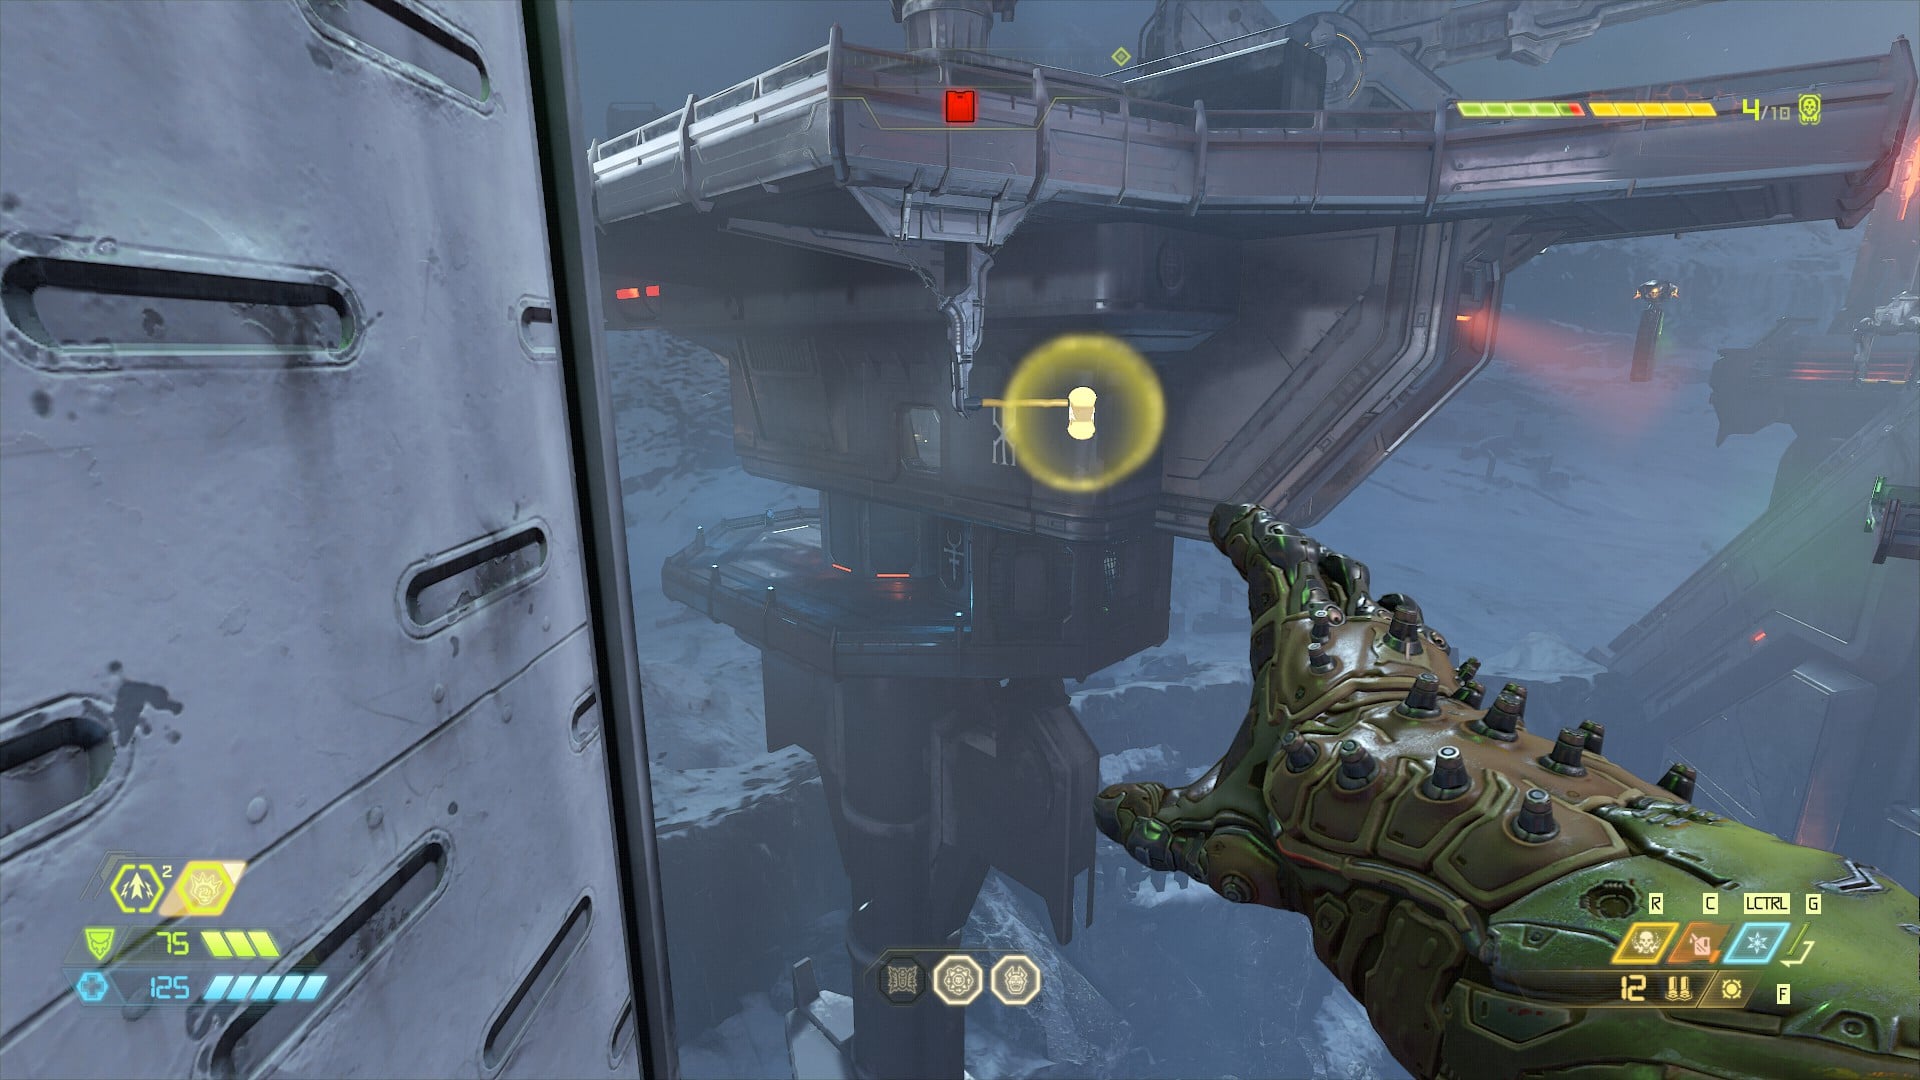
You’re in the right place if there are about five zombies shambling about in the room. Turn to your right, and the battery will be staring you in the face.
Super Gore Nest Sentinel Battery Locations
Super Gore Nest Battery 1
The first sentinel battery in the Super Gore Nest is in the first acid area. You’ll have the yellow gore key by that point, and you’ll be going for the red key. Once you enter the area, you’ll see several flaming chains that you’ll need to avoid.
Past the fire chains is a pathway up and around, where you’ll eventually reach a room with a rotating column in the center. To progress further in the level, you smash through a vent by using the monkey bars attached to the column.
To find your way to the battery, go through the tunnel at the bottom of the chamber instead.

You’ll want to refresh your Rad Suit if possible, because you’ll quickly take damage getting to the end of the tunnel.

Super Gore Nest Battery 2
It’s almost impossible to miss this sentinel battery. It’s at the end of a short platforming puzzle.
You’ll be in an area with a Buff Totem and lava floors, floating skull platforms, and monkey bars. It’s in the center of a huge lava lake surrounded by destroyed buildings. It looks something like this:
As you make your way through the area, you’ll take the monkey bars across to a small section with a moveable block, a short jump, and more floating fiery chains.
At the end of that path is a climbing wall. Once you reach the top, the battery will be waiting to your left.
Super Gore Nest Battery 3
Once you have the blue key (the last of the three keys), you’ll return to the first open area of the level; it’s where you had your first big fight.
There’s a blue locked door in the center spire, and it hides a jump pad. Near the pad is an easily reached secret (you can’t miss it), and to the far right of that is a climbable wall.
Time your jump so you don’t hit any of the flying debris, and climb up, then turn left. Turn left again and head down the hall. Turn right at the end of that hallway, and you’ll come face to face with a Specter, one of those invisible Pinkie demons. Kill it or dodge around it.

Trudge down the path, and you’ll drop down to the battery to the right of the slayer key.
ARC Complex Sentinel Battery Locations
ARC Complex Battery 1
You’ll find the first battery close to a Vega Weapon Attachment drone (modbot). It’s also close to the slayer key for this mission. The drone in question appears close to the end of the level, in one of the destroyed buildings. It can be seen below:
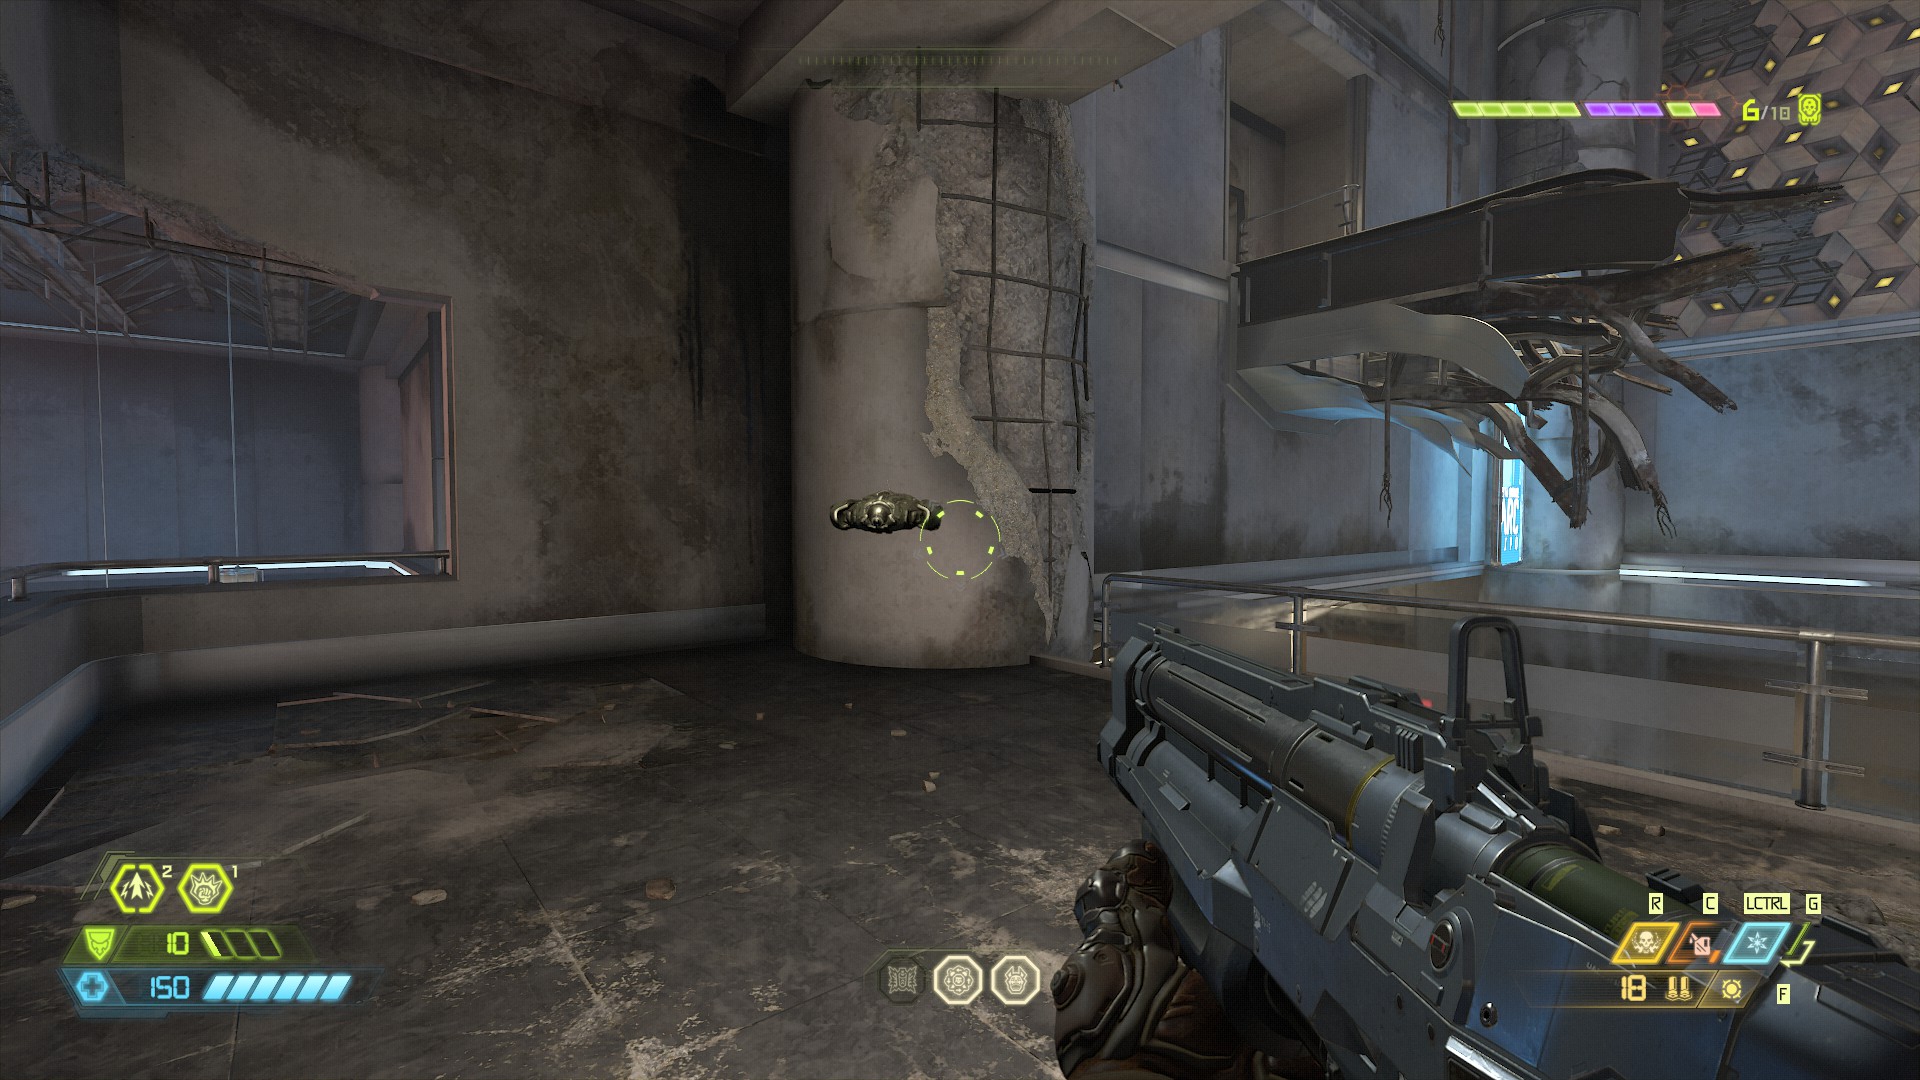
Directly across from the drone is a stairwell you can take up and to the left. You’ll arrive at a gap made by a broken walkway. Rather than go for the climbable wall, jump straight across the gap and the battery will be on the left.
ARC Complex Battery 2
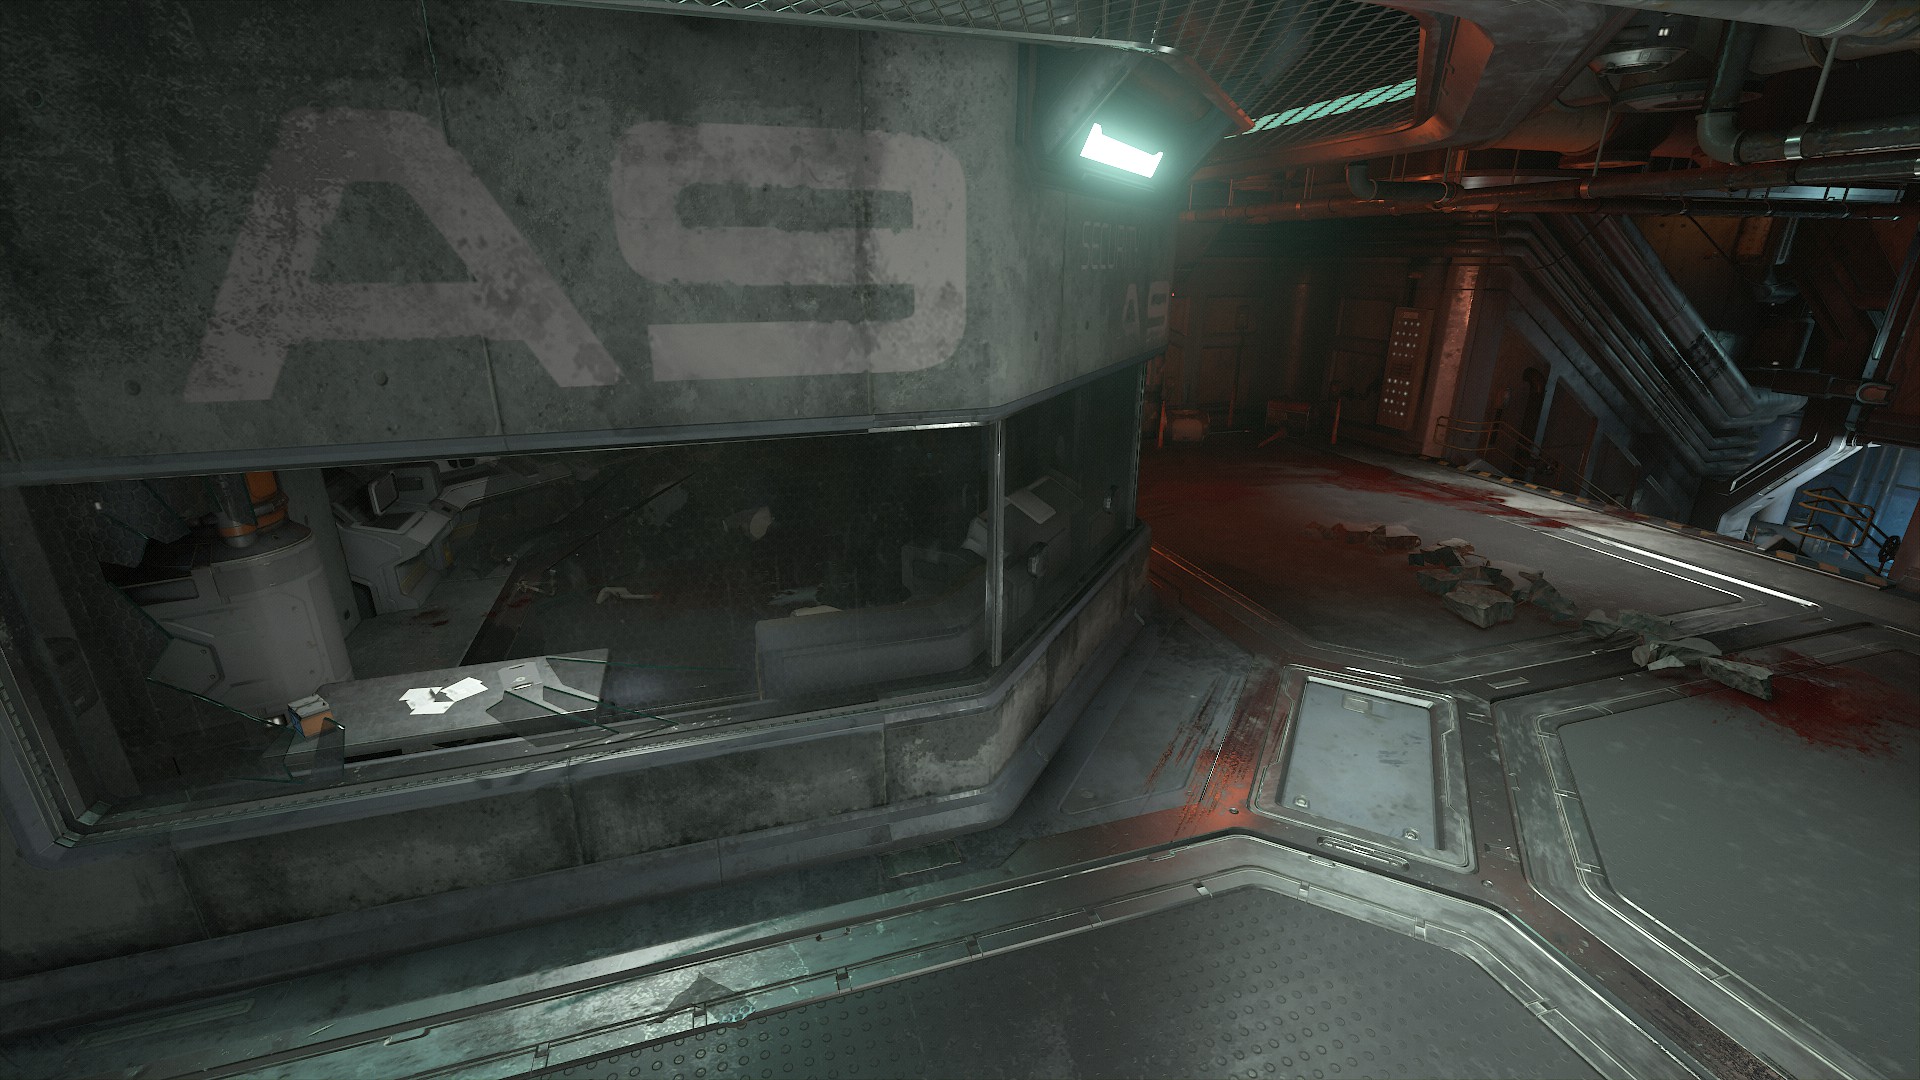
You’ll find the second sentinel battery in the ARC Complex on your way through the level. After firing the first turret at the giant tentacles blocking your way to Samuel Hayden’s compound, you’ll ride an elevator down.
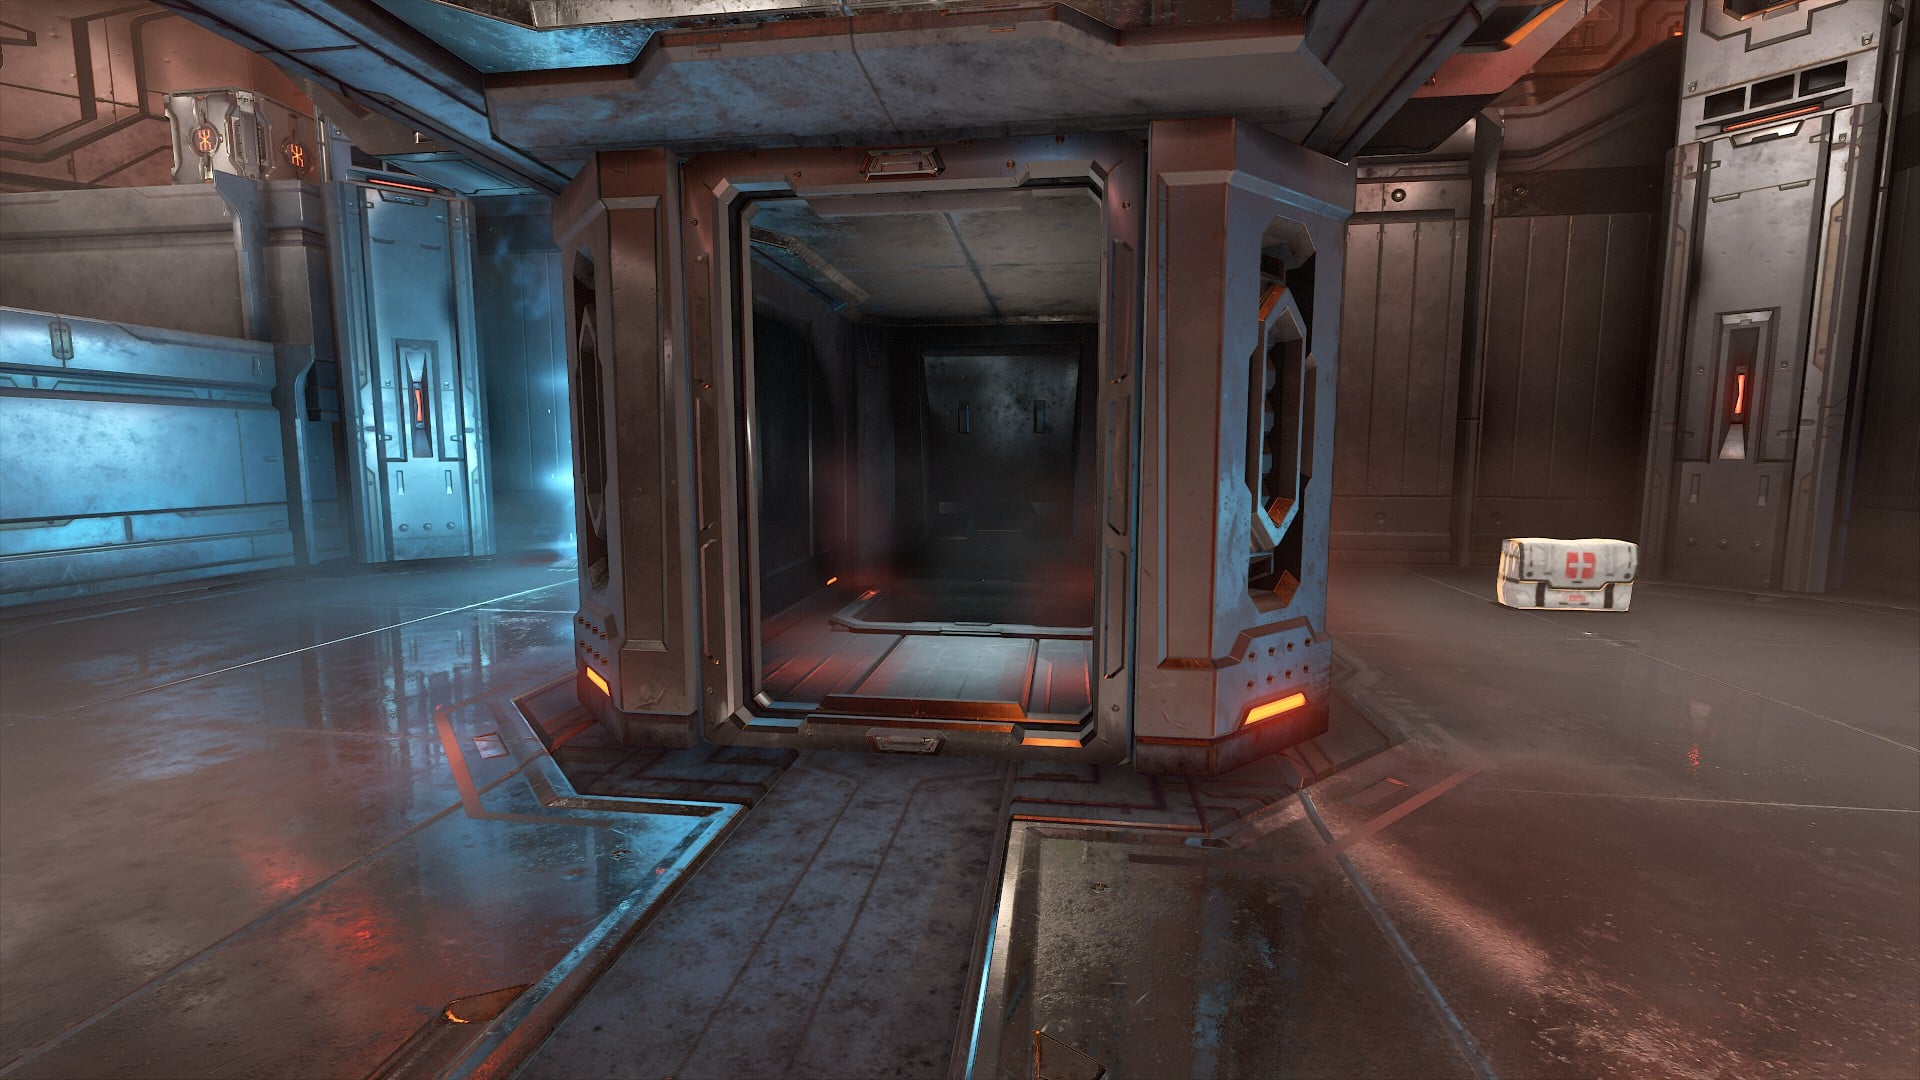
After getting off the elevator, you’ll walk down a hallway until you reach a small office. The battery is inside the office.
ARC Complex Battery 3
The third and final sentinel battery in this level isn’t hard to find, but the arena before it will test you. There are plenty of heavy demons, and they come hard and fast.
Finish the fight and you’ll need to find the hole the Cyber Mancubus popped out of to drop into the purple slime tunnel below. From the entrance to the area, turn left and go straight into the corner. The hole should appear.

Make your way to the end of the tunnel and use the monkey bar in the larger slime chamber to jump to the third battery’s platform.
Mars Core Sentinel Battery Locations
Mars Core Battery 1
You’ll find the first battery in the area just below the first large combat arena, as you’re heading toward the BFG 10,000.
Clear this arena however you please, then, when the path forward opens, don’t go immediately into the green, spinny BFG Core tunnel. Instead, turn around, and there it’ll be.
Mars Core Battery 2
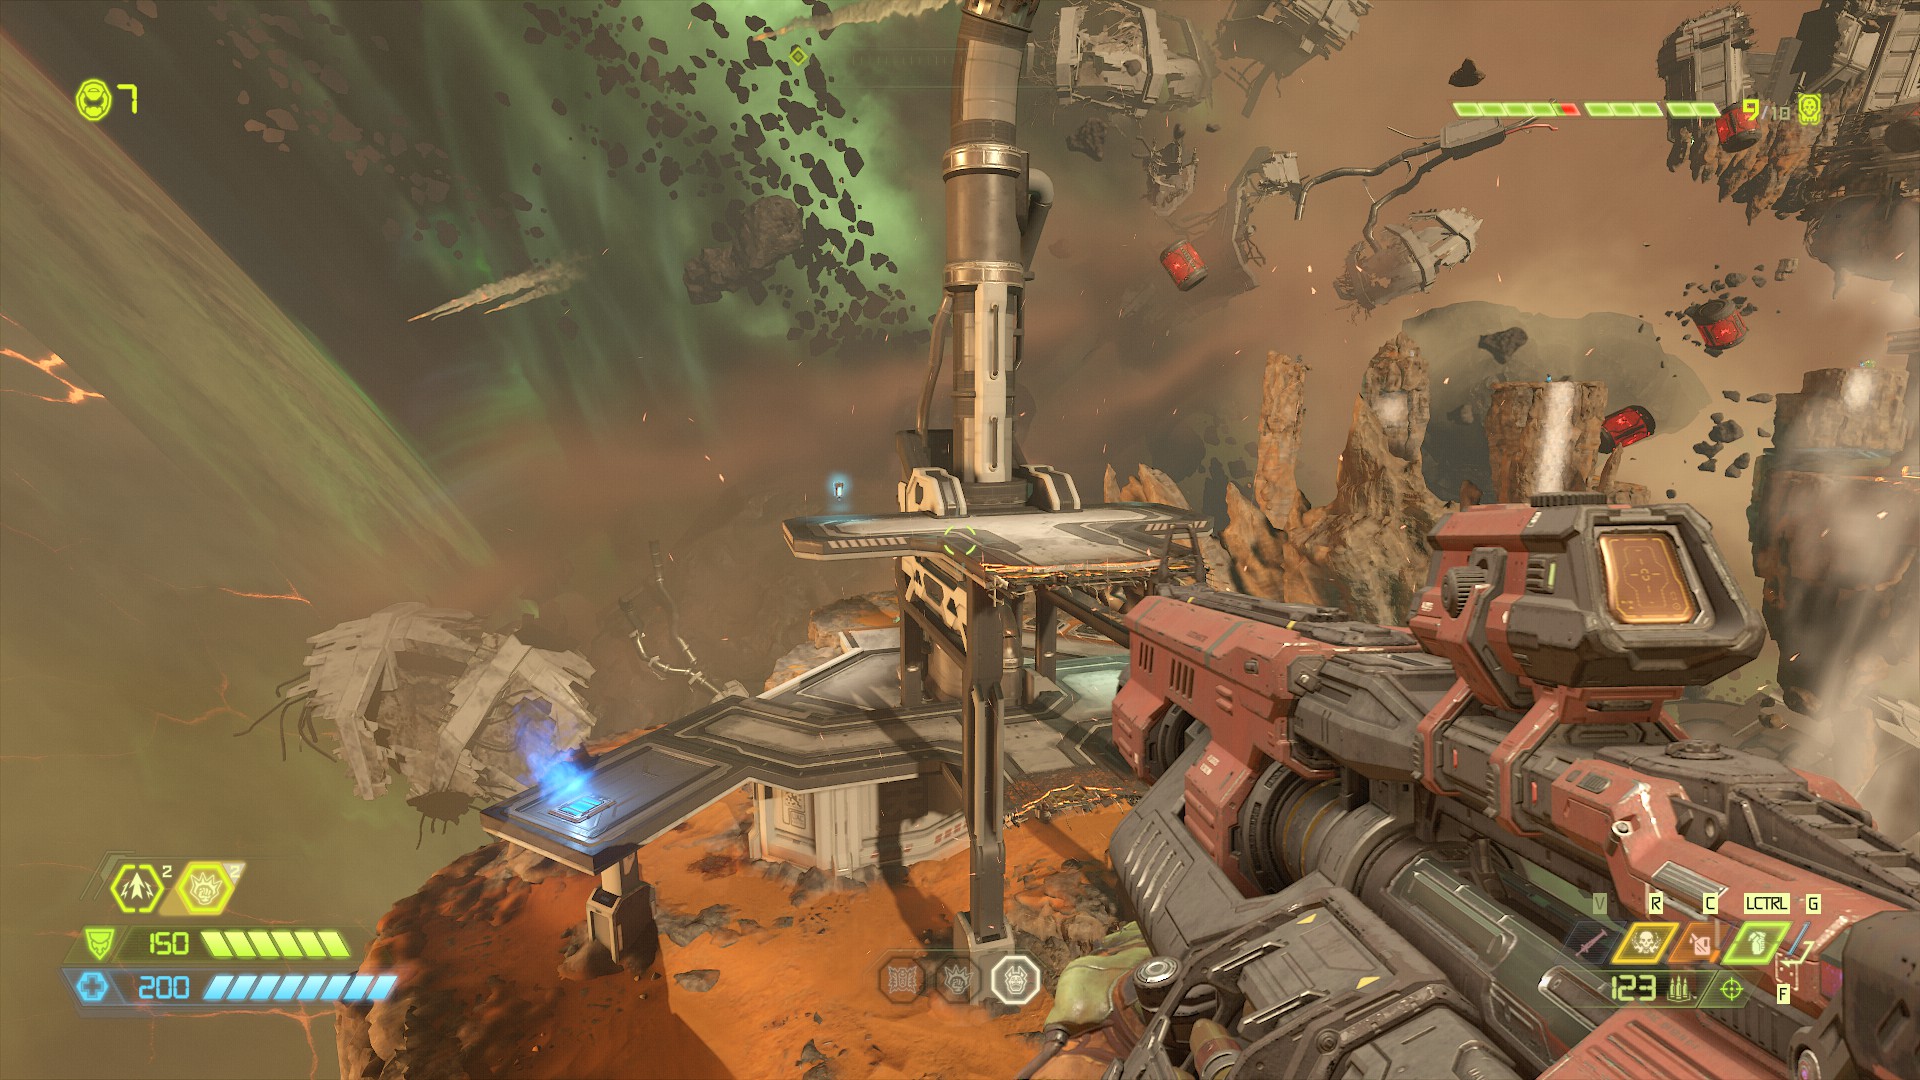
This battery is near the end of the level’s large platforming area that looks like a huge debris field in space.
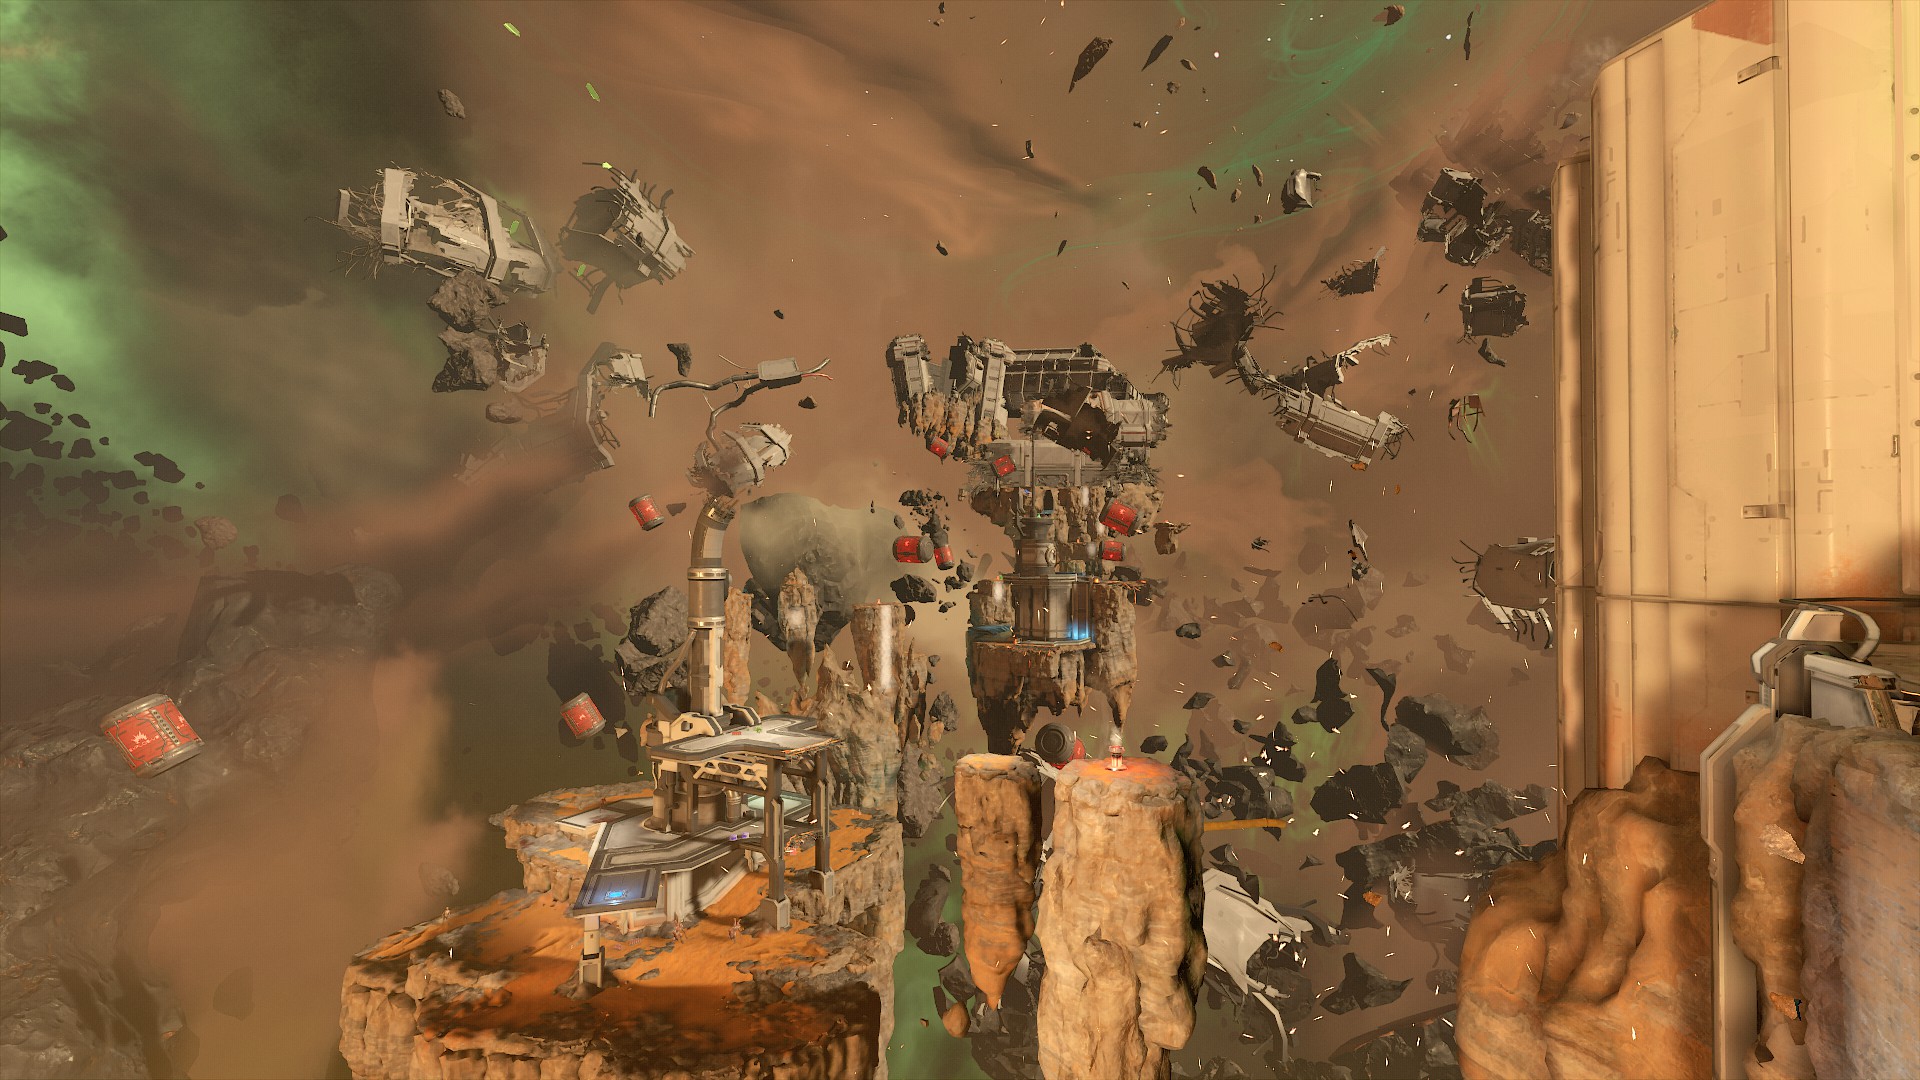
As you make your way across the area, you’ll eventually come to a small outpost with a tower. You’ll then use a jump pad to get to another outpost across from it.
When you reach the other side, you’ll need to go through a door on the critical path. Before you enter the door, turn around to find the battery on the roof of the previous outpost. Jump/dash over to get it.
Mars Core Battery 3
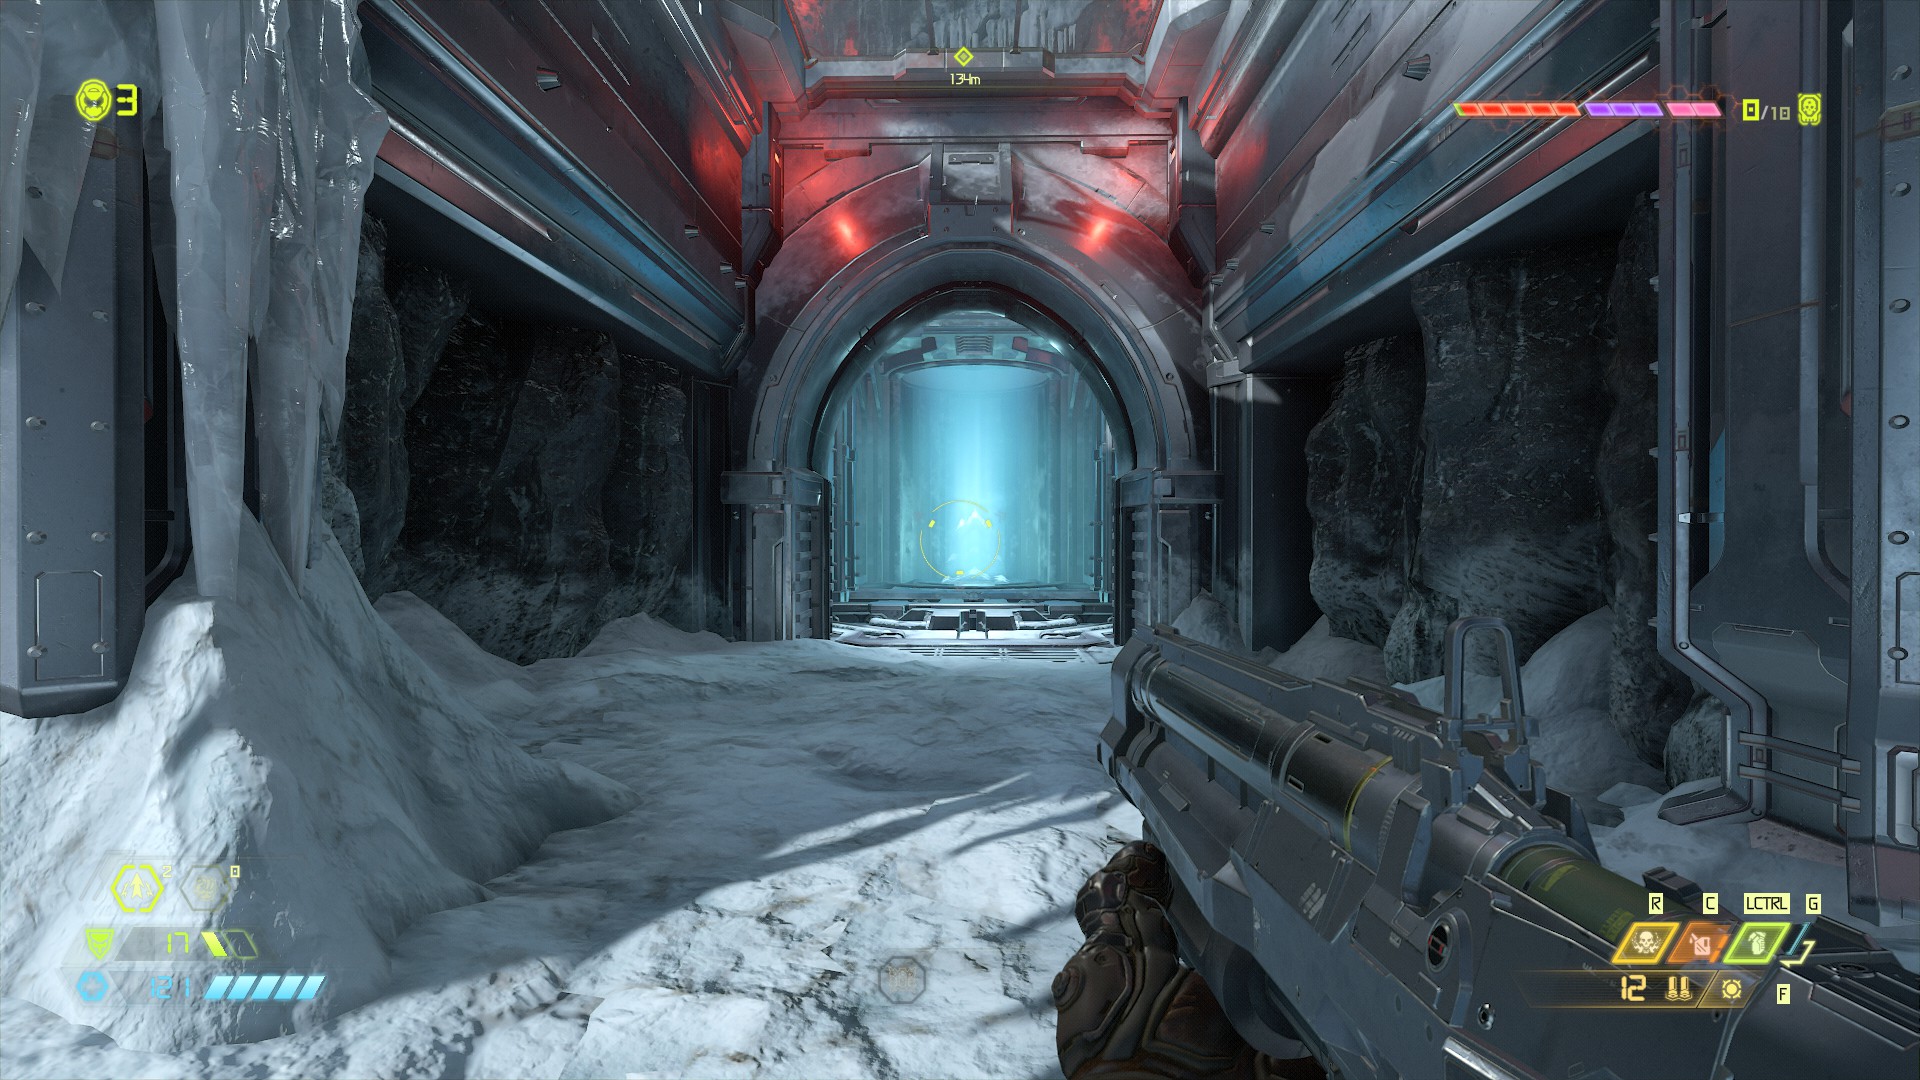
Much like the second Super Gore Nest battery, this one is hard to miss. Once you enter the escape pod and crash land in the core of Mars, the battery will be waiting for you.
Taras Nabad Sentinel Battery Locations
Taras Nabad Sentinel Battery 1
The first well-hidden battery in a few levels is just below your spawn location. You can see it behind a grate not long after you load into the level.
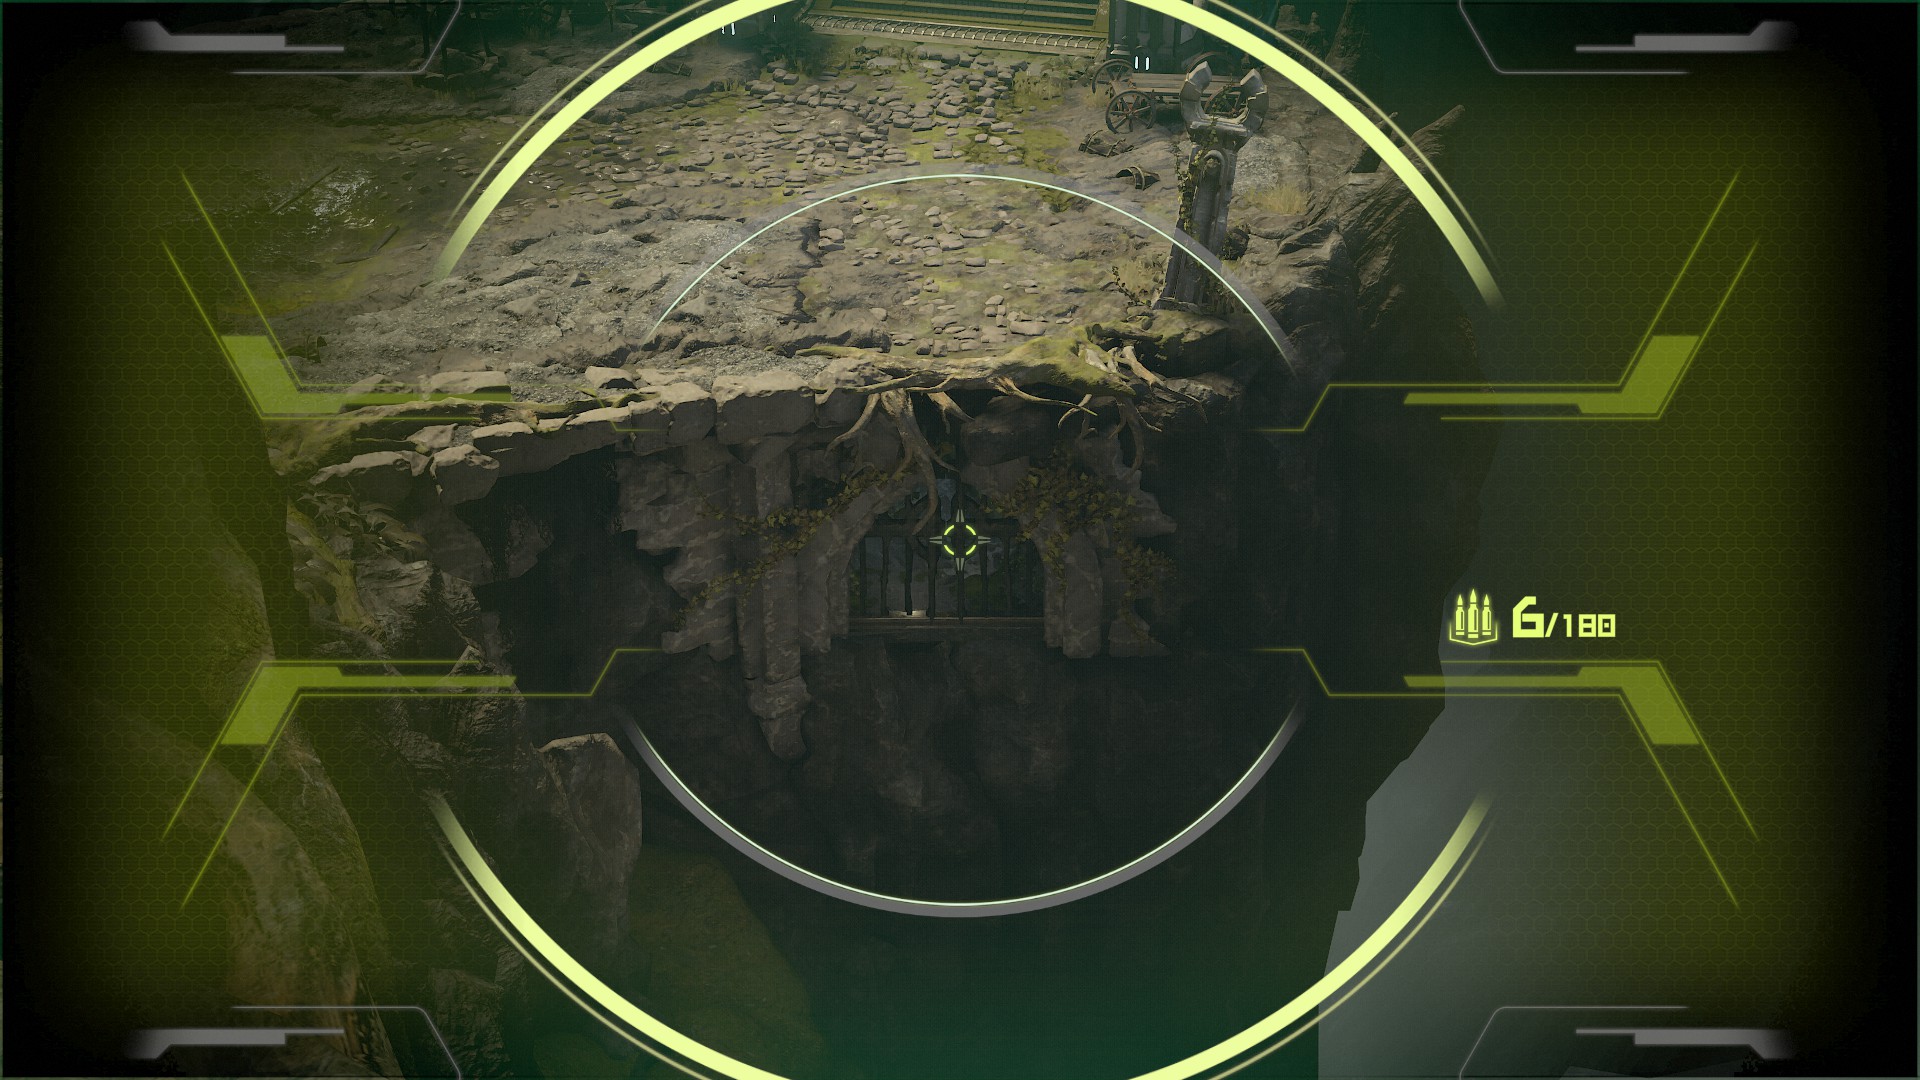
Jump down on the platform and cross to the other side. There’s a ledge you can drop down to that hides a breakable wall.
Beyond this wall is a short hallway leading to the first battery.
Taras Nabad Sentinel Battery 2
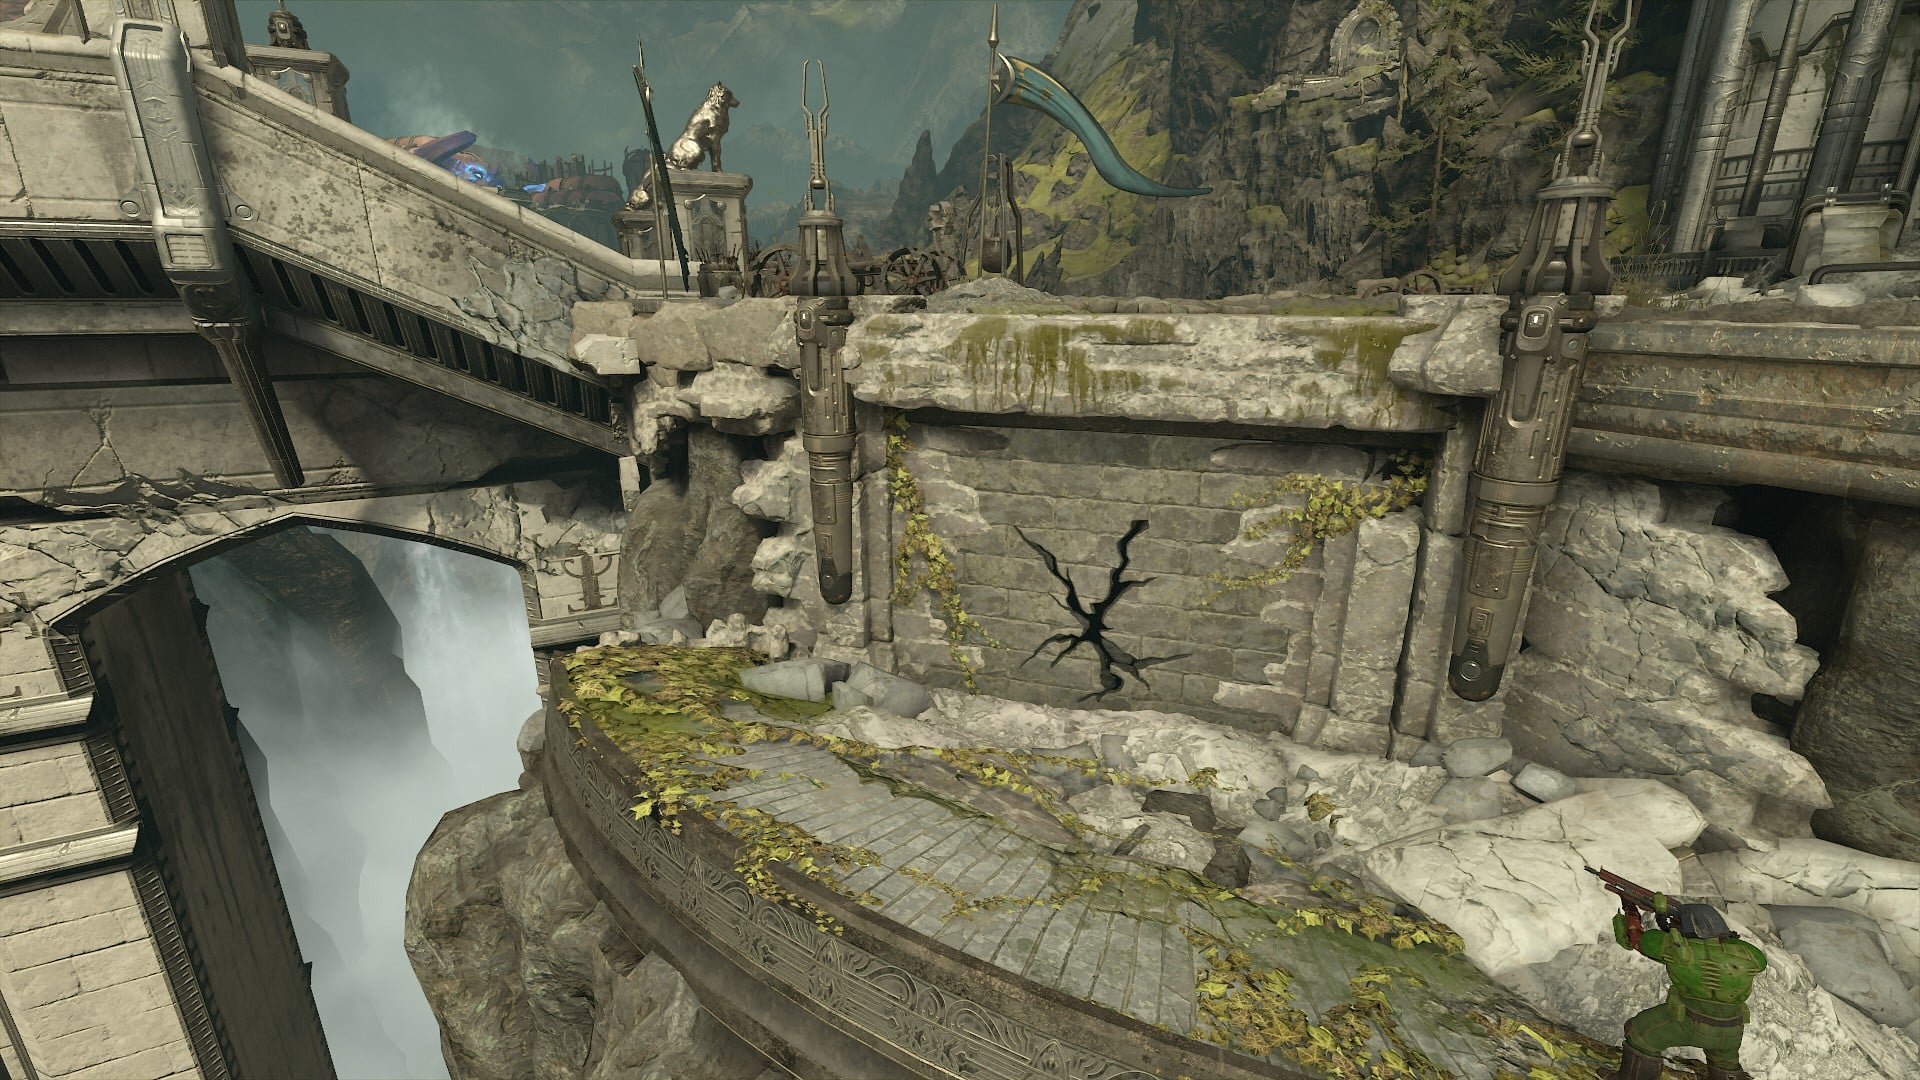
From tricky to downright insidious, the second battery is behind a gate you can only open with a hidden button. To make matters worse, the arena you’re in marks the first instance of the Archvile in the campaign, and getting past that one could take a few tries.
To find the button that unlocks the gate protecting the pattery, you’ll need to climb the stairs at the back of the arena and head to the right of the statue. There will be a smaller, breakable statue kneeling in the wall to your left you can punch.
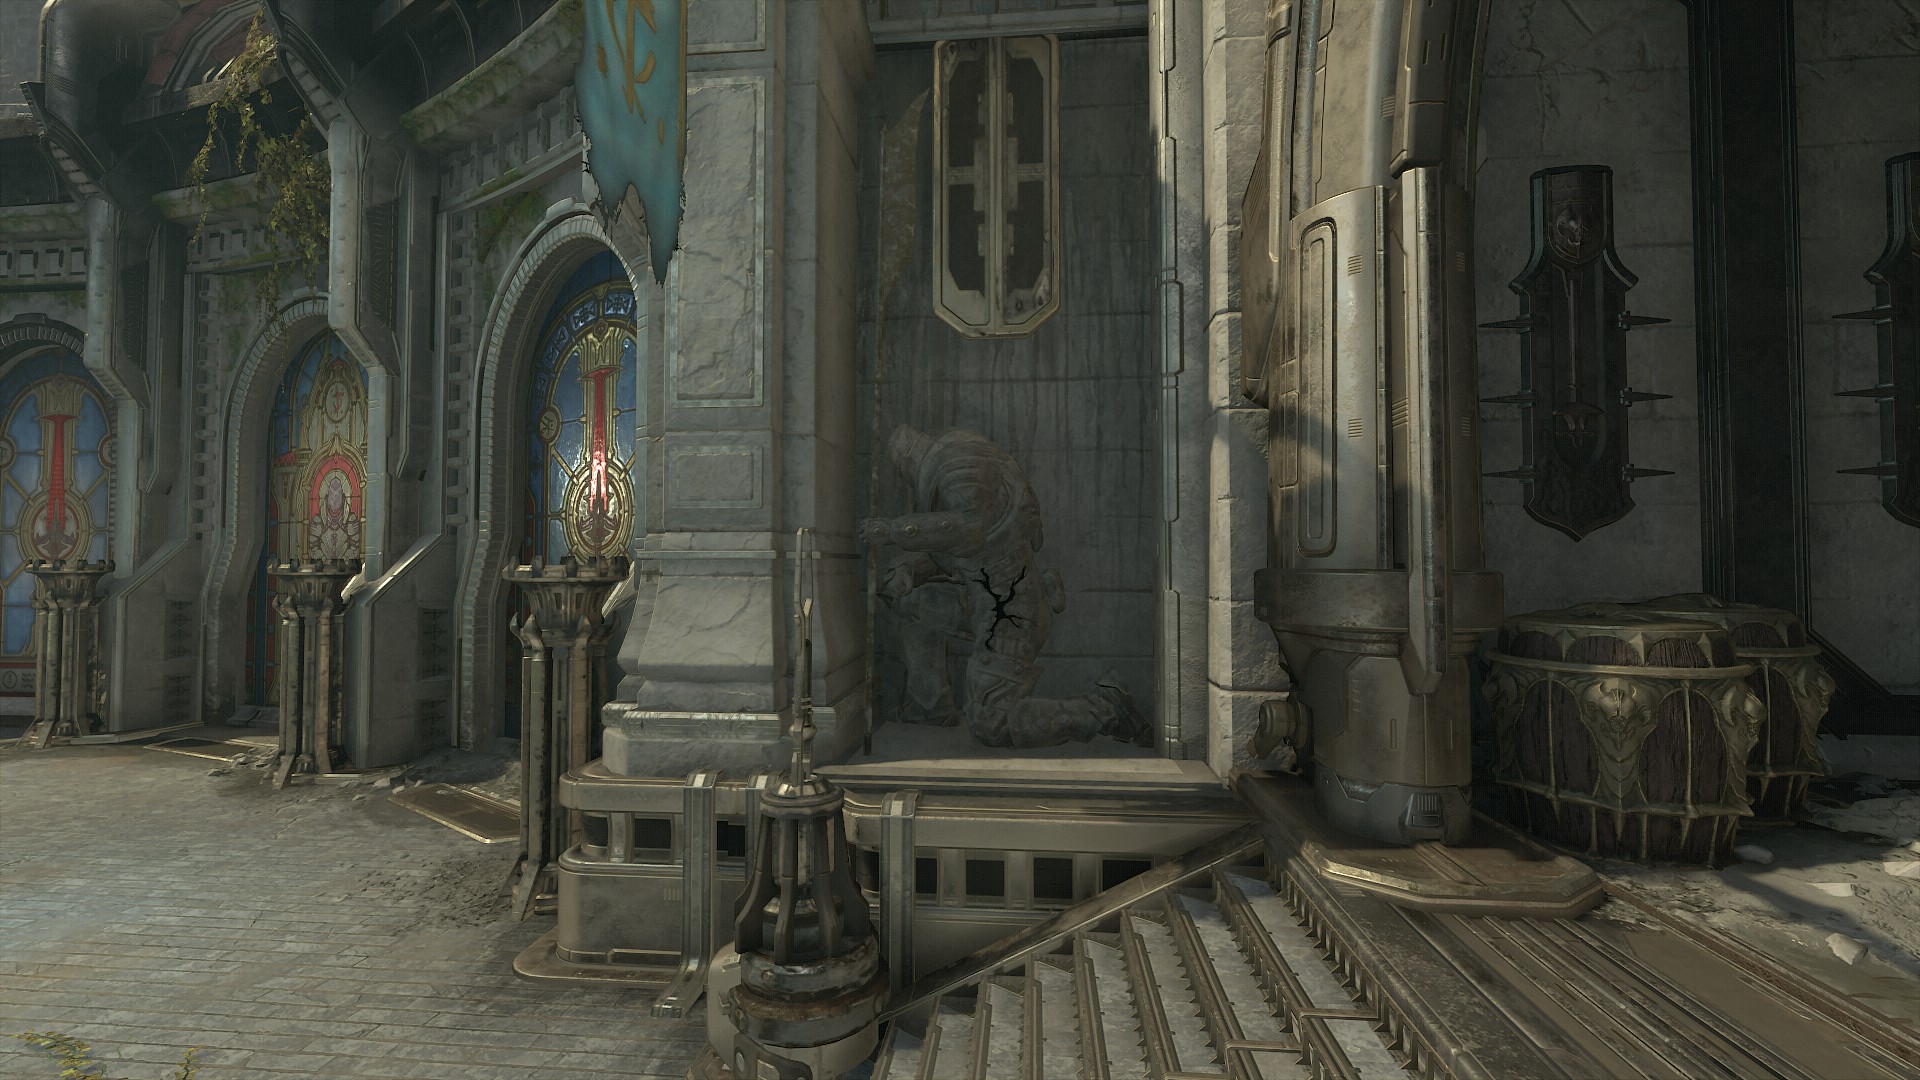
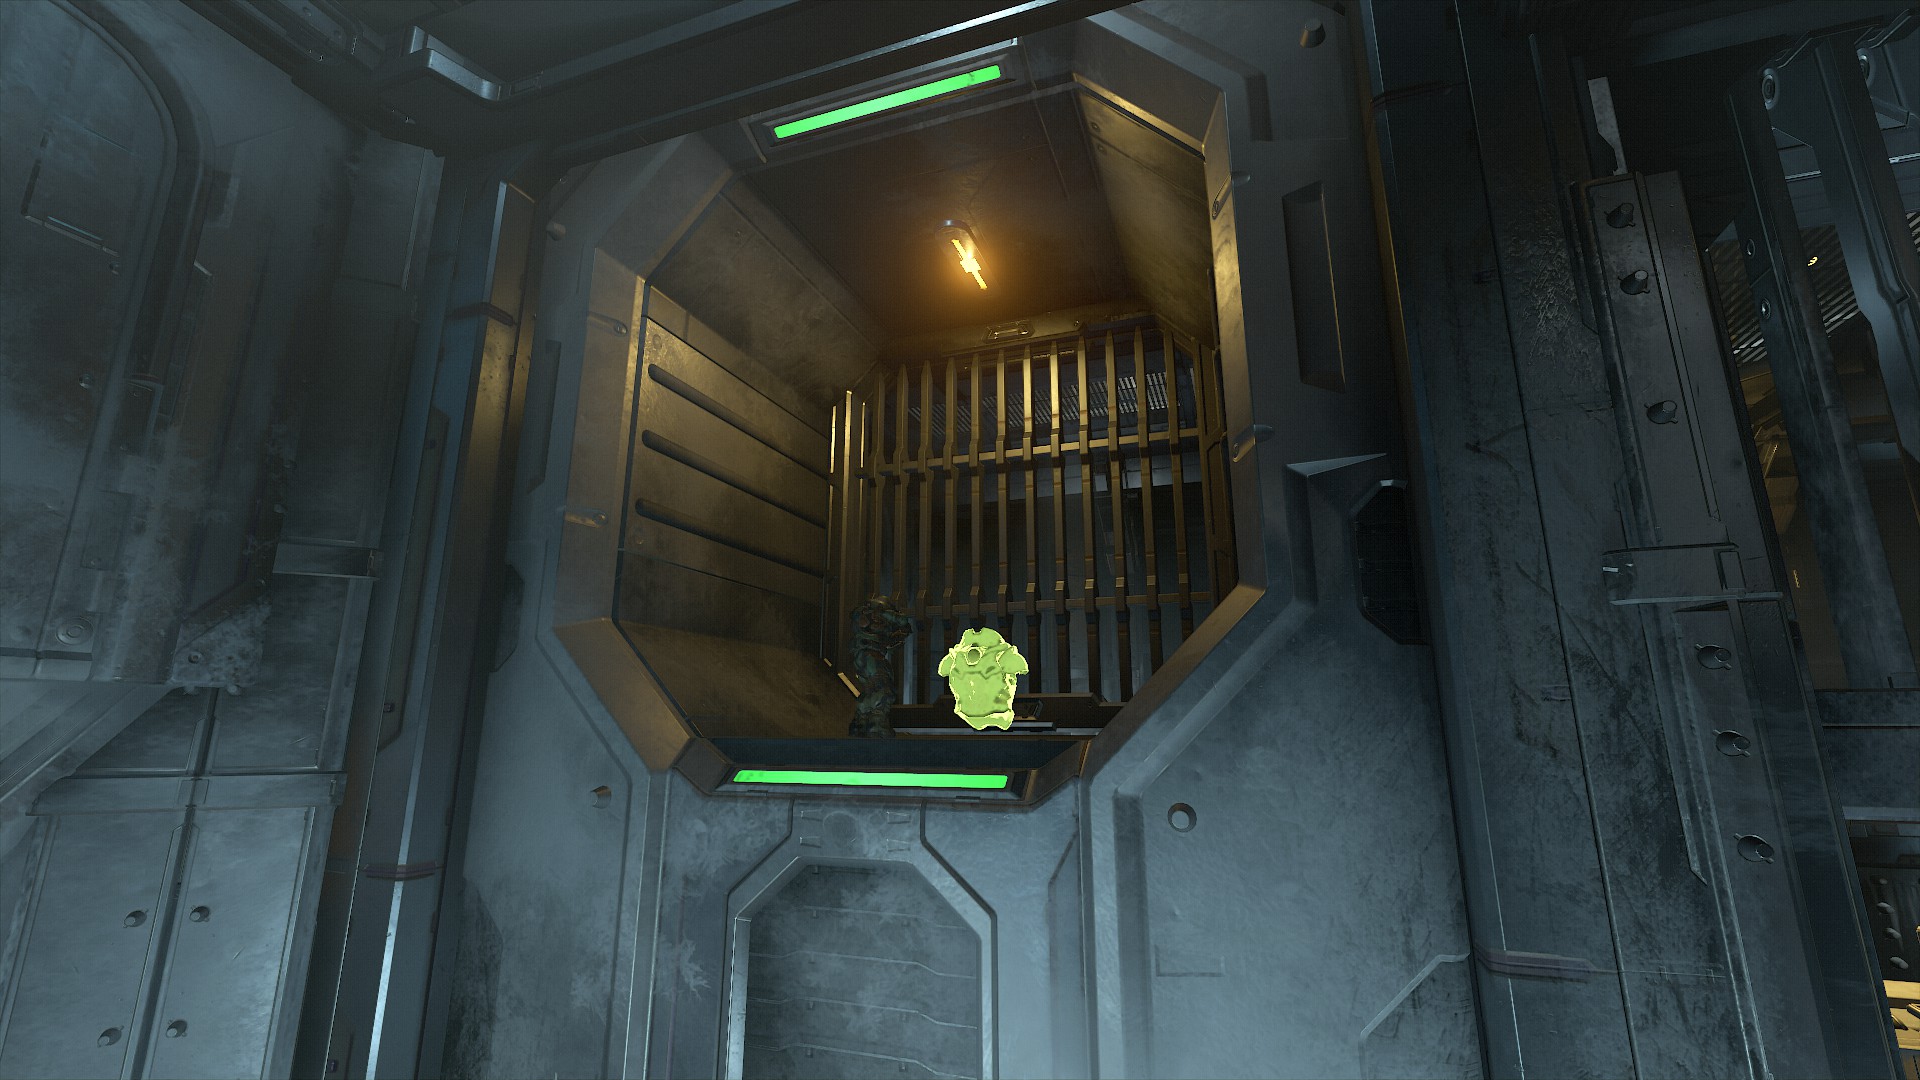
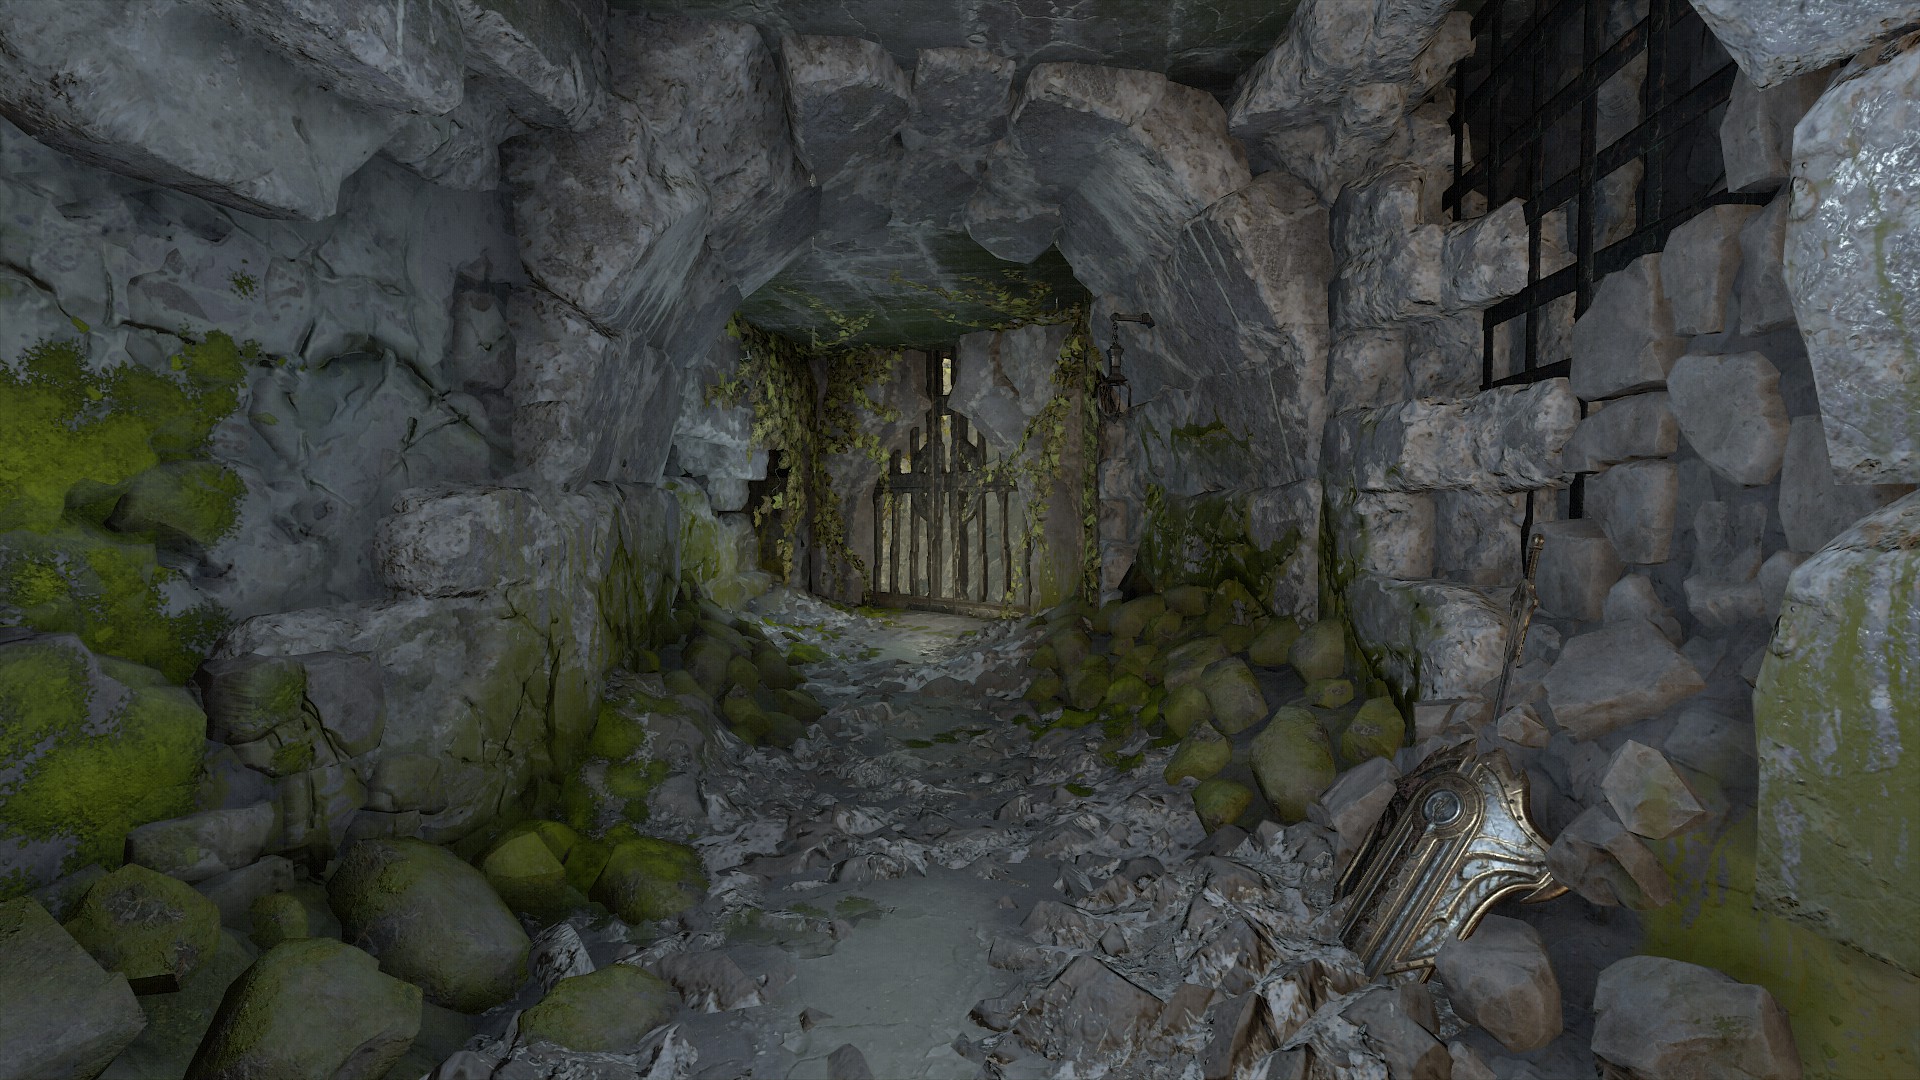
Punch the statue, and you’ll reveal the button. Press the button and a second pair of gates will open behind you. You’ll need to head into the newly opened room, climb up a wall, and jump-punch a giant weight down from its chain.
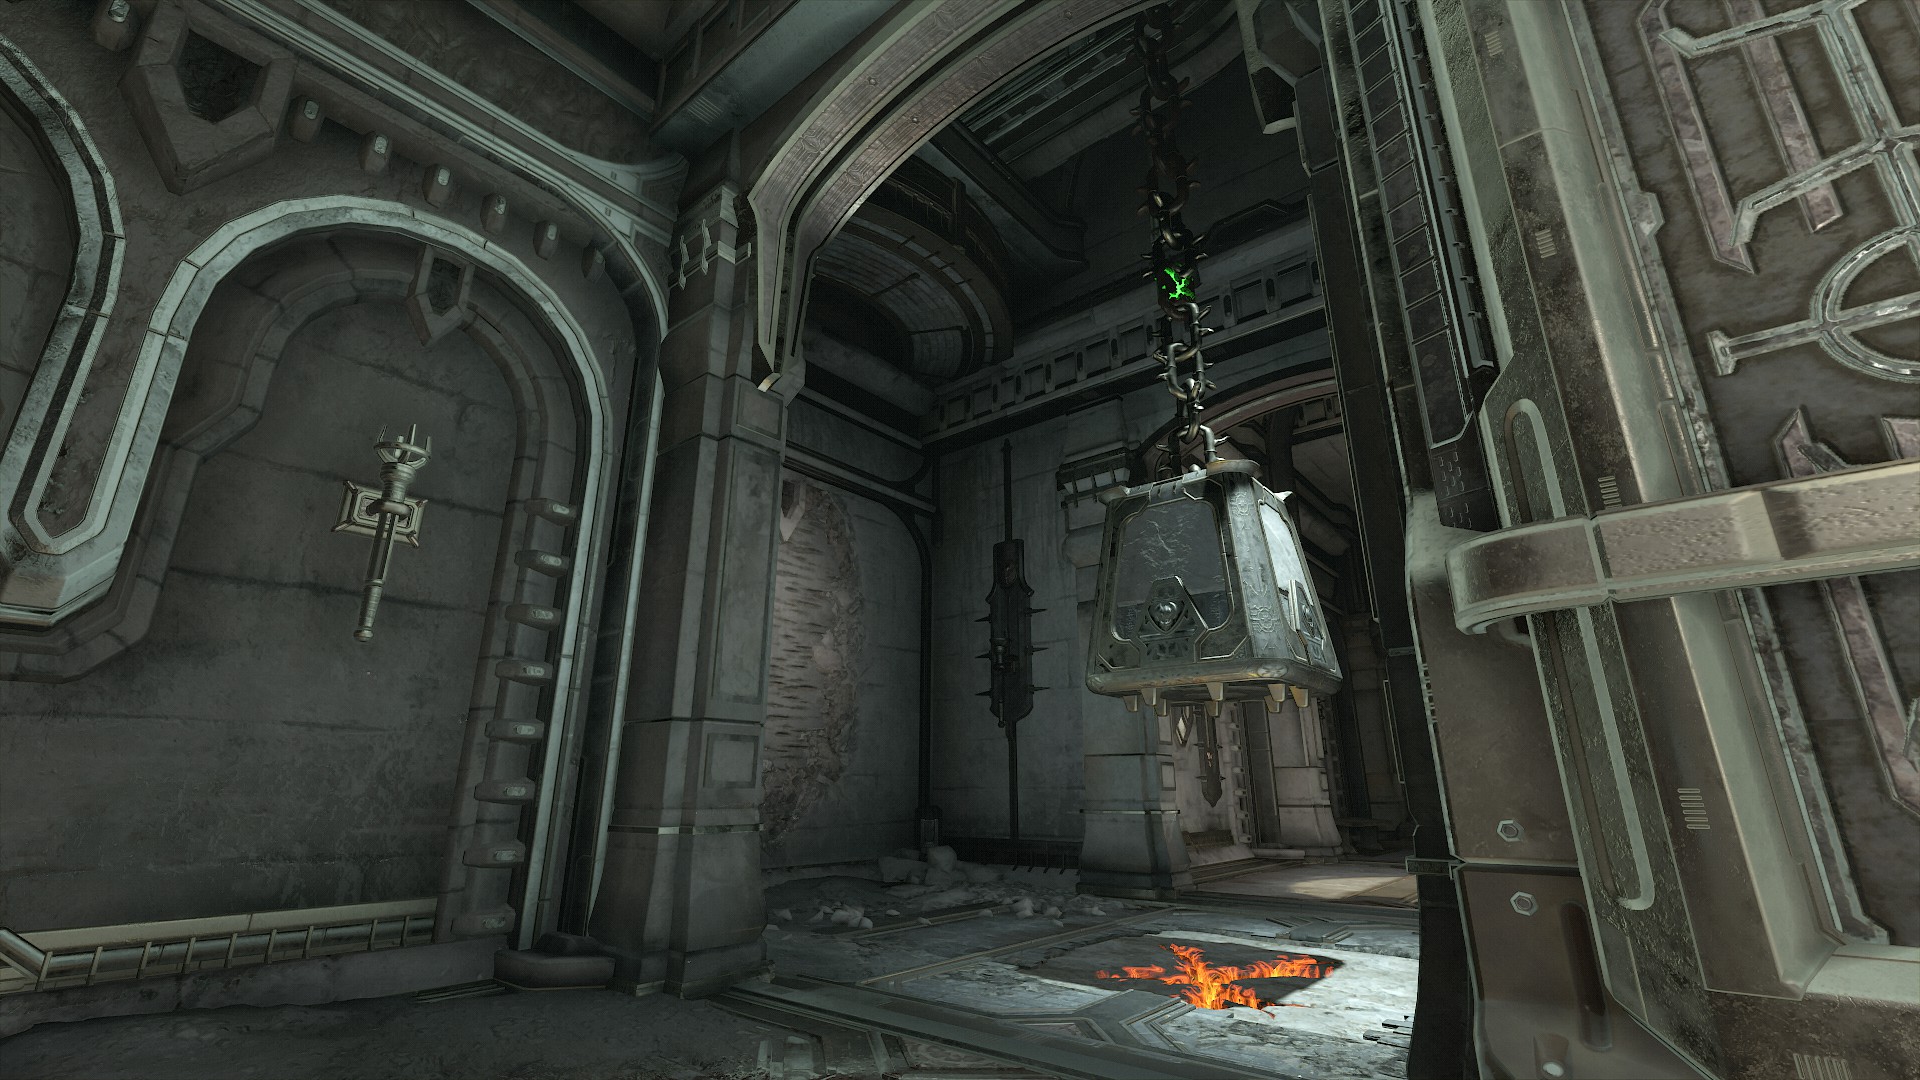
Once the weight falls through the floor, all you need to do is jump down to collect the battery. It will look like this once you’re done:
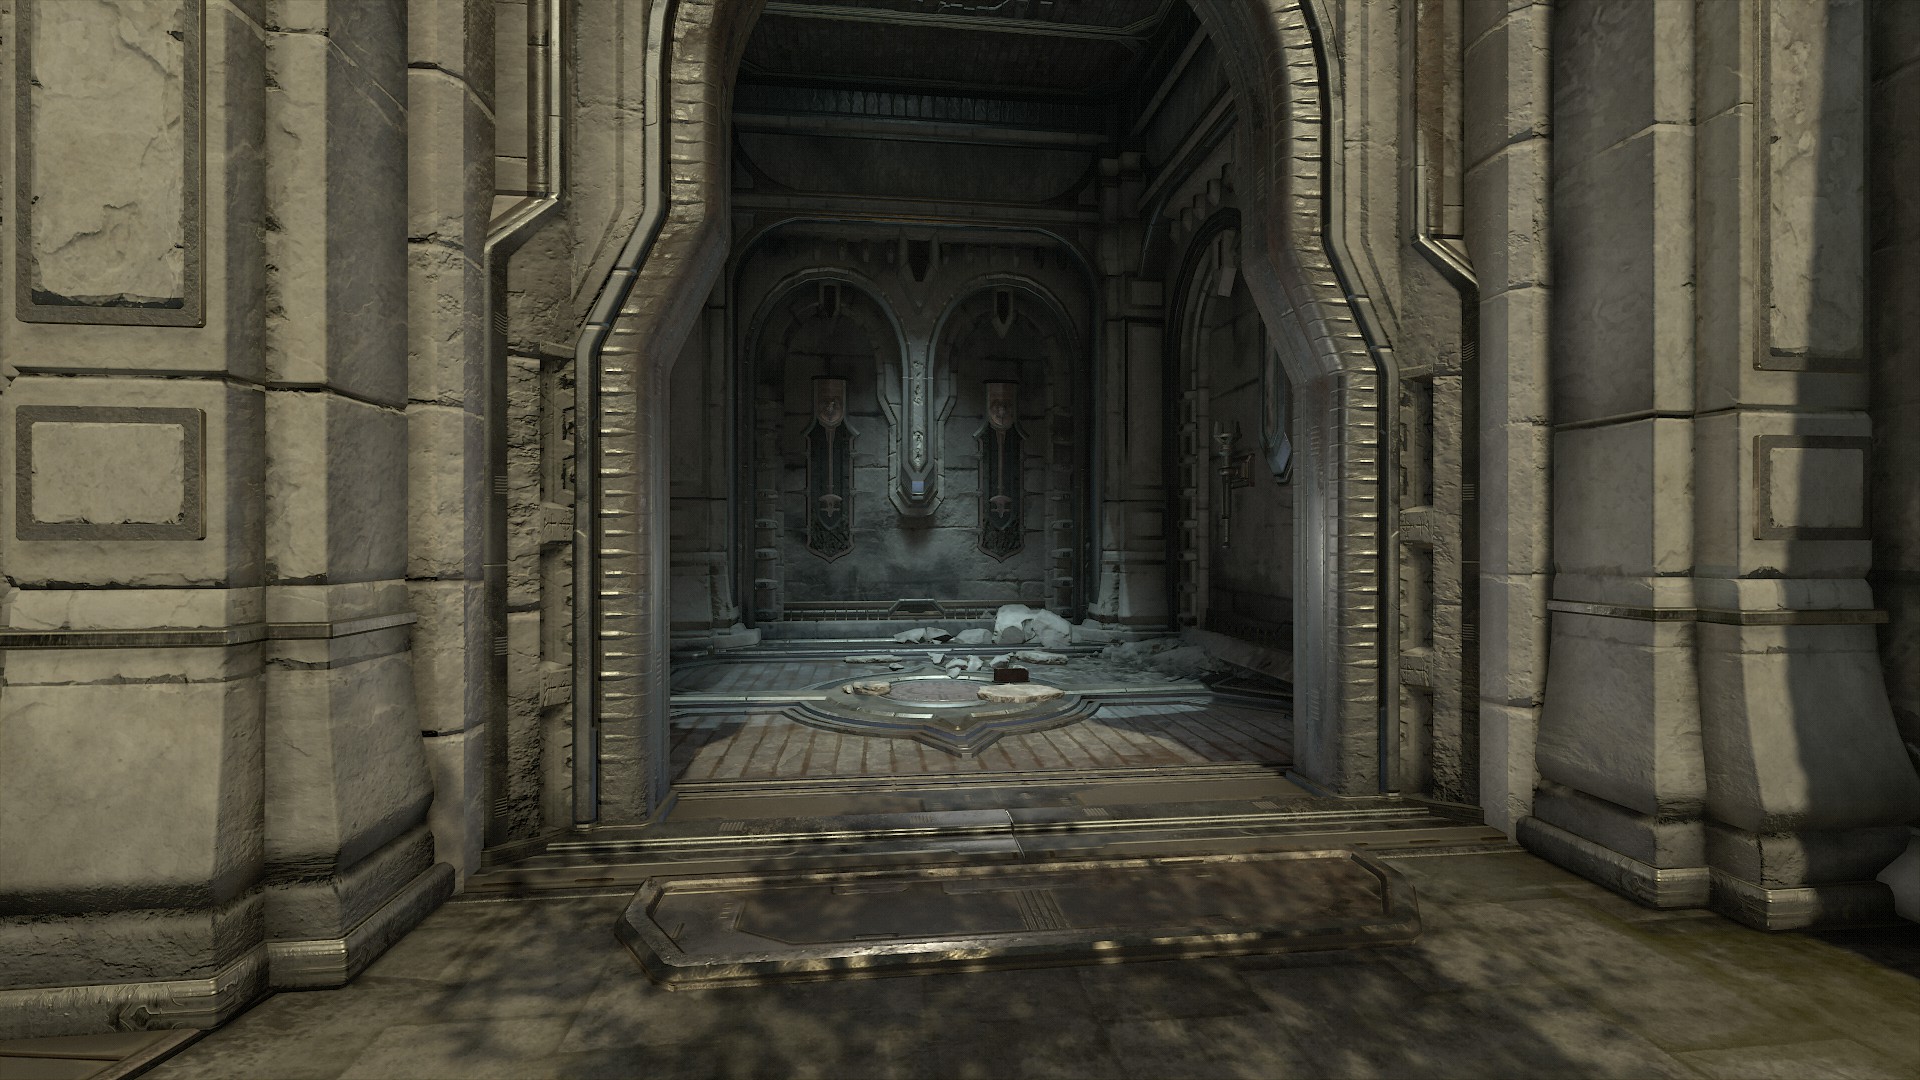
Taras Nabad Sentinel Battery 3
If the first two Taras Nabad batteries took a little brainpower, the third and final one takes almost none. All you have to do is make it to the area where you recover your Crucible from the Titan corpse, then look at the wall opposite the corpse. The battery lives in the back corner.
Once you collect the last battery from Taras Nabad, you’ll have almost every sentinel battery in the game. You’ll almost be free to unlock every door in the Fortress of Doom, deck yourself in some sweet looking armor, and fully upgrade everything in your arsenal.
But there’s another way to pick up a few more sentinel batteries.
There is One Battery Per Set of Level Challenges
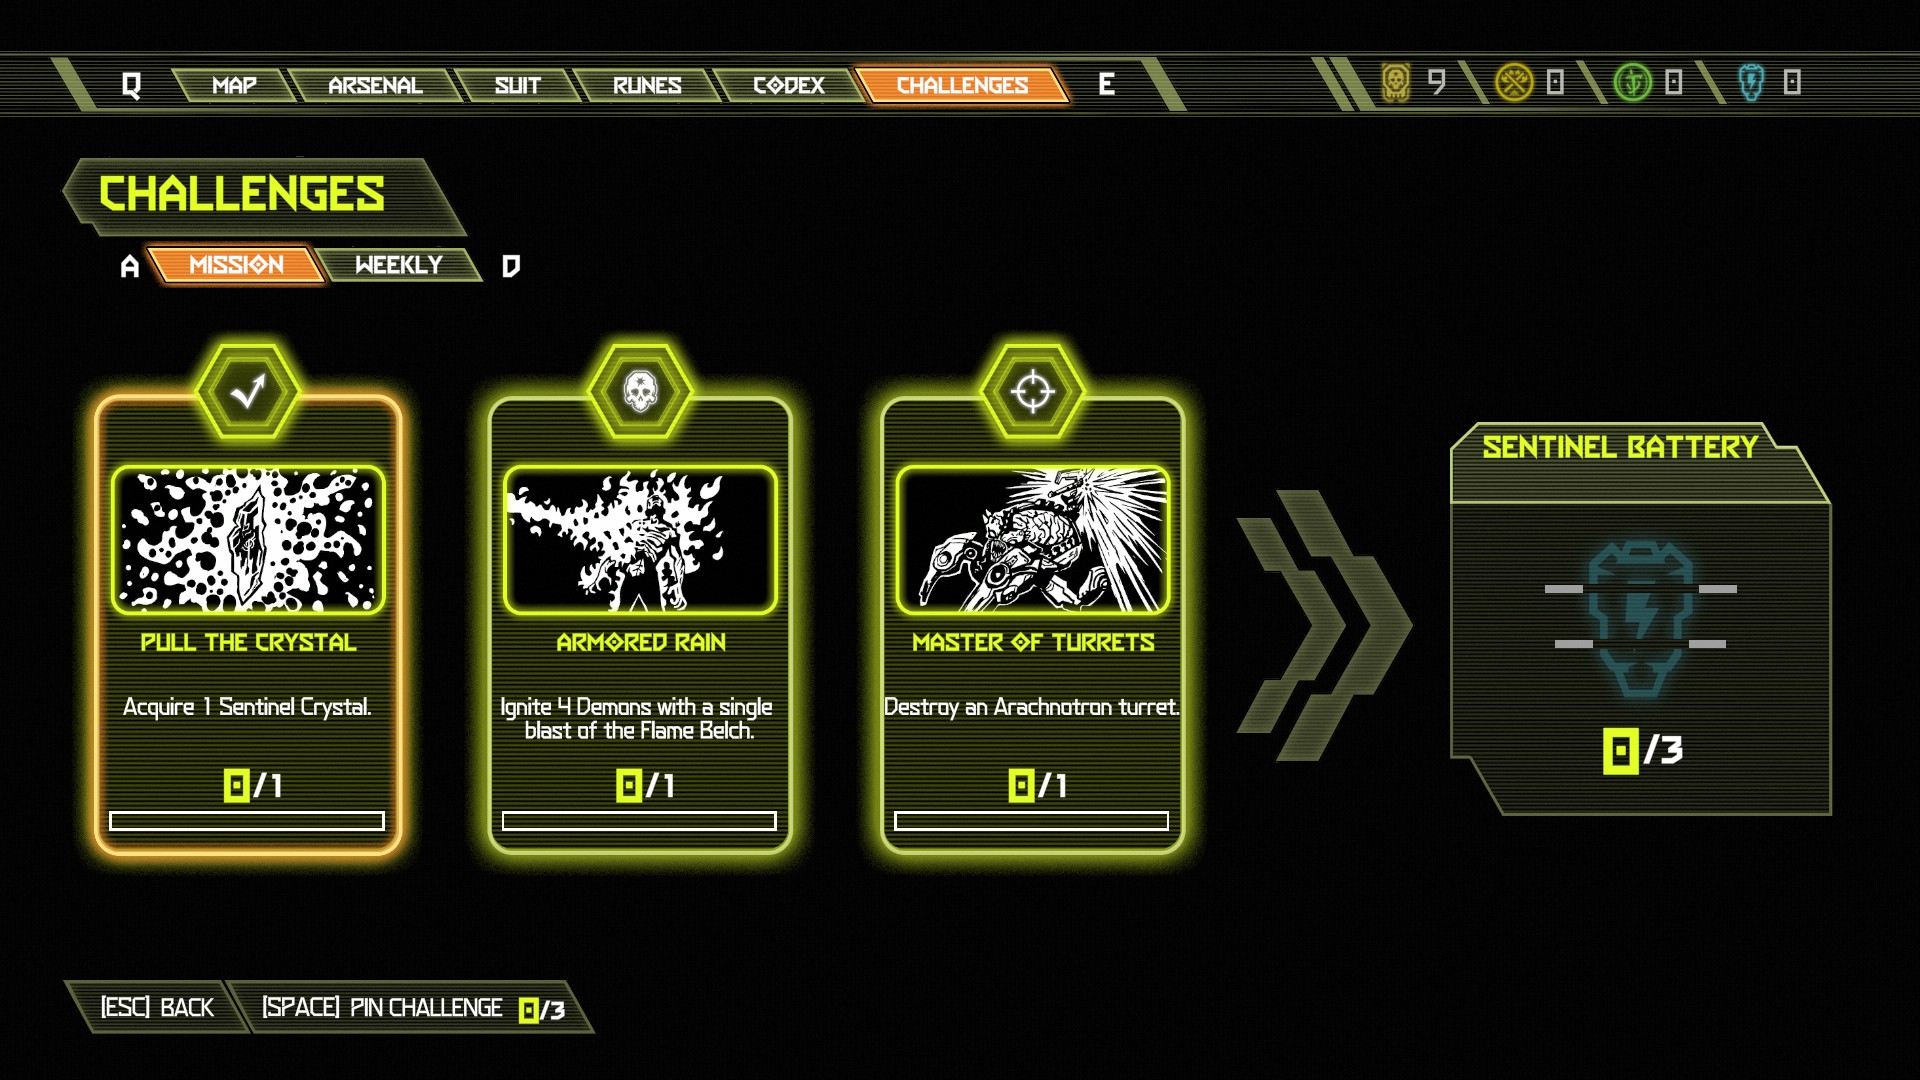
One of the primary ways you’ll collect sentinel batteries is through the completion of Doom challenges, first introduced in the Cultist Base level. You need to complete all three challenges per level to acquire the battery, and while many challenges are easy enough to finish, some take a little forethought.
As soon as you enter any level following the Cultist Base, open your menu and tab over to the “Challenges” section. Complete the challenges as the requirements become available.
You do not have to complete all challenges in one playthrough of a level. You can go back through Mission Select and finish whatever challenges you missed — even after the campaign.
—
We’ve still got more Doom Eternal coverage coming, so stick around. Check out the other Doom content we’ve got in the meantime.
- Doom Eternal Tears Into Franchise Sales Record
- Doom Eternal Review: Ripping and Tearing Never Felt So Good
- Doom Eternal Guide: How to Find Every Slayer Key
- Doom Eternal Marauder Tips: How to Beat This Tough Enemy
- Doom Eternal Battlemode Slayer Tips and Tricks
- Be sure to check our guides hub as well


Published: Mar 25, 2020 07:54 pm