The earlier dungeons in Elden Ring are usually fairly straightforward: go to their ending, pull a lever, kill a boss. When you reach Liurnia of the Lakes, dungeon design begins to get significantly more complicated. Traps hide in dark corners, new mechanics start making their way in, and what was once a linear path now begins to diverge, forcing you to exercise spatial thinking.
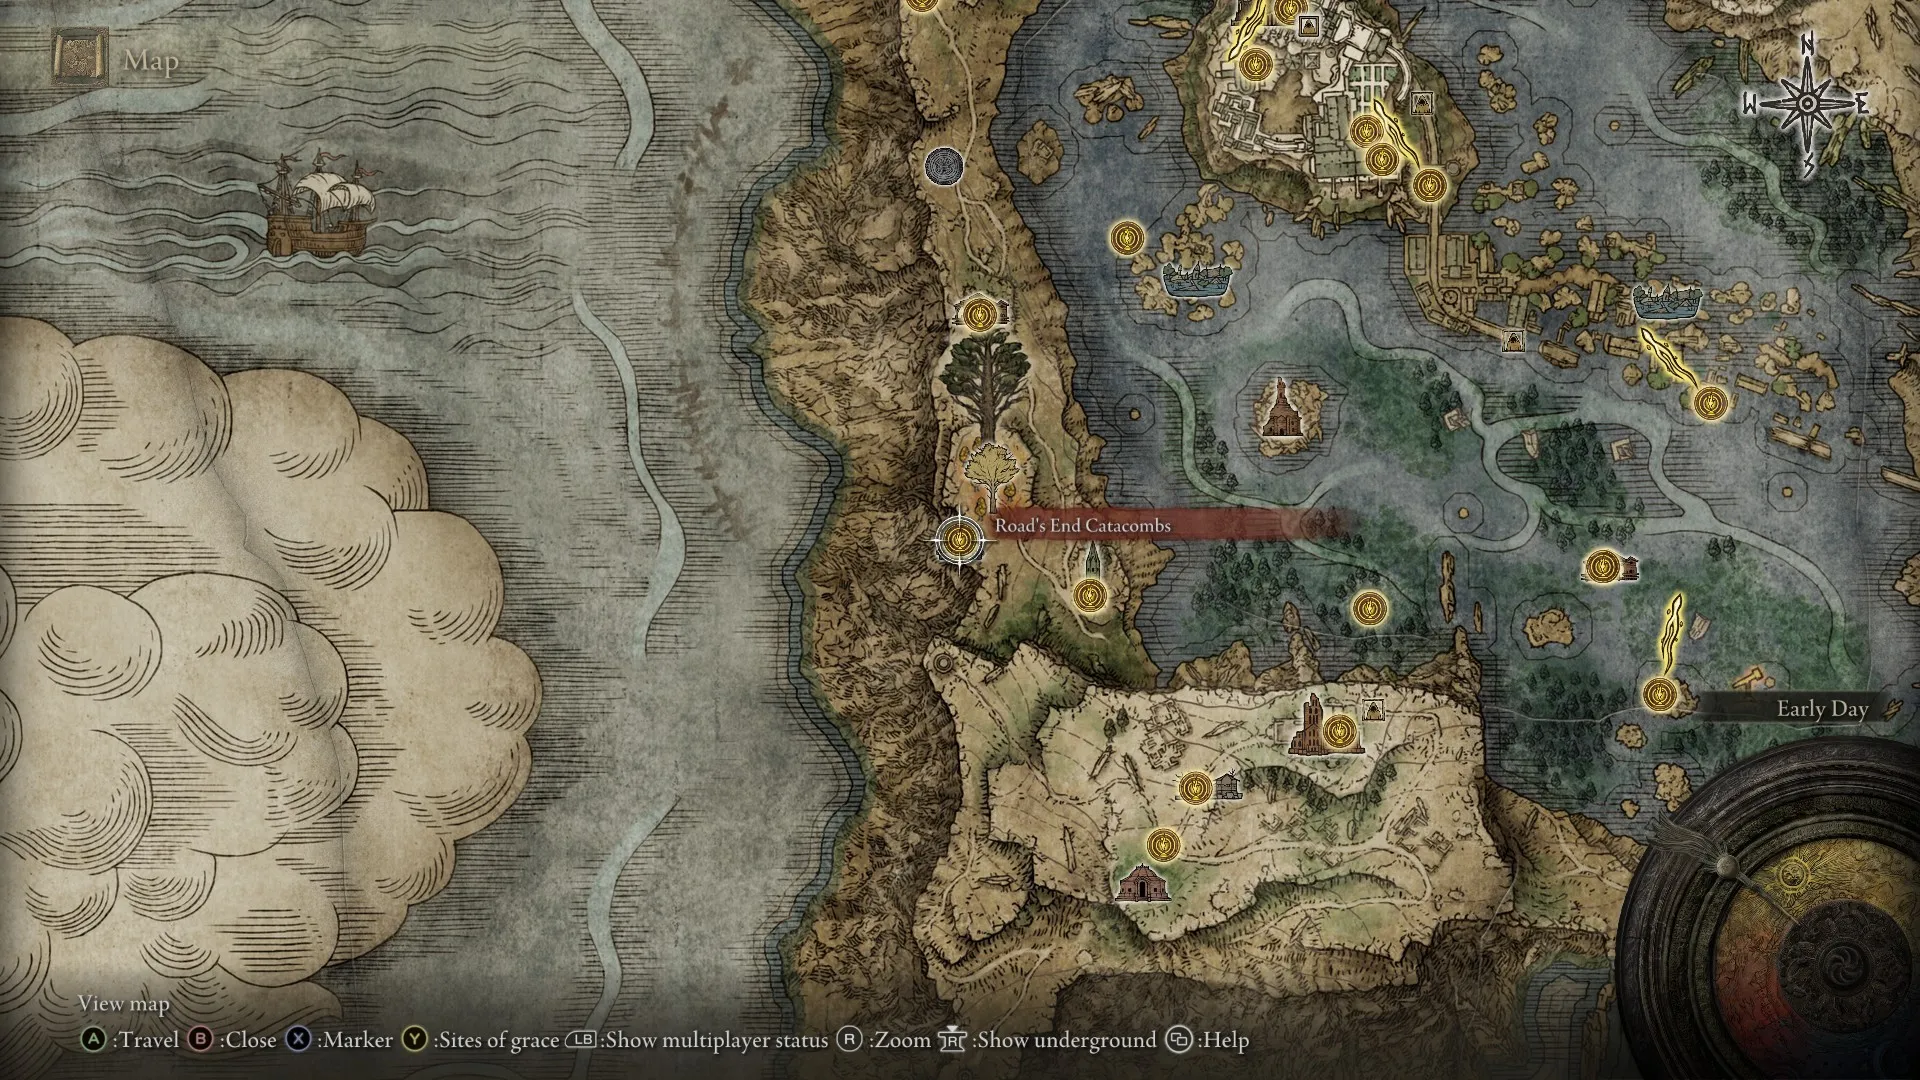
The Road’s End Catacombs in the far west of Liurnia of the Lakes do all this and add illusion and misdirection to the list.
If all you want to do is pull a lever and beat a boss, Road’s End Catacombs are actually very short. If you want both sets of Spirit Ashes here, there’s a little more meat on these bones. We’ll go through the entire dungeon in this guide, including how to beat the boss.
Road’s End Catacombs Elden Ring Walkthrough
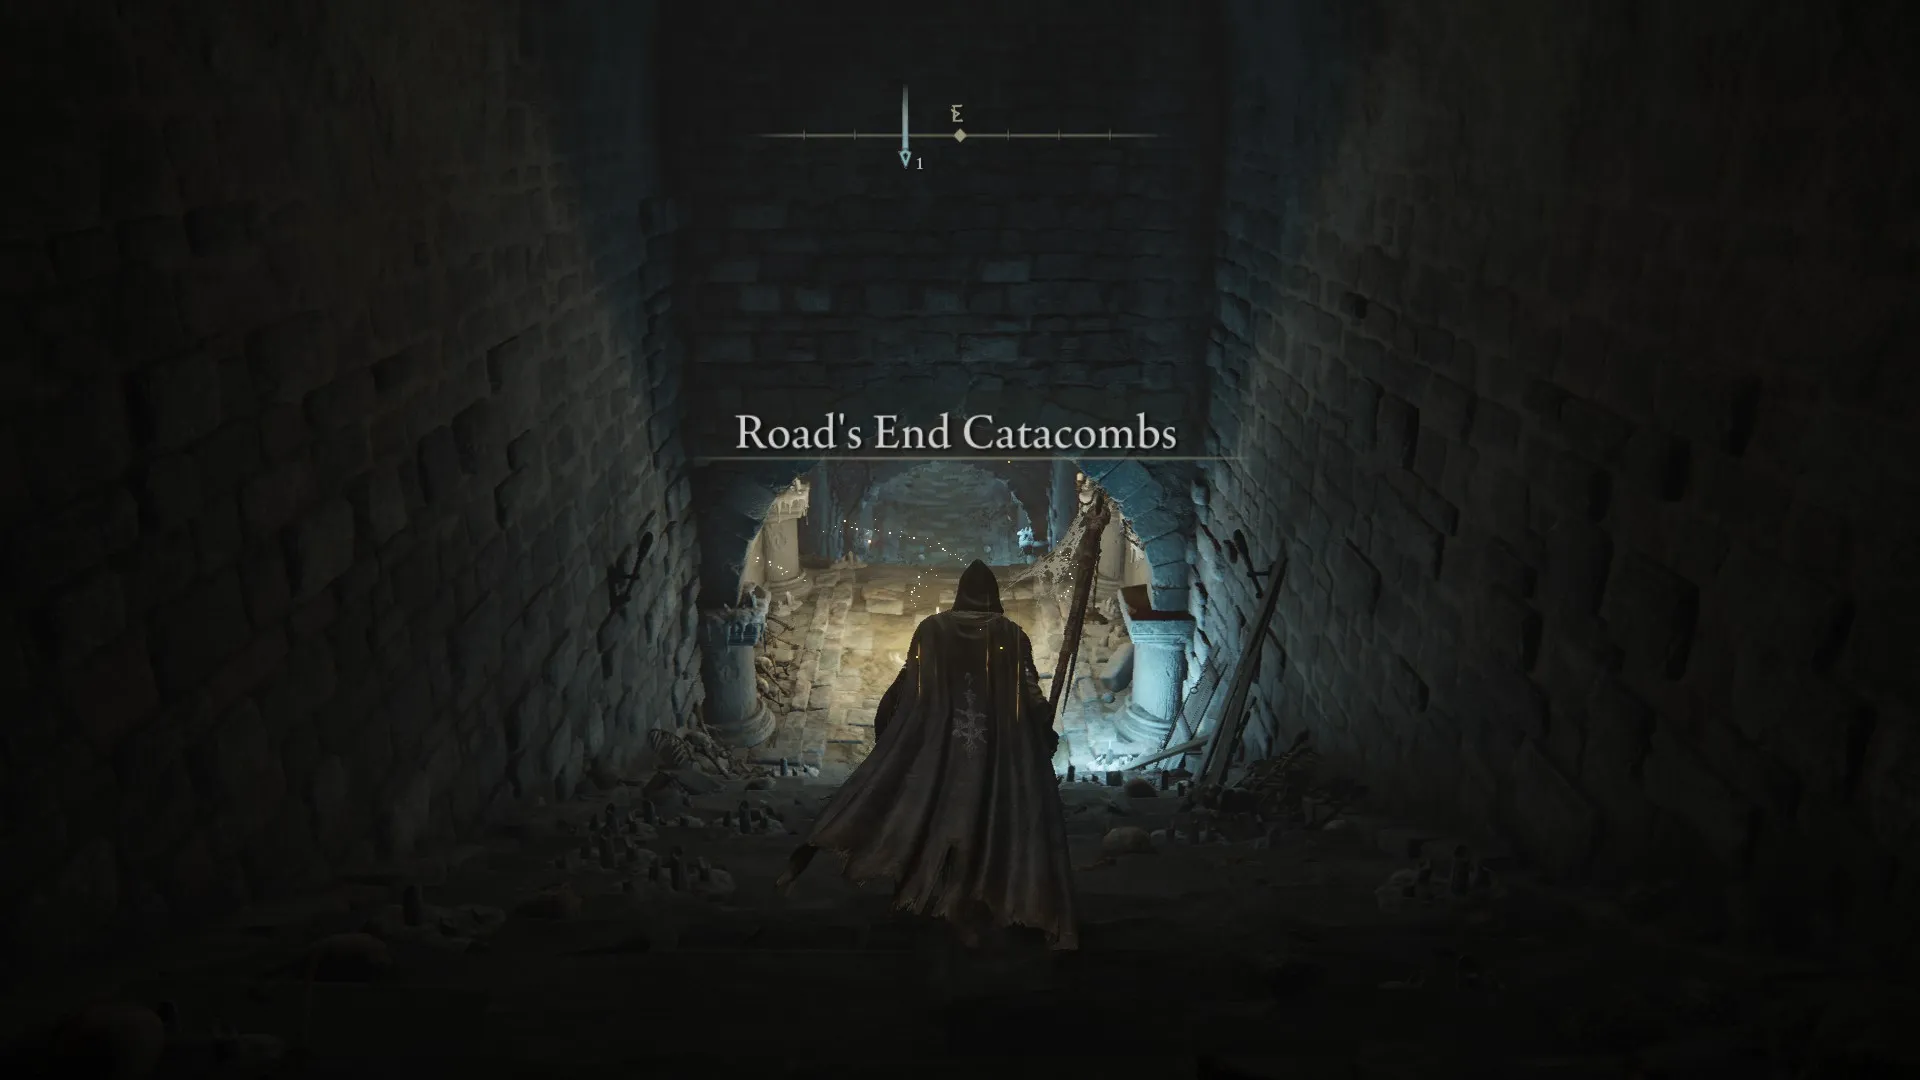
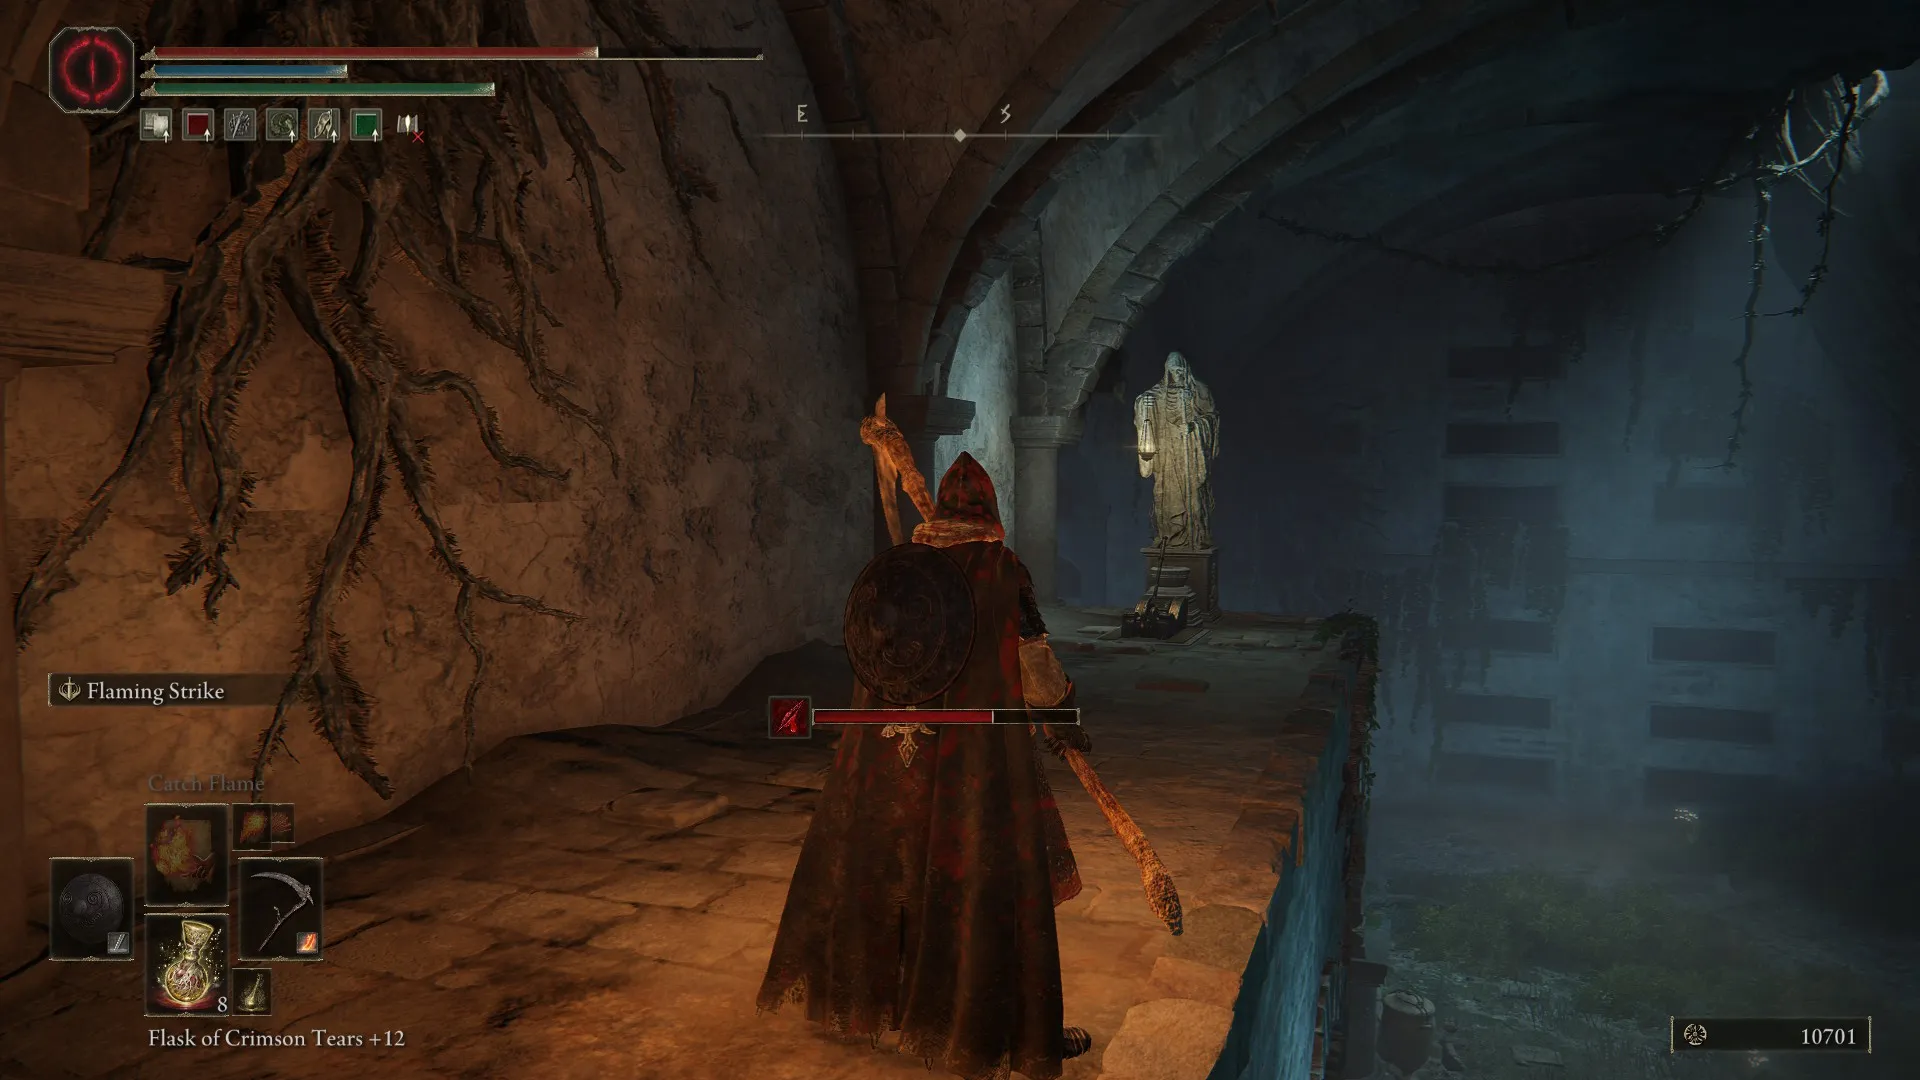
Shortly after starting at the Site of Grace in Road’s End Catacombs, you’ll enter the first large chamber. The boss door lever will be glowing on the platform to your left, but the door itself is nowhere to be found.
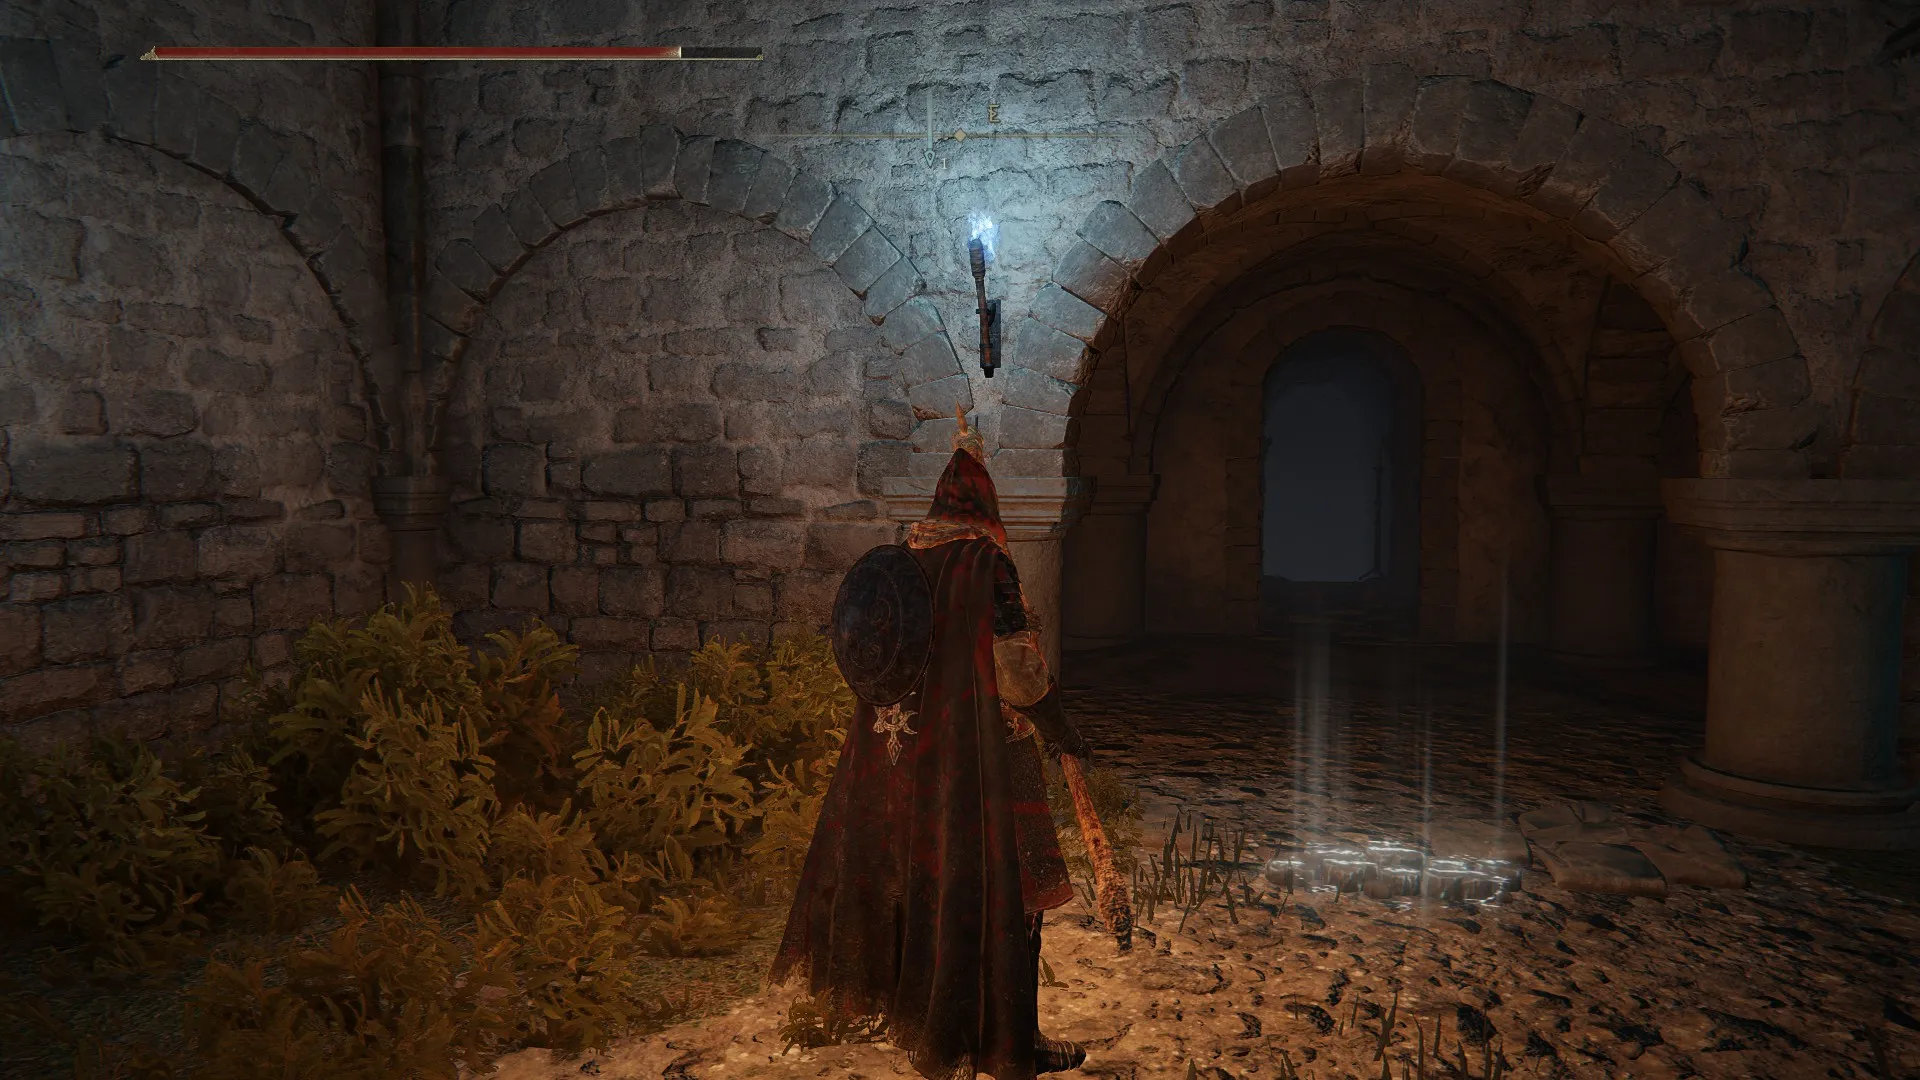
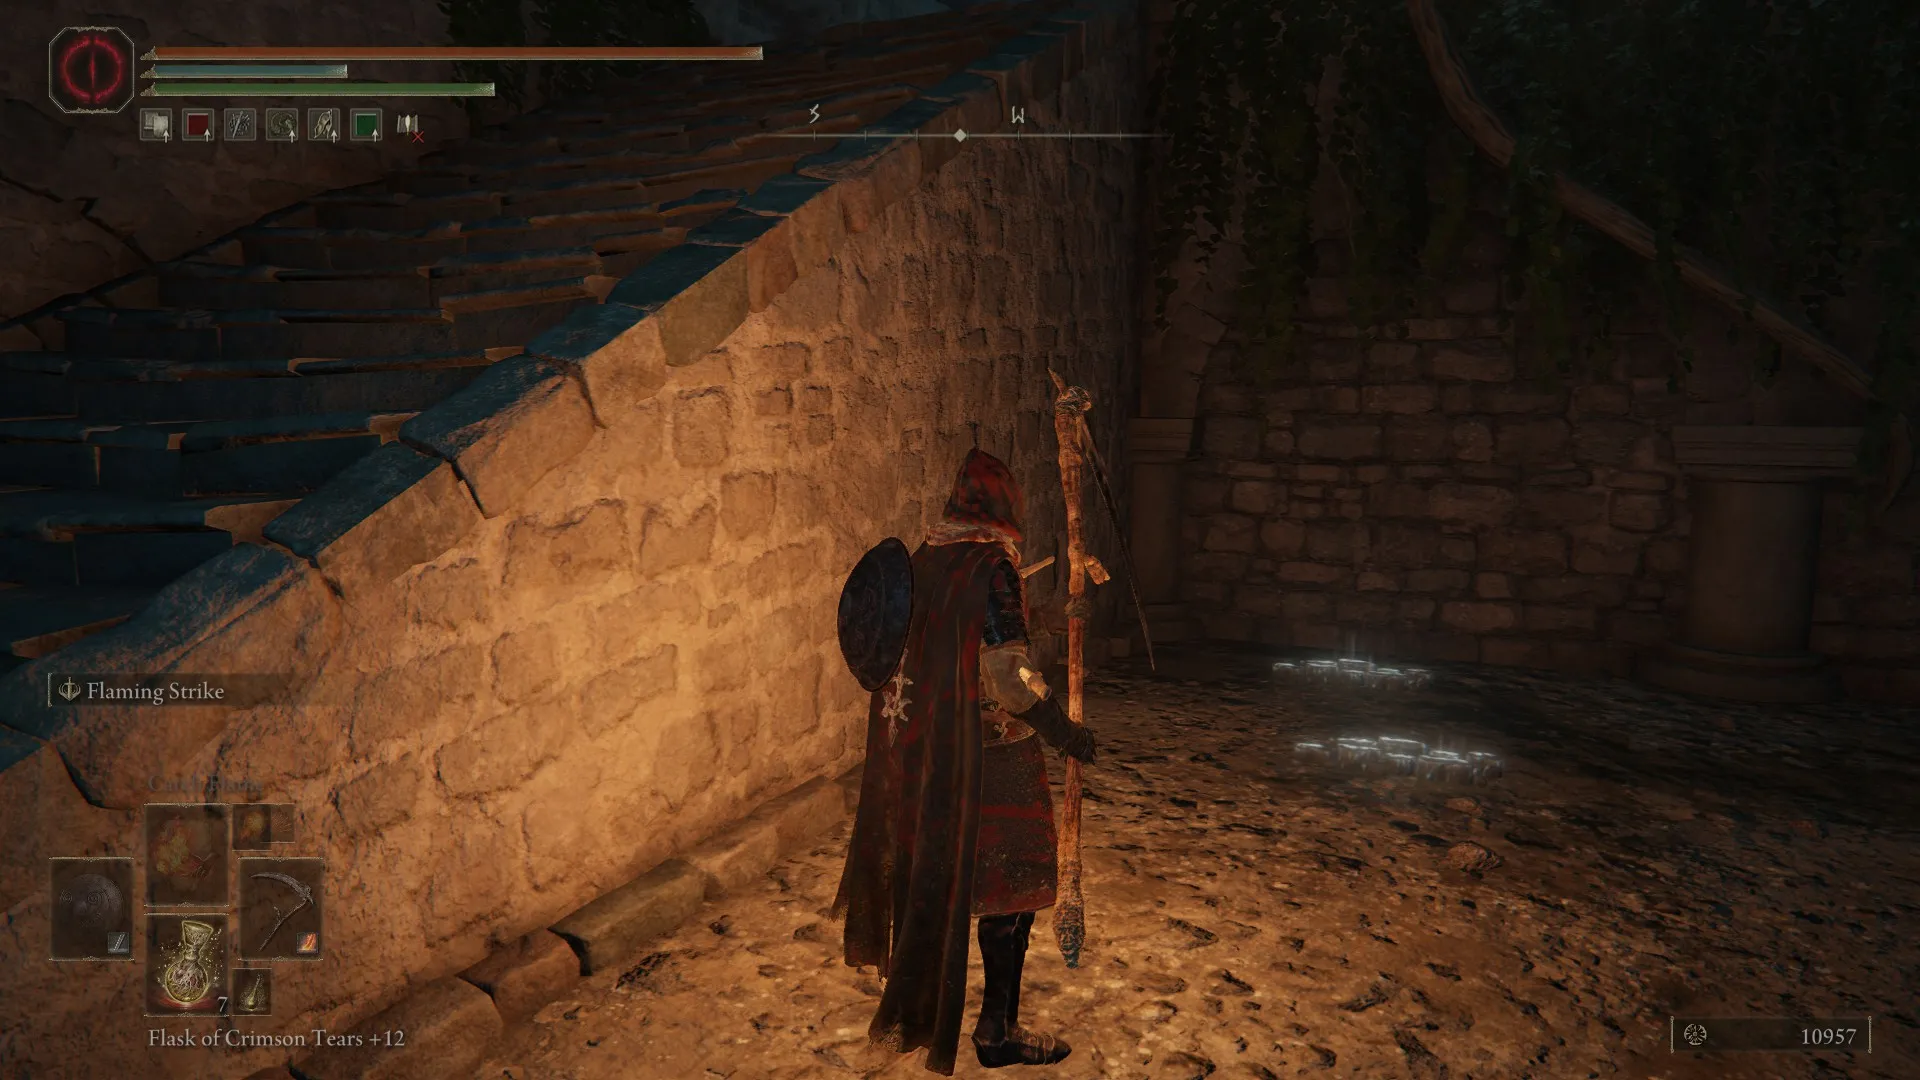
Drop or take the stairs down and immediately turn around. The wall nearest the staircase is illusory, as is the middle wall across from the stairs. The back wall hides a Rune Arc, but the middle wall leads directly to another illusory wall, beyond which is a hallway that goes down.
You’ll see a shiny item down the hallway that then appears to stop. There is another illusory wall leading to the boss door behind the shiny, so keep hitting walls until the boss door shows up.
If you don’t go down the hallway to the boss door, you’ll reach a chamber identical to the first. The same rule applies to illusory walls here: drop down and turn around immediately.
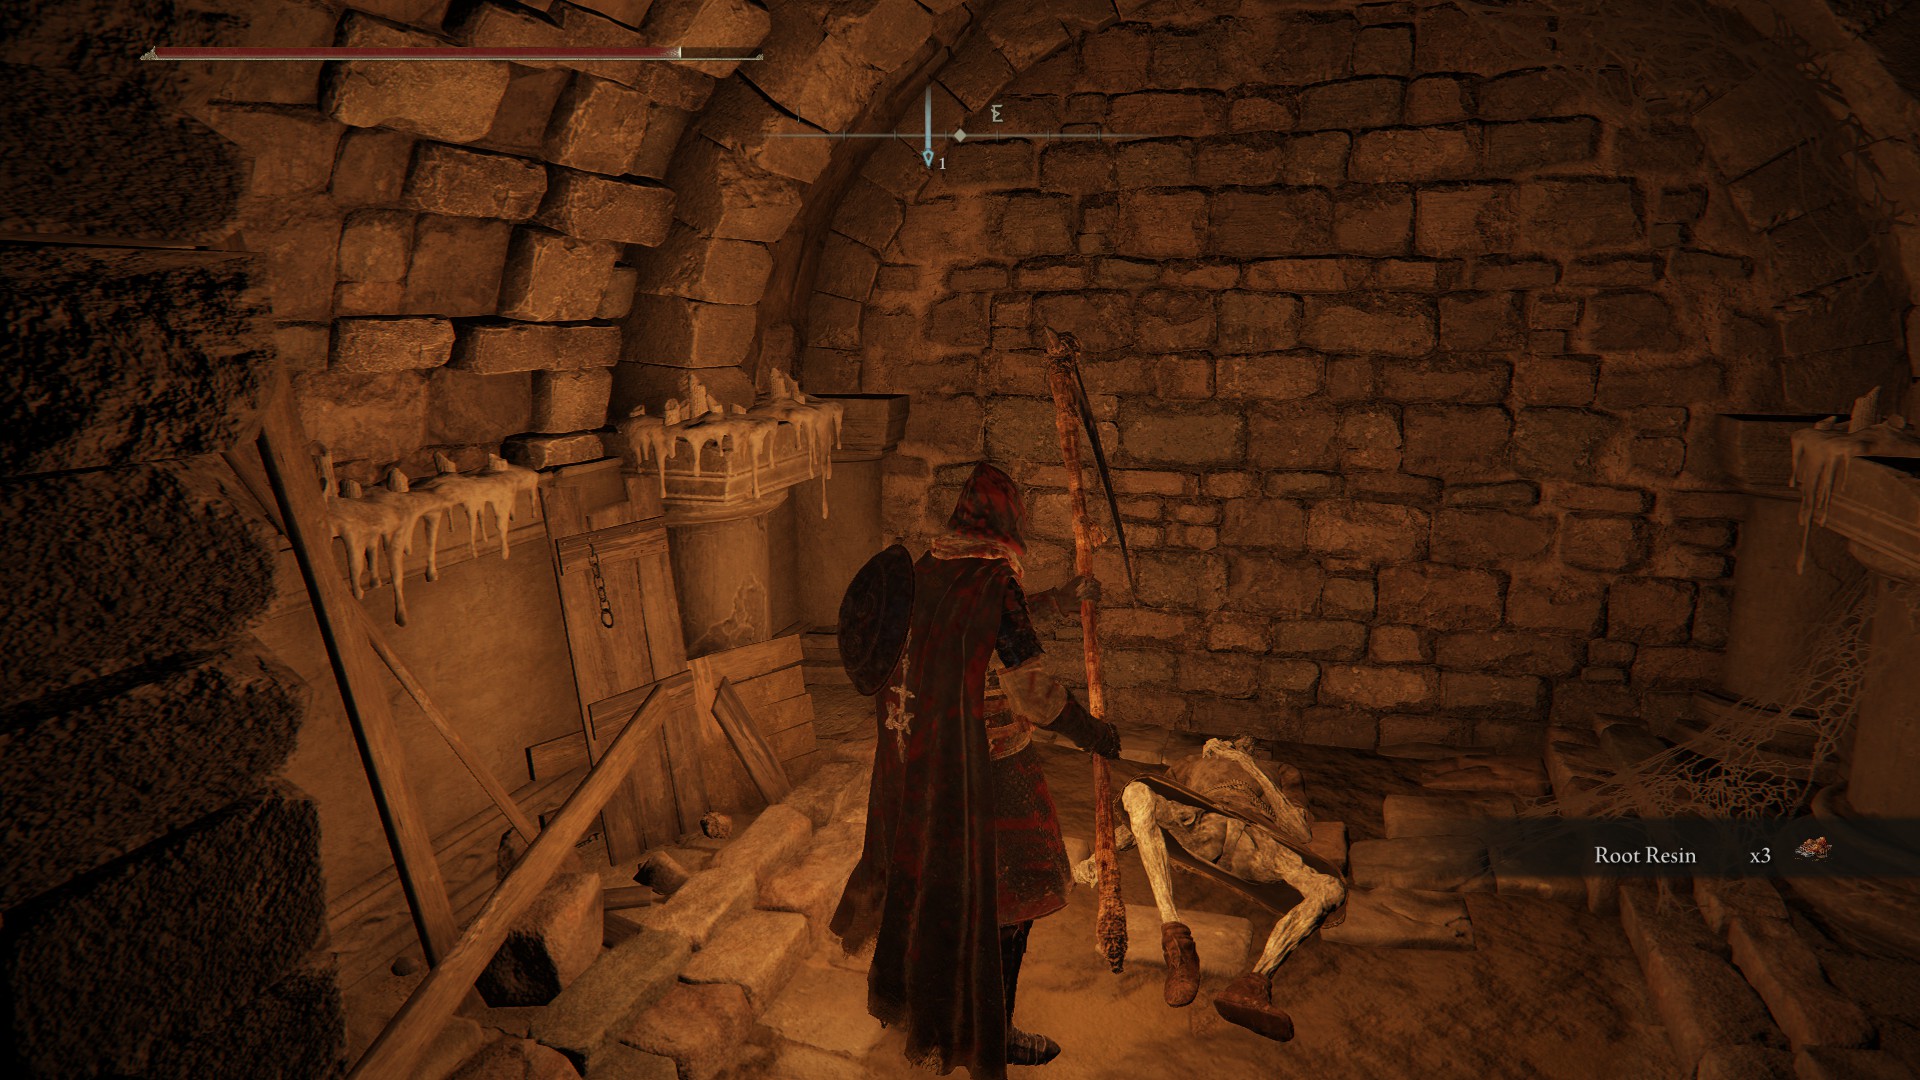
Beyond this fake wall is the Watchdog’s Staff.
Continue into the dungeon until you reach a hallway with a bright blue room at its end. Don’t run straight ahead, as there’s a pressure plate on the floor that activates an arrow trap if depressed.
Go around the pressure plate and into the room, then around the central column. You’ll reach a recess that seems to be a dead end. Hit the back wall to dispel the illusion and reveal a room with a treasure chest. Three imps in the room will ambush you once you claim the Raya Lucaria Soldier Ashes.
At this point, you can return to the first room and challenge the boss.
How to Beat Spiritcaller Snail
A spear-wielding Crucible Knight will spawn when you enter the boss’ room, but he’ll look different than others you might have before: he’ll be all off-white. Killing him will only cause another to appear at full health.
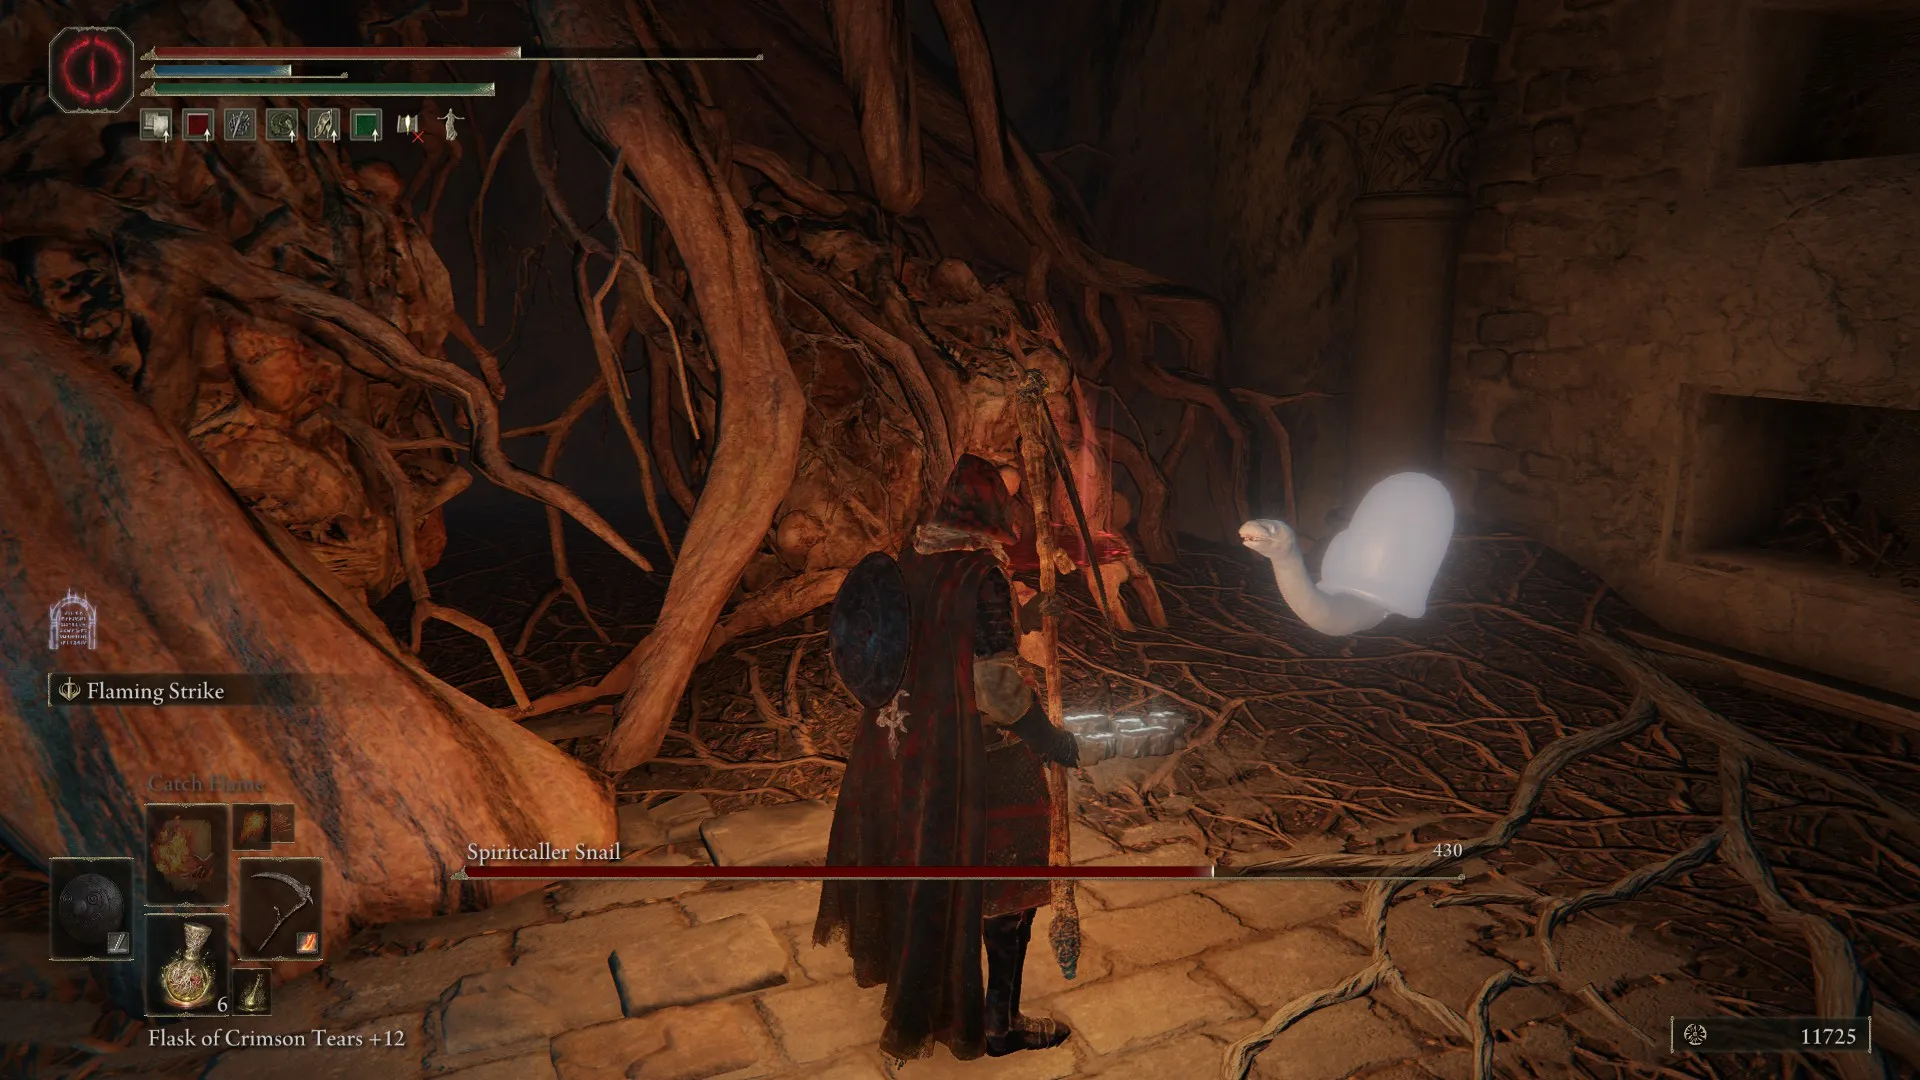
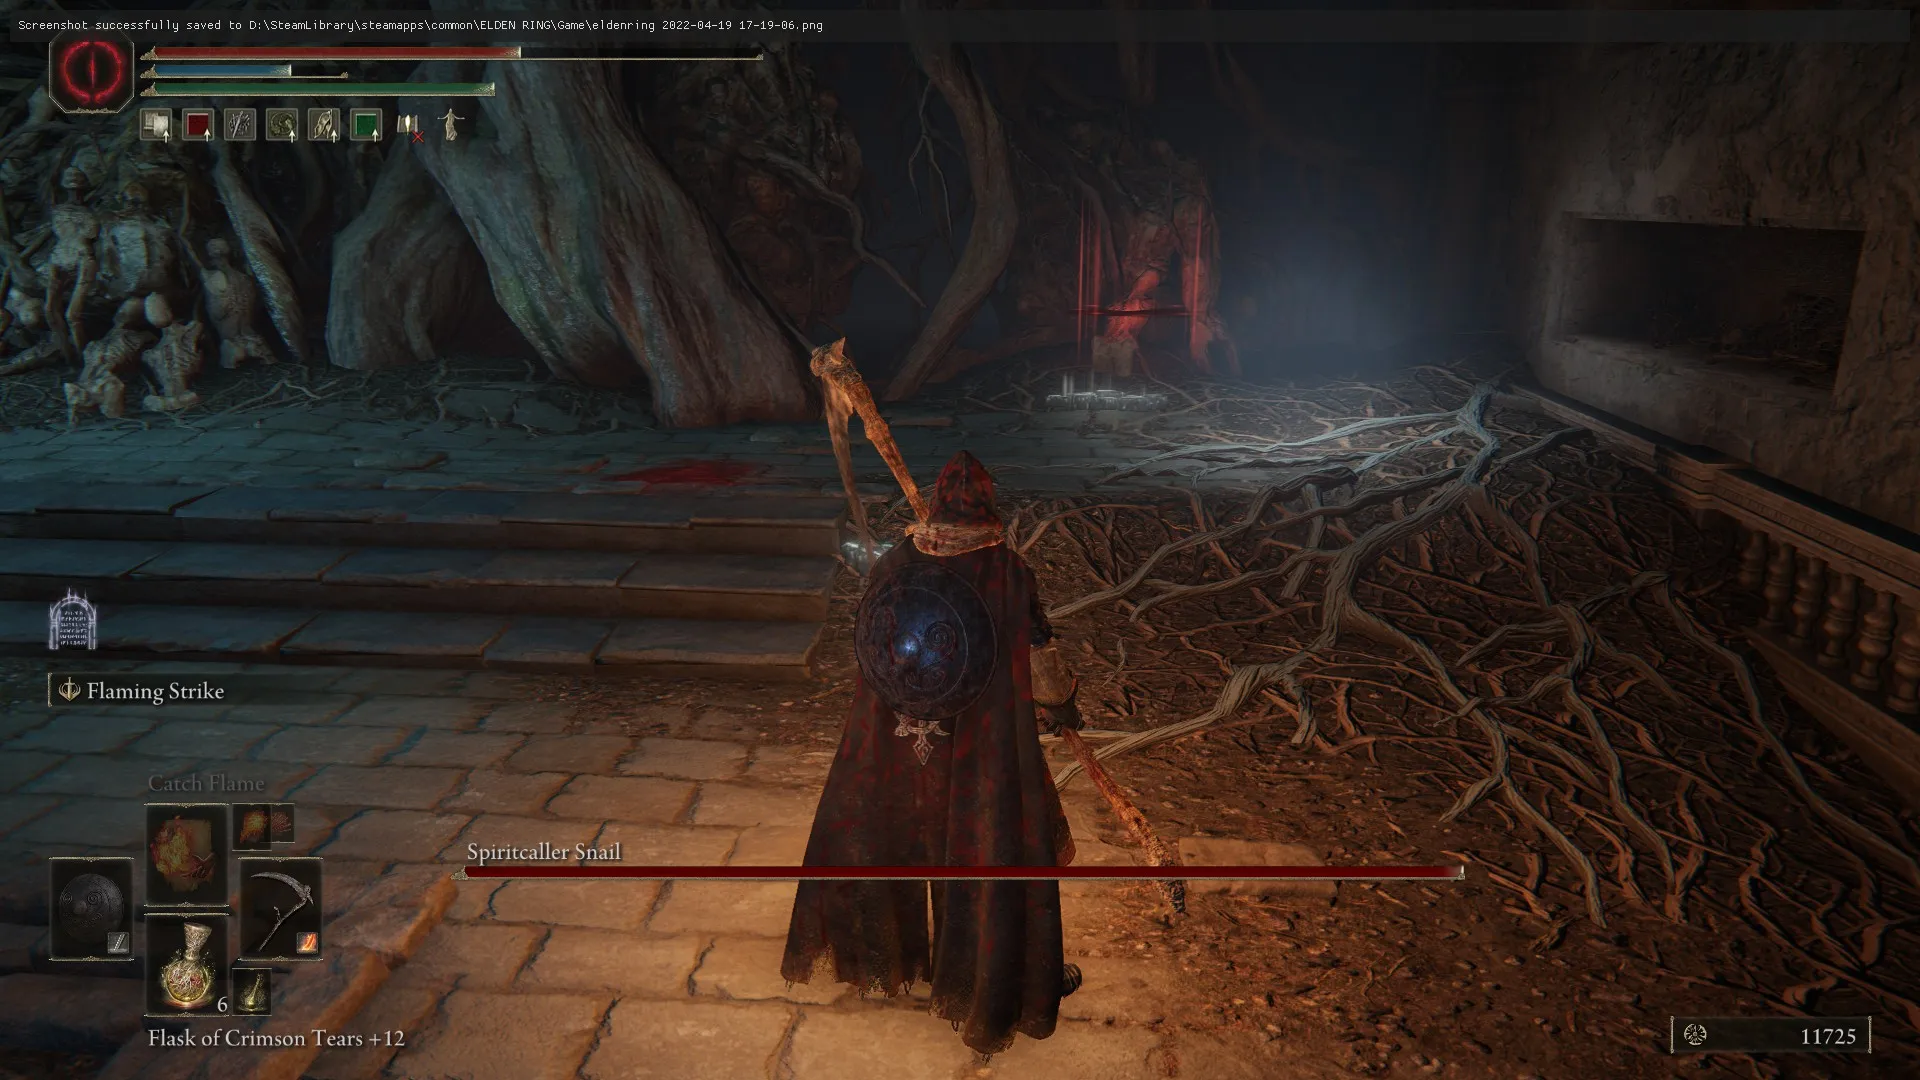
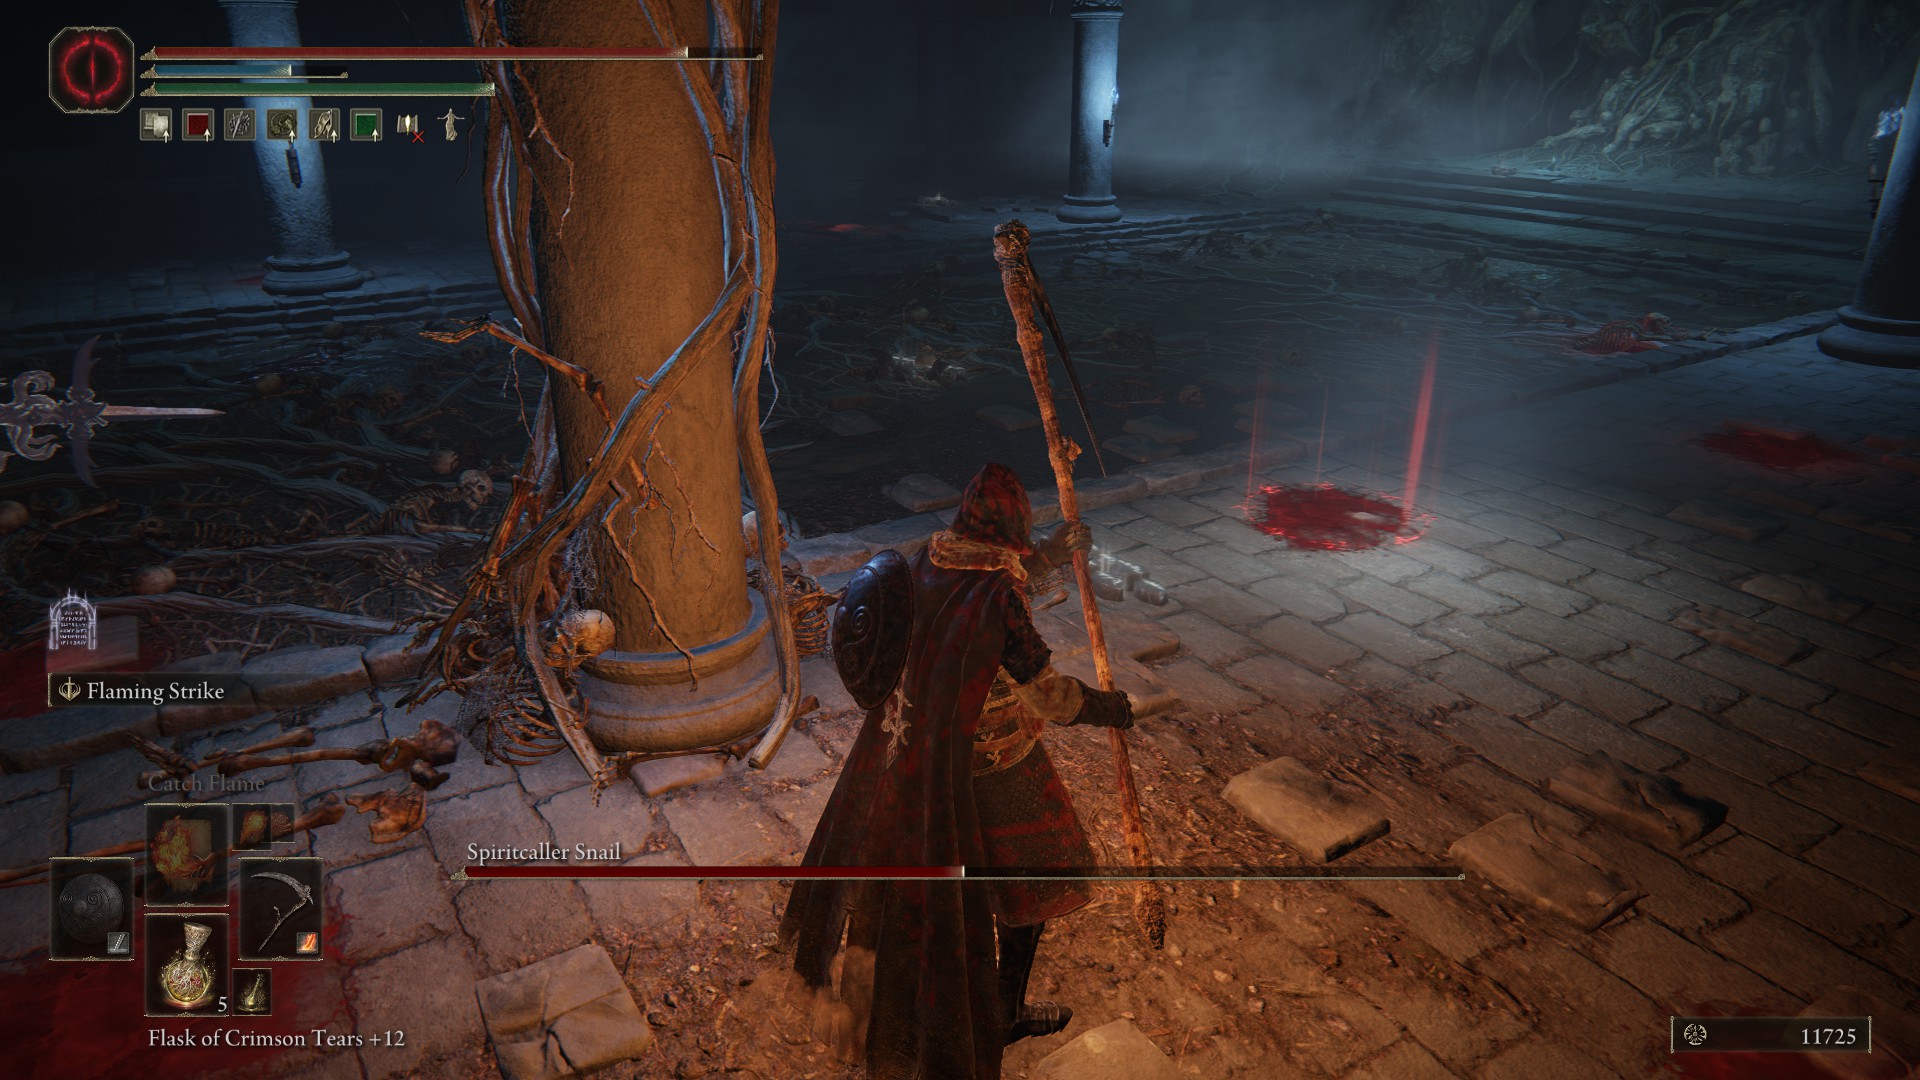
To beat Spiritcaller Snail, head to the back-right corner of the room where an off-white glow emanates.
Get close enough, and the Spiritcaller Snail itself will appear. Attack it as many times as you can before it disappears. You’ll be able to find the Snail again wherever its off-white glow appears throughout the room.
The biggest challenge during the Road’s End boss fight is avoiding the Crucible Knight spirit. Your best bet is to kite the Knight to the other end of the arena from the Snail, then sprint over to the Snail to do enough damage so it teleports again.
The boss doesn’t have a lot of health, so it shouldn’t take too much to defeat, but the Crucible Knight spirit will stay up for a second or so after the Snail dies, so don’t drop your guard until the Knight disappears entirely.
You’ll be rewarded with Glintstone Sorcerer Ashes and a few thousand runes for completing Road’s End Catacombs. If you haven’t already, head to the other end of Liurnia to take on the Black Knife Catacombs. Be sure to take those new Ashes you got back to the Roundtable Hold to upgrade them, and head to our Elden Ring guides hub for more content.





Published: Apr 19, 2022 09:54 pm