The Final Fantasy 7 Remake Chocobo Search sidequest has you combing the Midgar undercity for three wayward Chocobos. It’s one of the many sidequests available in Chapter 14.
This guide will show you the Chocobo locations, the best way to get each of them, and what you need to do to get them back to safety.
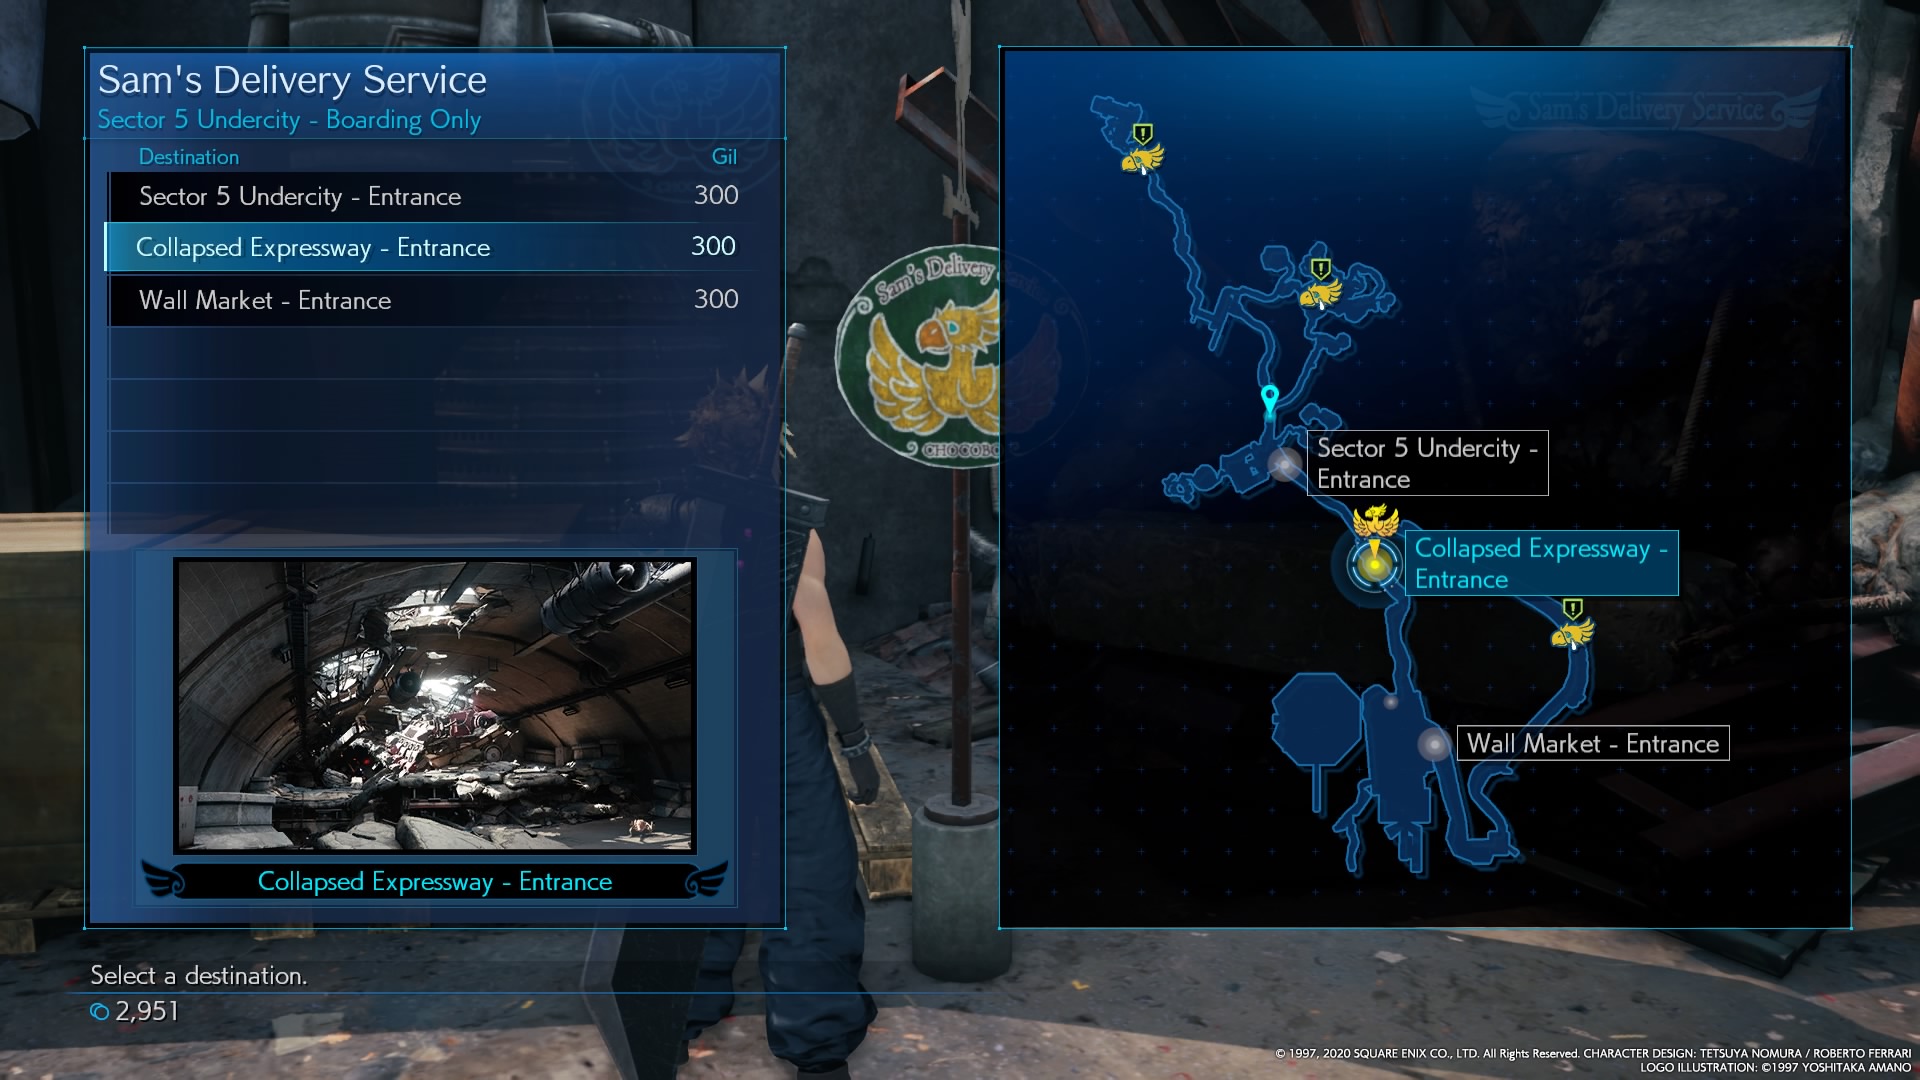
Once you’ve found and saved all three chocobos, you’ll head back to Chocobo Sam in Wall Market. He’ll express his thanks and give you a lifetime pass on Chocobo carriage rides, making them free for the rest of the game.
Starting the Quest and Chocobo 1
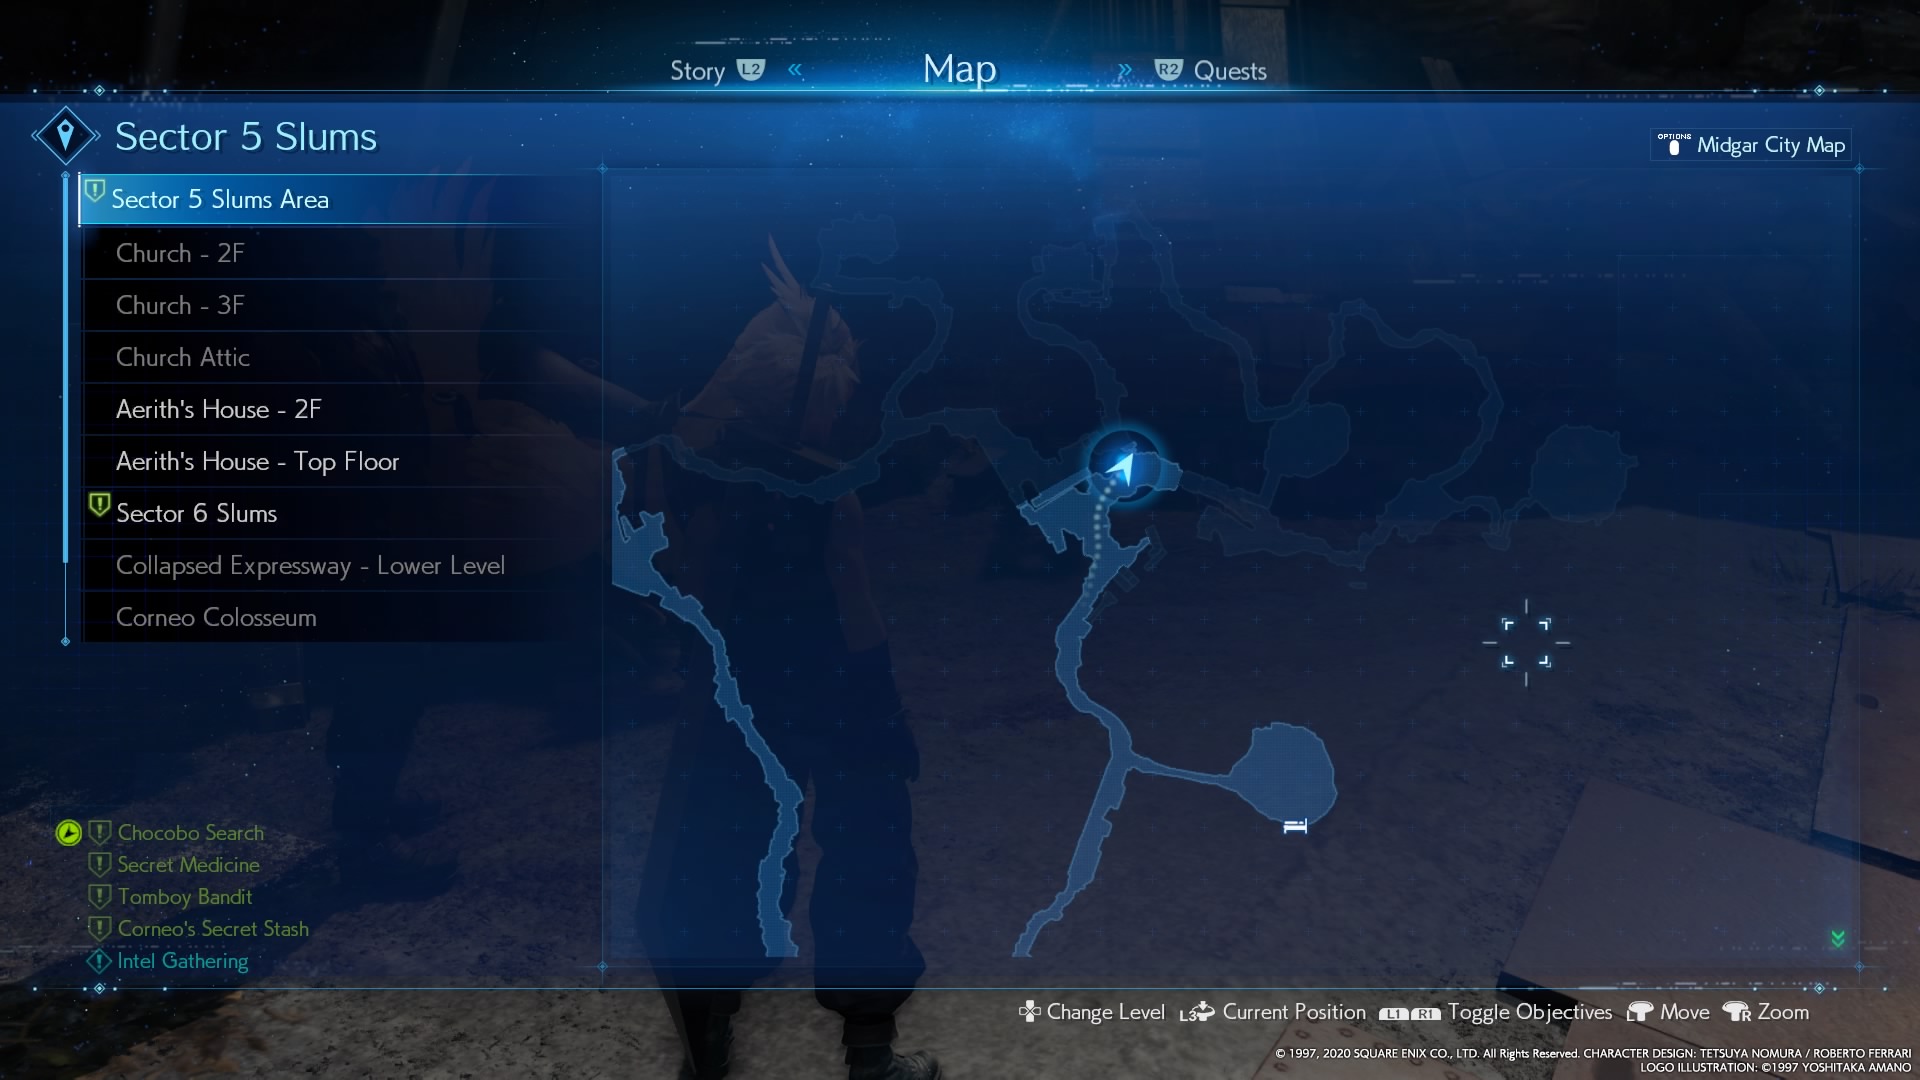
Starting Chocobo Search is easy enough. Just head to the clearing north of the Sector 5 slums, and a stablehand will automatically ask Cloud and company for help. From there, the three Chocobo locations will appear on the nearby fast travel sign. You’ll know this sign from the big Chocobo symbol on it.
The first and easier Chocobo to return is the one at the top of the map, on the way to Aerith’s church.
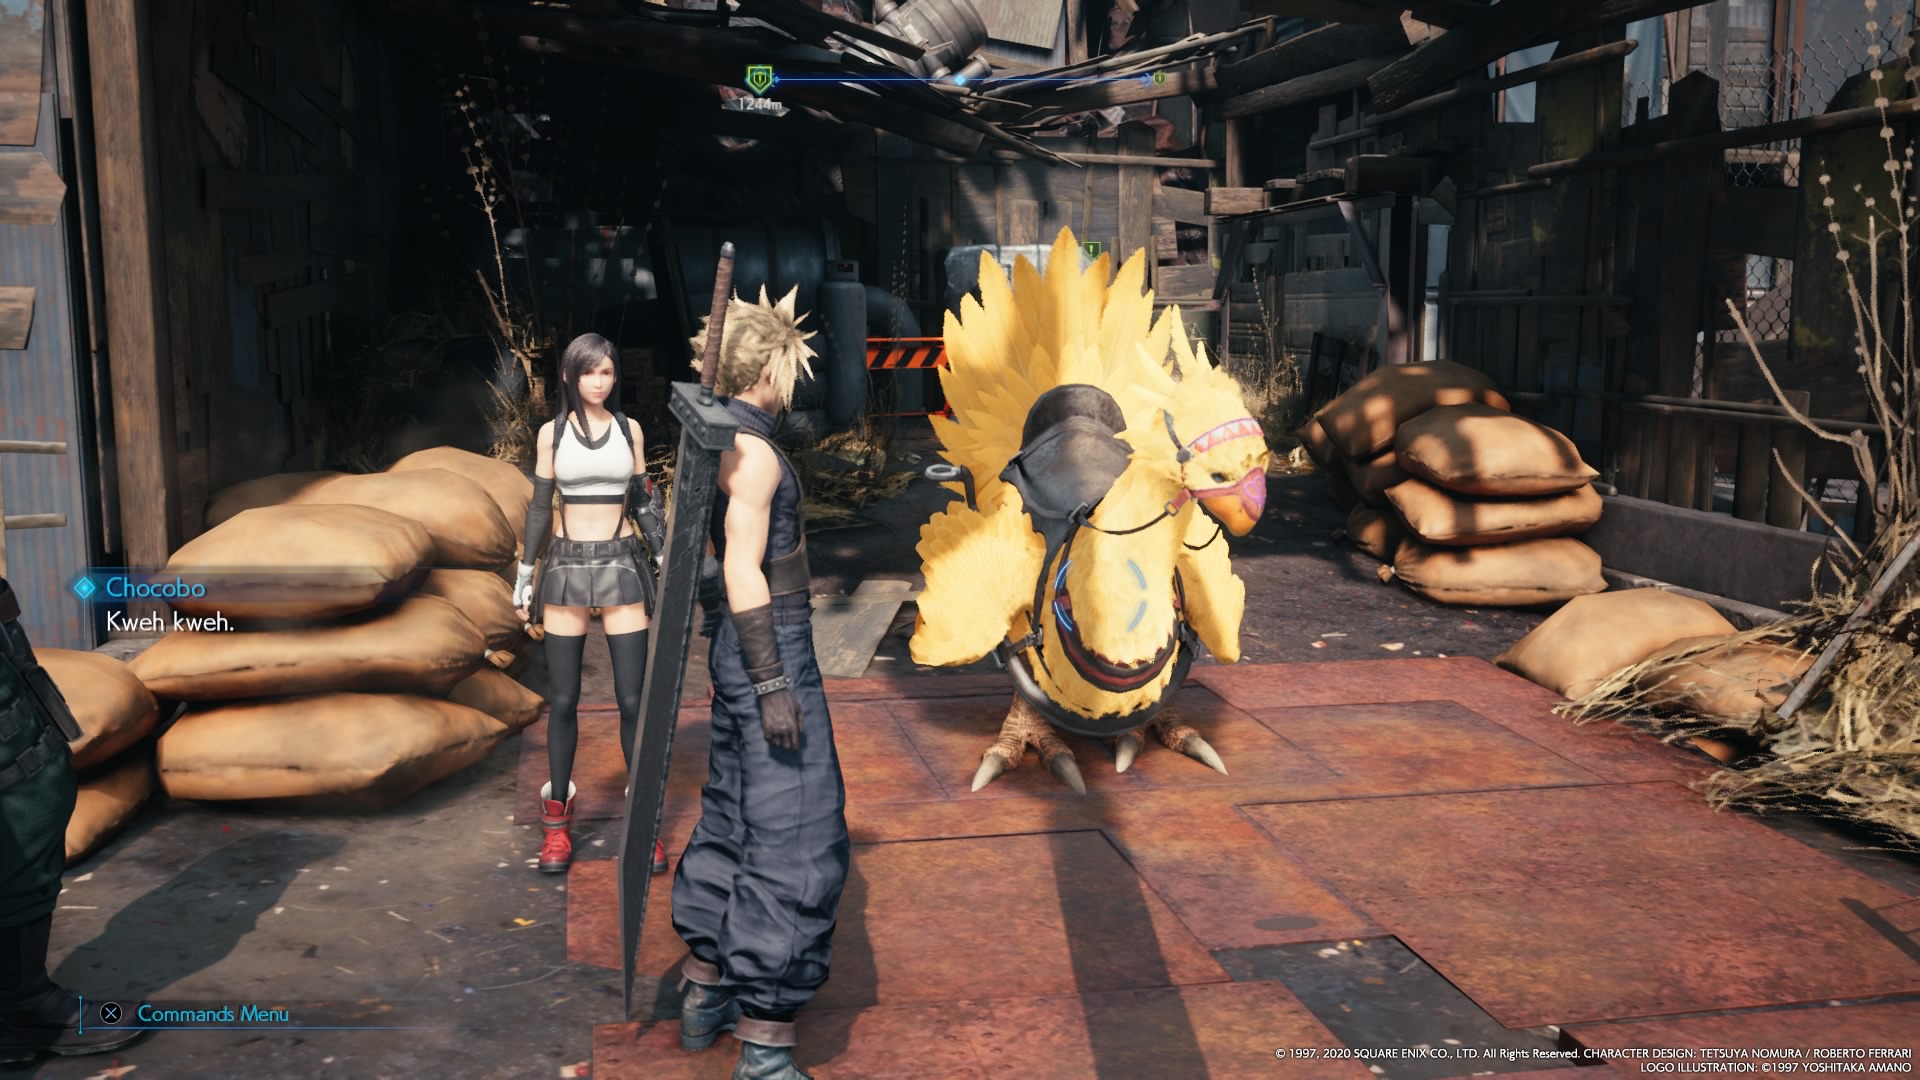
From the slums, simply go past where you met the stablehand and follow the path north. Eventually, you’ll run across the big bird, quivering in an alcove on the left side of the path.
Just walk up, press the interact button, and you’ve made a big new yellow friend. It’s here on the map.

Chocobo 2
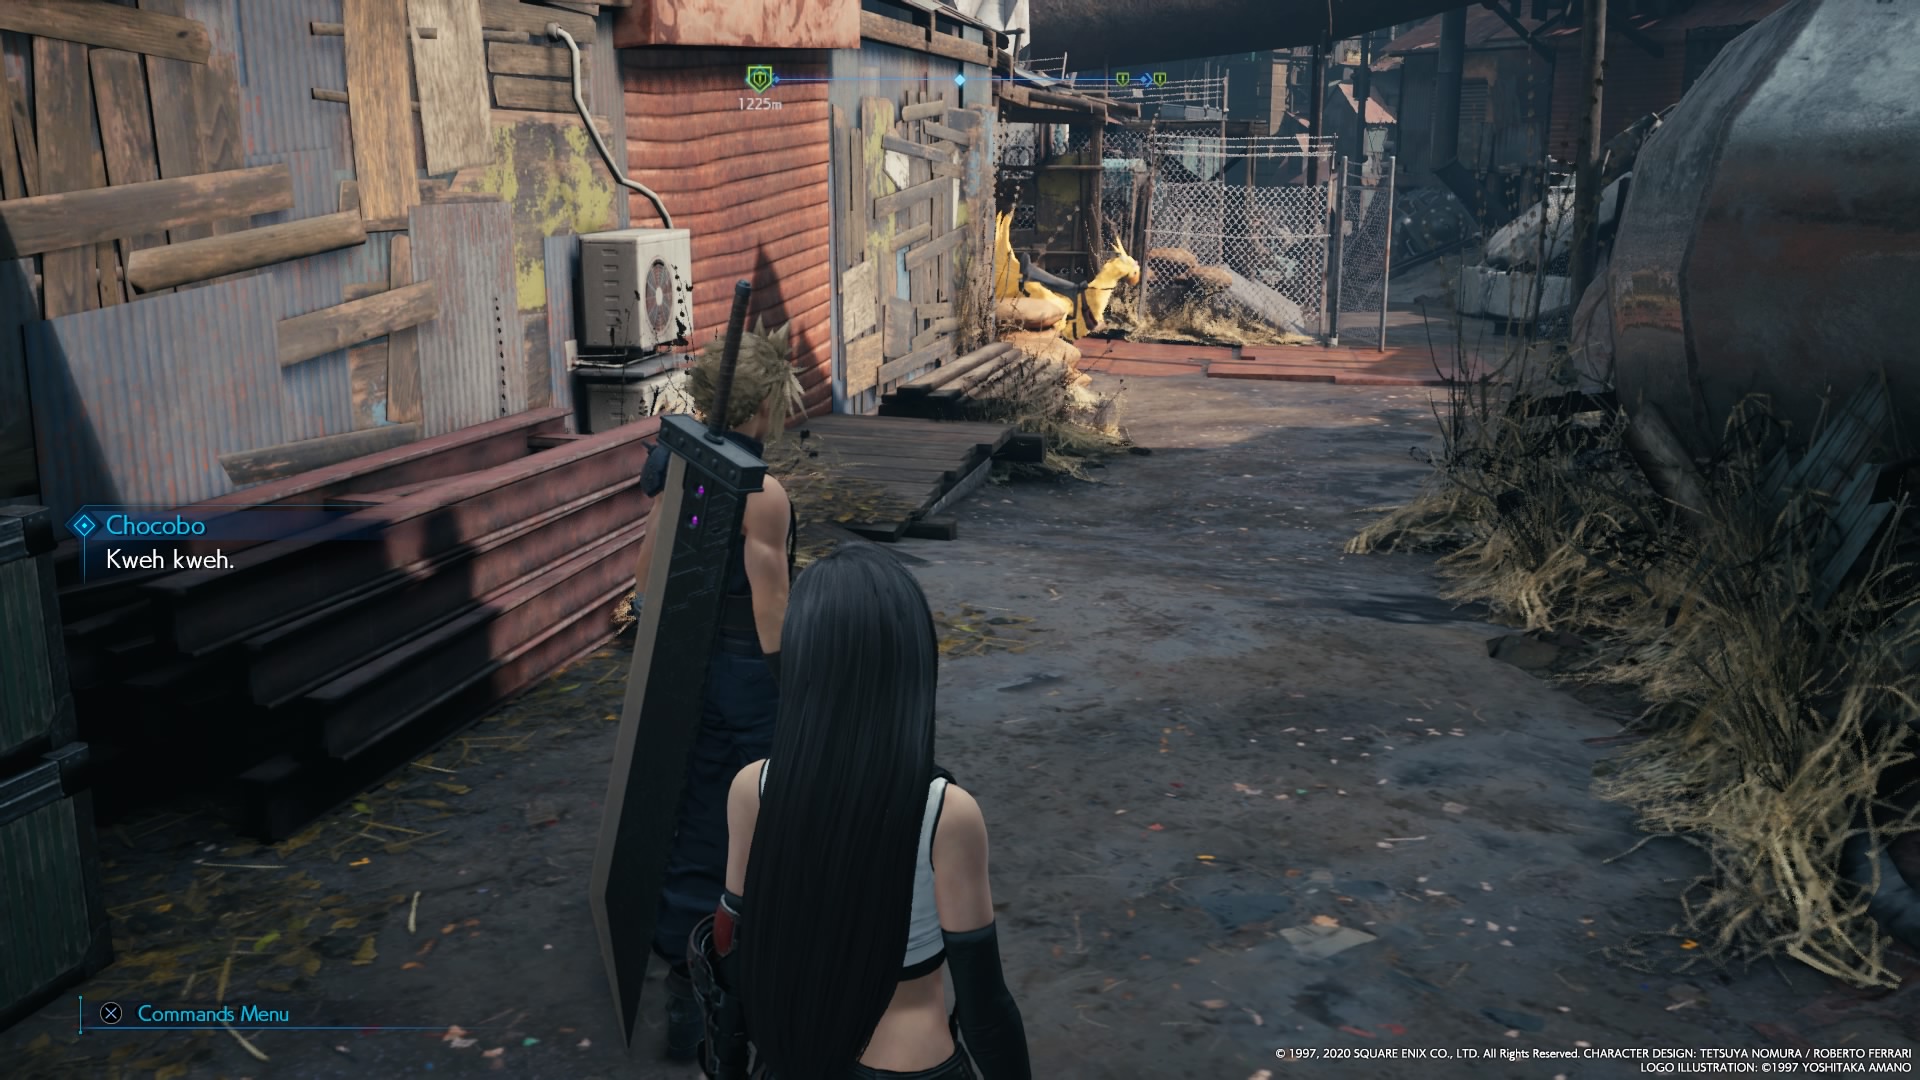
The next Chocobo is the one in Steel Mountain. It’s in the complex near the church where you landed after escaping Aerith’s church. There are two ways to get there.
From the church, follow the path back toward the stablehand and take the first right. From the slums, go past said stablehand and take the first right. You’ll make your way into the area called Steel Mountain, where the second Chocobo cowers in front of the big green steel plates.
Approach as before and interact with the bird. It’s here on the map.
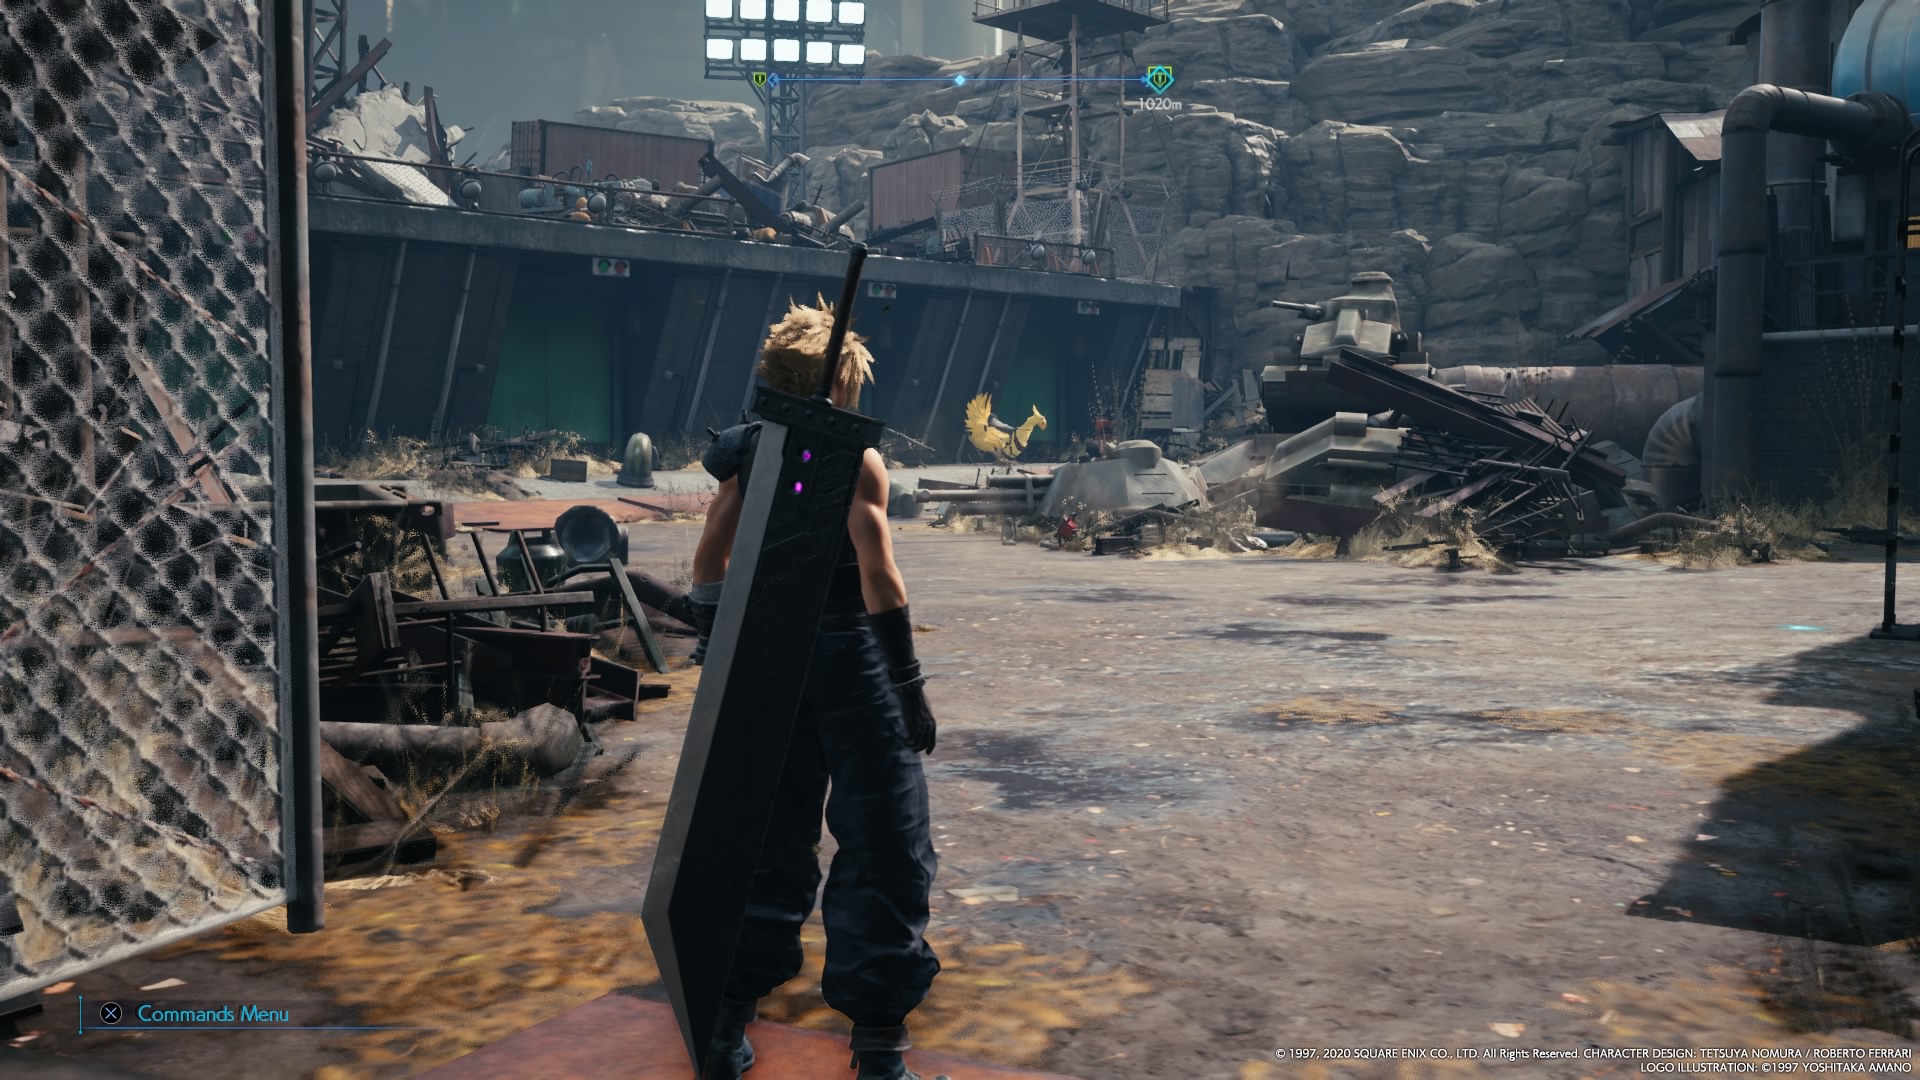
Beware, things will not be so easy this time. A miniboss will appear, and you can only rescue the yellow friend by defeating it.
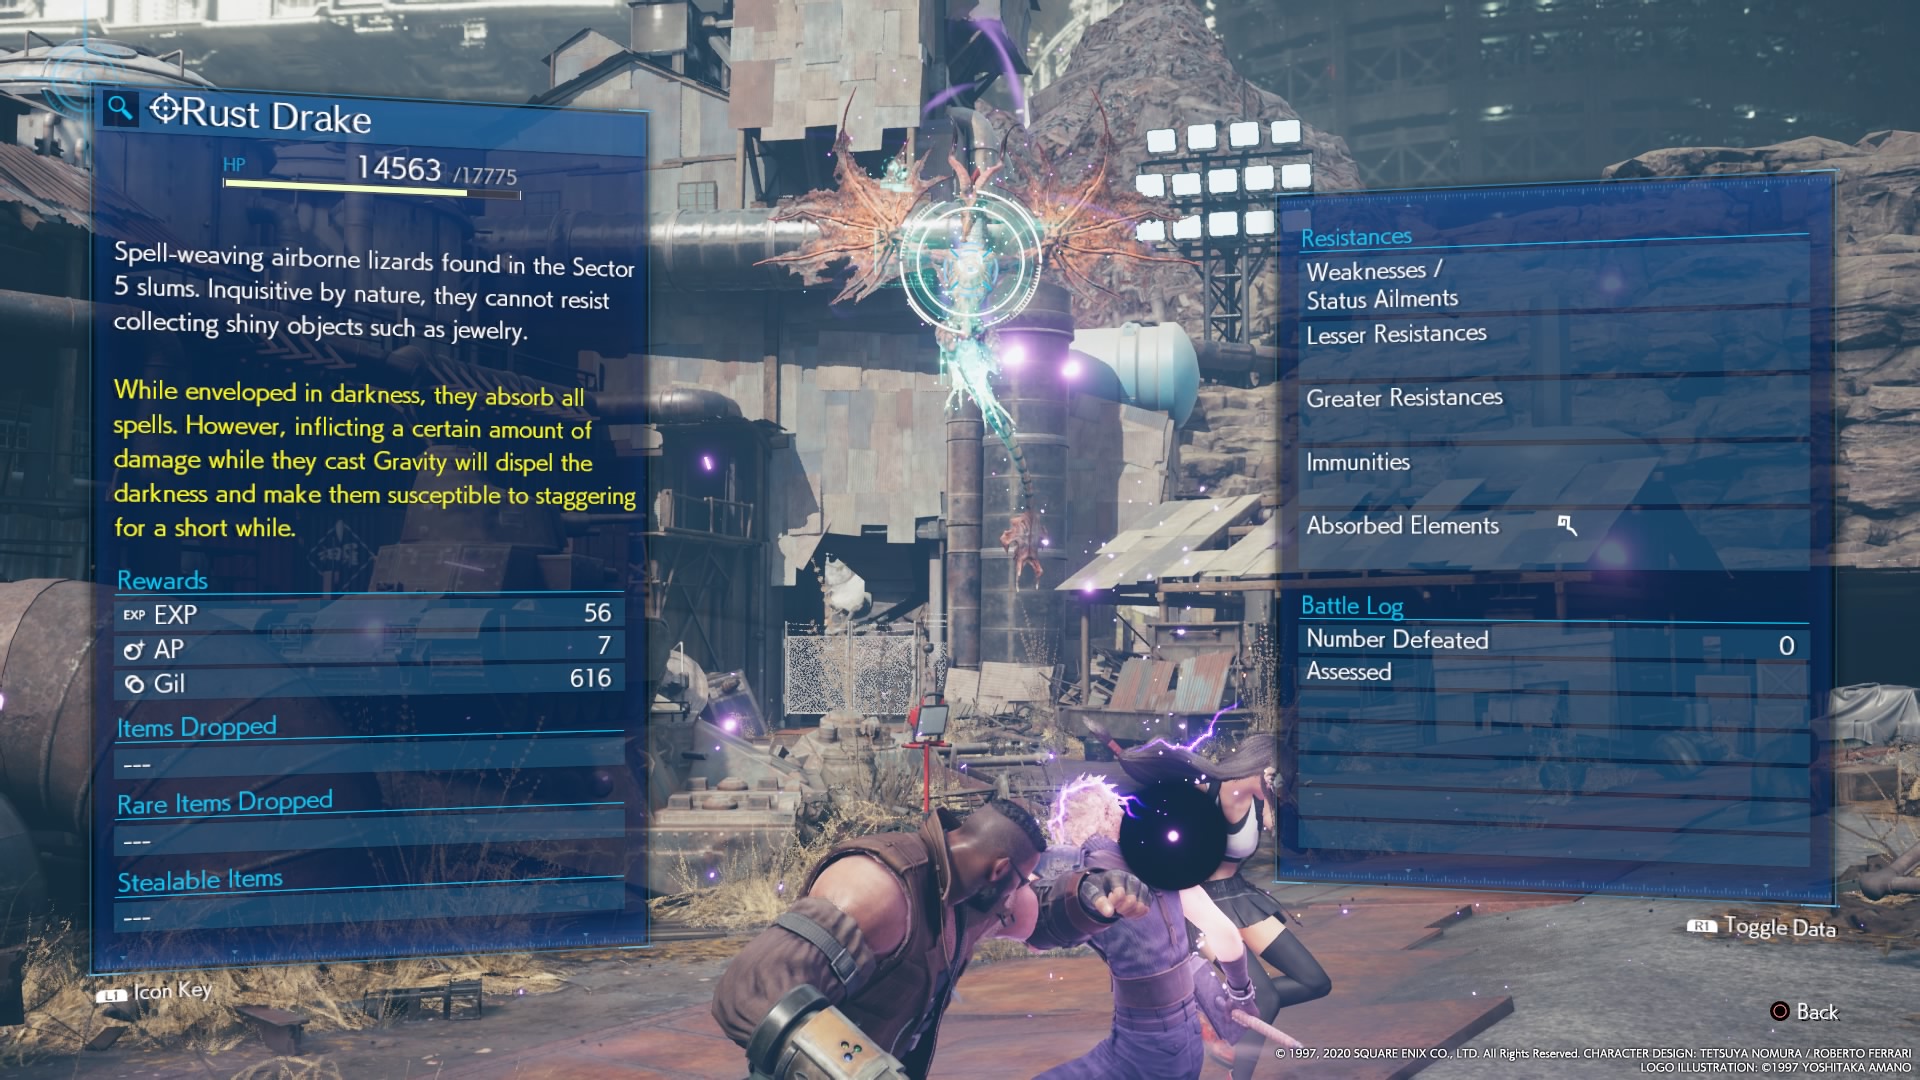
The biggest threat this monster poses is the Gravity spells it casts. They’ll suck your party toward a single point and drain about 10-15% of their health every five seconds or so, which can and will wipe you if you aren’t keeping track of your party’s health bars.
Attack constantly during these gravity casts to build the stagger bar, then wail on the thing until it dies. Do that, and you can send the bird back home.
Chocobo 3
The third and final Chocobo is hiding in the tunnels leading through the Sector 6 Slums.
You can either make your way there from Sector 5, though the walk is a little long. My preferred method is taking a carriage ride to Wall Market and going through the park to the south, then back through the tunnel.
Head into the tunnels and go through the bandit camp and past a robot hand puzzle or two. Eventually, you’ll climb a ladder to see the Chocobo cowering in a corner of a tunnel.
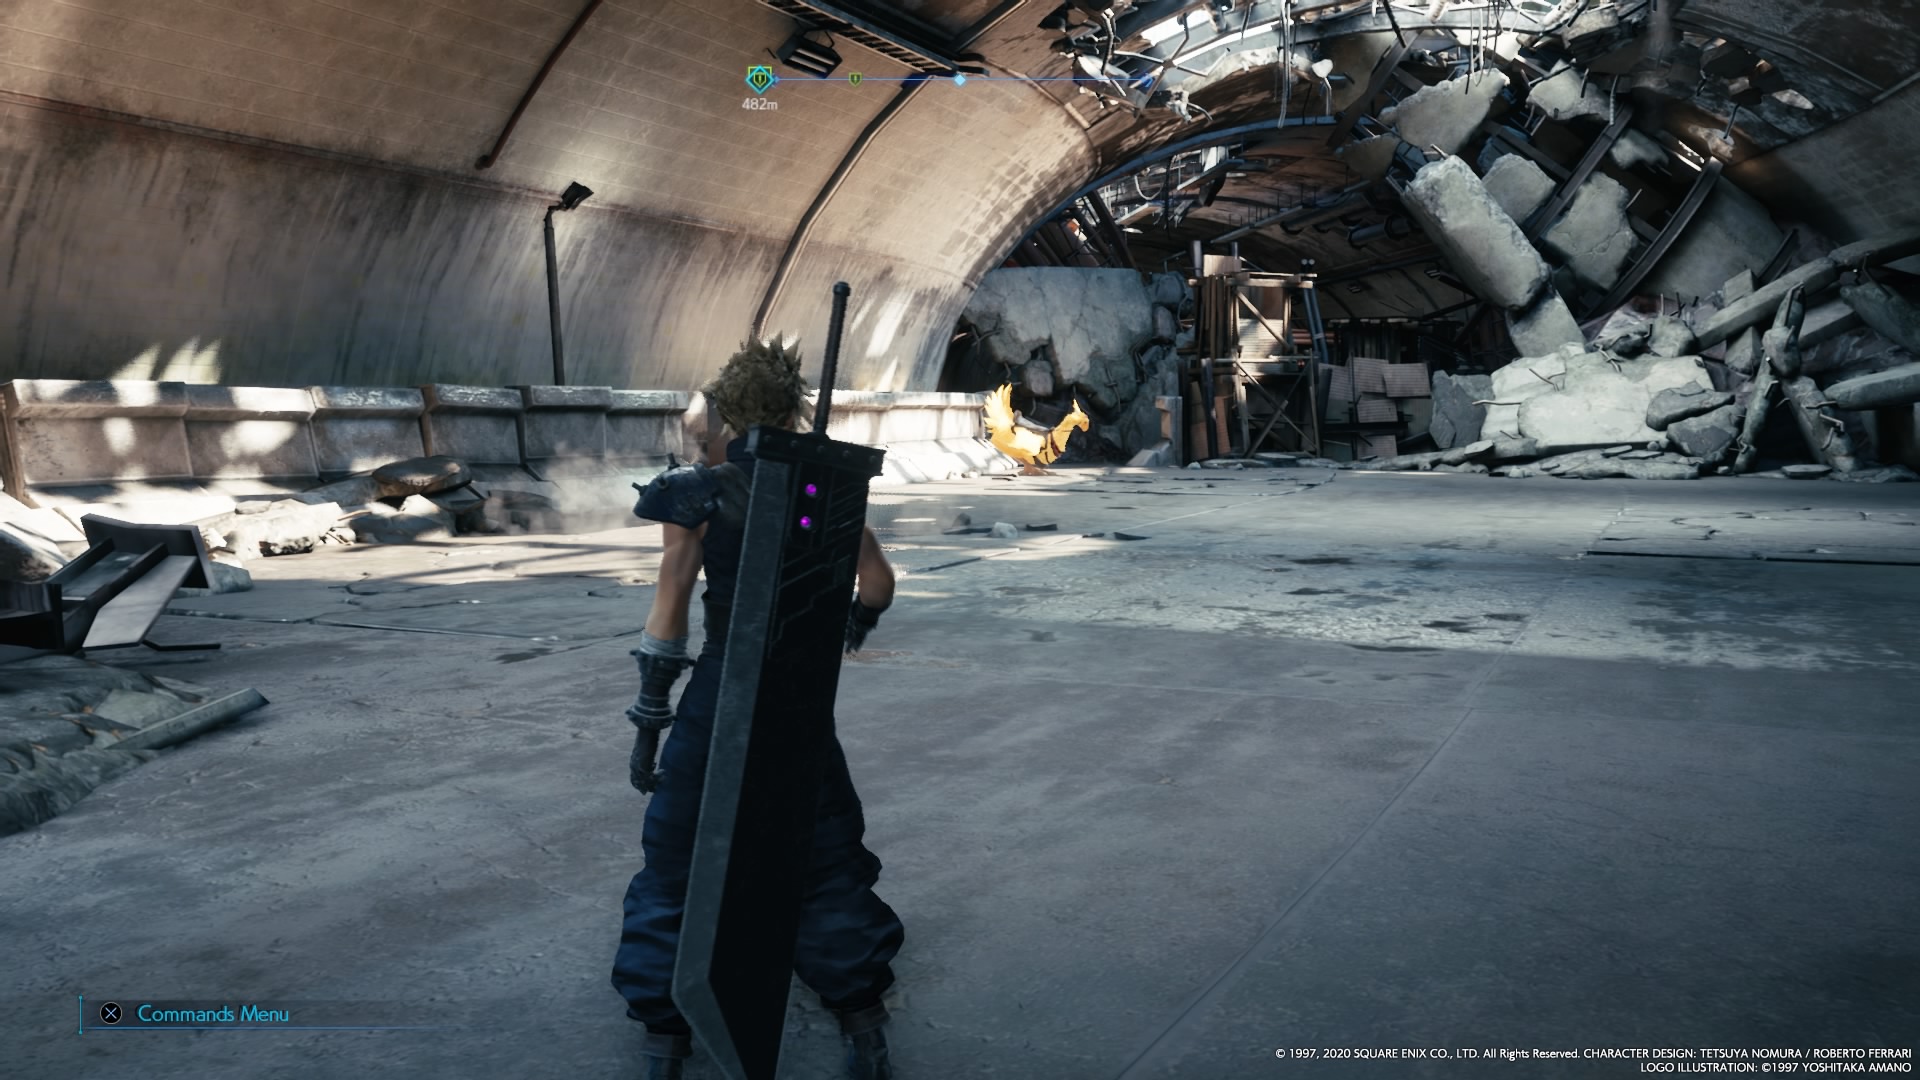
It’s here on the map.

As with the Steel Mountain Chocobo, this one has guards. Three of them to be exact, and they’re tanking as can be.

Though they aren’t particularly deadly, you will want to kill the additional enemies they spawn. Be aware that their stagger bar drains quickly once filled, so this is more a battle of endurance than anything else. Combo your attacks well, and you’ll be set.
—
And that’s how you complete the Chocobo Search sidequest in Final Fantasy VII Remake.
Check out our other content for the Remake here:
- Final Fantasy 7 Remake: All Materia Locations and What They Do
- Final Fantasy 7 Remake: How to Get Each Bridal Candidate Outfit
- Final Fantasy 7 Remake Summons and Where to Find Them
- Final Fantasy 7 Remake Lost Friends Cat Locations


Published: Apr 15, 2020 09:27 pm