Final Fantasy 7 Remake includes a number of powerful summons, though not quite as many as you might be used to. Still, many of the classic Final Fantasy summons are available throughout the story, with a handful locked to those who pre-ordered the deluxe versions of the game. Our Final Fantasy 7 Remake summons guide details them all and what you need to do to get them.
Because not everyone will have the DLC summons, we aren’t going into them here.
We’ll first go over how to use summons, then how to get Ifrit, Chocobo, Shiva, Fat Chocobo, Leviathan, and Bahamut — in that order.
Final Fantasy 7 Remake Summons: How to Use Them
Using summons in FF7 Remake is simple. Each character has a summon Materia slot in their Materia grid. It’s independent of their weapon and armor slots. That means you don’t have to worry about using one of those with a summon. You also need to make sure everyone in your party has a summon equipped.
Most summons have an elemental affinity of some kind as well, so they’re highly useful for targeting weaknesses — especially since they don’t cost ATB or MP to use.
However, you won’t be able to use a summon creature in every battle. You’ll have to be in a battle where you either take a lot of damage or the battle lasts longer than usual. That usually ends up being boss fights or mini-boss fights.
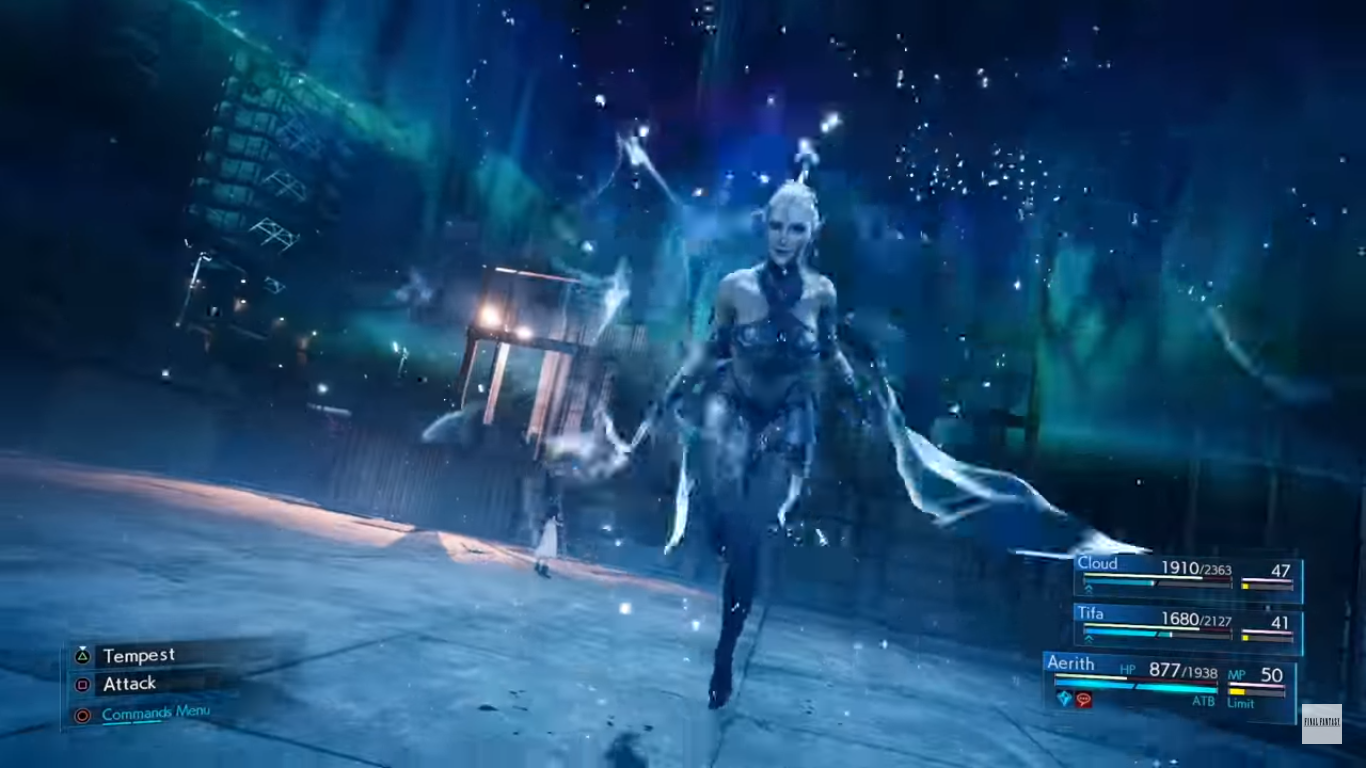
When you can use a summon, a purple meter appears on the right, above the character stat bars. Once it’s full, you’ll just choose the summon from the commands menu like you would any skill for your characters.
The summon attacks for you, but you can still be targeted; summons disappear after a while or if the character attached to them gets knocked out. Each summon has a role in its stat screen, but the main ones all have the same role anyway: attacking.
Final Fantasy 7 Remake: How to Get Ifrit
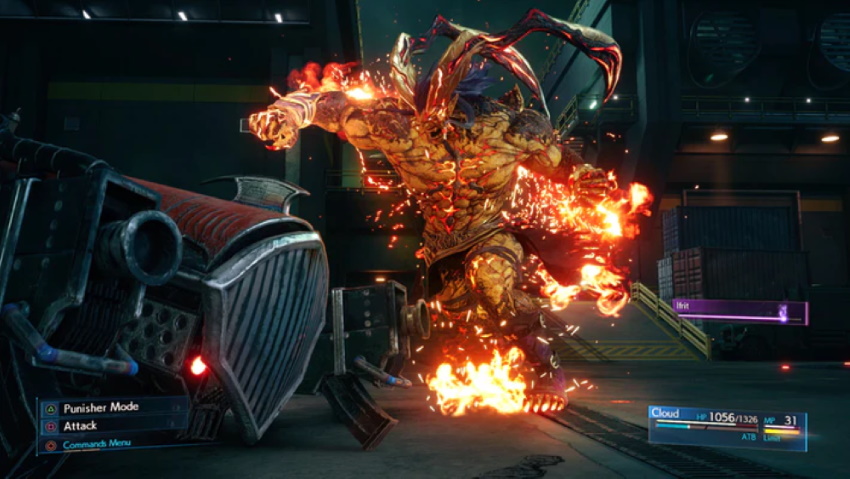
- Role: Damage dealer
- Element: Fire
- Ultimate Attack: Hellfire
Ifrit is the first summon you’ll get in the game, and you don’t have to do anything for it. Jessie gives Ifrit to you around the end of Chapter 3, along with a tutorial for how to equip and use summon Materia.
Final Fantasy 7 Remake: How to Get Chocobo
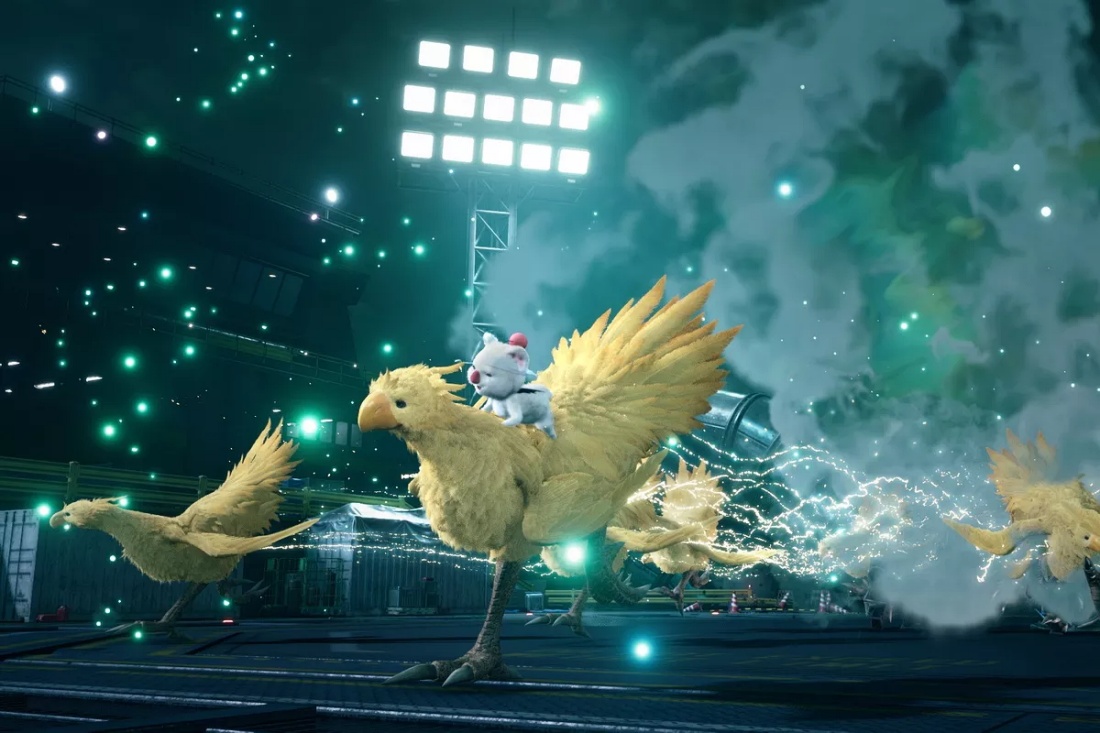
- Role: Damage dealer
- Element: Wind (Chocobo); None (Moogle)
- Ultimate Attack: Stampede (Wind)
The Chocobo summon is actually a dual summon, featuring the adorable Chocobo and Moogle combo shown off in pre-release trailers. You’ll come across it in Chapter 6, but it takes some work to get.
The Chocobo and Moogle summon is in the chapter’s dungeon, in the part where you have to shut lamps off. After you shut the third lamp off, ignore the objective prompt and go past that point to the elevator. Take it down to the ventilation chamber, and get your party ready.
You’ll press a button to turn the fans off — and have one minute to deal with a bunch of lasers (weak to Lightning) and a Gashstrike. It’s weak to ice, so try and make sure you have at least one party member who can deal ice damage and try to inflict Stagger to deal the most damage.
After you’ve cleared the room, go to the terminal to the right of where you entered. Interact with the button by using “Triangle,” and the timer shuts off. Now you can go and grab the red Chocobo summon Materia.
Final Fantasy 7 Remake: Shiva
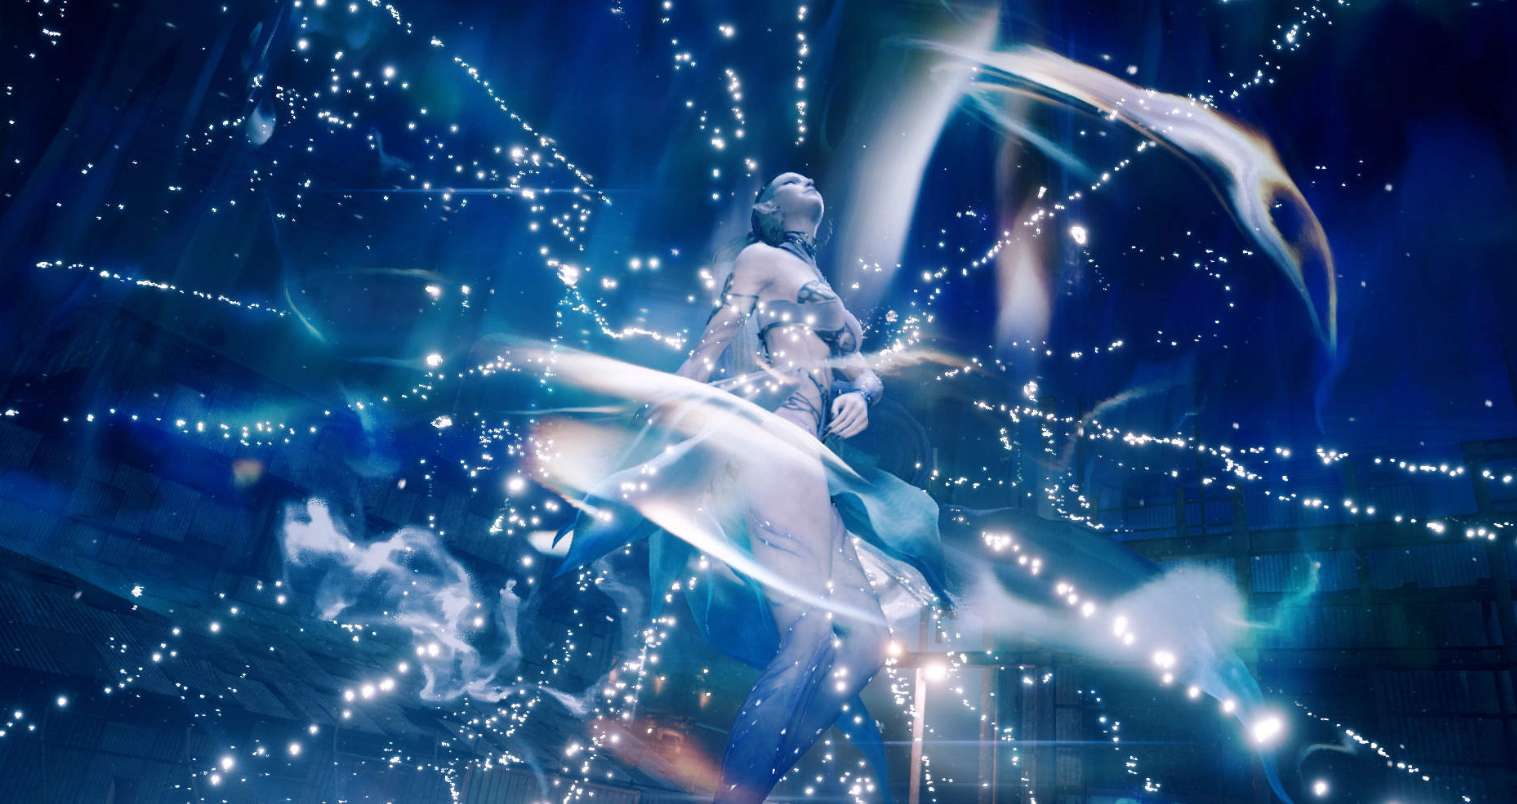
- Role: Damage dealer
- Element: Ice
- Ultimate Attack: Diamond Dust
The remaining summons are obtained in a different way. You’ll need to complete the first four of Chadley’s Battle Reports. These unlock fairly early, once you get to Sector 7’s slums. You’ll need to meet certain requirements in battle to complete each report.
In Chapter 8, Battle Intel Report 5 becomes available. It’s straightforward: defeat Shiva in a VR simulation battle. As you’d expect, Shiva is weak to Fire attacks, so bring those and Ifrit.
Final Fantasy 7 Remake: Fat Chocobo
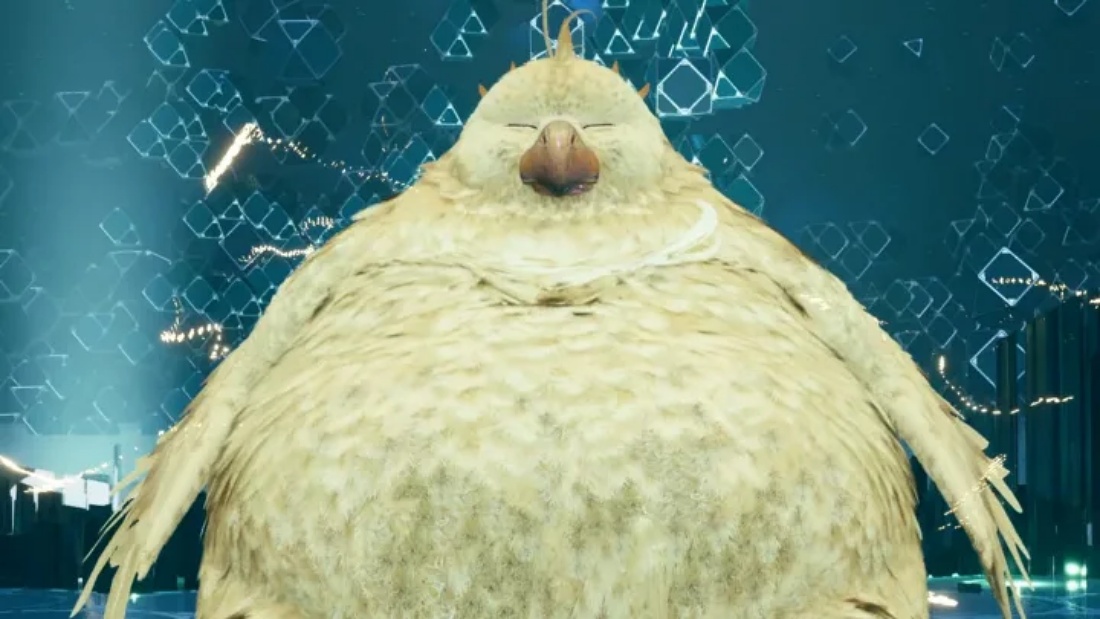
- Role: Damage dealer
- Element: None
- Ultimate Attack: Kerplunk
Next up is Fat Chocobo. You’ll need to complete Battle Intel Reports 6-9 and be in Chapter 9. Chadley accompanies you to Wall Market, so you can access the Battle Intel Reports there. Intel Report 10 is just like the fifth one: face off against Fat Chocobo in a simulated battle.
Fat Chocobo doesn’t have any specific weaknesses. Just try to dodge the slam attack, and bring your best game.
Final Fantasy 7 Remake: Leviathan
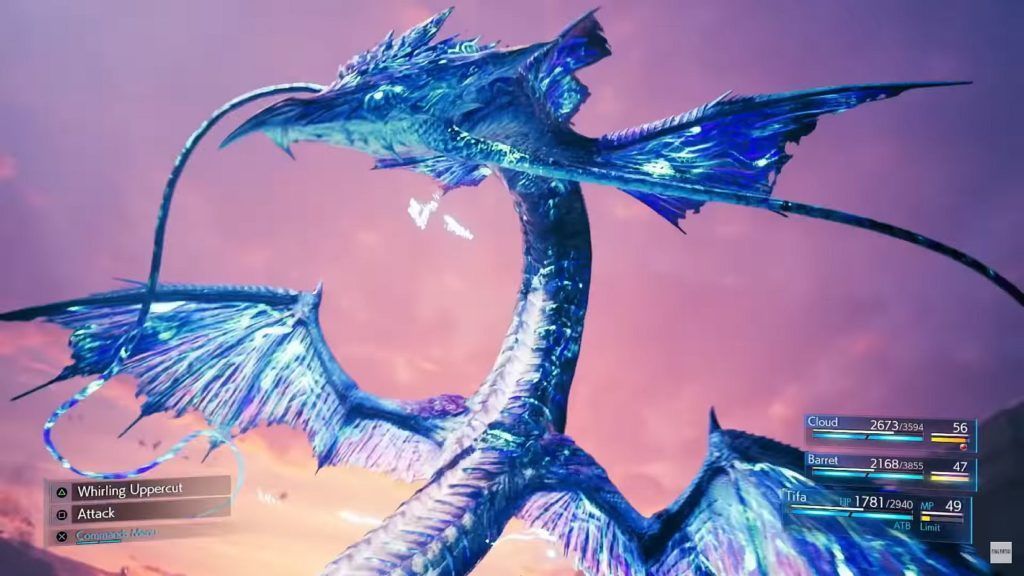
- Role: Damage dealer
- Element: None
- Ultimate Attack: Tidal Wave
Complete Battle Intel Reports 11-14, and Chadley offers Battle Intel Report 15. It’s the same routine as before: fight Leviathan. The main difference this time is that Leviathan is so much stronger than Fat Chocobo.
Leviathan is a water creature, so it’s weak to Lightning (even though it’s officially “non-elemental”). Try to guard when it unleashes its Tidal Wave attack, keep the party’s HP as high as you can at all times, and have at least one party member equipped with Barrier Materia. Tidal Wave is technically a physical attack, so keep that in mind.
Final Fantasy 7 Remake: Bahamut
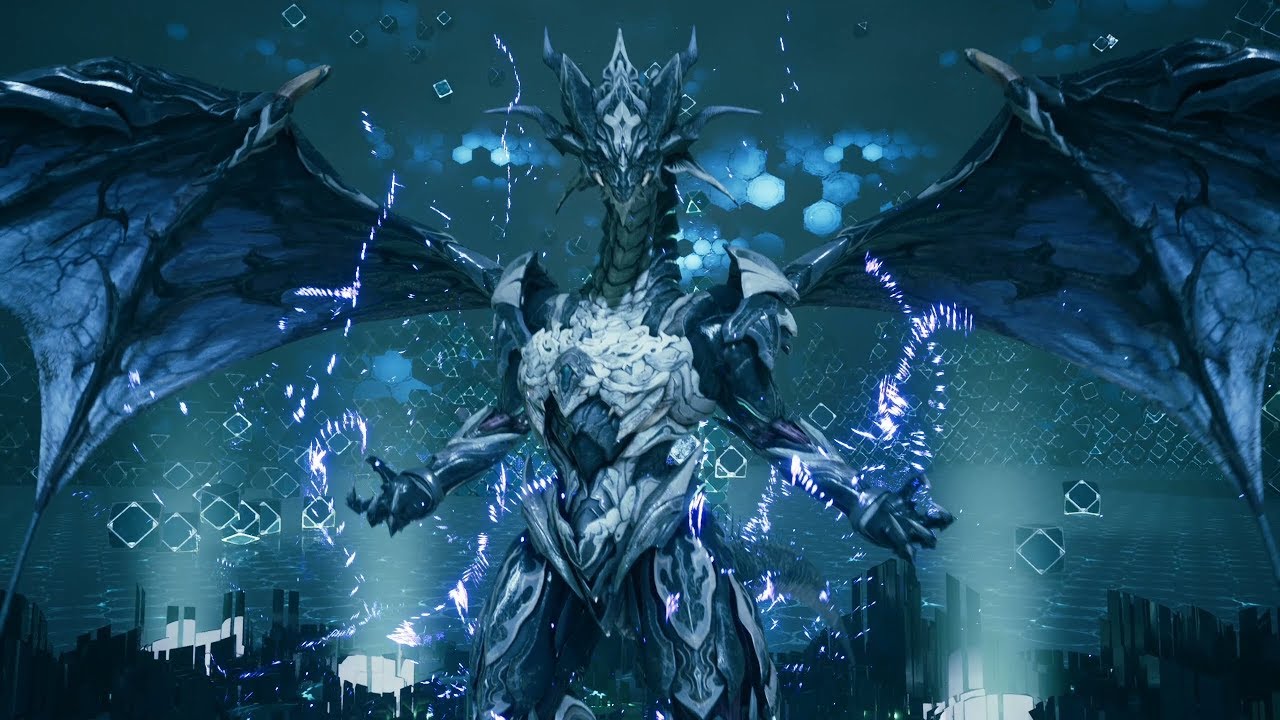
- Role: Damage dealer
- Element: None
- Ultimate Attack: Megaflare
You know the drill already. Complete the next four Battle Intel Reports, and you’ll fight the ultimate Final Fantasy summon: Bahamut. There’s a bit of a twist with this because you’ll need to master most of the game’s Materia and weapon skills.
Once you’ve done that, talk to Chadley again. Definitely have Barrier Materia equipped for this fight, and make sure you’re using Aerith’s Pray ability to restore the party’s HP; that’s the best bet to surviving Megaflare. Otherwise, fight hard, and you’ll eventually take Bahamut down.
—
That’s it for our Final Fantasy 7 Remake summons guide. Stay tuned to GameSkinny for our Final Fantasy 7 Remake review, and check out our other Final Fantasy 7 Remake guides too, including:
- Final Fantasy 7 Remake: How to Get Each Bridal Candidate Outfit
- Final Fantasy 7 Remake Lost Friends Cat Locations


Published: Apr 11, 2020 04:08 pm