Once you get the scissors and cut the police tape in Hello Neighbor 2 Act 1, you’ll be able to access the second story of Peterson’s house. Here, you’ll be met with two additional puzzles that reward two more keys to the red door leading to the basement. One of these is the photo frame puzzle (not to be confused with the painting combination lock downstairs), one of the more involved tasks to complete on Day 1. Here’s how to solve it.
This guide is part of our larger Hello Neighbor 2 Act 1 walkthrough. If you’re looking for more puzzle solutions and tips for navigating Peterson’s house and the surrounding areas on Day 1, head right over here.
How to Solve the Photo Frame Puzzle
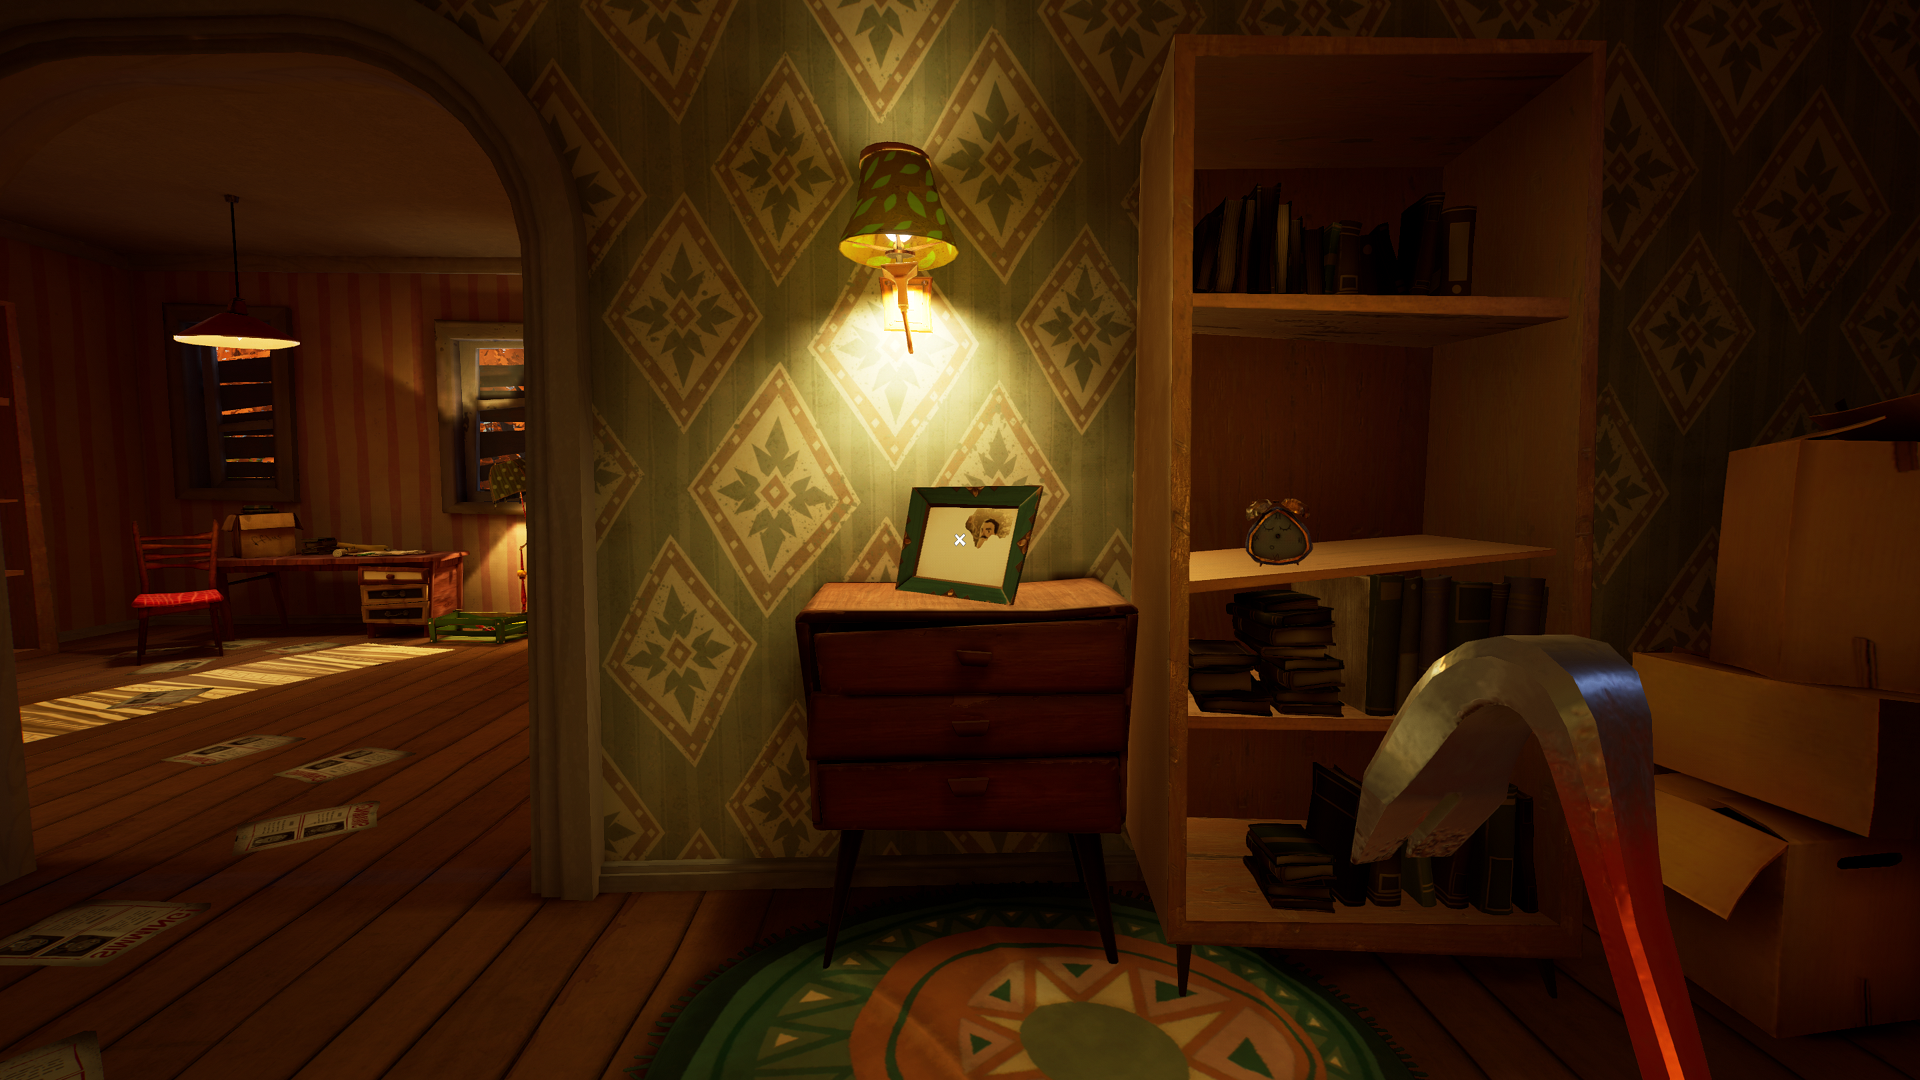
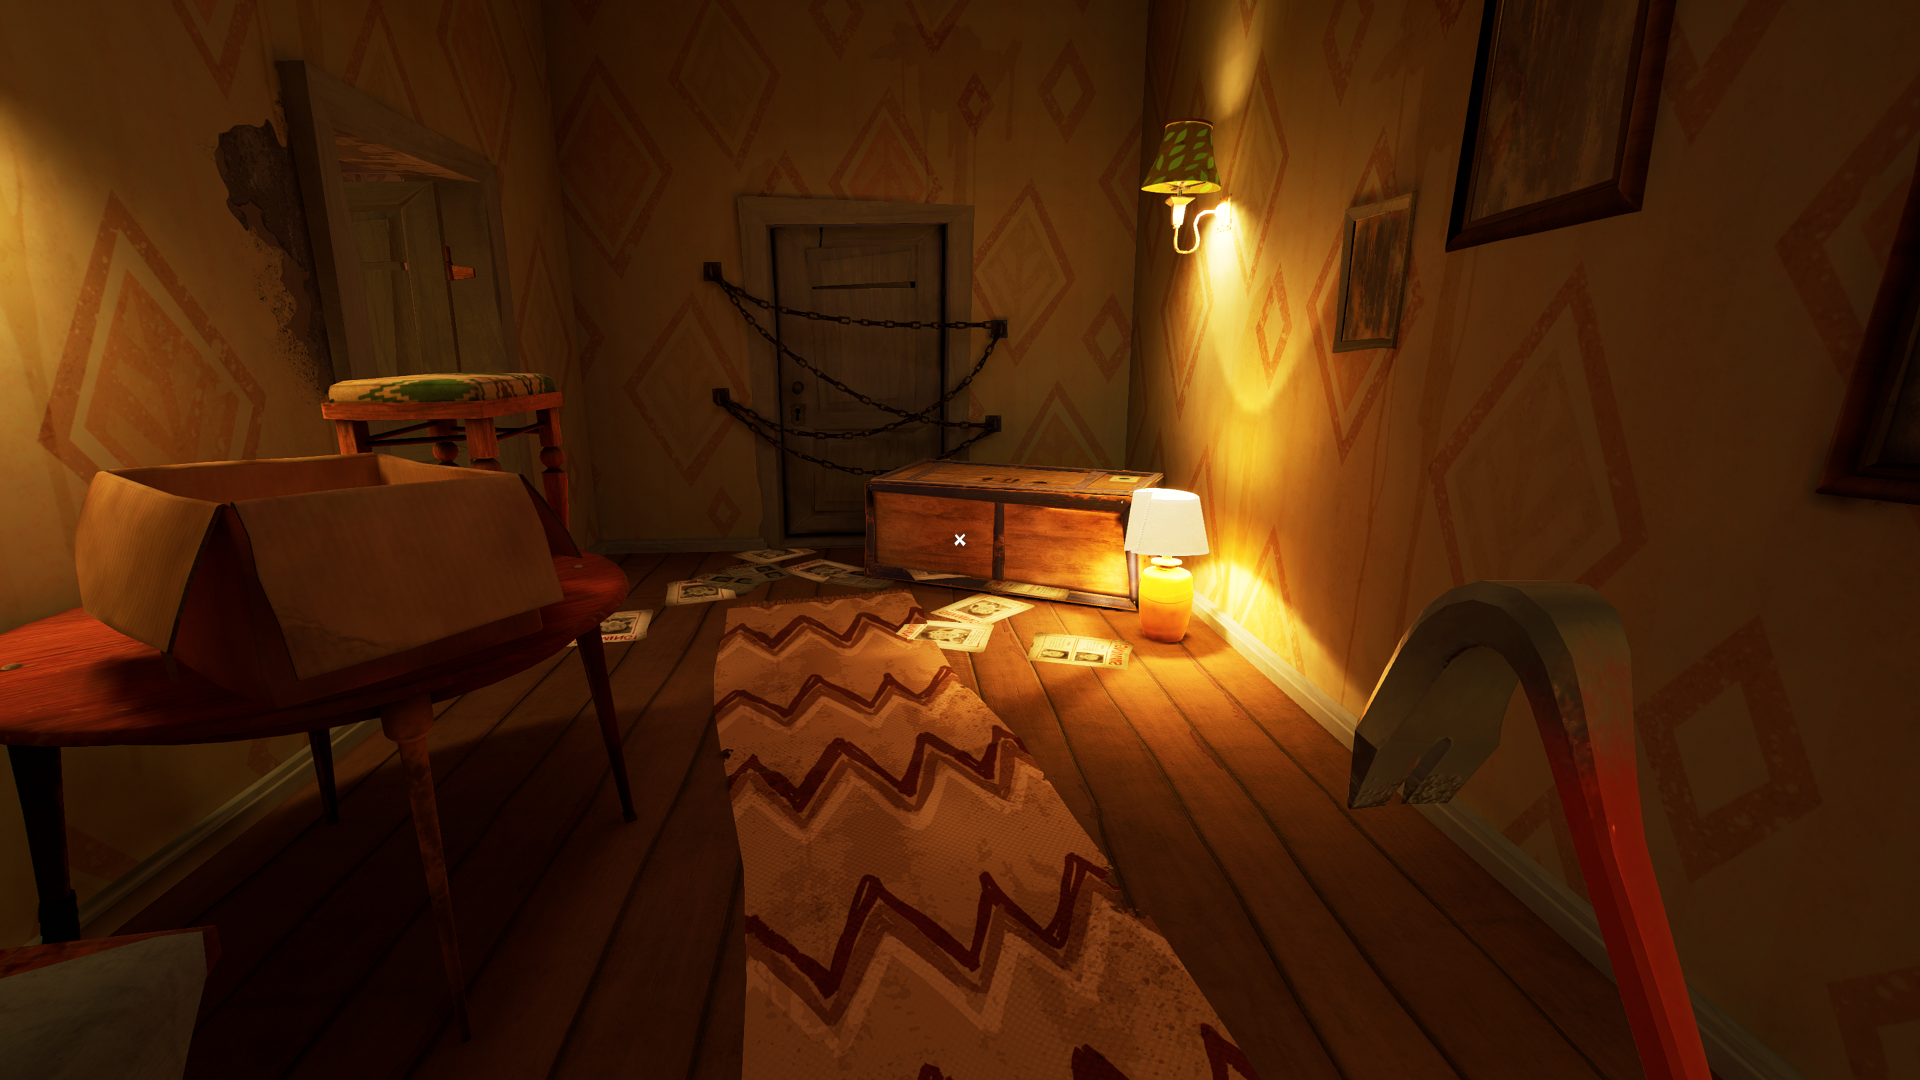
You’ll find the photo frame — not to be confused with the picture frame hiding the combination lock on the first floor — in the second-story bedroom of Peterson’s house; it’s the room with the bookshelf and hidden space concealing the battery for the toy race car. If you don’t know where that is, it’s the room at the top of the stairs to the left.
Inside the room, go right toward the sofa and chairs, then go right through the archway, and turn left to find the photo frame on a table by a tall shelf and cardboard boxes.
Solving this puzzle requires you to find four picture pieces scattered around the top floor. But before we go over their locations, you’ll need to get the weight for a pressure plate later on.
How to Get the Weight for the Pressure Plate
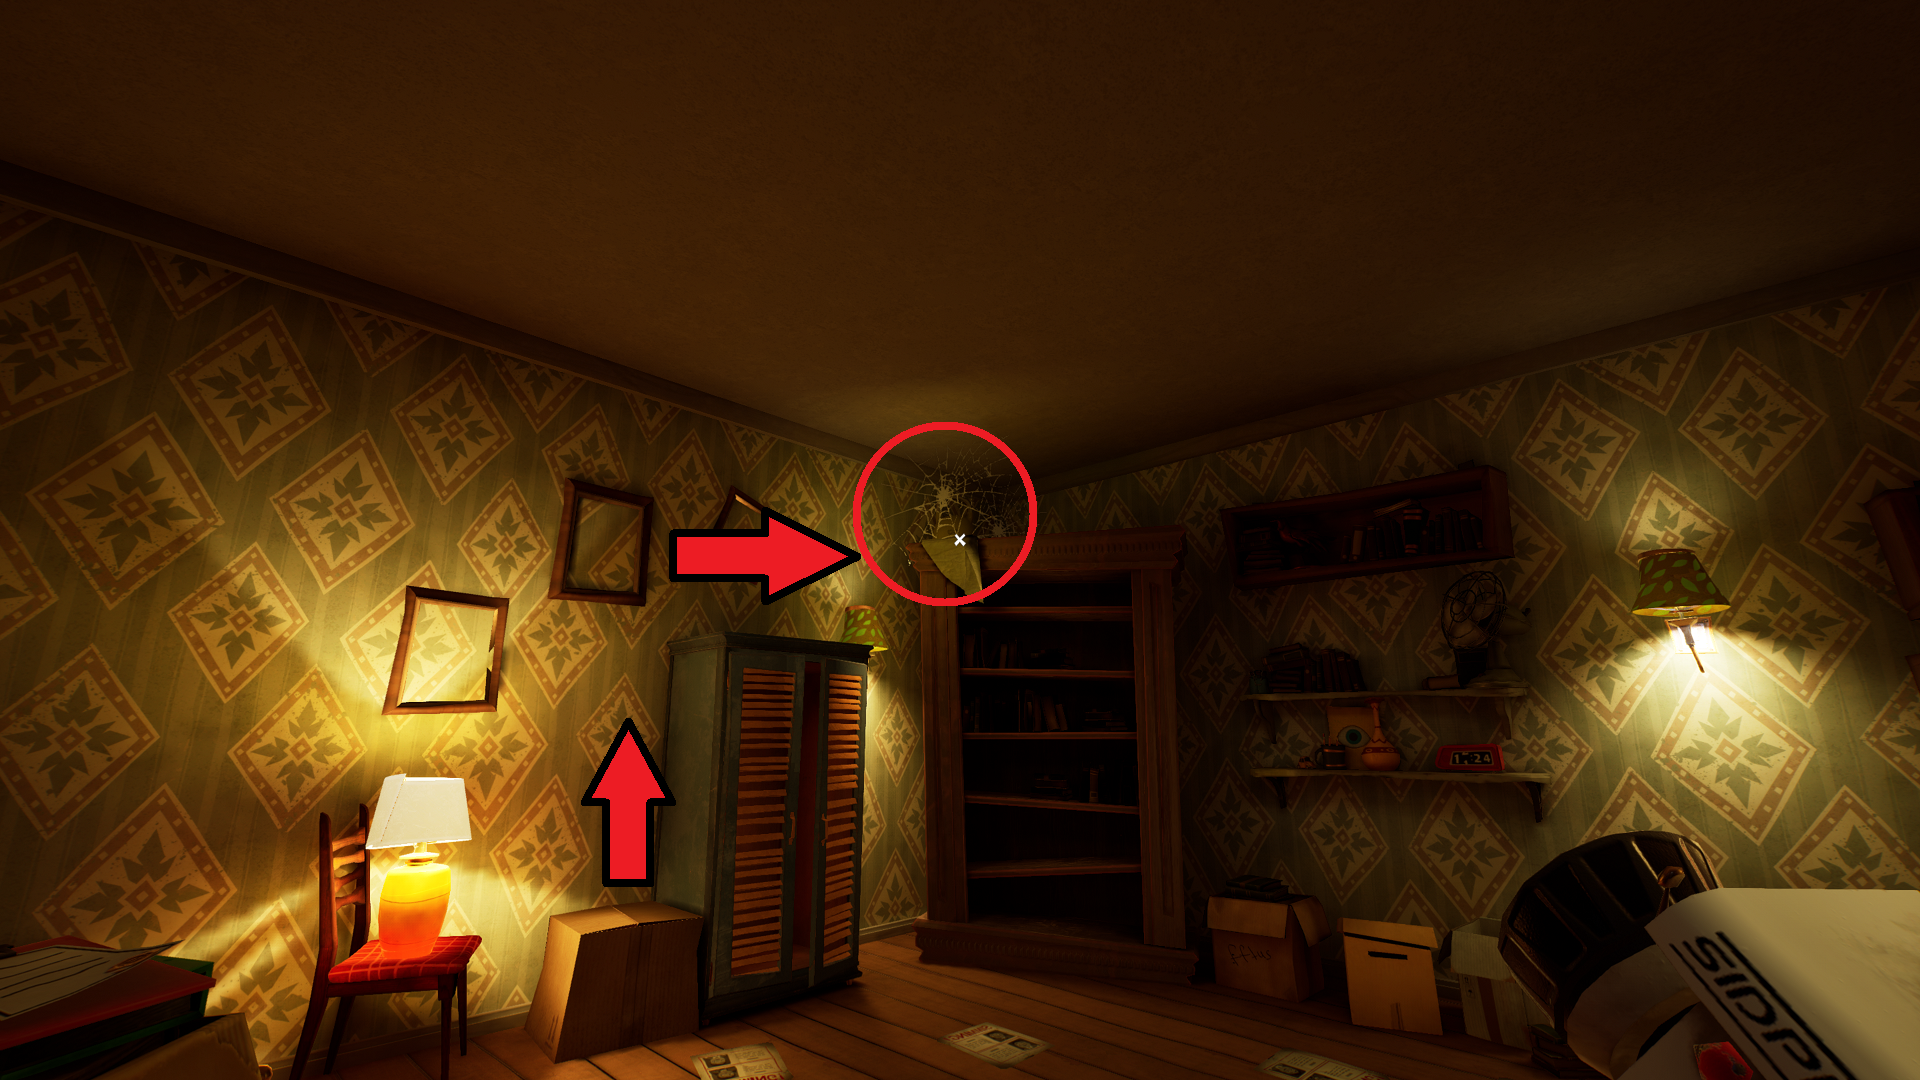
Go to the back of the bedroom with the photo frame, and climb on top of the hiding cabinet in the back of the room by the lamp on the chair near the cardboard box. You’ll see some spiderwebs covering an object on top of the large, brown shelving unit in the back right corner. Use the scissors to cut those away and grab the weight.
Where to Find All Picture Pieces
Picture Piece 1 Location
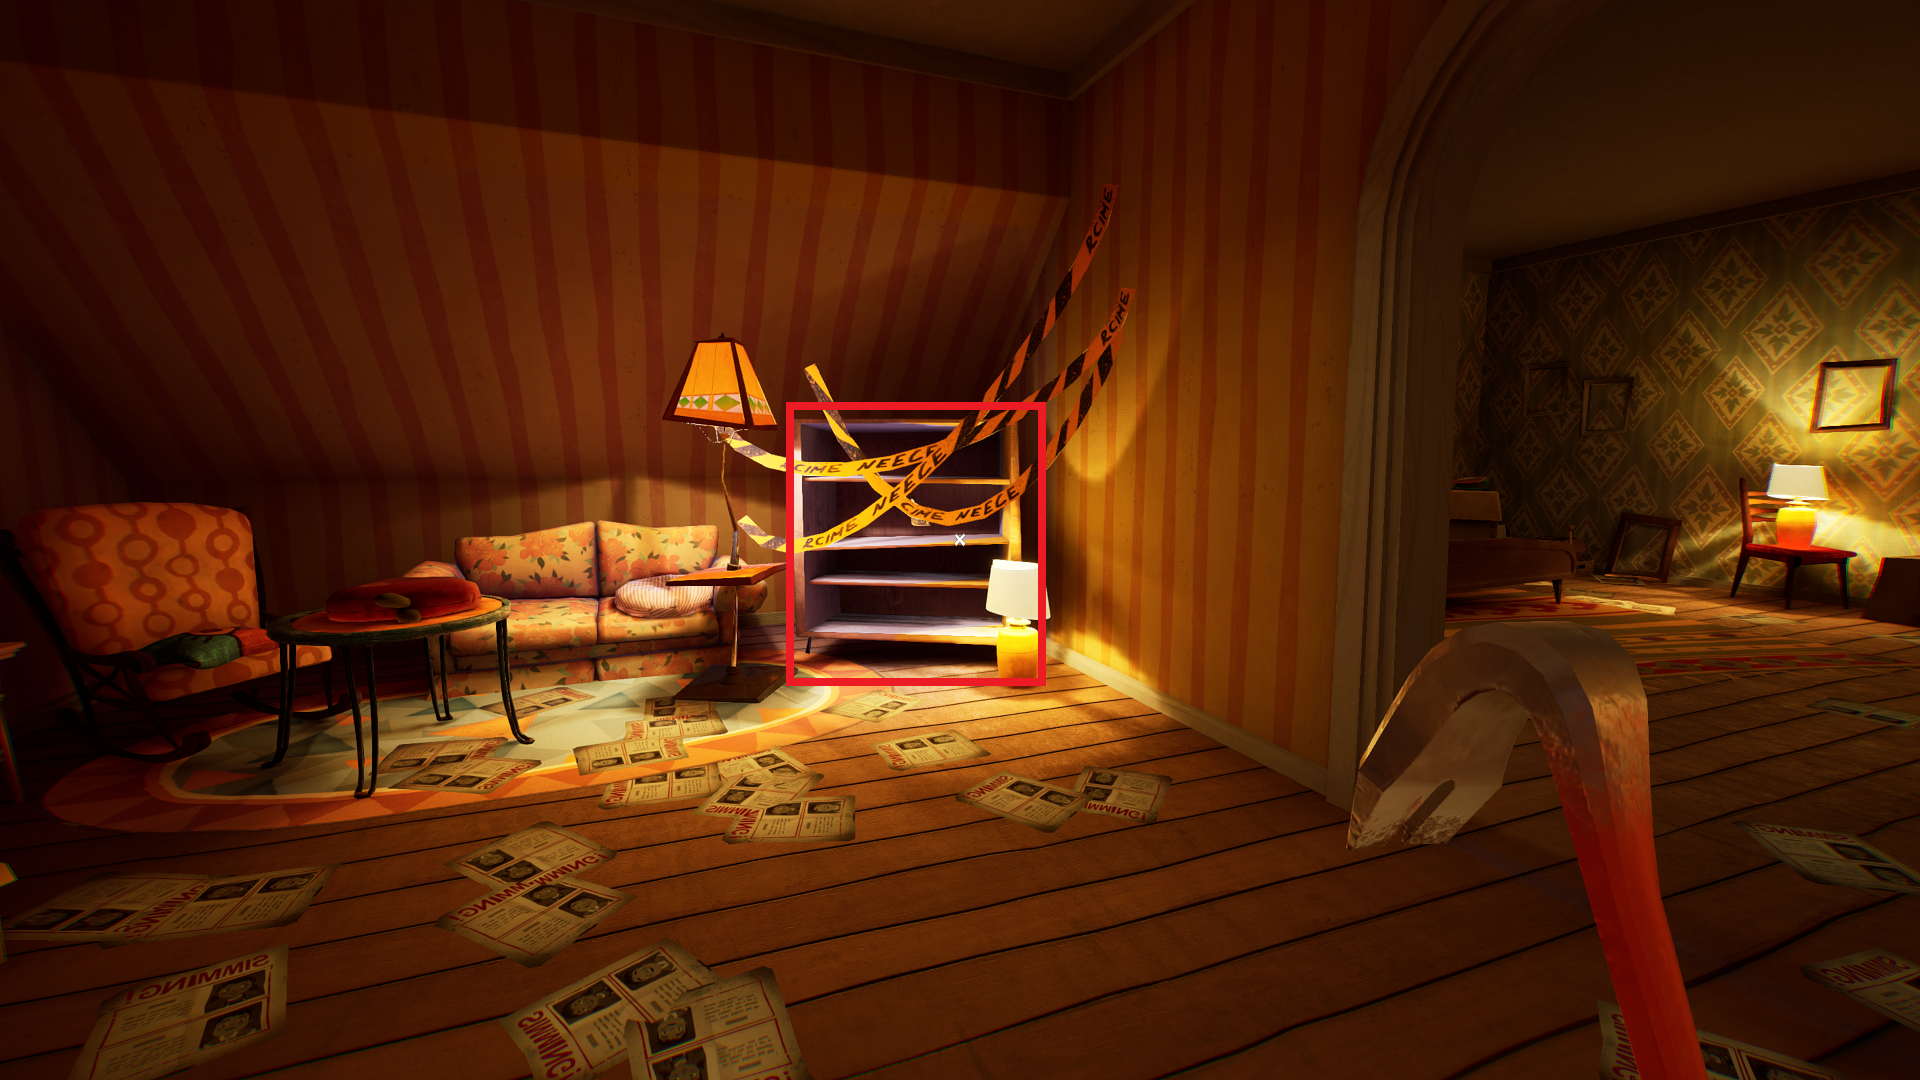
With the weight in your possession, drop down and exit the bedroom through the archway by the photo frame. On the other side, stop and turn right. Cut the police tape on the blue shelf to grab the picture piece.
Picture Piece 2 Location
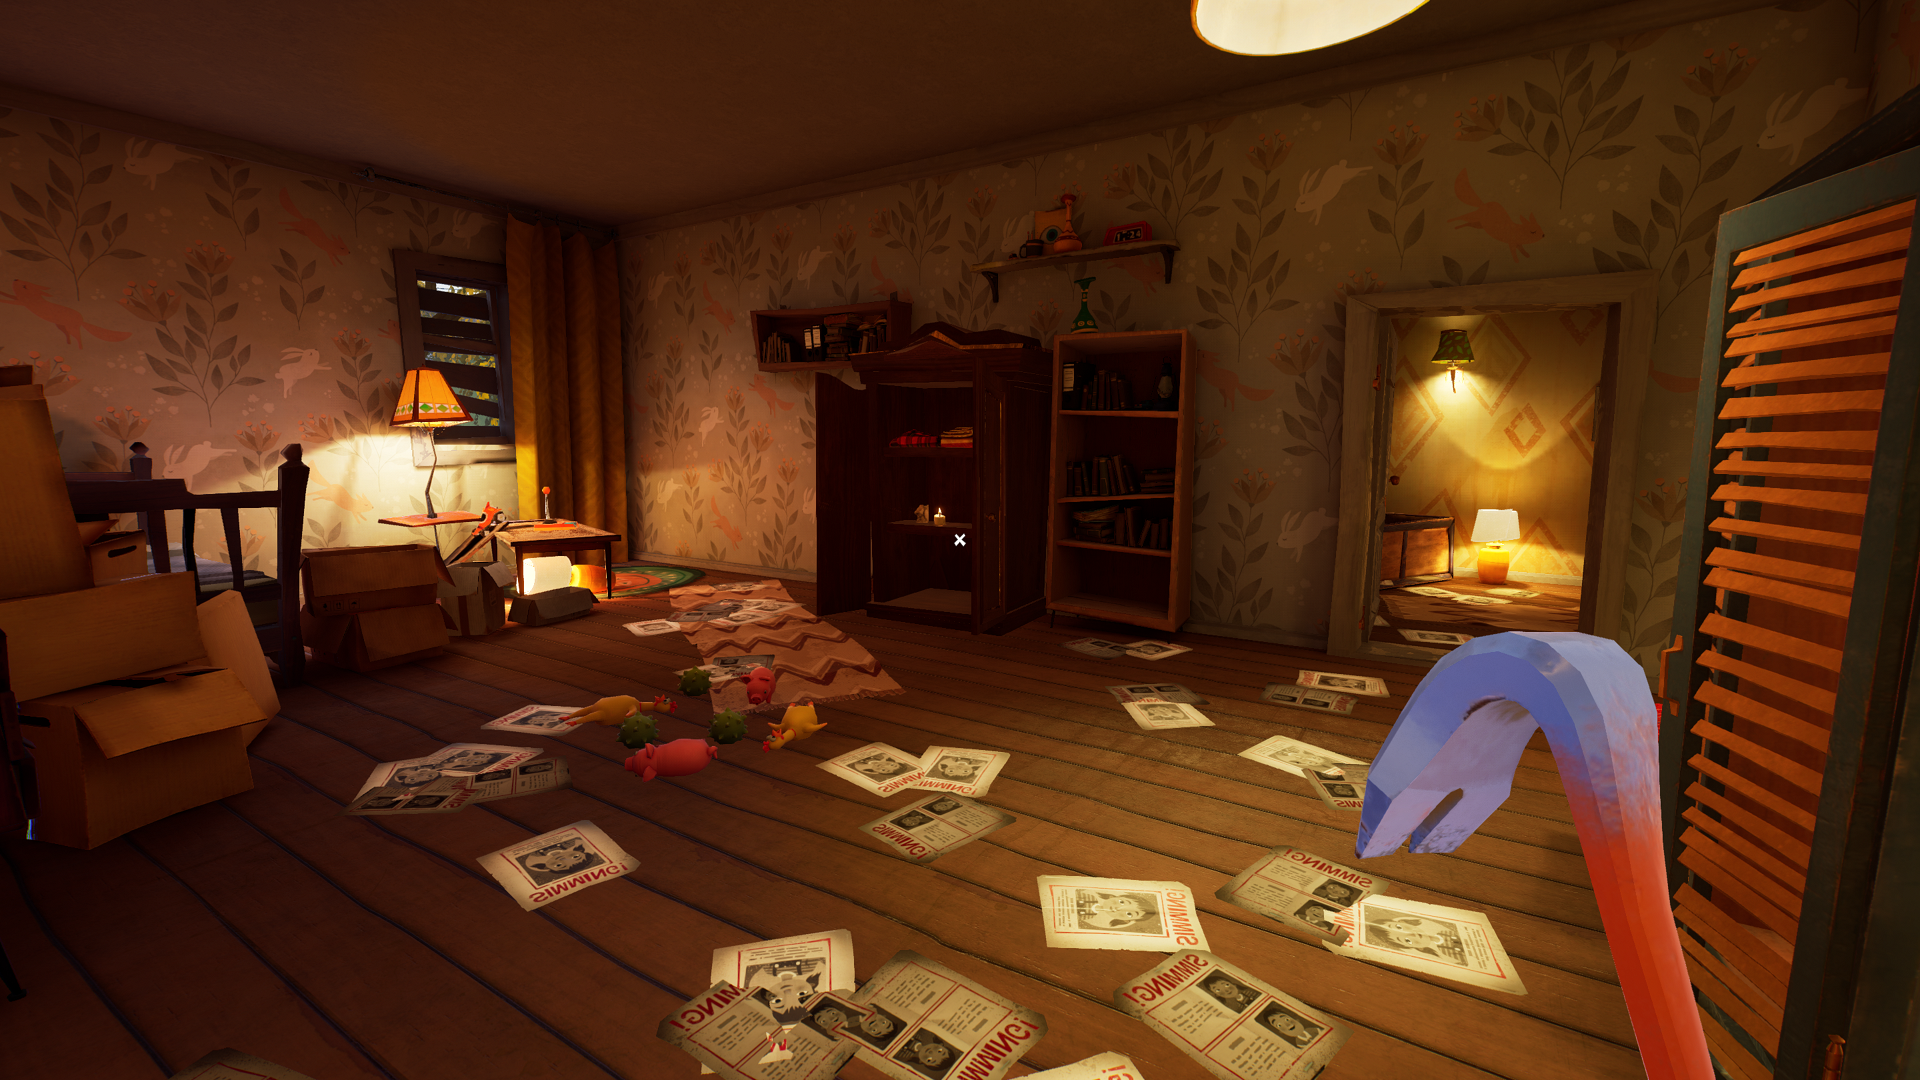
Now leave this room entirely, and go down the hall toward the second bedroom on this level (the one with the toy race car). Don’t go in just yet. Instead, use the crowbar to open the large crate at the end of the hall for the second picture piece.
Picture Piece 3 Location
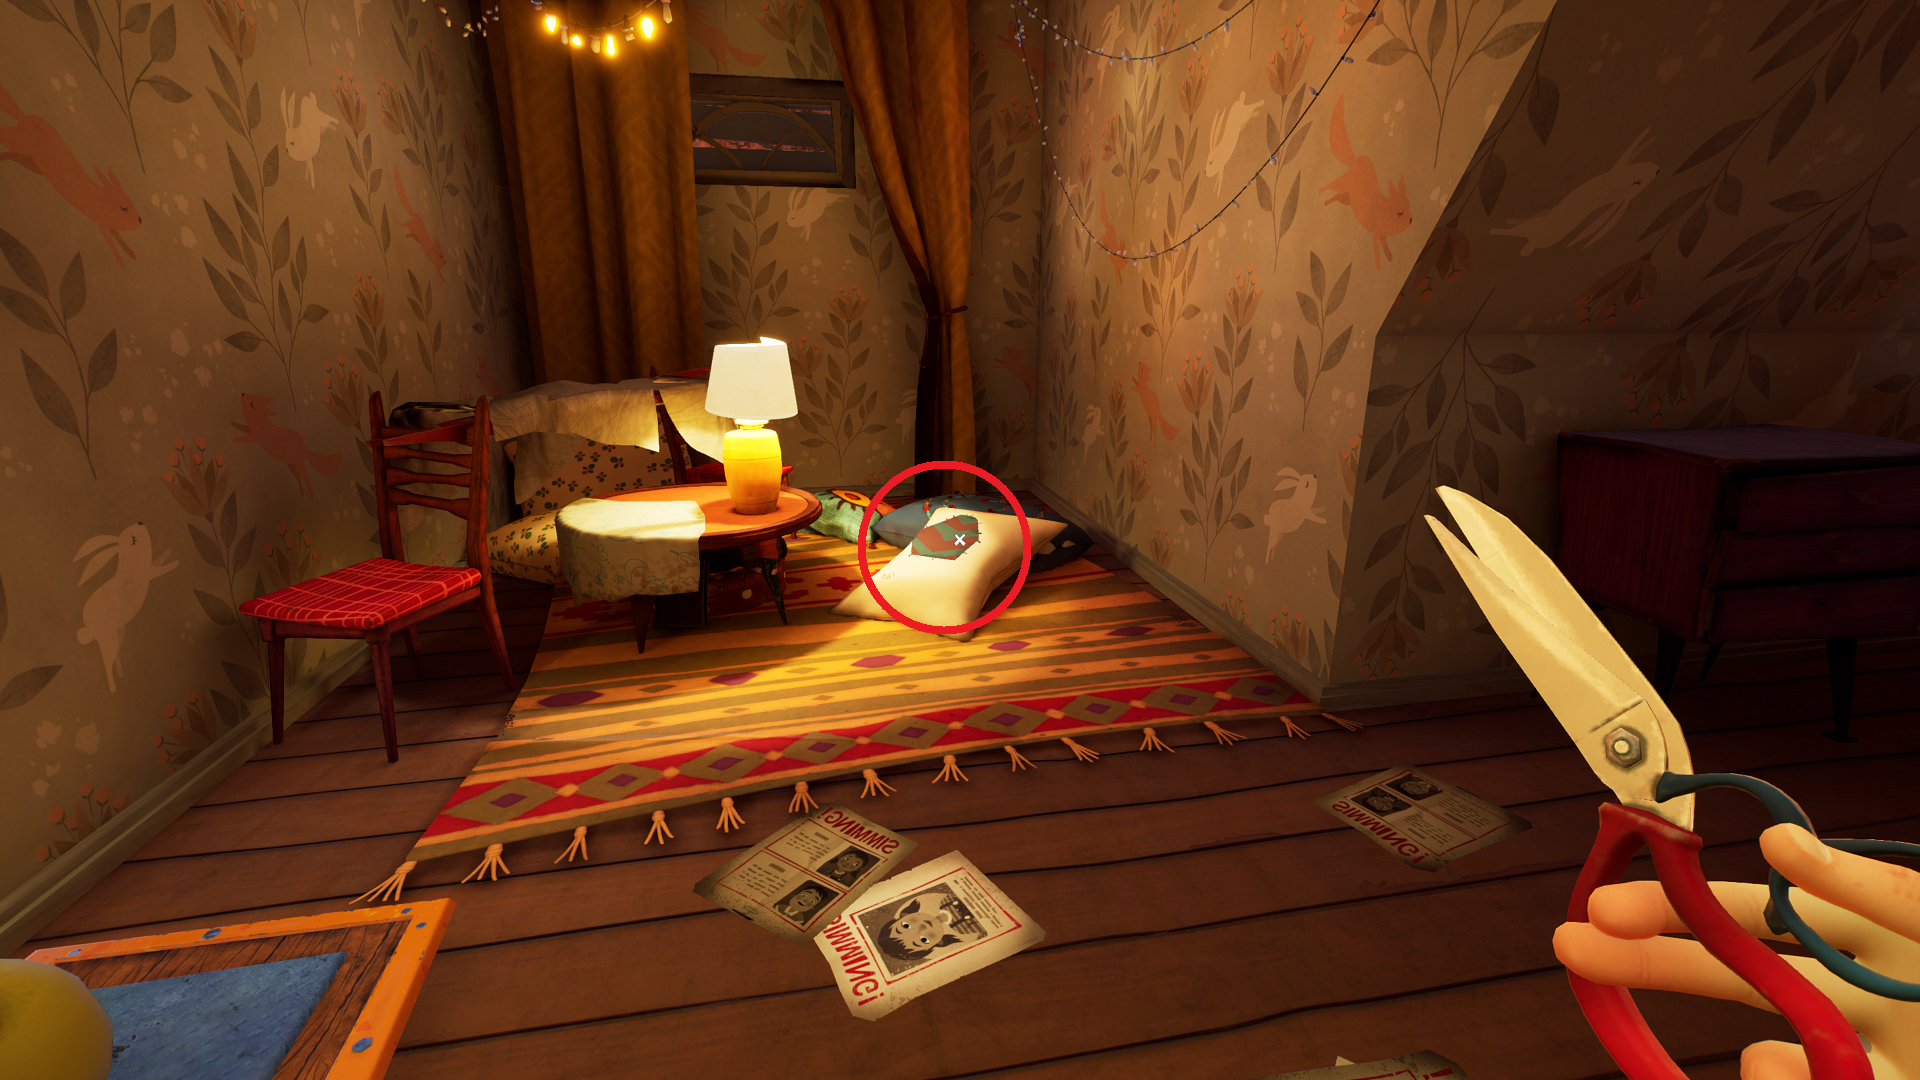
Now enter the bedroom. You’ll see a pillow fort in front of you on the far side of the room. Look for the white pillow with the grey and green striped patch on it. Cut it open with the scissors for the third of four picture pieces.
Picture Piece 4 Location
Standing on the pressure plate.
From the pillow, turn left. You’ll see a blue and orange pressure plate on the floor near a shelf. Place the weight on the pressure plate, which will open a cabinet on the opposite side of the room by the race car track. Inspect it for the fourth picture piece.
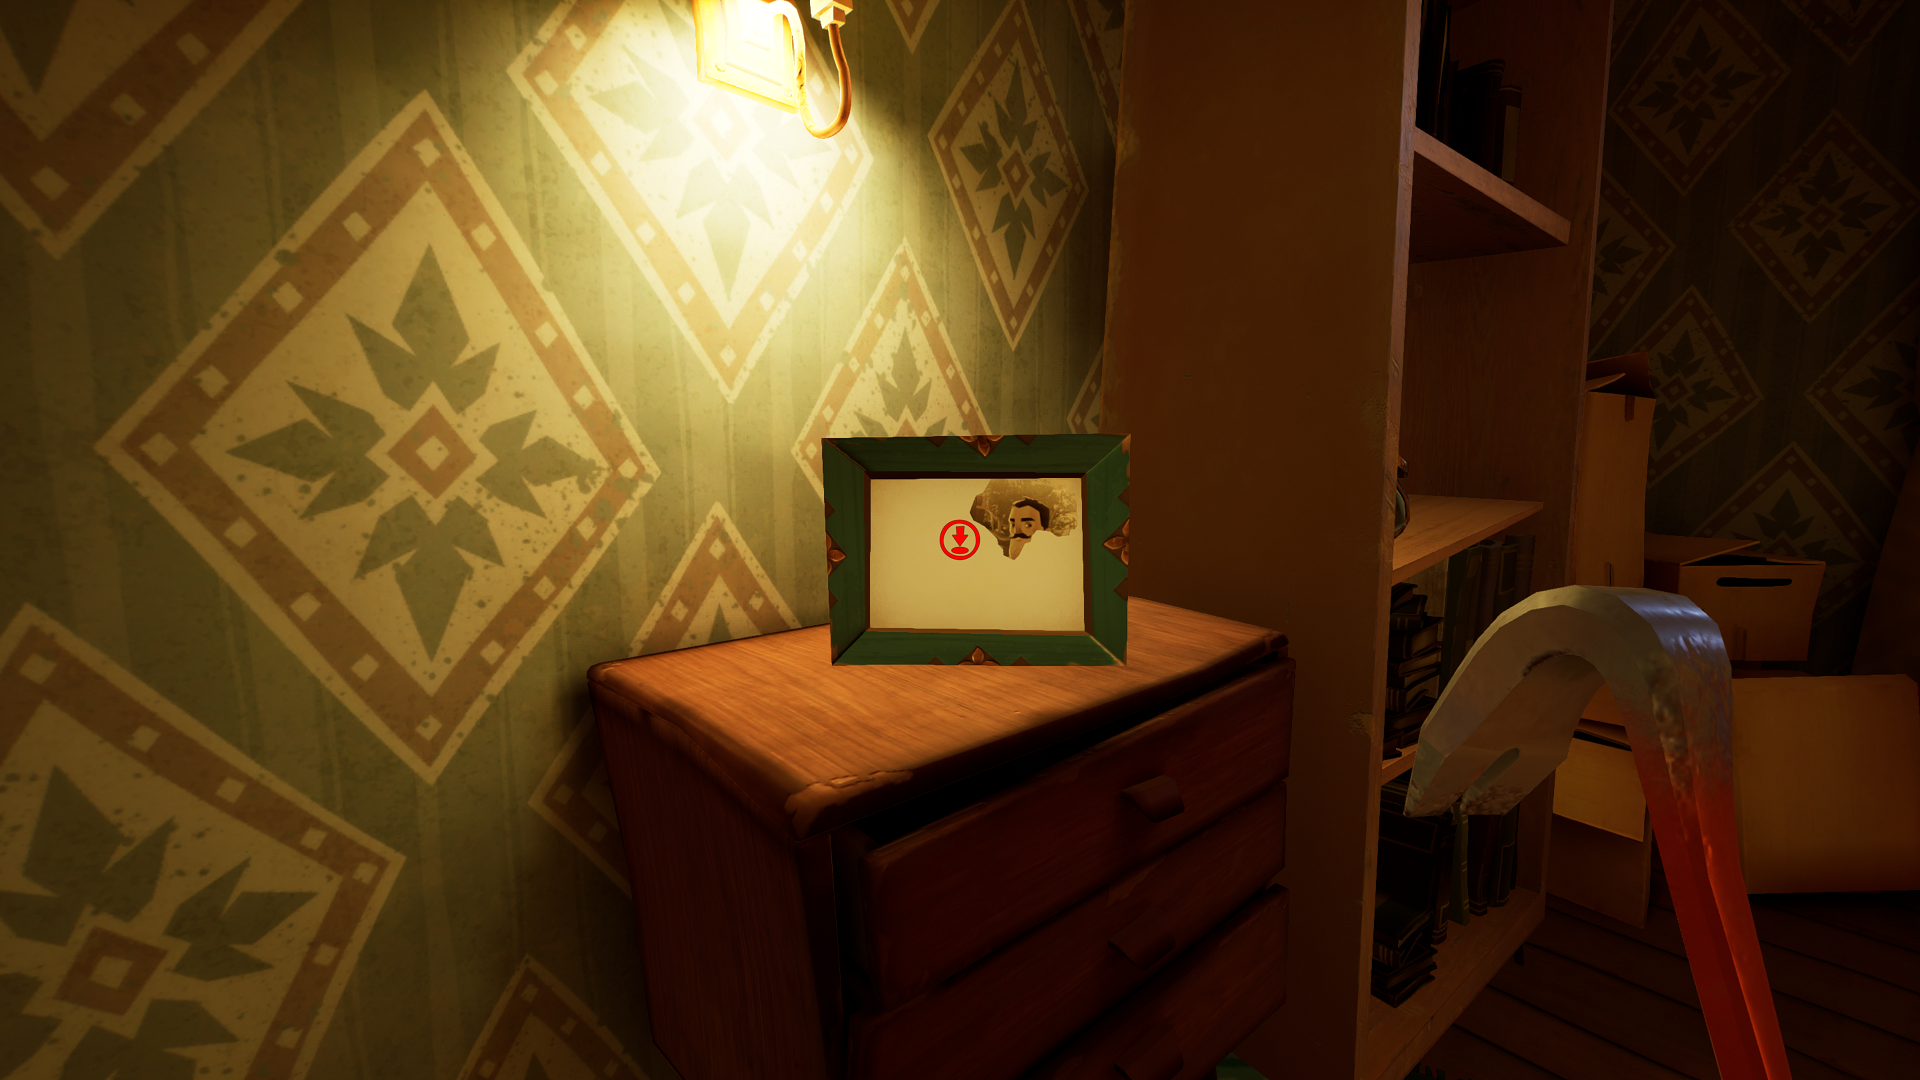
Return to the bedroom with the photo frame, and place all four picture pieces into the frame. A secret compartment will open in the shelf to the right of the photo frame, giving you another key for the locked red door to the basement. For more, head over to our Act 1 safe code guide or our guide on how to solve the dollhouse puzzle.


Published: Dec 8, 2022 05:01 pm