No boss in Elden Ring is easy, but Elemer of the Briar and his shades, the Bell Bearing Hunters, are some of the toughest unless you know the secrets of how to beat them. You still need to understand his attacks and openings, but once you do, he’s relatively simple to defeat.
How to Beat Elemer of the Briar in Elden Ring
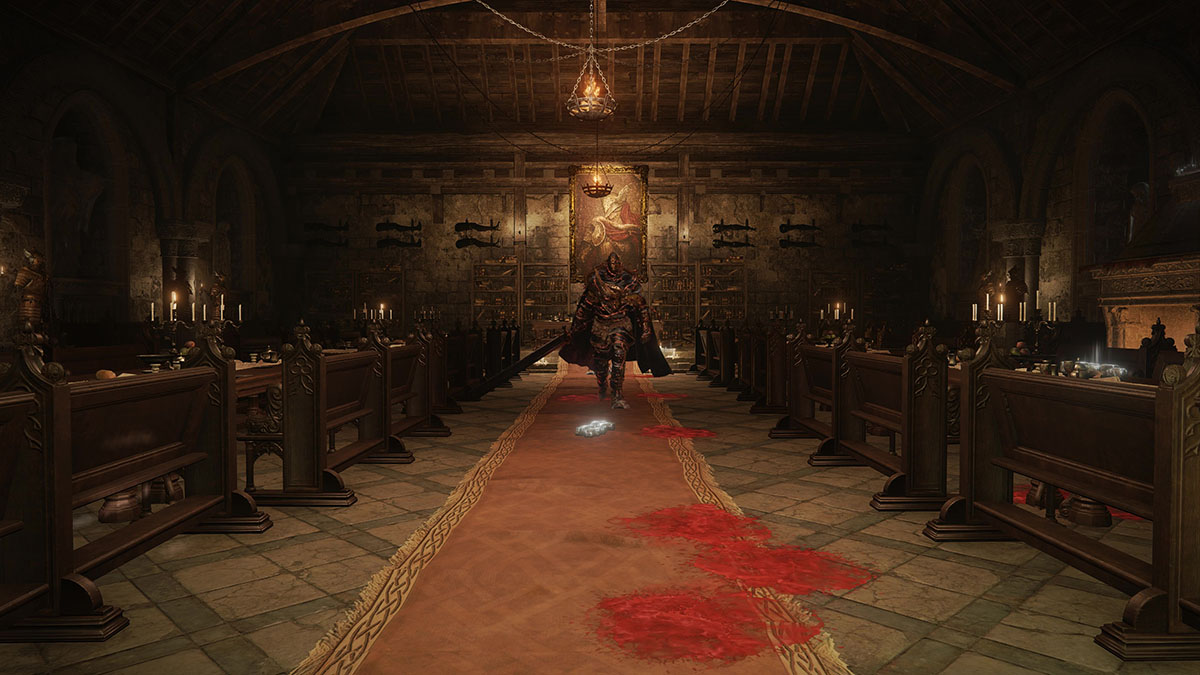
Here’s the secret to beating Elemer of the Briar and the Bell Bearing Hunter world bosses in Elden Ring: stay up in their faces. These bosses’ attacks are meant to punish dodge rolling in a panic and trying to stay far away to cast spells or heal. His sword, the Marais Executioner’s Sword, has the ability to leave his hand and still be under his control at a distance, giving its attacks a much longer range than the blade’s length would show.
Here’s the kicker, though: if you stay close to Elemer, any of his ranged attacks with the sword will leave his main body completely defenseless for a few seconds while the animation completes. He will do one final slash after recalling the blade from range, but if you get the timing down, you’ll be well out of the way before that happens.
Elemer’s other attacks also have a long range, and once you know the dodge timing, they’re essentially free damage. If you’re fighting the Bell Bearing Hunter in Greyoll’s Dragonbarrow or even Altus Plateau, the boss still does a ton of damage and will make you pay for a single mistake.
All of Elemer of the Briar and Bell Bearing Hunter Attacks in Elden Ring
Unlike many of the other bosses in Elden Ring, Elemer of the Briar and his Bell Bearing Hunter shades only have a single phase. He does have a hefty amount of attacks, but you don’t need to go through the hardship of learning two separate fights to beat him.
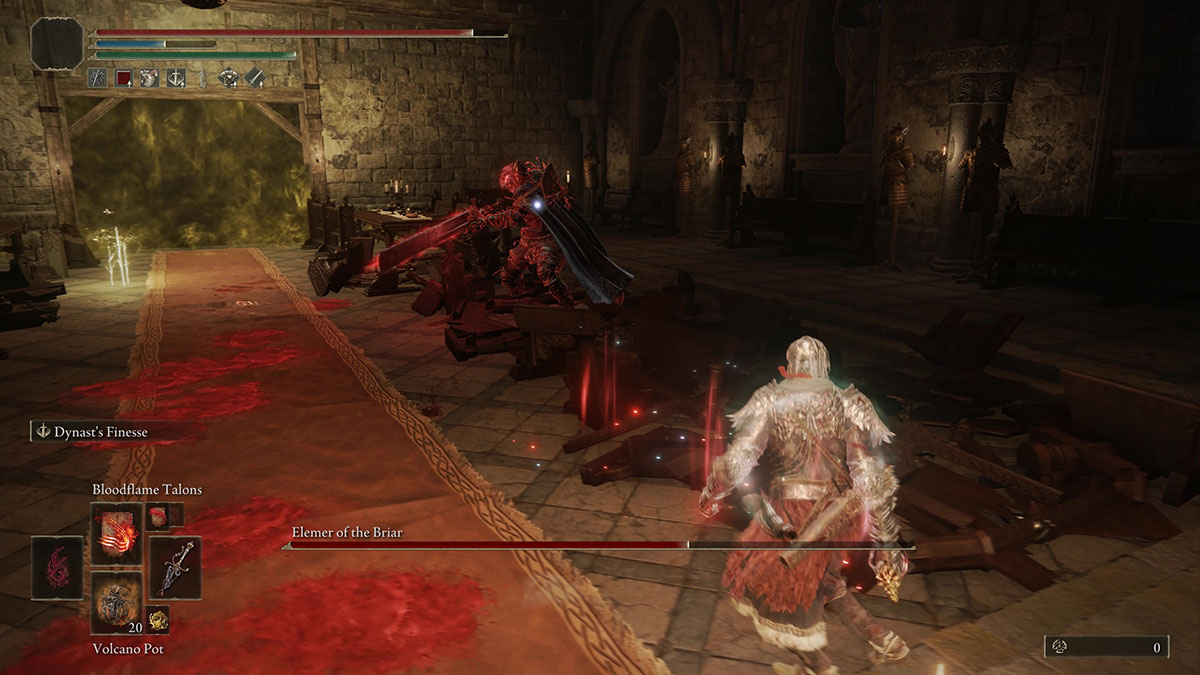
Attack 1: Double Red Swing and Recall
One of Elemer’s keystone attacks involves pulling the weapon across his chest, briefly charging it with red energy, and swinging it twice across the arena (or field). If you roll into the attack just before the first swing hits, you have about two seconds to make a heavy attack or several light attacks. When he recalls the blade, he makes a quick slash across his chest, so be careful.
Attack 2: Energy Grab
After an absurdly long windup, Elemer sends out a medium-range wave of energy that lets him grab you if it lands. The subsequent attack deals an equally absurd amount of damage. To avoid getting grabbed, you either need to be behind some cover, far enough away or master timing the dodge on the patience-testing windup.
Attack 3: Two-Handed Slam
This simple attack sees Elemer raise his sword above his head, grab it with both hands and slam it down in front of him. The attack has mild tracking, but it lacks any range augmentation or other special properties. Simply backing away is enough to avoid it. You can also dodge to the side just before the sword comes down.
Attack 4: Double Slash into Triple Energy Slash
One of the longest attack strings in Elemer’s repertoire, this attack is used mostly at close range. The attack stars switch Elemer, raising his sword one-handed above his head and then slashing twice in front of him. He then pulls the sword back, channels red energy, and stabs forward. The stab leads into a three-hit energy slash combo, also at close range. Once the combo starts, you can dodge backward to avoid most of the attacks.
Attack 5: Shield Slam and Optional Second AoE
Elemer stops, stands, and grabs his shield from his back before slamming it down. If you stay close to him, he’ll also generate a small red energy AoE you’ll need to avoid. Dodging or backing away lets you avoid this attack altogether.
Attack 6: Shield Rush
Whenever you’re a bit too far away, Elemer will turn his back and shield to you, then rush forward, attempting to slam both the shield and his shoulder into you. The charge has a deceptively long range, and the hitbox lingers a bit after Elemer stops moving. I suggest getting out of the way.
Attack 7: Single Slash into Single Energy Slash
In one of Elemer’s simpler attacks, he makes a slow, one-handed slash followed by a slightly faster red energy slash. You’ll see this one coming as Elemer doesn’t grasp his sword with two hands. You can dodge and roll backward to avoid the attack, or you can run away if you see it fast enough.
Attack 8: Triple Energy Slash
Elemer pulls his weapon back like he’s going to stab, then quickly makes three slashes at medium range in front of him. You can avoid the attack in the same way as most of his energy slashes: get close, dodge the first one, and then get some damage in.
Attack 9: The Drill
Yes, Elemer can use the Marais Executioner’s Sword Ash of War, and his is better than yours. Not only does the attack have strong tracking, but it has a frightening amount of range, as well. Lower-level characters that get hit by one tick of the drill are likely to lose at least half their health, if not more. However, if you dodge right before the attack comes out, you’ll just be able to avoid it.
Once you learn all of Elemer’s attack patterns, you’ll quickly understand that all of them have fairly long recovery times, giving you plenty of opportunity for damage. You can parry most of Elemer’s sword attacks as well, so if you’re good at that mechanic, you can trivialize the fight even more. After that, it’s just a matter of dealing damage until Elemer falls.
For more Elden Ring content, check out our guides hub.


Published: Mar 22, 2024 11:41 am