Capcom keeps on rolling out new Monster Hunter: World missions for us PC players—we’re almost caught up to the console crowd now! The massive purple Behemoth from Final Fantasy is our guest star in this latest episode. There’s good news, and more good news: he can be turned into some pretty sweet gear, and he’s not as aggravating as some of the other monsters we’ve seen lately.
That doesn’t mean he’s a cakewalk, though. You’ll still need a plan to take him down. Lucky for you, we’ve come up with a pretty solid one.
Chasing Cactuars
Much like Lunastra, you’ll first need to get the Behemoth to show himself; he’s a little shy. As long as you’re at least Hunter Rank 16, the Serious Handler in Astera should have a quest for you called “A Visitor from Another World.” Head out to the Wildspire Wastes and start chasing Cactuars.
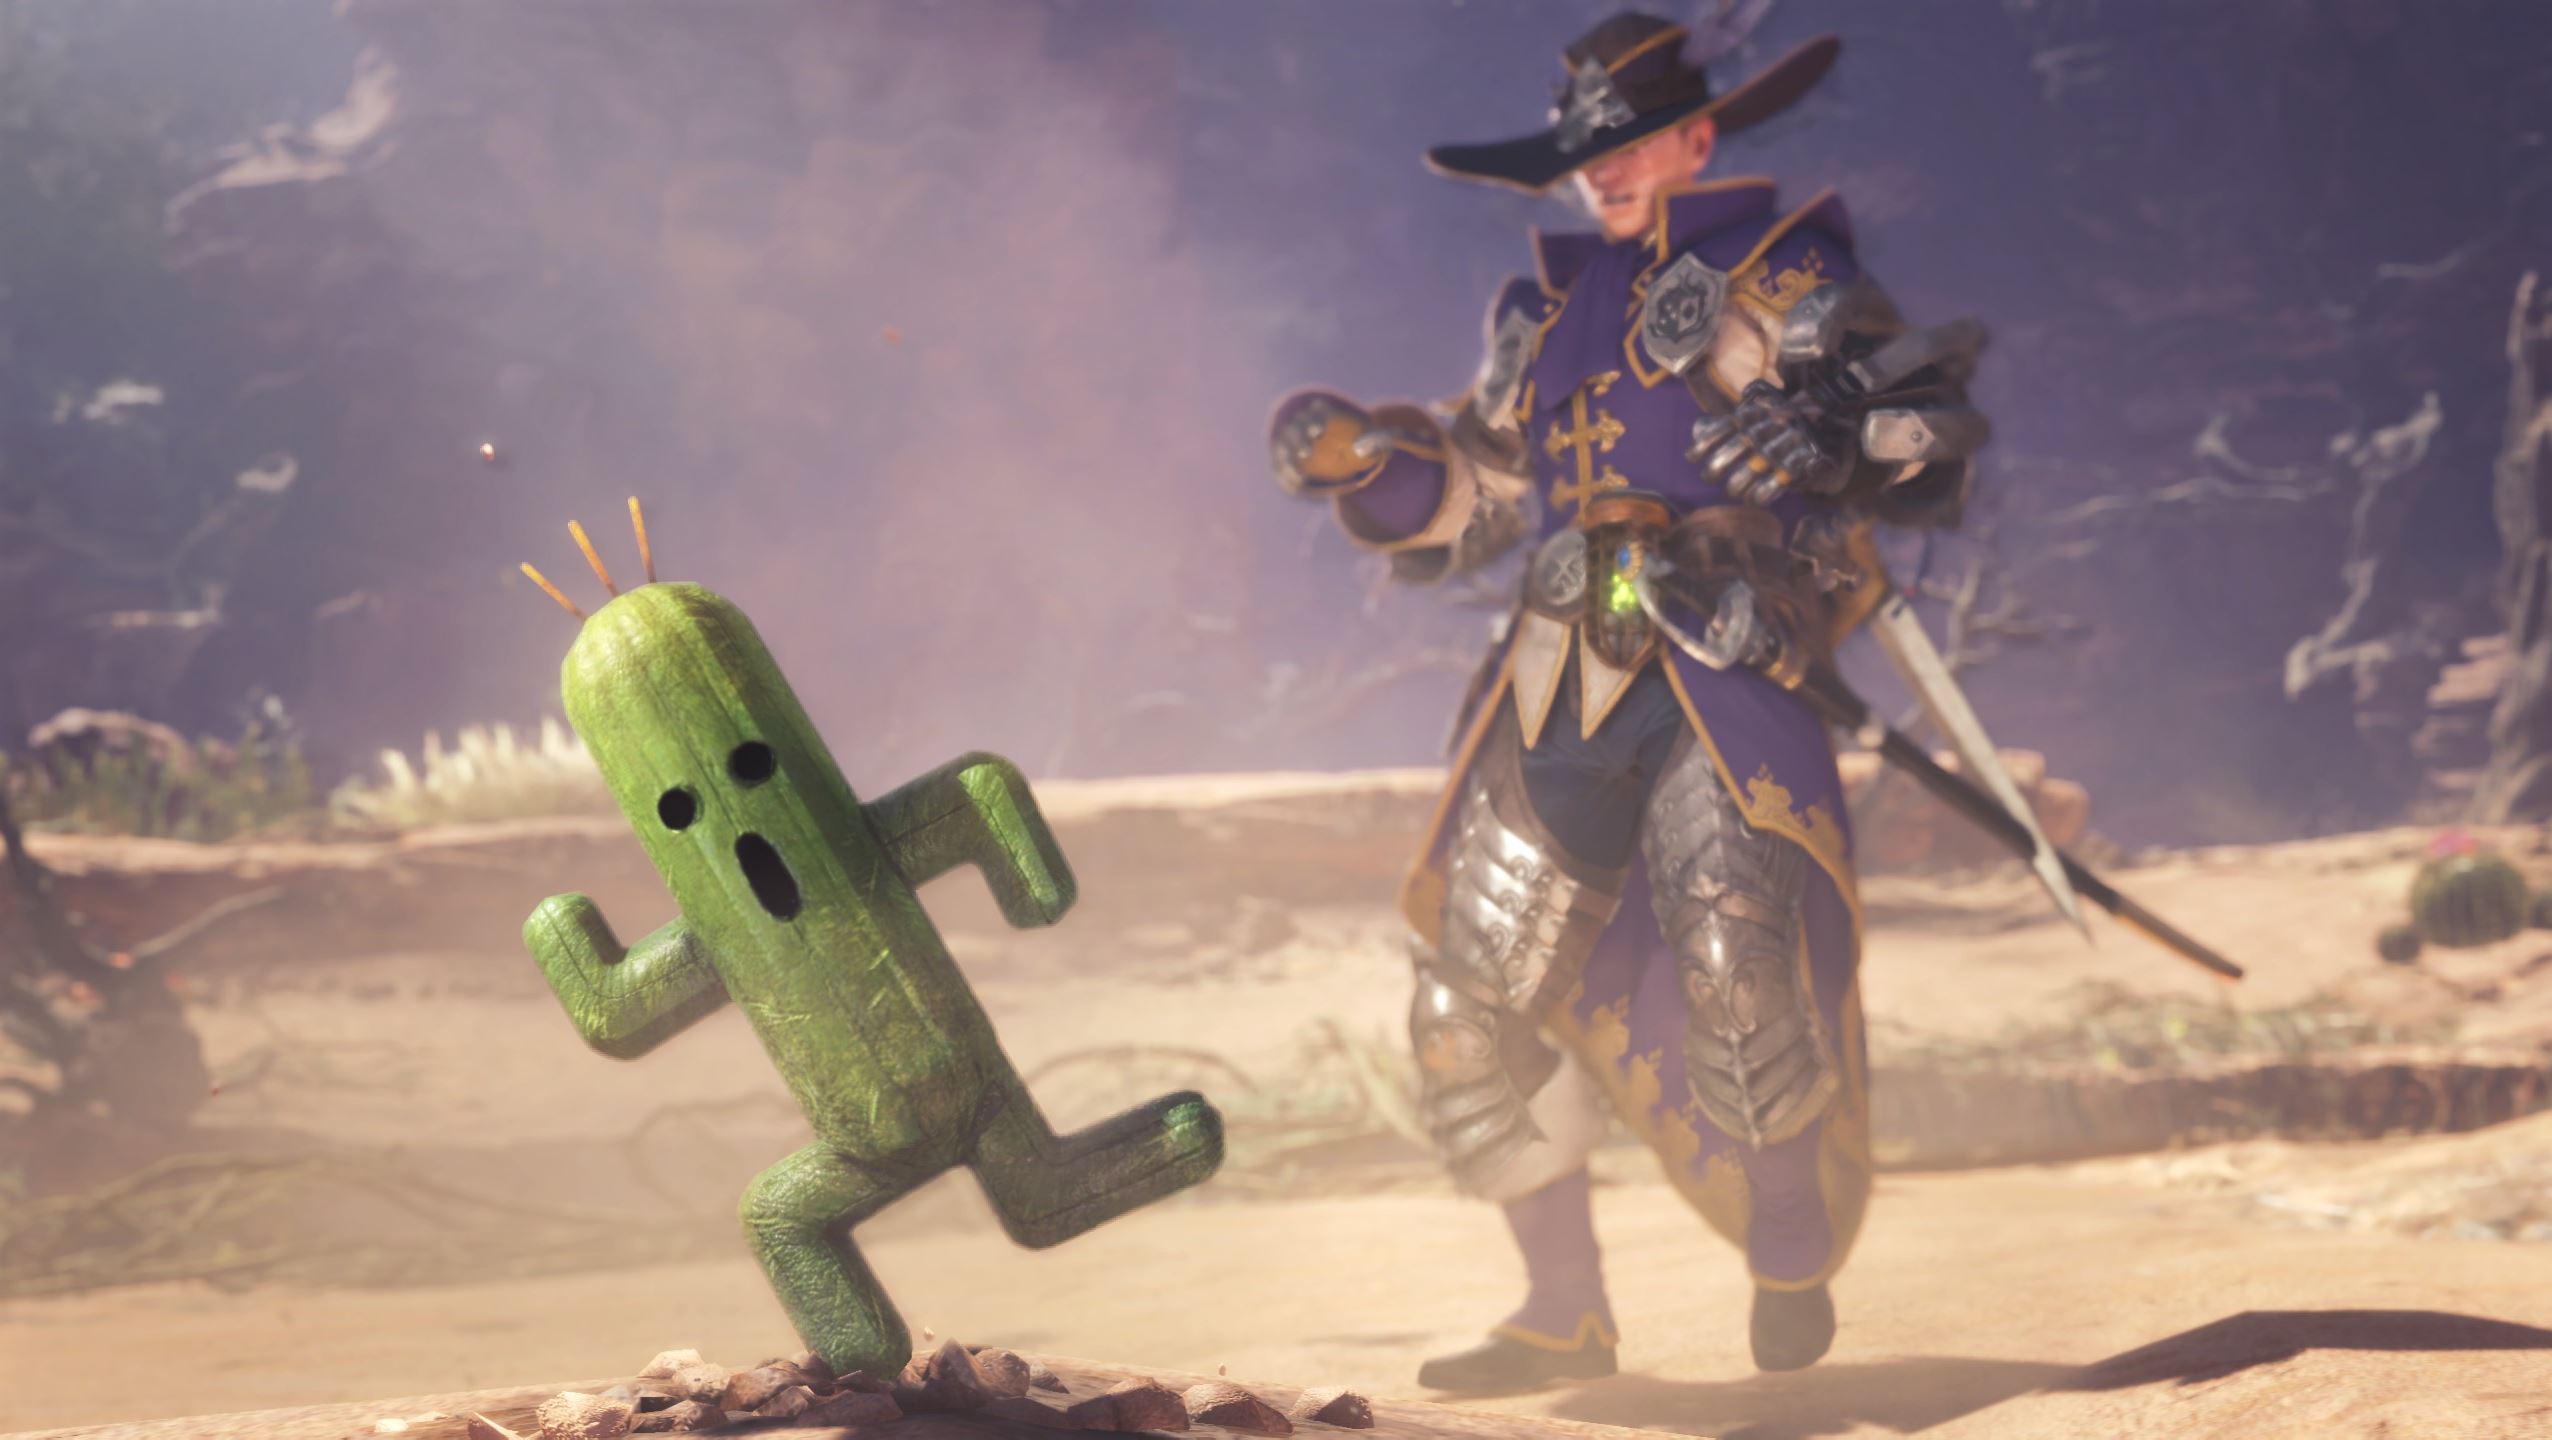
Eventually, your spiky green buddies will lead you to a gigantic and slightly more competent version of the Kulu-Ya-Ku you’ve had no reason to hunt for about 200 hours now. He hits harder than the normal version and has more health, but that’s about it; he’s really no threat to anyone playing endgame content.

Once you’ve busted him up, return to Astera and sign up for the quest “The Legendary Beast.” Before heading out, take some time to prep.
Gear, Items, & Dinner
Have a gander at the Behemoth’s stats:
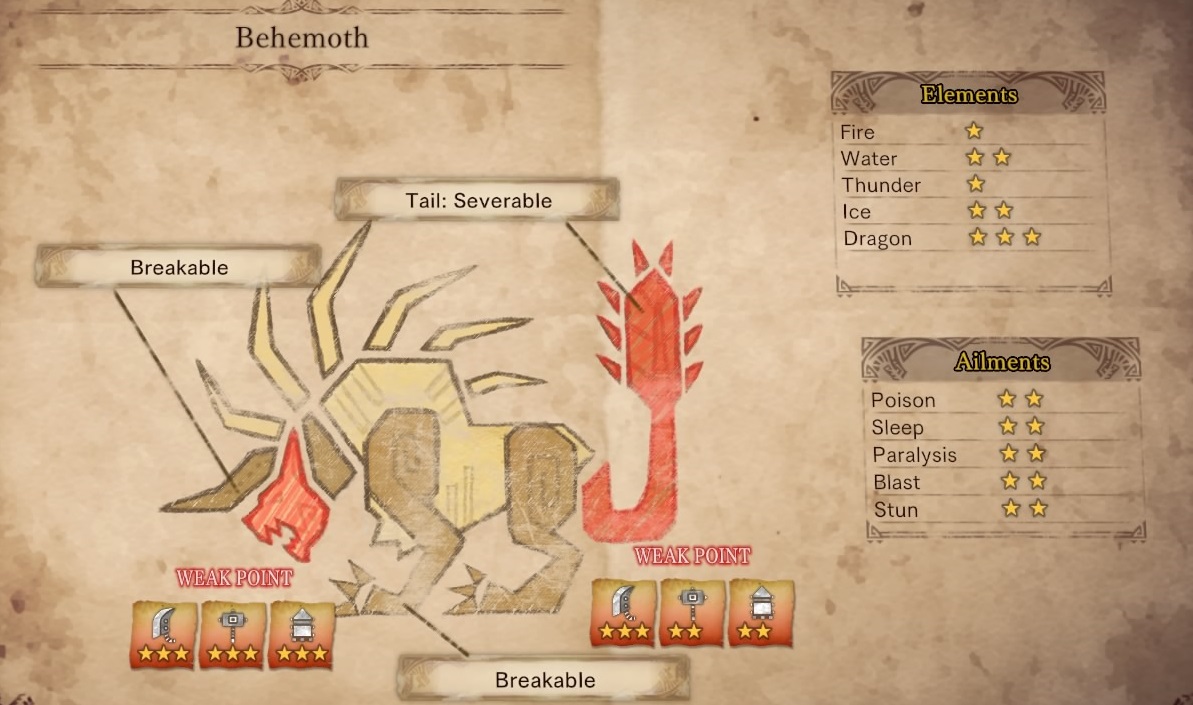
Dragon weapons are a good bet, but he’s not susceptible to elderseal, so don’t bother. As for armor, you’ll want good defense as always, and some fire resistance wouldn’t hurt either. However, your armor choice isn’t super important; most of Behemoth’s attacks are either fairly weak or nigh-guaranteed OHKOs.
Meal-wise, a large defense or attack boost is probably the way to go, as elements and status effects aren’t really a special concern either.
You’ll surely want to bring lots of buffing items, and some AoE healing items if you’re playing with friends. At least one member of the party should be a dedicated tank and should be geared up accordingly (that’s you, if you’re running solo).
How to Not Get Flattened by Meteors 101
If you’ve played any Final Fantasy game, you know that one dirty trick that Behemoth has up his sleeve. If you haven’t, spoiler alert: it’s meteors. So many meteors.
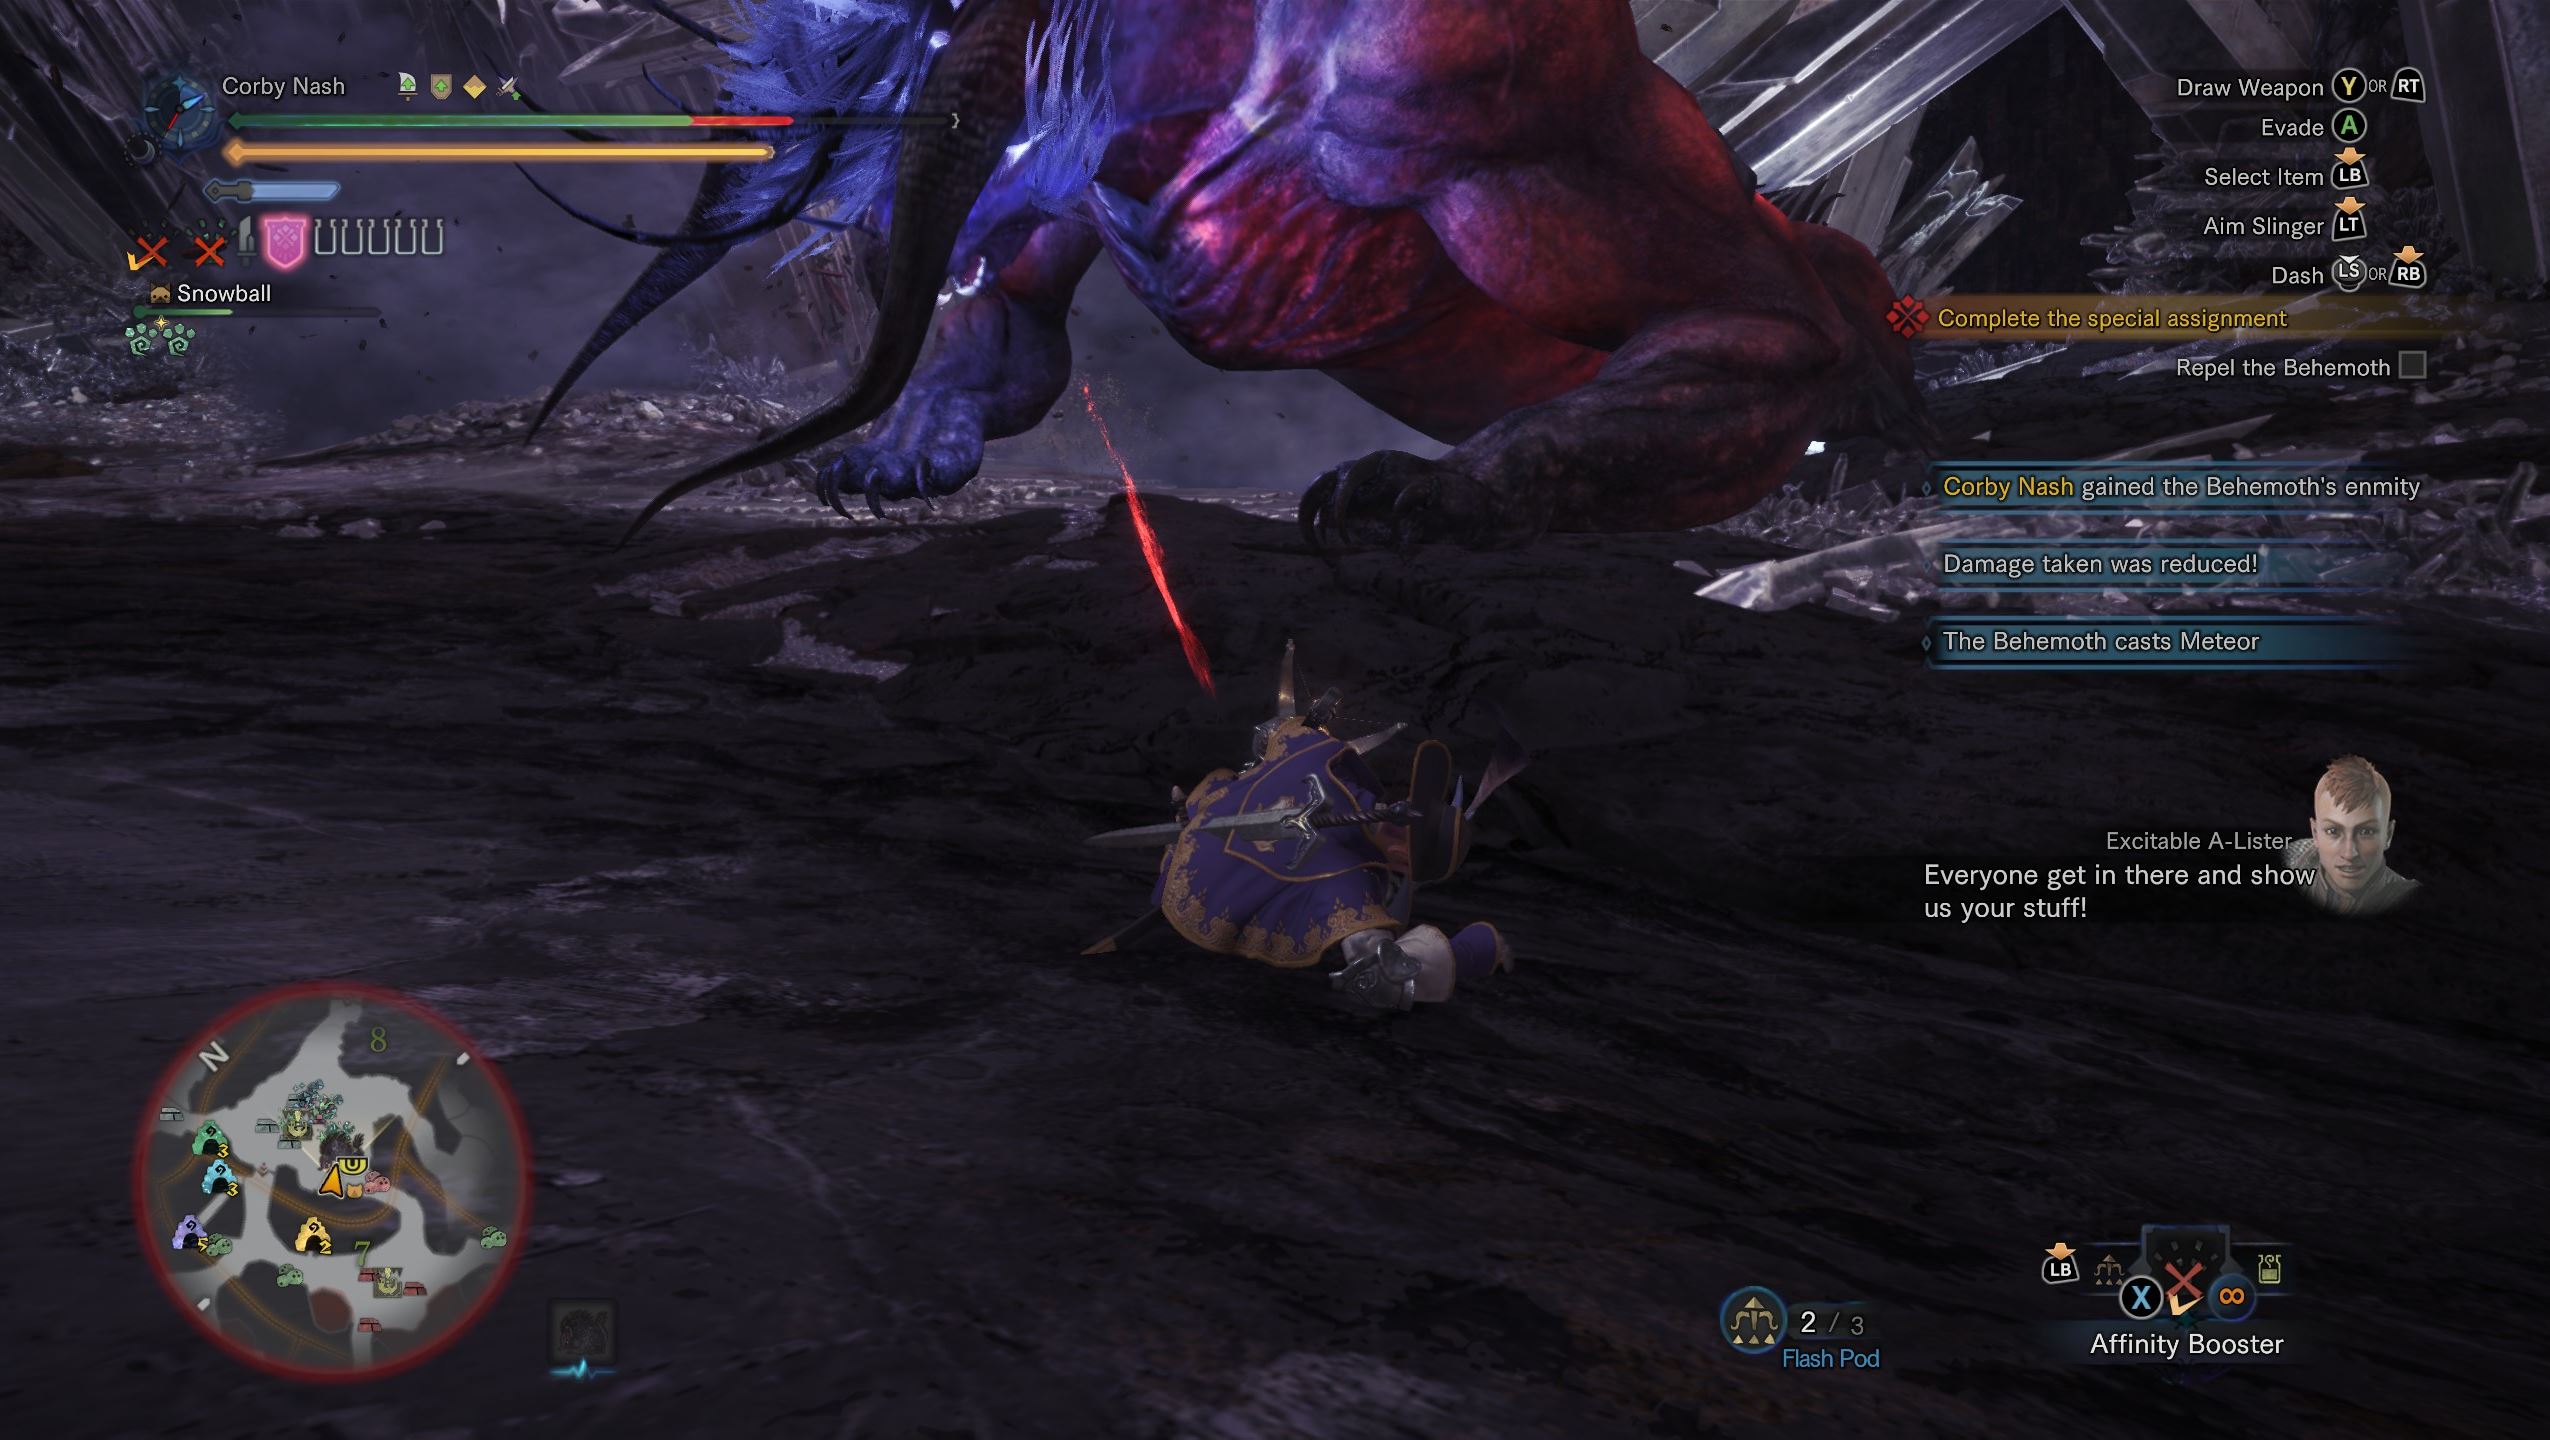
Your goals during your first encounter with Behemoth are twofold; you need to get his attention by attacking his head and survive his final attack. Follow the instructions of the handlers as they relay them. The battle will end automatically when he uses his Ecliptic Meteor attack, which you can expect to see a lot more than once the next time you face him. Don’t try to run from it—its blast radius covers several map zones (yes, zones, you read that right).
Tactically speaking, most of his attacks aren’t too worrisome. Meteor does moderate damage in front of him, but is easy to dodge. Charybdis is more annoying; it’s a large tornado that isn’t very damaging, but is harder to dodge and will periodically knock you over. His melee attacks are fast, but telegraphed well in advance.
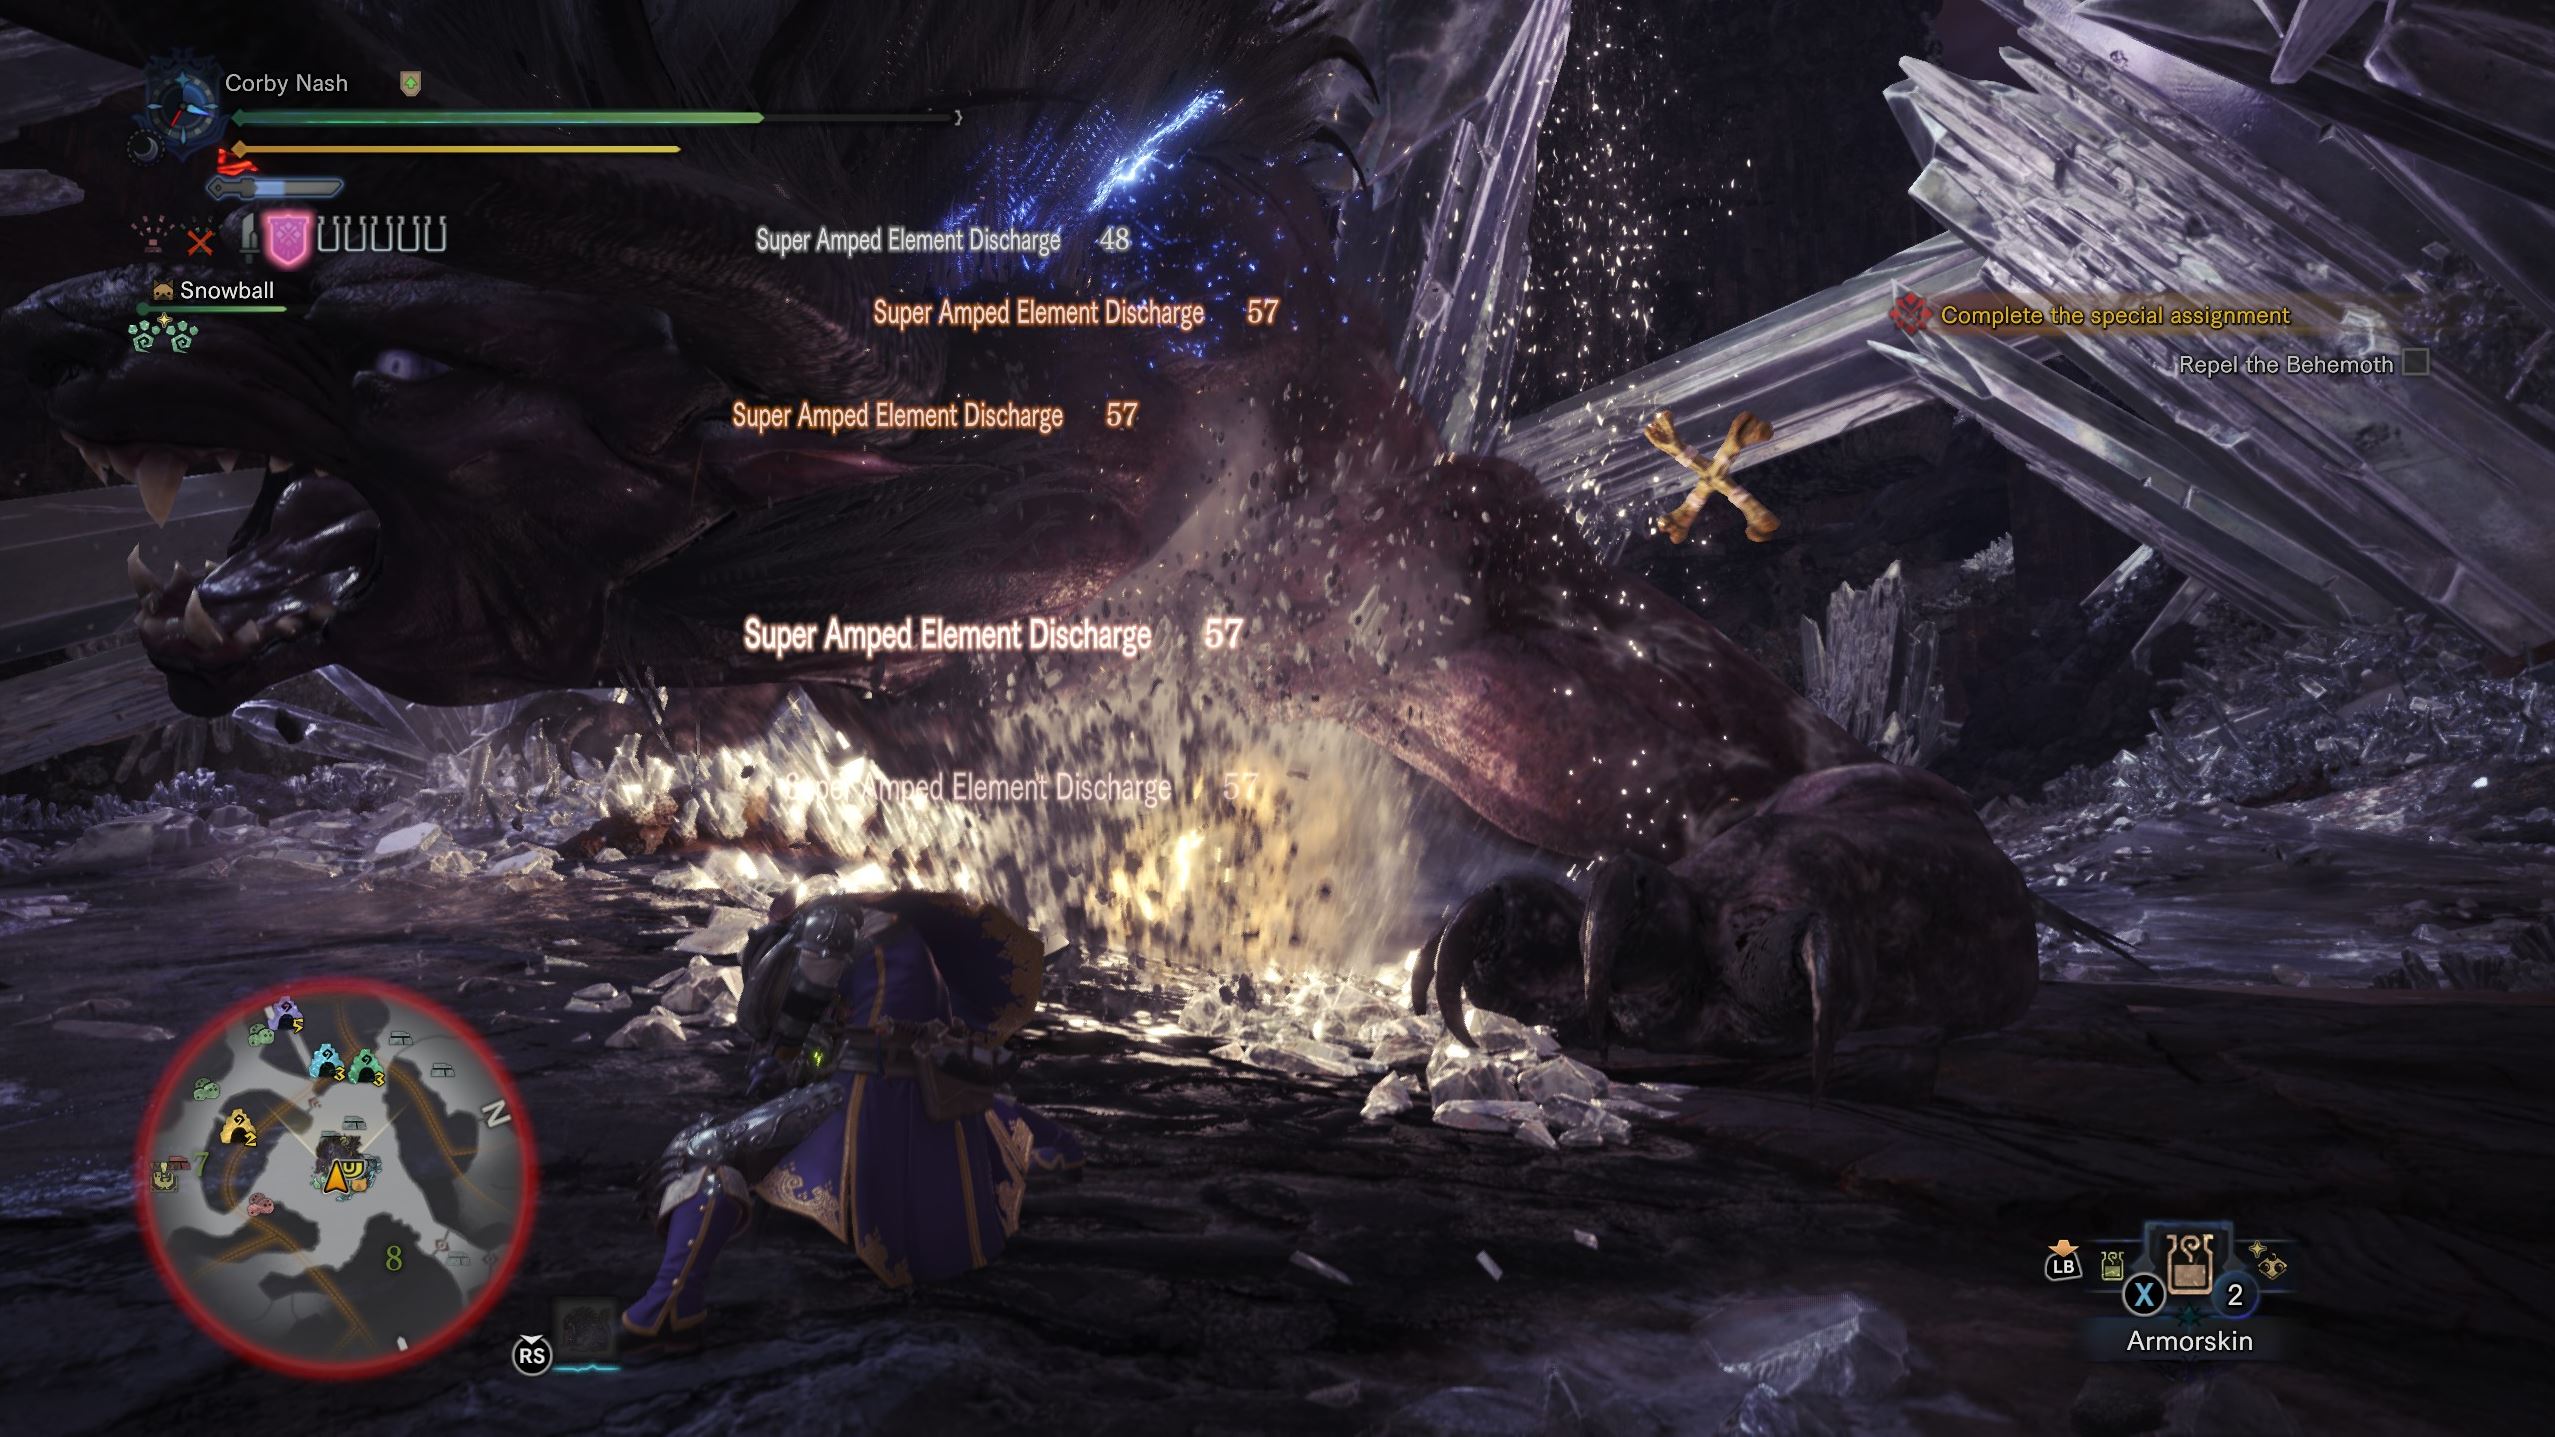
Like Kulve Taroth, he has a unique mechanic; in his case, it’s called Enmity. It’s really just a fancy word for “even more single-minded aggro.” As you attack Behemoth’s head, you’ll gain more Enmity and he’ll attack you more. Once you’ve maxed out that stat, he will attack you exclusively. You’ll know you’ve made him mad when a red eye laser pointing to you appears; Behemoth himself will also turn red.
If Behemoth is totally focused on you, any other players you might be hunting with can wail on his back and sides with (near) impunity; this is the fastest way to take him down in co-op mode.
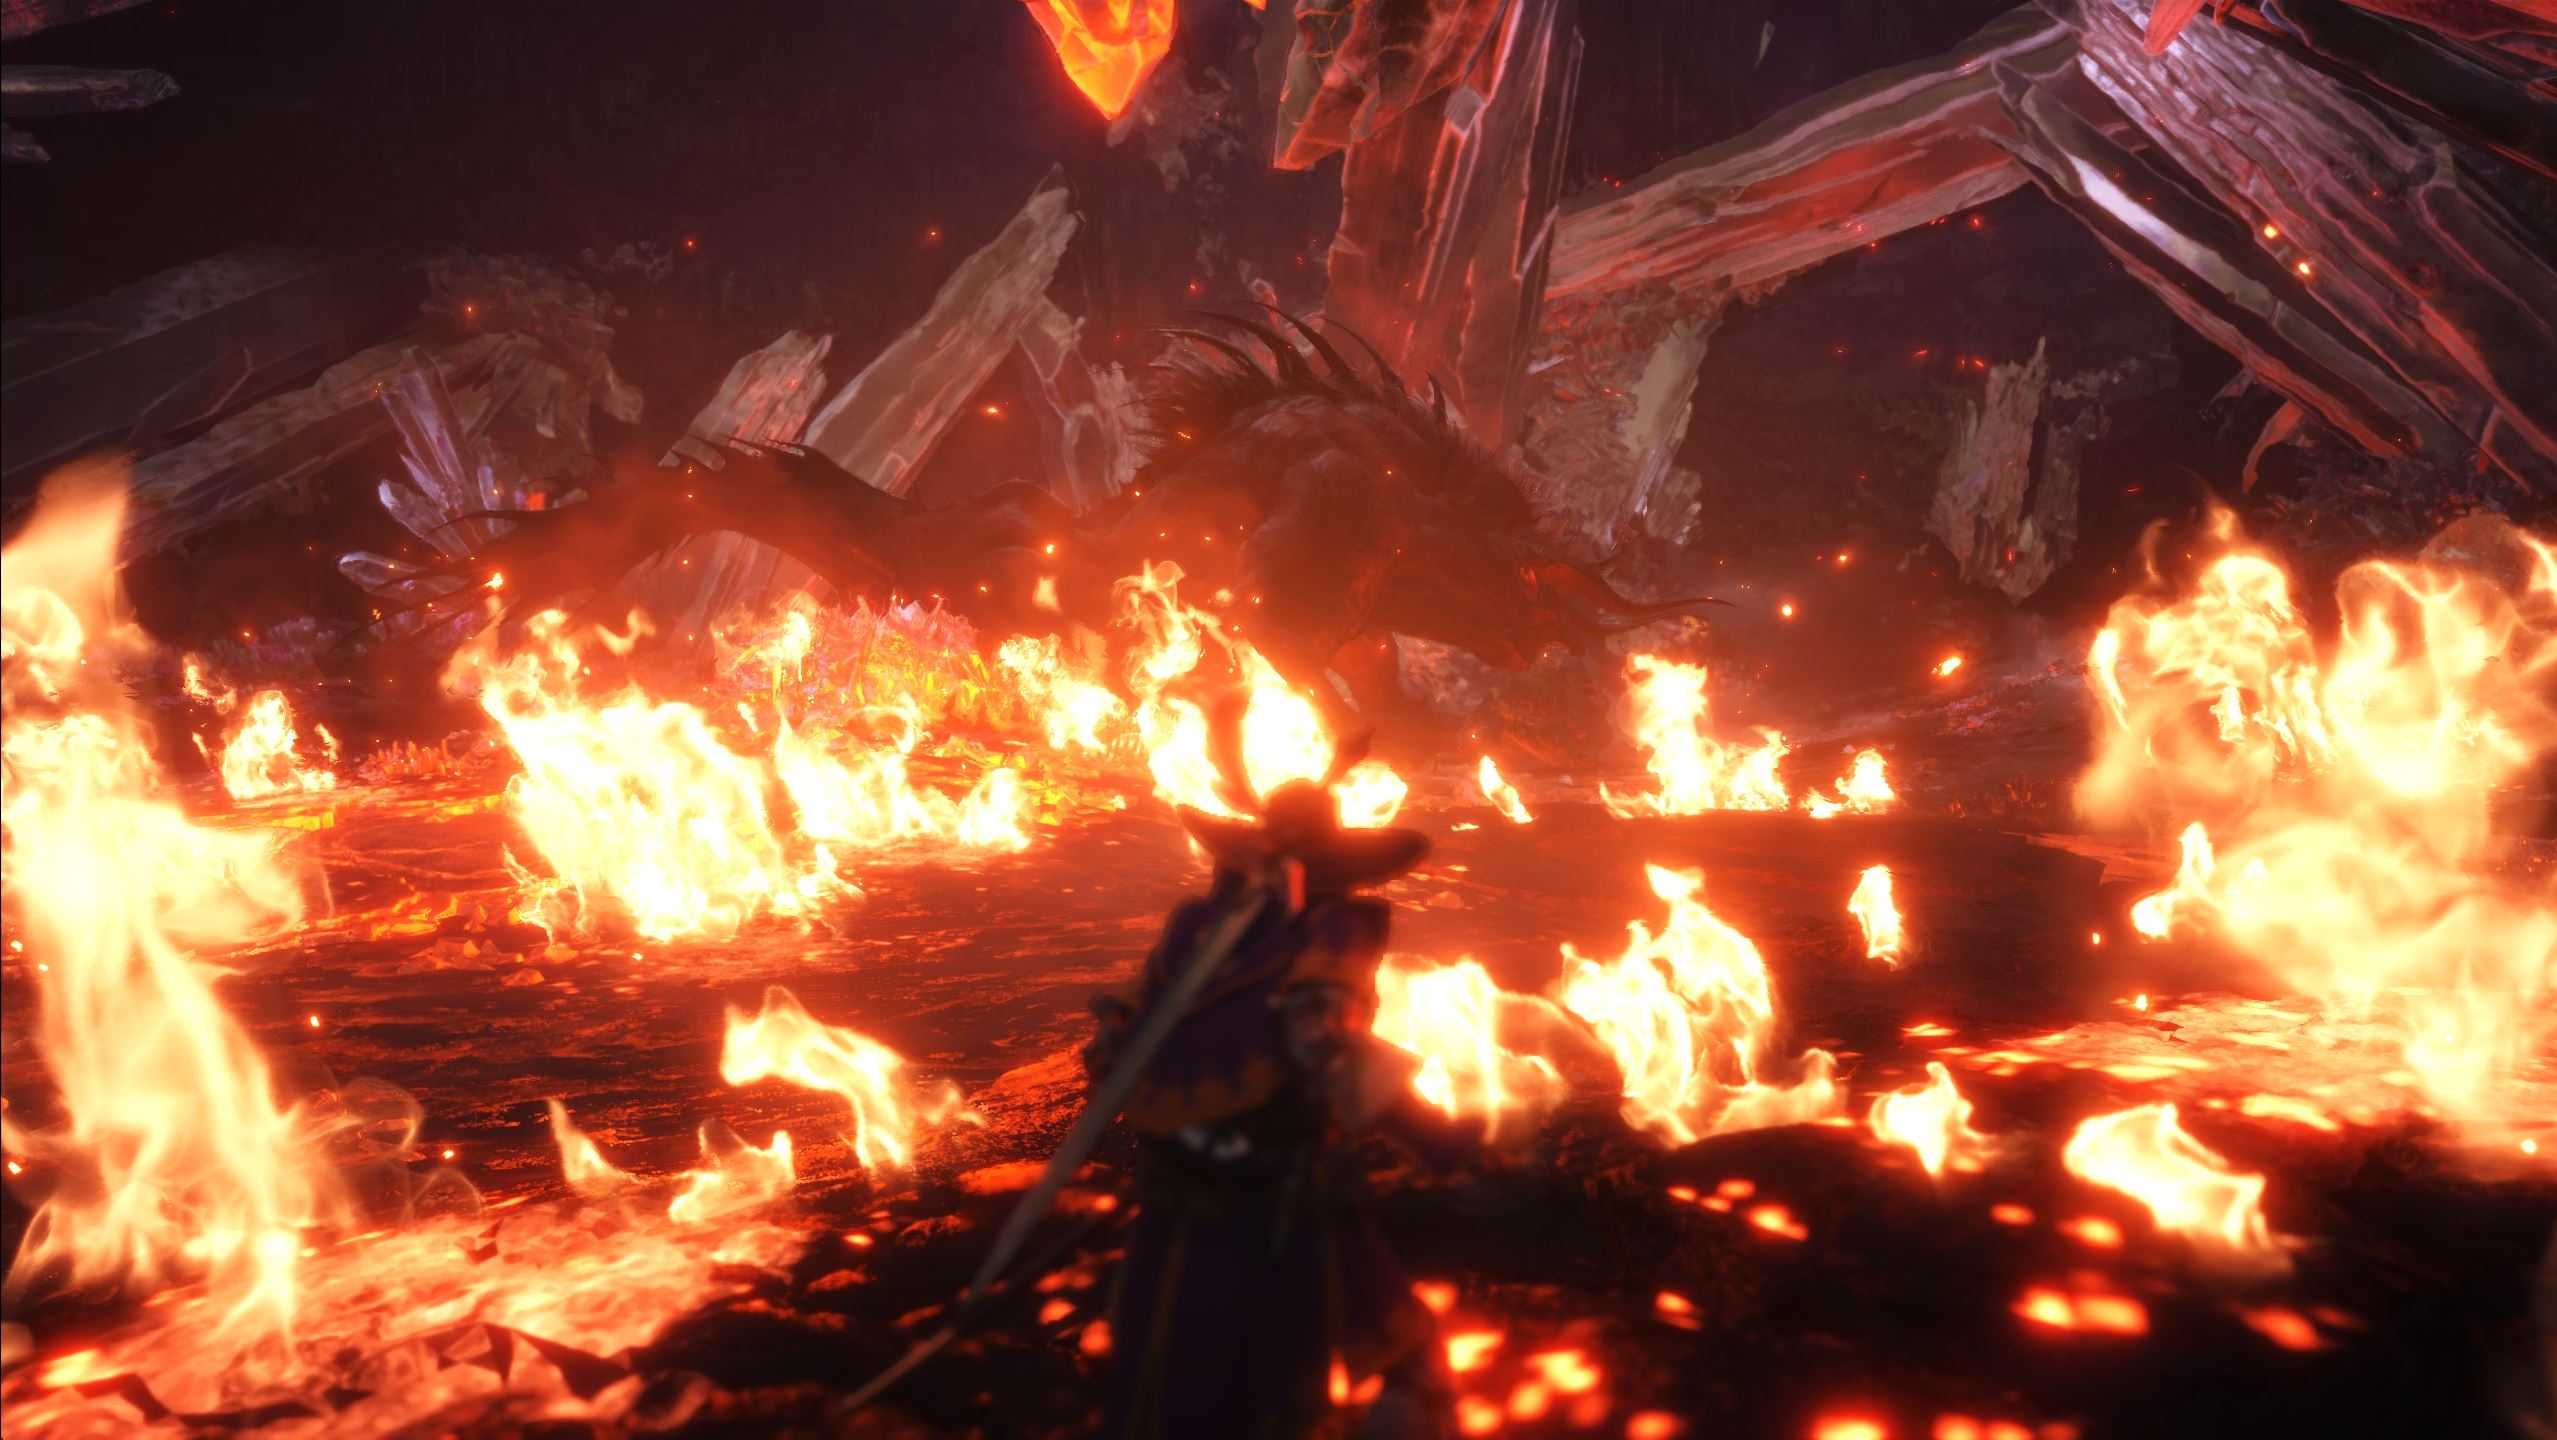
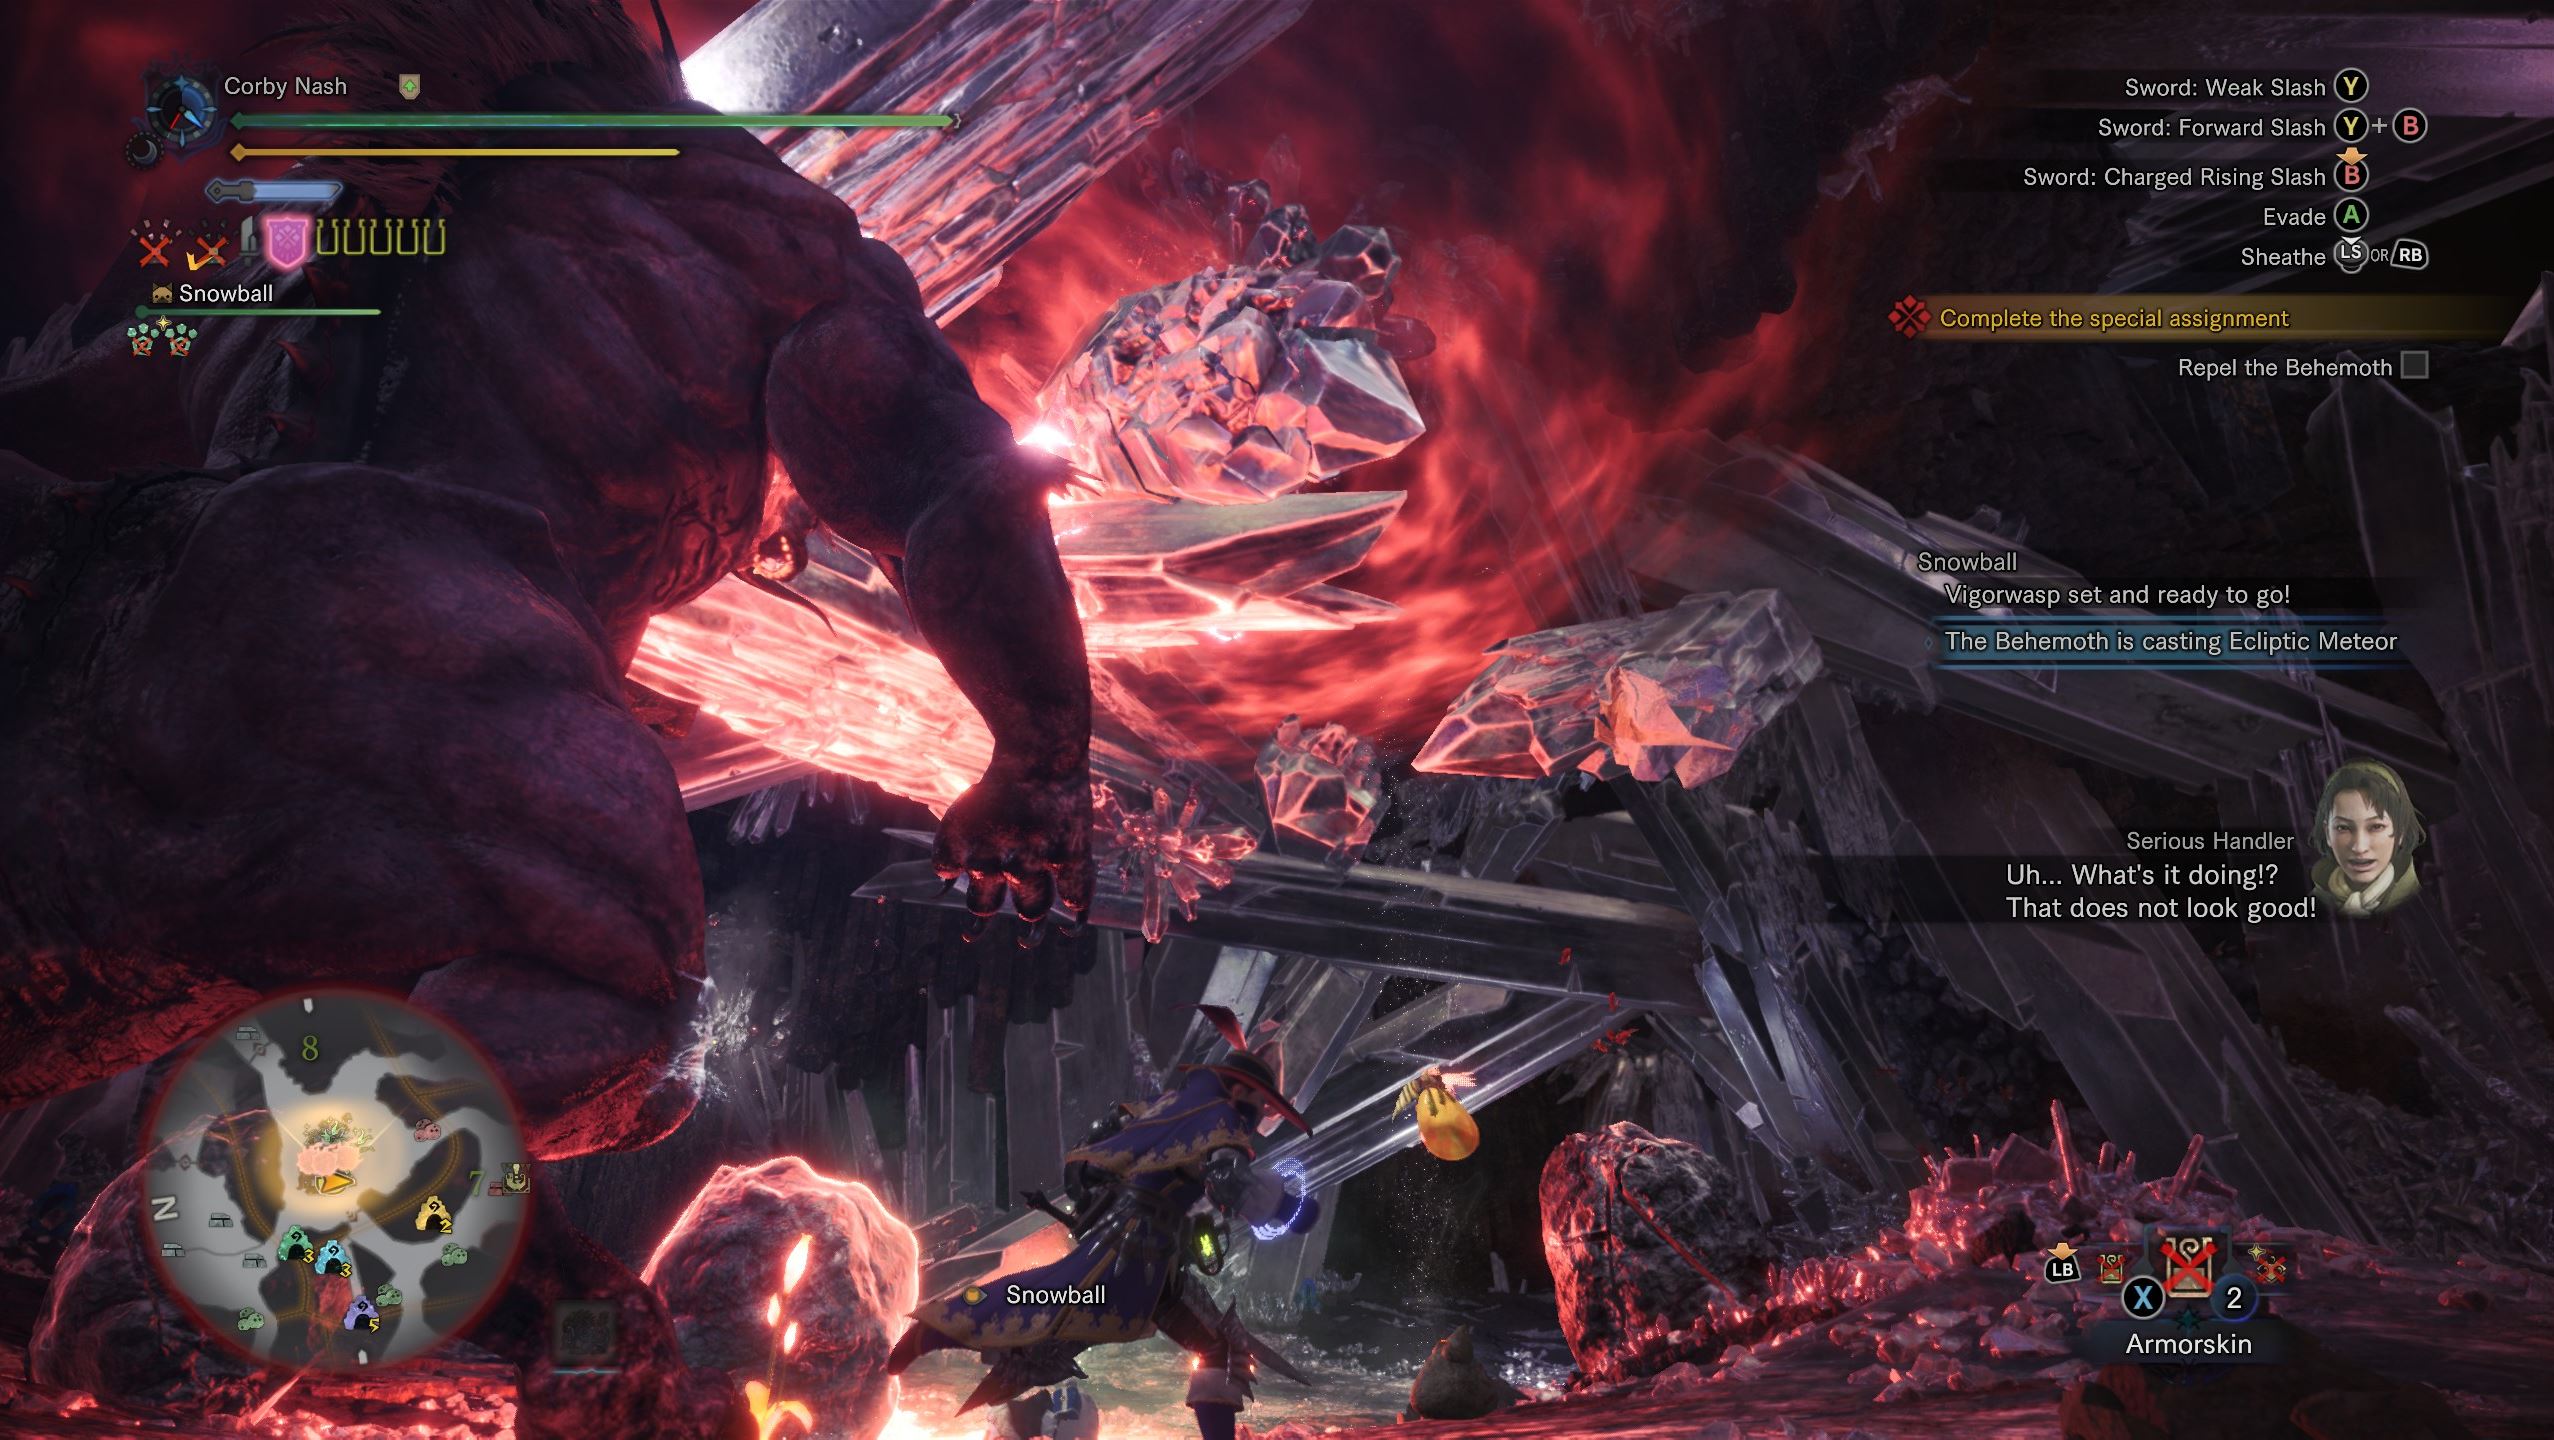
Once you’ve gone through a few cycles of maxing out his Enmity, he’ll start casting Comets. Hopefully they’ll miss and get stuck in the ground. They can only be broken by Behemoth himself, but you actually don’t want him to do that. Keep him away from the comets whenever possible, because when he uses Ecliptic Meteor, you’ll be able to take cover behind them. Definitely do so—his ultimate attack is capable of wiping the whole party if it makes solid contact.
Taking Down Behemoth (For Real this Time)
Once your prey has fled, you’ll have to go after him again. Prep-wise and strategy-wise, round two is mostly the same. Here’s a short list of what’s different:
- Behemoth will flee to different zones 2-4 times (bring cool drinks in case he winds up in the lava zone).
- Starting in phase two of the fight, he’ll gain a move called Thunderbolt, and Meteor will now target all players. Thunderbolt isn’t much worse than his other attacks, but he can triple-cast it, so watch out for that.
- If everyone leaves the zone, Behemoth will rapidly heal himself.
When Behemoth makes a stand in Nergigante’s nest, it’s time for the final showdown. He’ll be more aggressive here, but as long as your tank keeps all the Enmity and maintains a stalwart defense, Behemoth will fall sooner or later. Enjoy the sweet gear you can make out of him, which grants absolutely devastating offensive bonuses: Critical Boost x3, Critical Eye x6, and Attack Boost x3, among others.
—
There you have it! Compared to some of the other high-level hunts in Monster Hunter: World, Behemoth really isn’t too bad. Be patient, play defensively, and you’re sure to come out on top.
Check out our plethora of other Monster Hunter: World guides for any other hunts you could use a hand with.


Published: Dec 21, 2018 01:27 pm