After completing the solo story missions, its time to get into the primary mode of the Hearthstone killer Elder Scrolls Legends – the multiplayer Versus matches.
Coming in as a newbie it’s easy to see a disheartening number of losses to a pitiful number of wins, ruining your rank and killing desire to keep playing. Improving your win ratio isn’t actually that tough, so long as you take the time to truly understand the game’s mechanics and figure out how to control the board.
Below is a full breakdown on how to increase your chances at a win against other live players. If you’re looking for more help in Elder Scrolls Legends, also check out:
Deck Size and Magicka Spread
As the game stands in its current beta mode, there is a clear winner on deck size no matter the strategy you are employing: always stick to 50 cards. Adding in more will just reduce the chance you get the card you need to setup a good combo.
 This is where you want to be, every single time.
How do you whittle it down to the proper size? A great exercise is to identify and remove the least useful card in your deck, then do it again, and again, and again.
When you reach a point where there’s not a “weakest link” card to cull out, then you’ve got a good core deck that can be added to. While putting cards back in, focus on cards with good synergy with your base selections and keeping adding in more until you hit 50. If a card isn’t somehow making another card better or more useful, or doesn’t have a good utility function in multiple situations, then ditch it.
In general, a large portion of your deck should consist of 2 – 4 cost cards so you can gain advantage early and always have something to play in any situation. The 7 – 10 cost cards are less useful than you’d think, especially with how easy it is to take down any creature.
In fact, it’s a good idea to consider a few quality 0 cost cards so you always have options, especially if you are having trouble getting your deck back up to 50 cards.
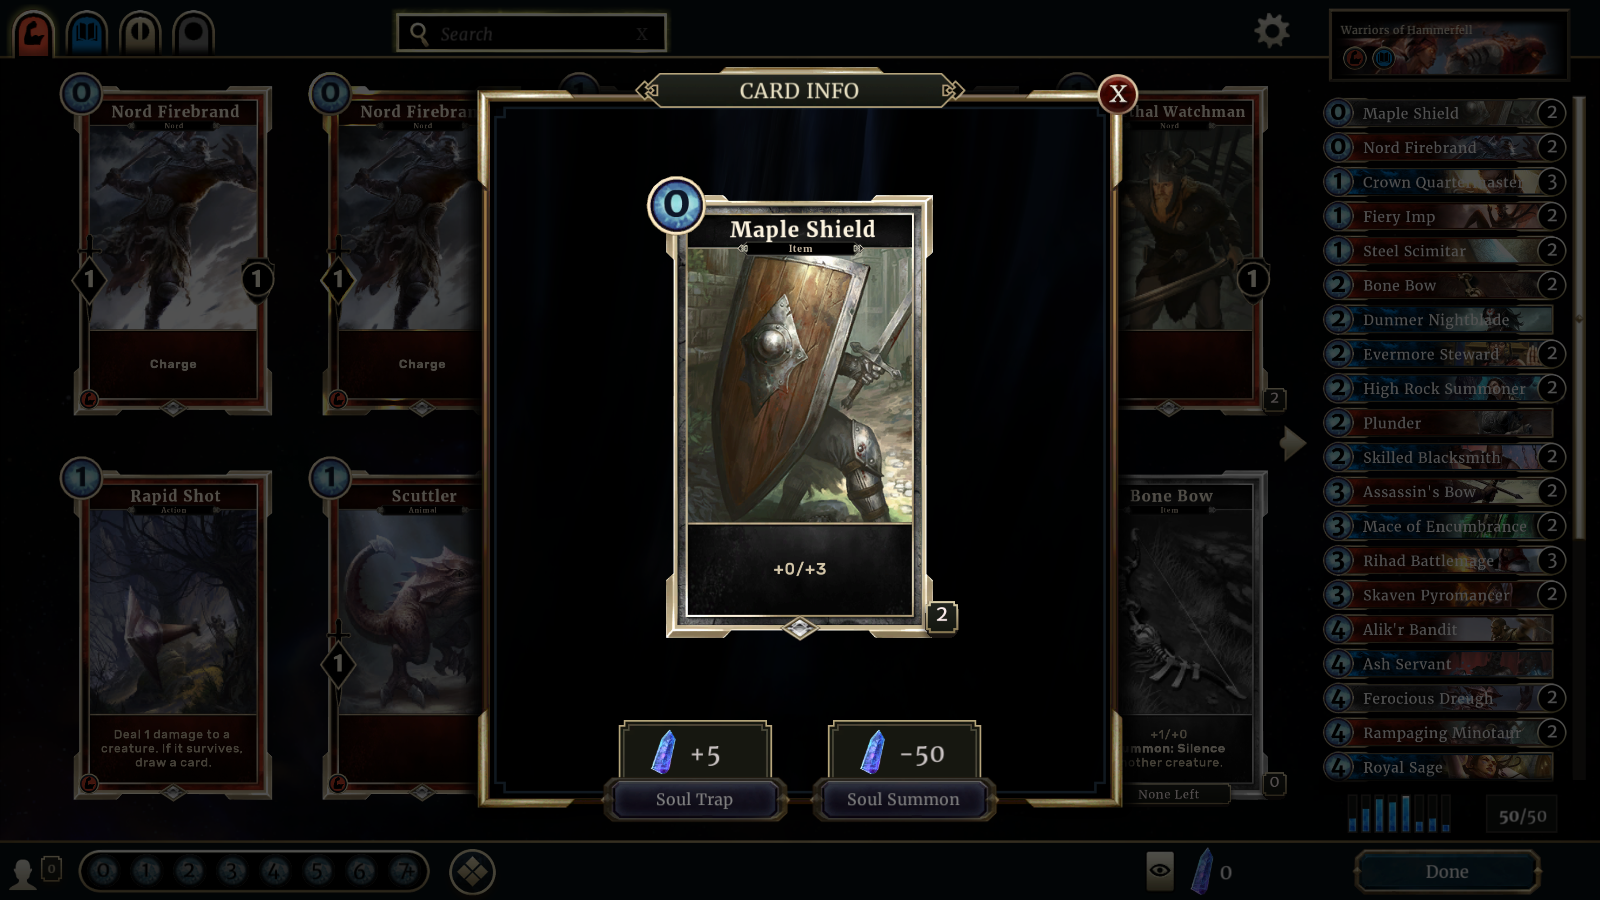 This literally costs nothing but keeps your most useful creatures alive longer
One special consideration is 5 cost cards. They are just above the normal cost curve to where you will frequently only be able to cast a single card a turn, so they need to pack as much utility as possible.
Rather than going for the straight bruiser that deals loads of damage at the 5 – 6 cost point, aim for cards that can help you out defensively as well, or can get rid of a troublesome card on the other side of the board.
Take the 5 cost Leaflurker. While only a 4/3, it kills a wounded creature as it hits the board, potentially annihilating a bigger creature from the opponent. When coupled with a cheap 1 cost card like Rapid Shot or Arrow In The Knee, it guarantees Leaflurker will be more useful than just a mid-level attacker.
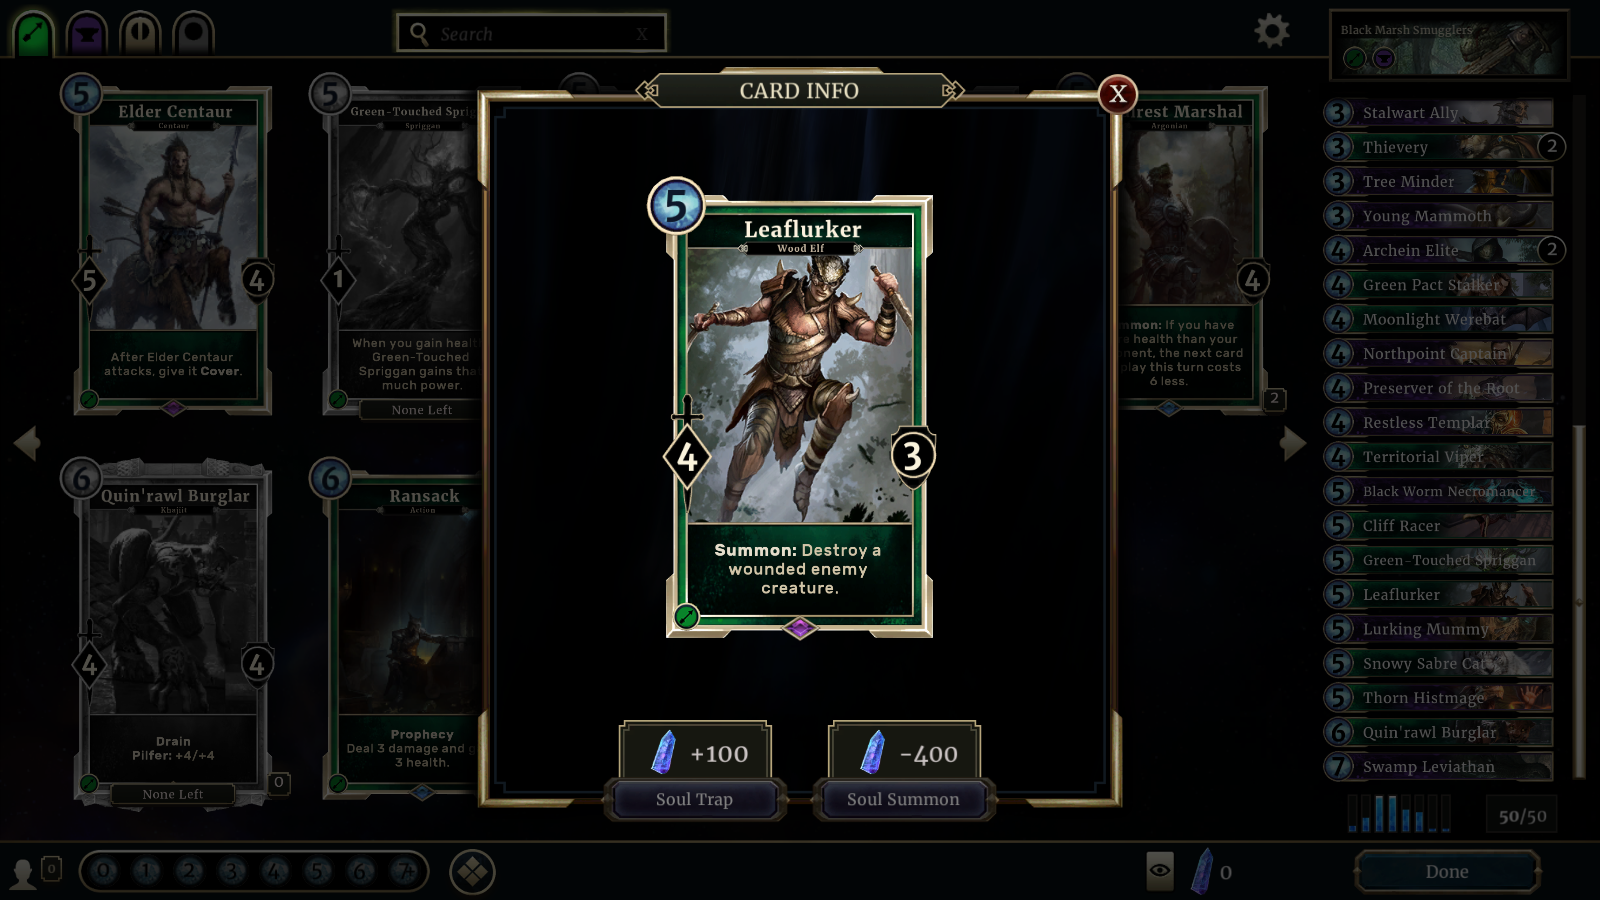 Board control is usually more useful than high attack power
Effectively Going Second
The forums are filled to the brim with arguments on whether the 3 magicka boon for going second is overpowered or not, but we’ll skip that argument and instead focus on how to use this benefit if you find yourself going second in a match.
First and foremost, resist the urge to burn through your bonus magicka immediately. The benefit offered by having a floating pool of 3 extra magicka to spend at your leisure is massive and cannot be overstated. If you immediately use it to pop out a 2 cost creature on the second turn, 3 cost creature on the third turn, etc. you lose much of the benefit.
Using the bonus magicka to flood the board with your cards immediately will see your hand deplete quickly, leaving you with fewer options when you need them. Straight aggro is less useful in the current state of Elder Scrolls Legends, and in most cases the game rewards careful planning and thinking ahead rather than putting everything down immediately and hoping you can break through.
It’s better to have a card in hand ready to react and turn the tide of combat than to have an empty hand and constantly be hoping to pull something useful on the next turn.
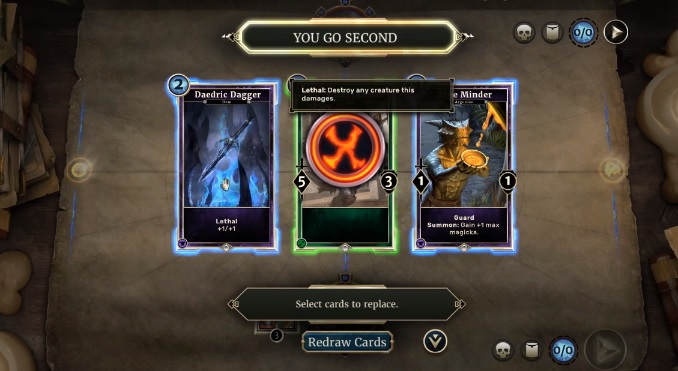 This is a boon, but only if you use it properly.
Lane Control
Although it sounds un-intuitive at first, there’s an important lane control strategy many new players don’t consider as they scramble to counter every card played by the enemy: ignore your opponent in the early game.
You can effectively put your opponent on the defensive by not focusing on taking out his creatures after he lays them down. Instead, fill the lane the opponent isn’t using and go on the offensive, forcing him to waste resources on defense.
This is especially useful if you are utilizing creatures with abilities such as Drain (gaining health as the enemy is damaged) or Pilfer (buffing your cards each time you hit the opponent directly).
While a good tactic overall, this method becomes less useful in some deck setups, especially if you have a defensive-focused Willpower deck.
When playing creatures in the same lane your enemy is using, always strive for maintaining control, rather than playing catch up. Generally the best idea is to wait for the opponent to put down something expensive and powerful and then take it out unexpectedly, such as by using a card with Charge and Lethal, or comboing cards for greater effect, like pinging a large enemy for 1 damage and then utilizing a card like Finish Off.
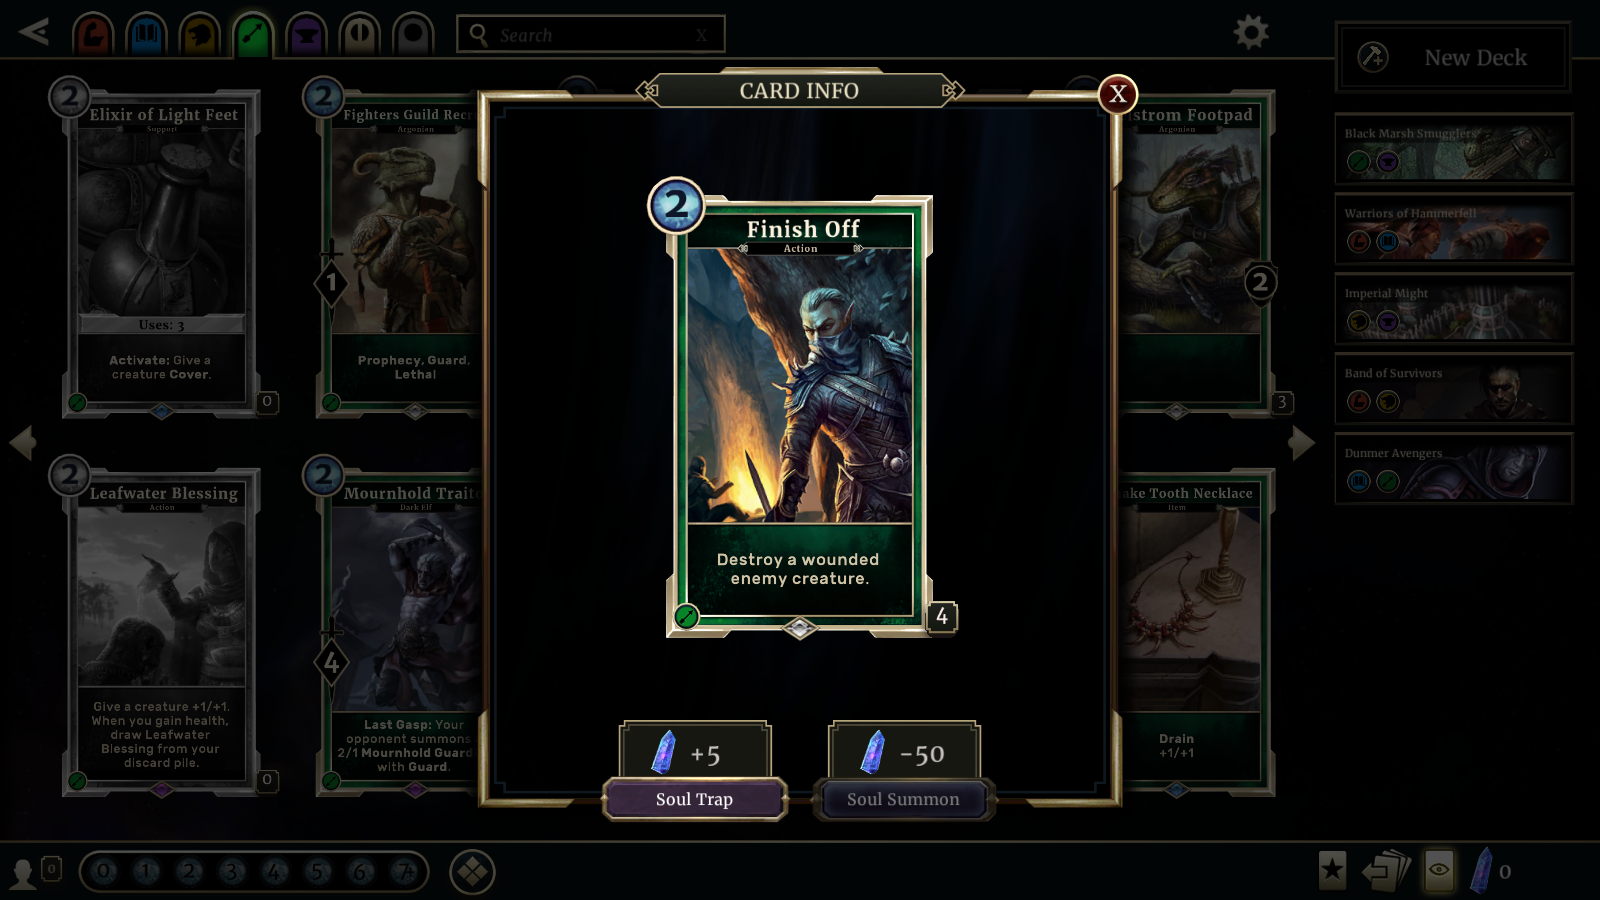 2 magicka to kill anything that’s damaged or has a negative effect
Strategic Attack Order
This same advice was offered in our Arena guide, but its absolutely just as important in multiplayer Versus matches. The rune system completely changes your attacking strategies from any other CCG like Hearthstone, Magic, etc.
Always carefully count out your damage to get the maximum amount through before hitting the 5 mark and destroying a rune. Attack first with whatever creature will deal the most damage without destroying the next rune, and if you plan on killing a creature with an attack, do so before hitting the opponent directly.
You should always assume that breaking a rune is either going to see your biggest creature killed, or mess up your subsequent attacks when a creature with Guard gets played for free. This is specifically why you want to keep a card in hand at all times to react to the changing board landscape.
Surviving The End Game
It’s time to start thinking defensively – while simultaneously looking for the one opening for a killing strike – when nearing the end of a match as both players have loads of magicka and low health. It’s very tempting to overextend and play everything in a mad dash to get your opponent to 0 health.
I can’t tell you how many times I’ve lost unexpectedly when poised to win the next turn because I didn’t have creatures with Guard in both lanes or any means of preventing that one last creature from attacking.
This is a good point in the game to start playing your cards in unexpected ways, like voluntarily sacrificing your Last Gasp cards for an advantage. House Kinsman is a particularly useful card for a sudden reversal, both healing you and directly harming your opponent if you have the Kinsman attack a creature it can’t beat.
Learn from my mistakes: in the late game, always have a backup ready, and continue to focus on lane control while whittling down the enemy until an obvious opening appears to let you get in that final attack.
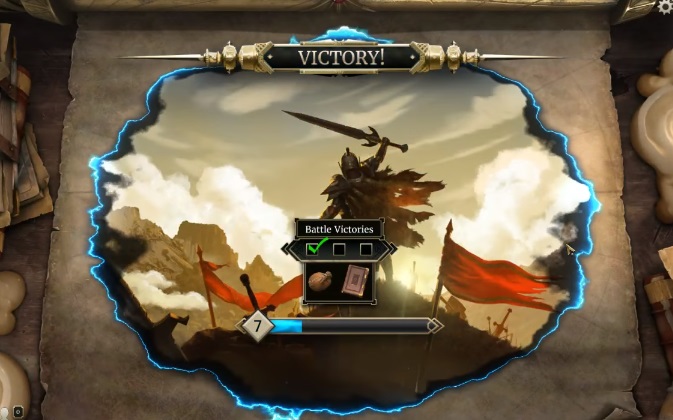 Hopefully you’ll see this screen more than the other one!



Published: Aug 17, 2016 02:56 pm