Bethesda is well known for building fully realized worlds. Whether it be an entry in the The Elder Scrolls series or Fallout, there have been countless instances where you might have wanted to set a scene and snap a photo. Many of those games, however, didn’t have a photo mode or relied on mods for such a system. Not so with the studio’s latest space-faring adventure. Here’s how to use photo mode in Starfield.
How to Use Photo Mode in Starfield
You can use the Starfield photo mode by pausing the game, then going to “System” (menu button on controller, F1 on PC), and selecting it in the menu under the “Settings” option. Pressing ESC on PC will also bring up the menu options list instantly. Further, you can also select photo mode after bringing up your scanner by pressing the right stick using a controller or “V” on mouse and keyboard. The interface will show several tabs, which have various options:
Camera Options
There are three camera types to choose from:
- Free — You can move the camera around with hardly any restrictions.
- Orbital — You can only move the camera around your character’s position.
- Selfie — The camera has a frontal view of your character’s face.
The tab also lets you tweak the field of view (i.e. zoomed-in with a tighter perspective or zoomed-out akin to fish-eye lens), camera roll angle, and depth of field (blurred backgrounds for a more pronounced foreground).
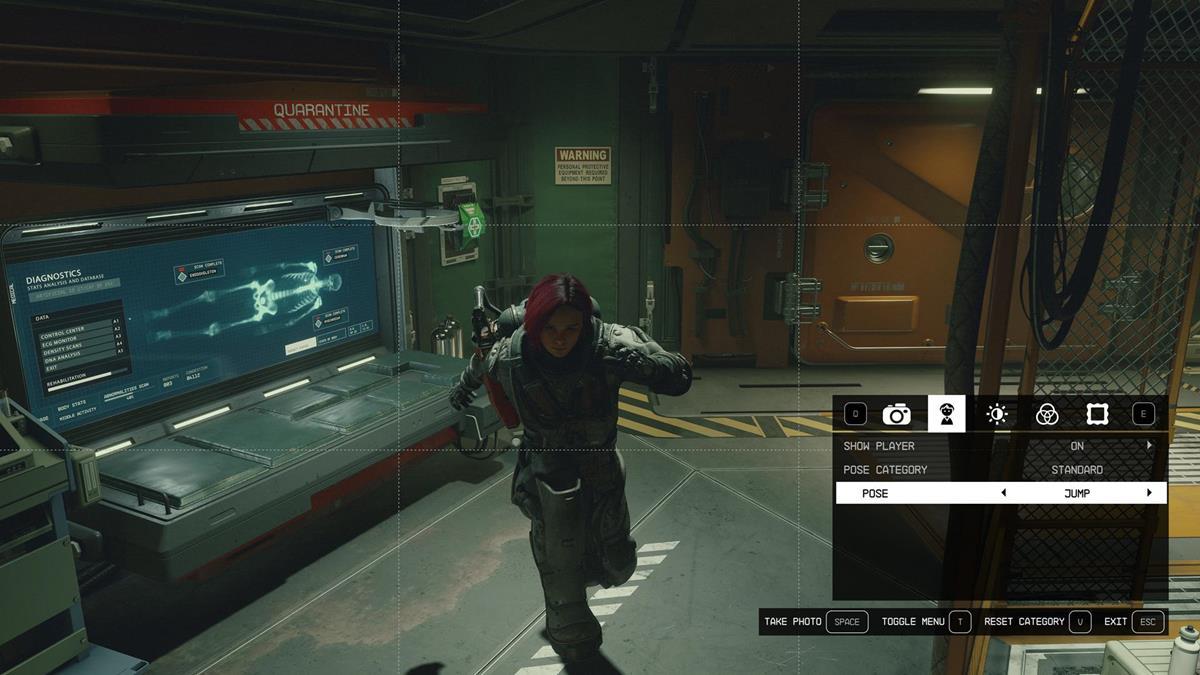
Player Options
I find that this is one of the niftiest tabs in Starfield‘s photo mode feature. Here, you can make your player invisible, so the shot solely focuses on your environment and other NPCs. You may also change your character’s pose from a boxer stance and having hands on your hips to waving and sitting on the ground.
Color Options
This tab in photo mode has sliders for brightness, saturation, and contrast. I personally increase the brightness at times, though this depends on the filter I use (more on this below).
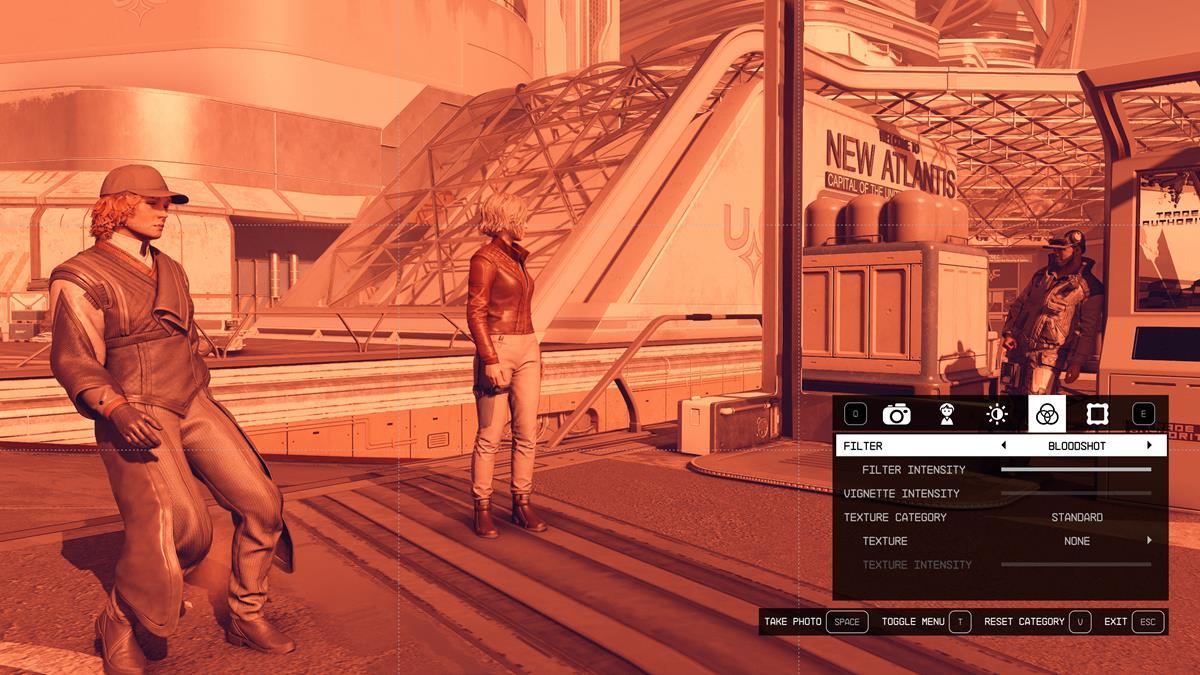
Filter Options
The filter tab is something you’ll often make use of when you enable photo mode in Starfield. Here are some examples:
- Mercury Era — Has a washed-out and saturated look.
- Gemini Era — Somewhat akin to the “dramatic” filter on an iPhone due to darker shades.
- Apollo Era 1 — I happen to like this since it brightens up your surroundings.
- Apollo Era 2 — This is similar to the “cool” filter on an iPhone due to its bluish hue.
- Beach Bypass — This is a mix of the Mercury Era and Apollo Era 1; brighter but also washed out.
Frame Options
The last tab in the Starfield photo mode has different kinds of frames. These include the game’s logo, as well as the insignias of factions, such as the United Colonies, Freestar Collective, Crimson Fleet, and Ryujin Industries.
That’s everything you need to know about how to use photo mode in Starfield. For more tips and strategies, you can visit our guides hub.


Published: Aug 31, 2023 12:00 pm