Dozens of horrific cases are waiting to be solved by private investigator Charles Reed in The Sinking City, but if you’re expected a cake walk you should probably move onto a different game.
Those quests are significantly more difficult here than in the standard open world title, because there are no map markers telling you where to go, and clues are often difficult to locate and decipher.
Having trouble staying alive and solving cases? Below we lay out the best way to get started in the game for the least frustration as you work towards solving the mystery of the madness spreading in Oakmont.
Exploration Before Story Missions
 Finding infested areas and major story locations awards bonus experience.
After completing the Frosty Welcome case and leaving the port, the whole city of Oakmont is free to be explored. Before heading off to the Expedition Headquarters to start the main story case however, you should gain some starting experience by traversing the districts to find infested areas and major locations.
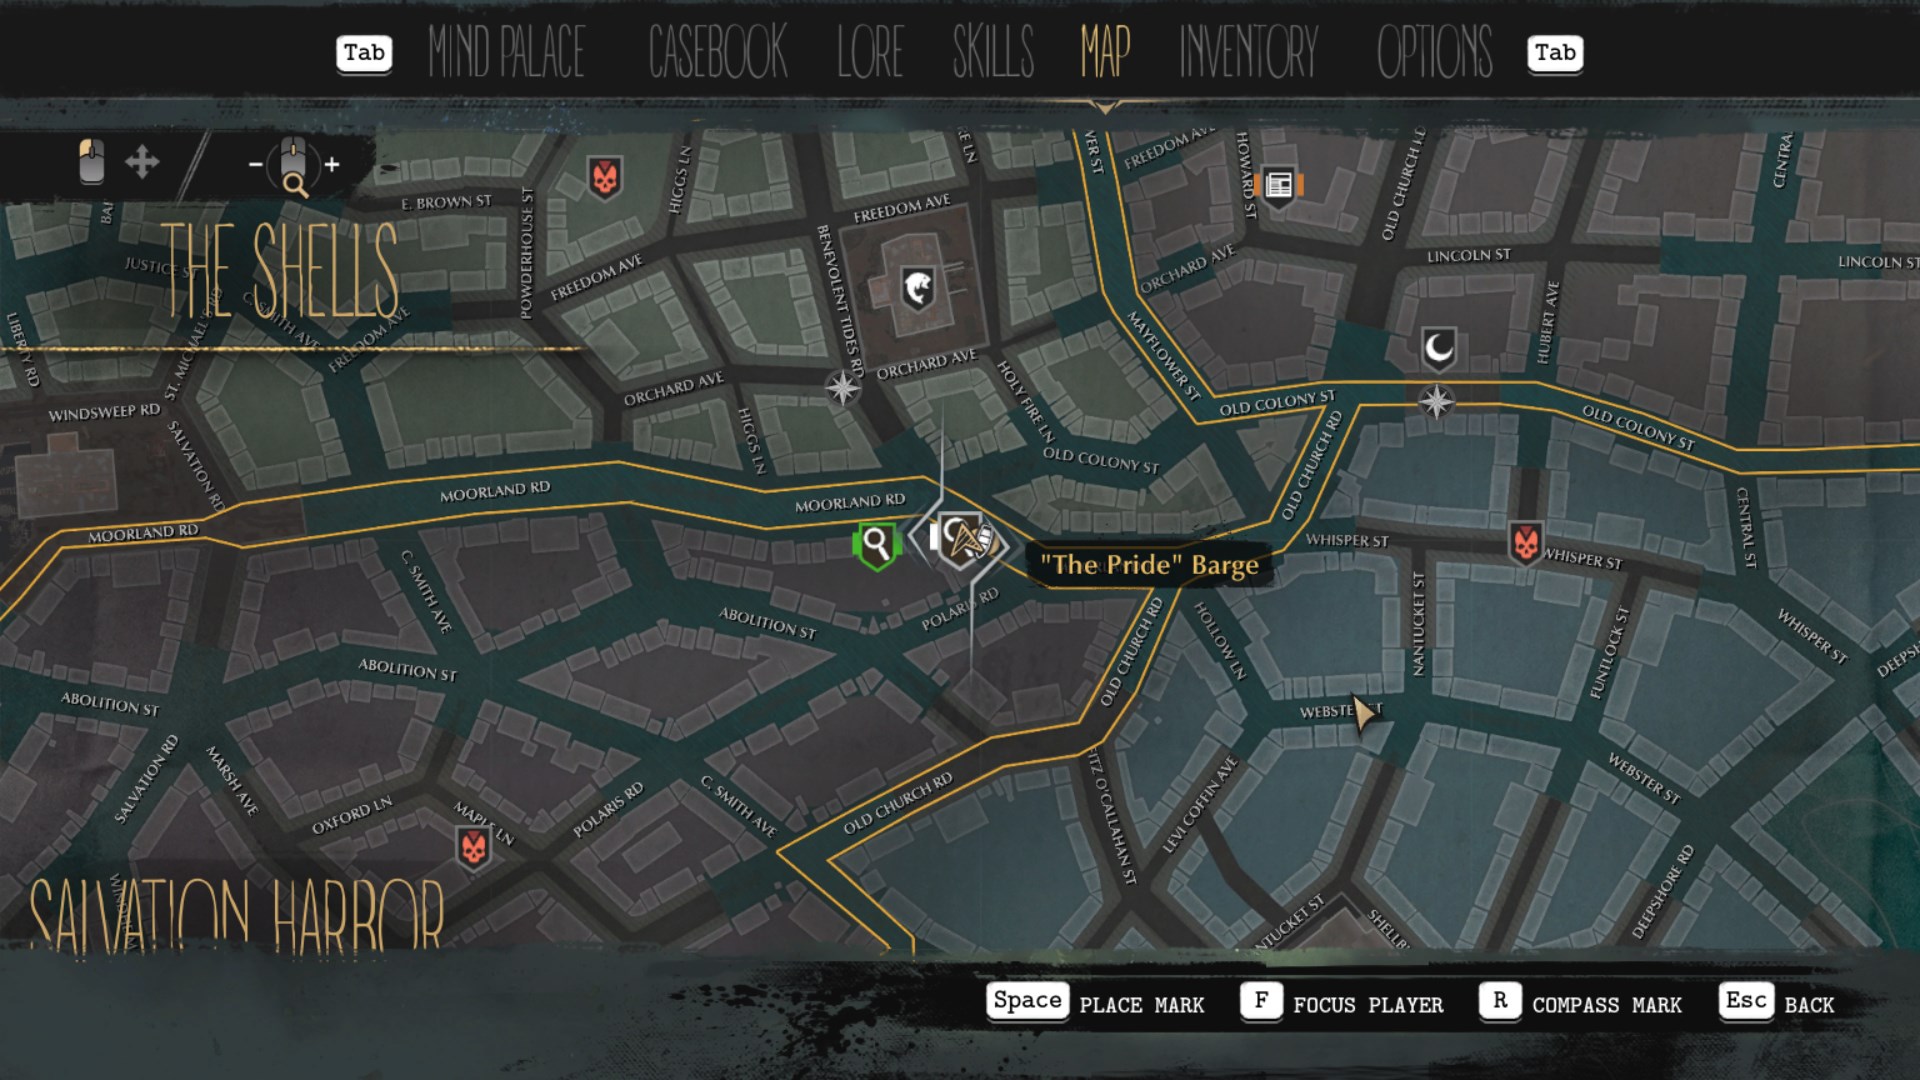
Besides leveling up through bonus experience gained by finding different areas, exploring early allows you to unlock fast travels locations in each district (see the full list of Sinking City fast travel locations here).
I strongly recommend unlocking at least one phone booth in each district early on. This makes the game much more enjoyable and less tedious in later cases so you don’t have to walk or boat your way across half the city every single time.
After leveling up, be sure to take the bonus rewards skills No Charity and Silver Tongue, as these will be critical to topping off your crafting supplies. Wondering what other skills are most useful? Check out our full Sinking City skills guide over here.
Note that near the beginning of the game, Reed receives a large collection of notes with various locations from the owner of the Devil’s Reef Hotel for the Letters From Oakmont side case. I don’t recommend hunting down those locations until you have leveled up a few times and completed a few story missions, as they tend to include large numbers of more difficult enemies with fewer rewards.
Scavenging For Supplies
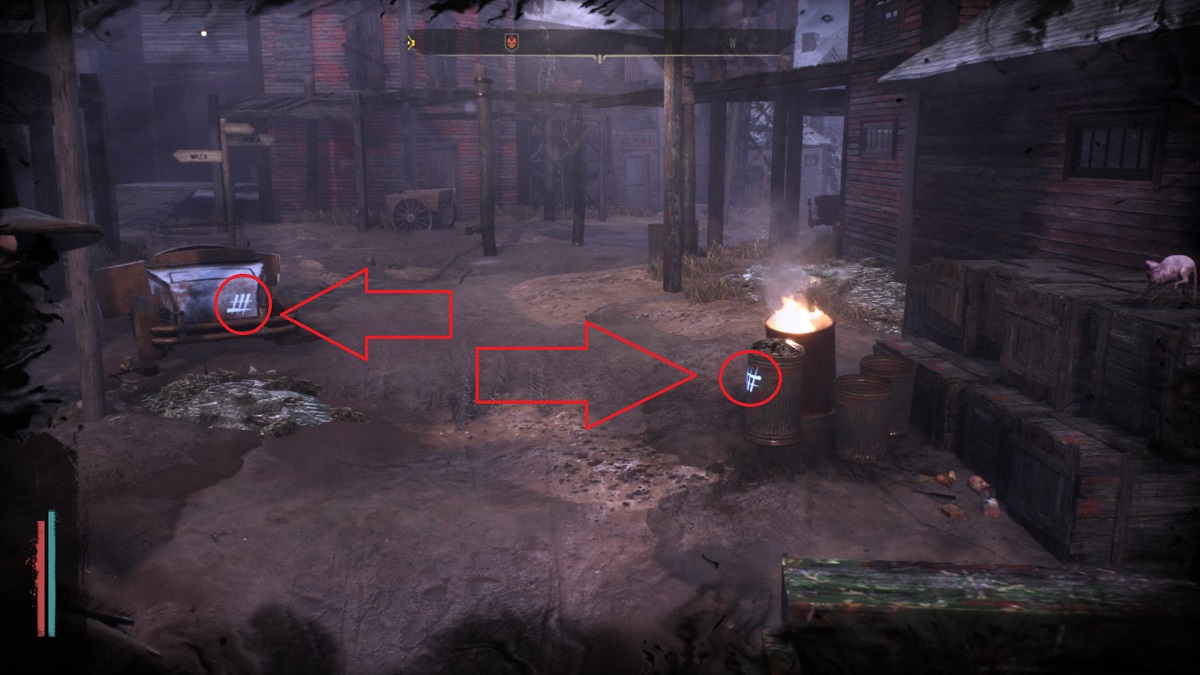 Use Mind’s Eye to highlight containers before entering an infested area
Ammo, first aid kits, anti-psychotics, traps, fire bombs, and hand grenades can only be acquired through crafting or finding items lying around while searching locations.
Crafting at the Inventory screen will unquestionably be your main method of getting more bullets, healing items, and ranged explosives, so you need to keep plenty of supplies on hand at all times.
The problem is that supplies are scarce, and the best spots to scavenge are the most dangerous. You can end up using more bullets than you acquire if you don’t scavenge with a plan.
Infested areas have the best loot, and thankfully they all have walled off sections where you can survey the street ahead from a safe vantage point.
Before jumping down into an infested area, make sure to activate Mind’s Eye mode to highlight containers with crafting materials. When you know where to go, make a beeline towards one or two containers, then high tail it to the exit and don’t stop to fight anything.
If you don’t get all the supplies you need from the first two containers, you can try your luck running down an alley or entering a building, but if you’re low on health, just leave the location and repeat the process at a different infested area.
Its better to not use any ammo or consumables at all and just run like mad across these areas, but if you get into a sticky situation (like getting stuck in a back alley), its best to only use traps in the infested zones and save your ammo for cases.
Besides scavenging infested zones, the best method for topping off your supplies is completing cases. After unlocking the two bonus rewards skills, be sure to complete the side cases available across the city.
These two side cases are both immediately available before you even start the main Lost At Sea story quest:
- Bounty of the Sea given by a fisherman near the fast travel phone booth at Deepshore Road in Grimhaven Bay who is looking for logs of missing ships
- Field Research side quest granted by the doctor at St. Mary’s Hospital in Coverside to research the wyle beasts who have begun appearing in Oakmont
While the later segments of those cases will be too difficult to complete without the shotgun and hand grenades, the first two locations for both cases can be handled with just the revolver and some first aid kits.
These are a great way to gain bonus experience and keep your supplies topped off before hitting the story missions.
Investigating Cases
 The gold and black book icon only appears if evidence can be found at an archive
Once you’ve mastered the basics of staying alive and supplied, solving the actual cases is where most players are going to get stuck. You have to find the locations on your own by reading clues, and many of those locations can only be found by researching information at an archive.
If you’re stuck, pull up your Casebook screen and take a look at the collected evidence. Anything marked with a compass means you can already go to the next location, but anything marked with the book symbol has to be further researched.
Here’s the thing though, while that symbol tells you that you need to hit an archive to find a location, it doesn’t tell you WHICH archive to search. These are the possibilities:
- The Oakmont Chronicle (Coverside)
- Oakmont Police Department (Coverside)
- Hospital of St. Mary (Coverside)
- Oakmont University Library (Advent)
- Oakmont City Hall (Advent)
In many cases this isn’t too difficult to puzzle out, as looking for an advertisement for ship crew will obviously be at the newspaper, details on a murder will of course be at the police department, and finding info on someone who was recently injured is clearly done at the hospital.
Other clues aren’t as easy to figure out and will have you blindly searching all five archives. There’s a tip off here that’s easy to miss however due to its tiny size and positioning — while browsing an archive, the book icon only appears in the top right corner of a clue if you are at the correct archive.
Don’t even bother searching anything at an archive that doesn’t have the symbol in the corner.
Note that sometimes you can’t find the right clues at archives until after talking to the major NPC at that location to get additional information first. For instance when finding the Mirrorways book and looking for clues on the mirror maker, you can’t actually unlock the archive clue to get your next location until first talking to the librarian whose mouth has been sewn shut.
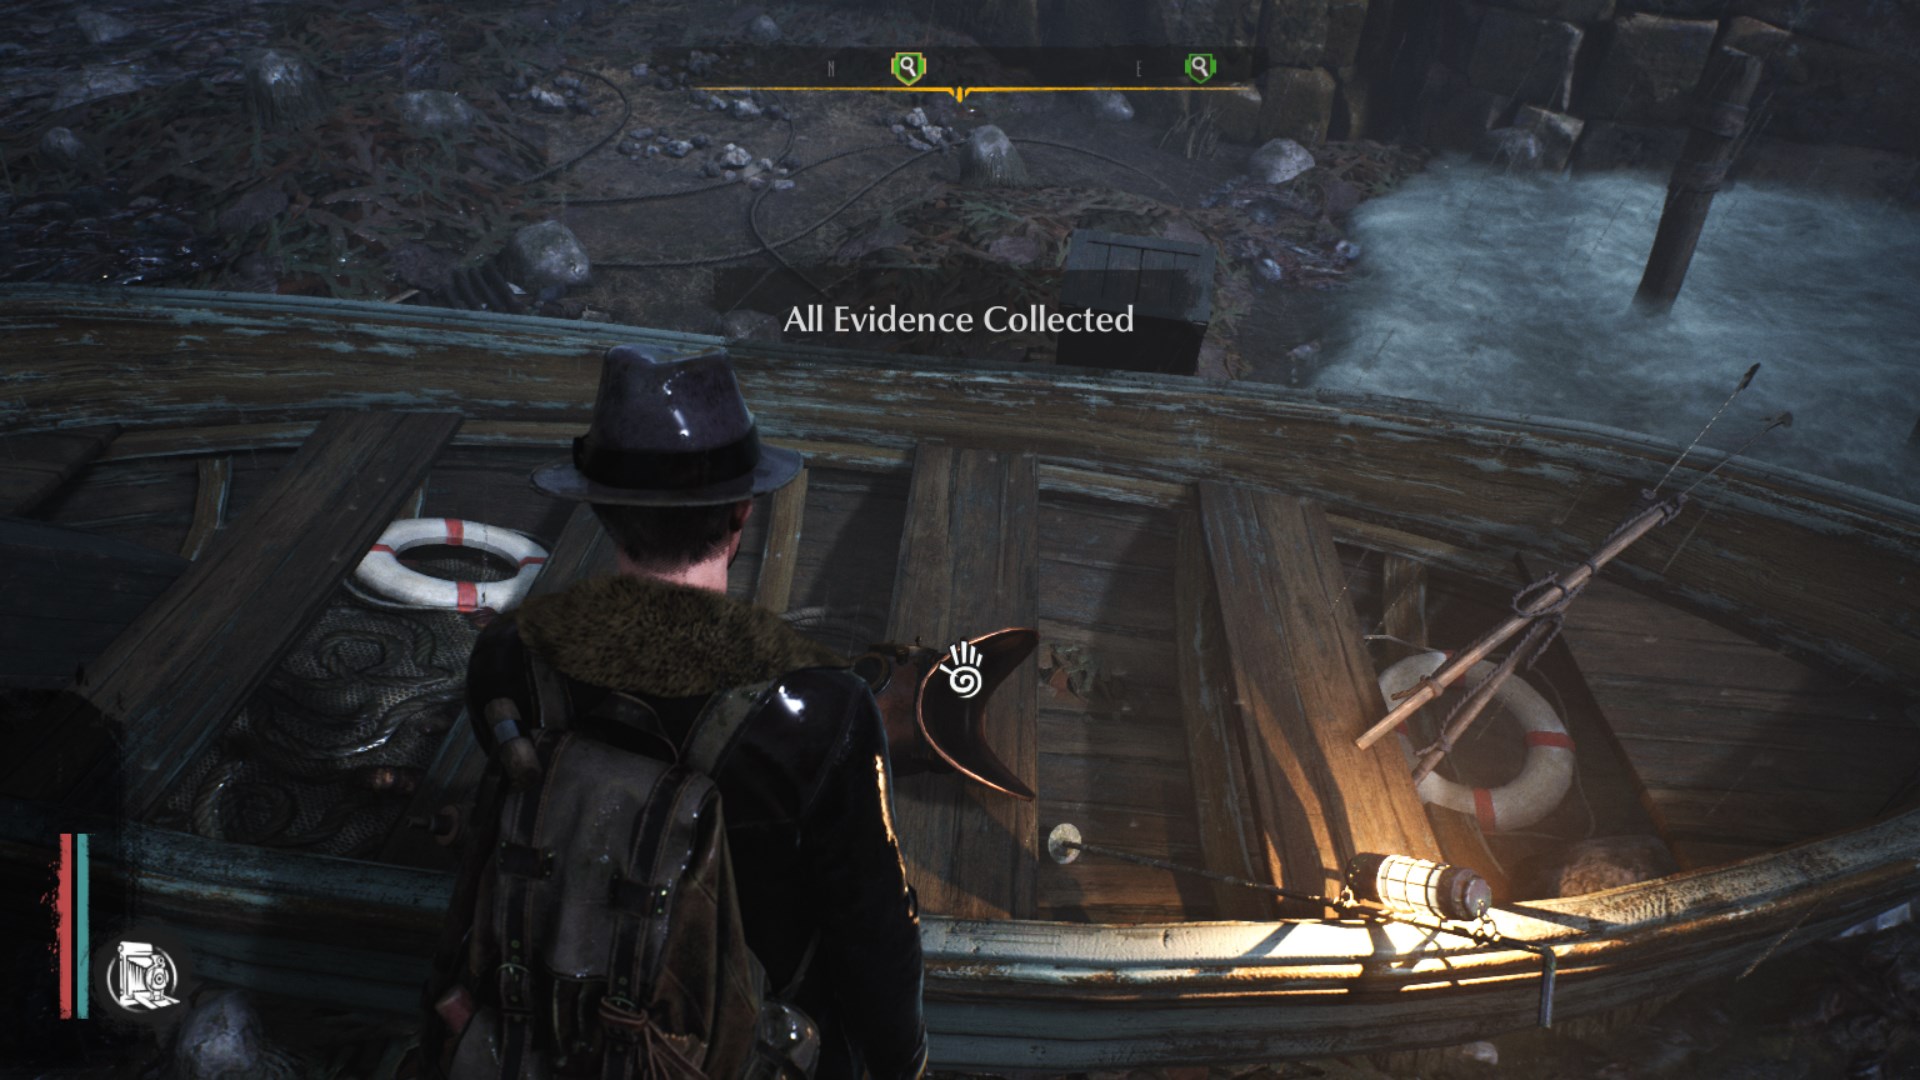
Finally, when searching any location discovered through a clue, note that seeing the message “key evidence collected” means you can move onto the next location for the case, but don’t stop there! Reed earns bonus experience for finding all the clues in any given location, making you more prepared for the harder locations to come.
Need help tracking down the final clues in a specific case, or just can’t seem to nail down a location at the archives? Sound off in the comments below and we’ll walk you through how to solve the case! If you need further help with the game, feel free to check out our other guides for The Sinking City as well.


Published: Jun 12, 2019 02:08 pm