
The Legend of Zelda: Tears of the Kingdom Hoverbike might be one of the best vehicles that you can create in all of Hyrule. It’s cheap to build and provides exceptional maneuverability. It will make exploration and traversal exponentially easier. Here’s our guide to help you build a Hoverbike in Zelda: Tears of the Kingdom.
How to Make a Hoverbike in Zelda: Tears of the Kingdom
Hoverbike Building Instructions and Required Zonai Devices
The Zelda: Tears of the Kingdom Hoverbike is quite easy to make. I’ve listed down the basic Zonai Devices that you’ll need:
- 2x Fans
- 1x Steering Stick
I know what you’re thinking, and yes: those are all the materials you’ll need to make a Hoverbike. Now for the instructions to put it together.
- Place one Fan facing down (i.e., the part with the yellow “on” button must be flat on the ground).
- Rotate the Steering Stick so that it’s diagonally upward or roughly 45 degrees. Attach it to the edge of the first Fan. If you see the “Control” button prompt, then that’s fine. If not, that means you’ll need to reattach so that there’s enough space for Link to activate the object later.
- Rotate the second Fan and have it facing down. Attach its edge to that of the Steering Stick.
Take it out for a spin. If you built the Hoverbike right, you’ll be able to lift off, steer sideways, and fly downwards. If the vehicle suddenly veers off, then you might need to adjust the attachment points or angles.
Tips on How to Use the TotK Hoverbike
Now that you’ve got your own Zelda: Tears of the Kingdom Hoverbike, here are some tips that will make using it and building future Hoverbikes easier:
- If you’ve got something that works fine enough, don’t forget to open your Autobuild menu so you can save it as a favorite.
- While the contraption is active, your Energy Cell will deplete. Ideally, you’ll want to attach a Big Battery to avoid mishaps. Be careful, however, since additional attachments can cause the vehicle to tilt sideways due to the weight, and you’ll have to adjust when controlling it.
- Instead of a Zonai Light, you can just throw a Brightbloom Seed in front for a light source.
- While it’s very cost-effective, you should probably dupe Zonai Devices so you’ve got more items to spare.
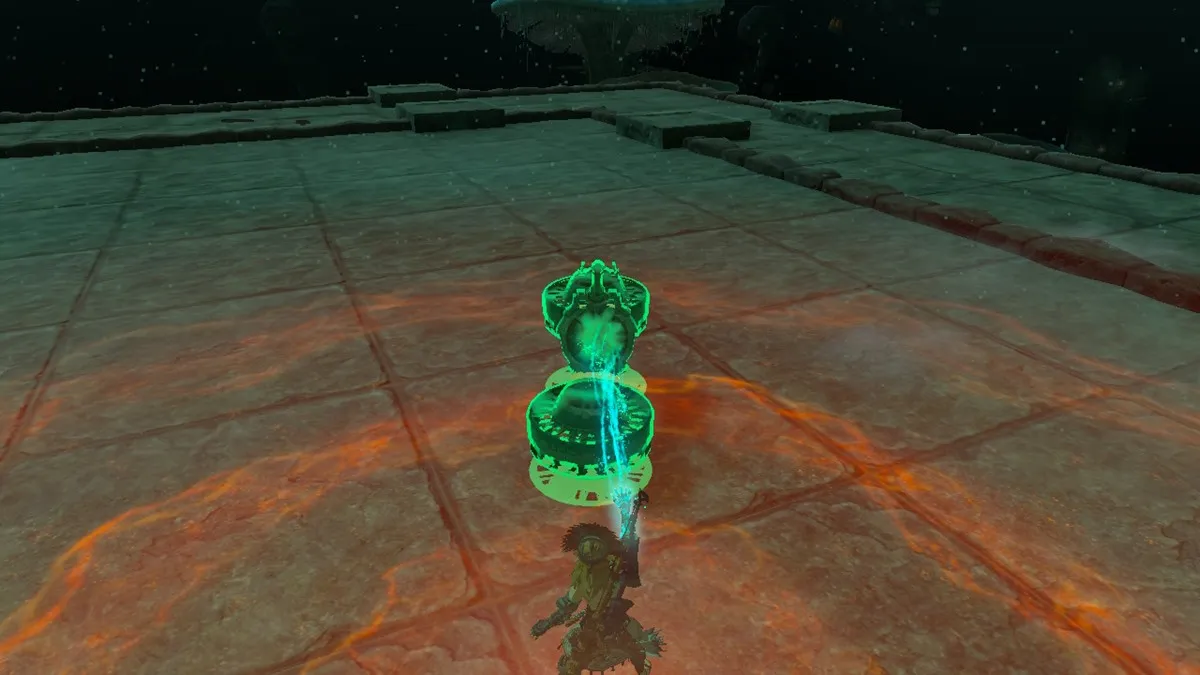
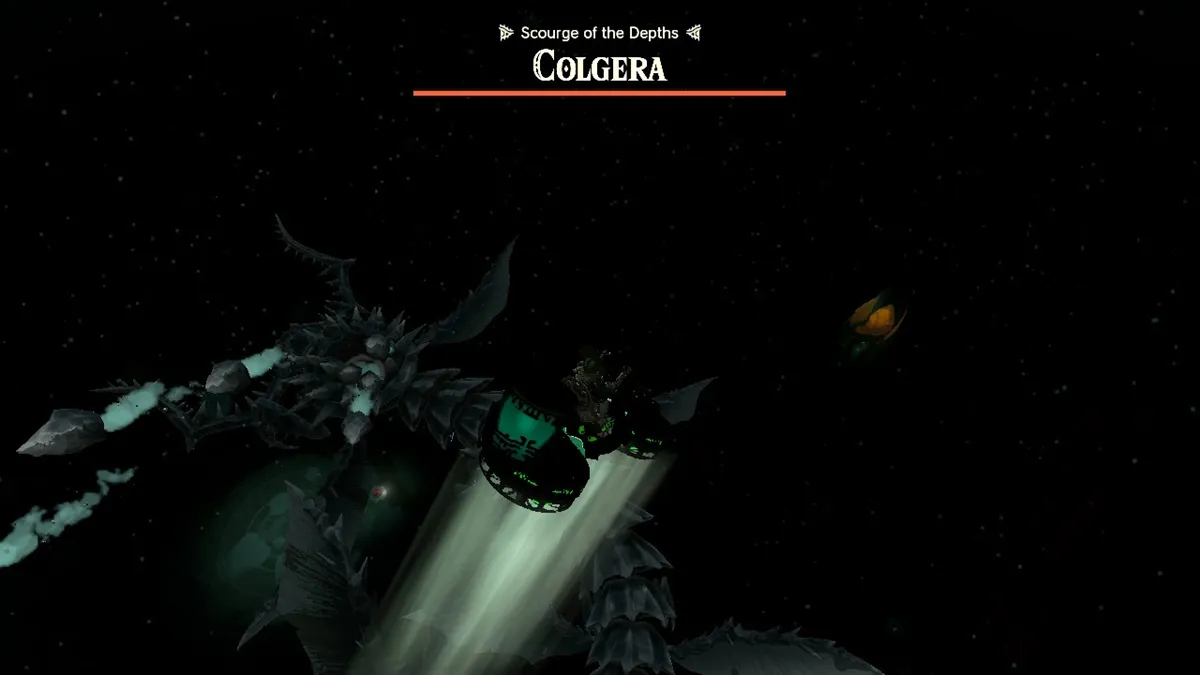
- The vehicle is great for exploration in the Sky, Surface, and especially the Depths, where you’ll be searching for Lightroot locations and Forge Constructs.
- As you can see in the two images below, the Hoverbike lets you avoid boss fights and quickly traverse hazardous environments, too.

I think that the TotK Hoverbike is one of the most amazing makeshift vehicles in the game due to how easy it is to build and fly. I’m sure you’ll agree once you get the chance to try it out in your playthrough. Likewise, be sure to visit our Zelda: TotK guides hub for more tips, strategies, and walkthroughs.


Published: May 30, 2023 12:14 pm