The Legend of Zelda: Tears of the Kingdom Zora Armor Set is a fairly unique among the many you can find across the game. For one thing, it’s got a cool look that’s in keeping with the water-themed nature of your humanoid shark pals. Another reason is that wearing it lets you climb up waterfalls. Here’s how to get the Zora Armor set in Zelda: Tears of the Kingdom.
How to Get the Zora Armor Set in Zelda: Tears of the Kingdom
You can get the full Zora Armor set in Zelda: Tears of the Kingdom when you arrive in Lanayru. Here are the main steps:
- For the Zora Armor, start the Regional Phenomena main quest in Lanayru, Zora’s Domain.
- Start the quest called “Restoring the Zora Armor.”
- Speak to the blacksmith, Dento.
- Go to Mipha Court and find the Ancient Arowana.
- Bring the Ancient Arowana back to Yona.
- For the Zora Helm, finish the Lanyru Regional Phenomena quest.
- Start the sidequest called the “Never-Ending Lecture.”
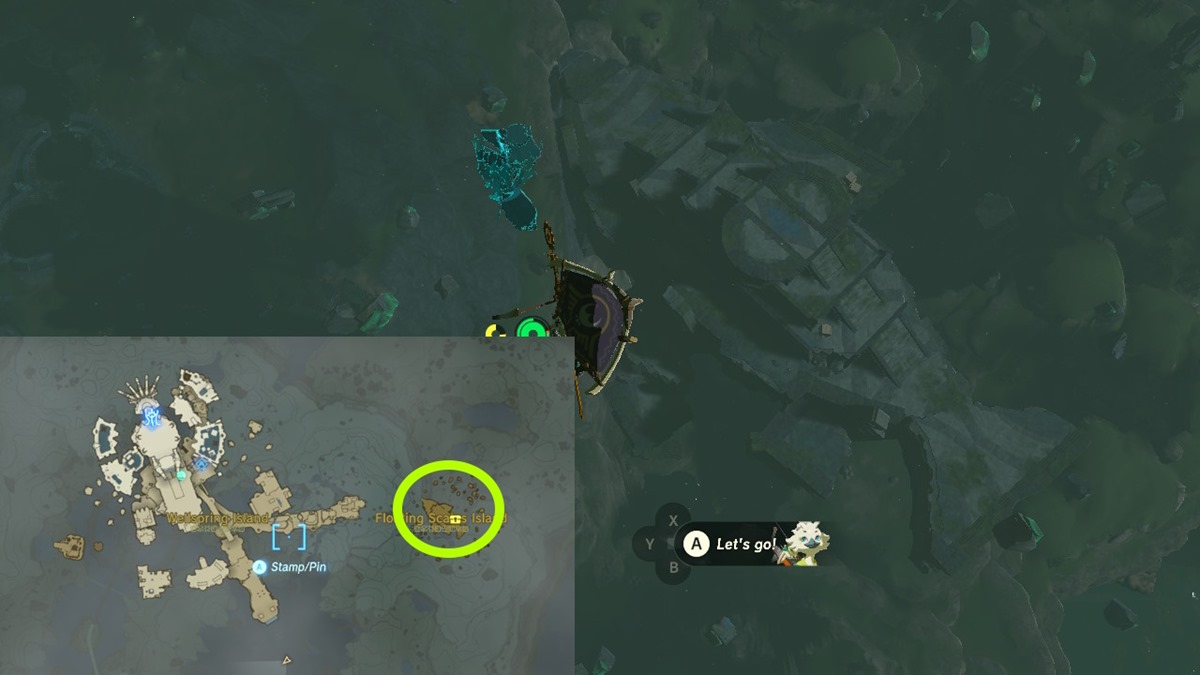
- Go to Floating Scales Island.
- For the Zora Greaves, start the sidequest called “A Token of Friendship.”
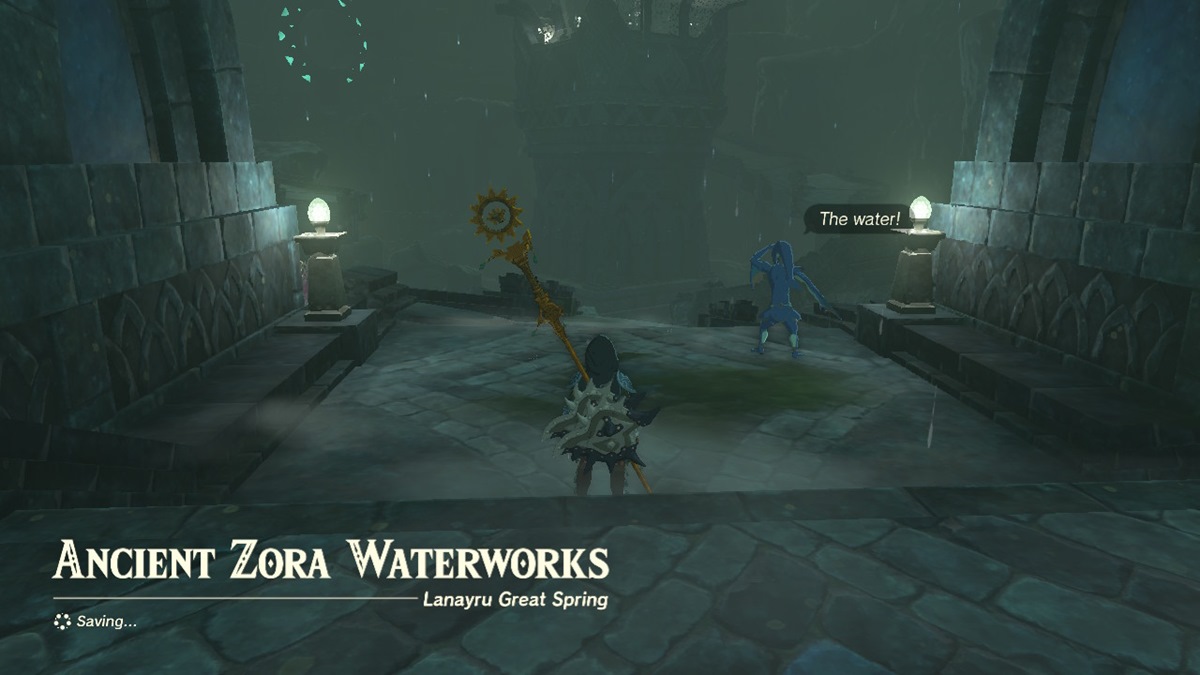
- Go to the Ancient Zora Waterworks.
Where to Find the Zora Armor and the Ancient Arowana Location
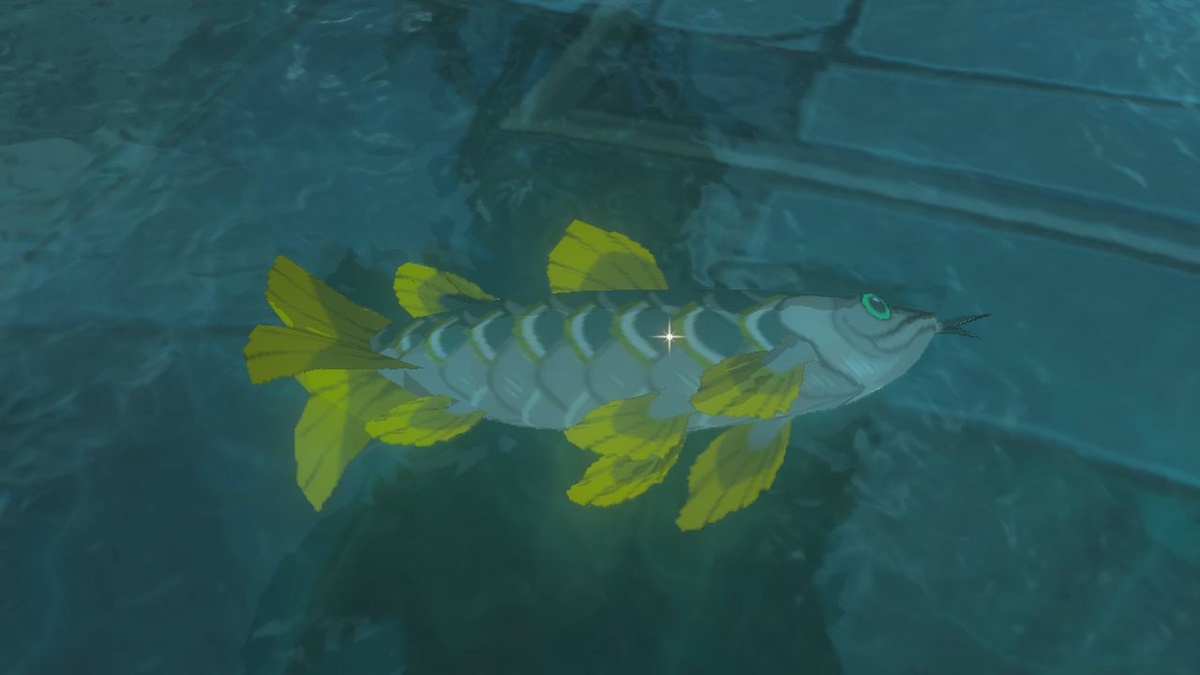
One of the quicker objectives you’ll have in conjunction with the main quest is called Restoring the Zora Armor. It’s given to you by Yona, Prince Sidon’s beloved. Yona wants you to find an Ancient Arowana, though no further details are provided.
To find the Zelda: Tears of the Kingdom Ancient Arowana for the Zora Armor, you’ll need to talk to the blacksmith, Dento, who can be found in the general goods store in Zora’s Domain. He says that an Ancient Arowana might be found in Mipha Court. However, if you don’t see it yet or if Dento isn’t sharing any info, I suggest advancing the quest further (i.e., meeting King Dorephan or discovering the Clues to the Sky).
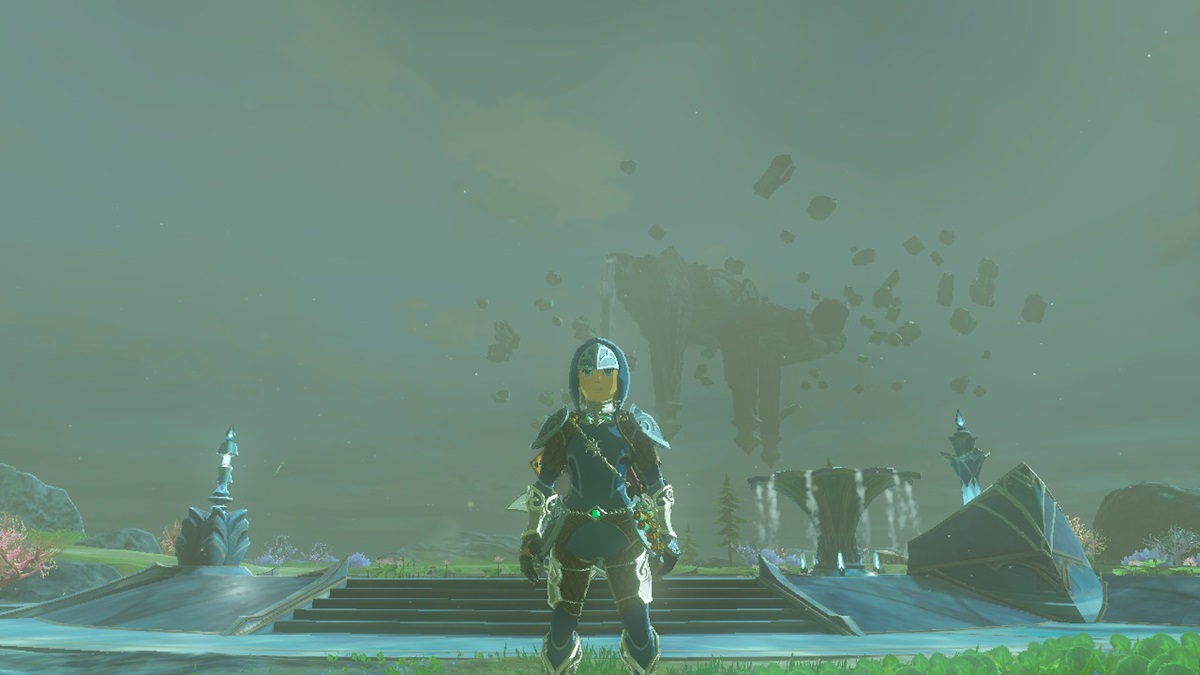
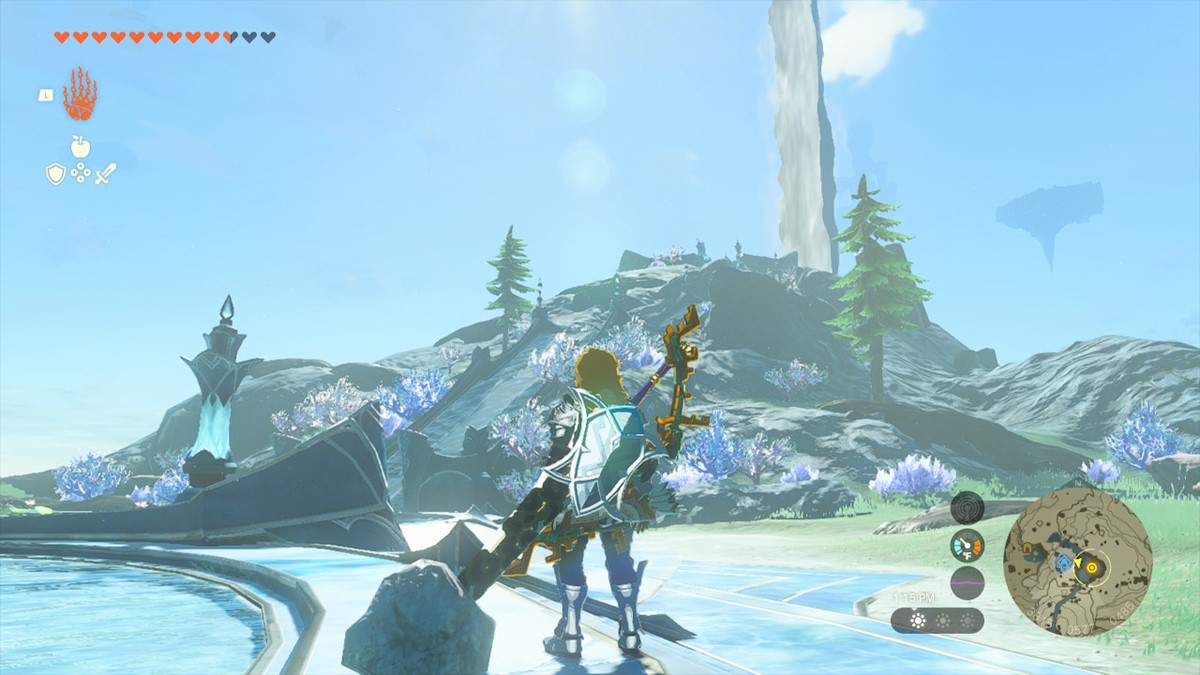
Return to Mipha Court (the same place where you’d meet with Prince Sidon for his branch of the main quest). Go to the top of the steps, and you’ll see a fountain. There, you’ll find an Ancient Arowana. Bring it back to Yona, and she’ll happily hand over the TotK Zora Armor. You’ll need to equip this so you can climb up waterfalls. This is important since the next portion of the quest takes you to the Water Temple.
How to Get the Zora Helm
For the Zora Helm, you’ll need to complete The Never-Ending Lecture. It’s a side quest given by Chroma, who’s near Zora’s Domain plaza. However, you won’t receive this quest until after you’ve completed all the objectives in the Water Temple. Essentially, you need to finish the Regional Phenomena in Lanayru / Zora’s Domain first.
Once you have The Never-ending Lecture, return to Floating Scales Island. It’s the same place where you did the Clues to the Sky quest (i.e., that floating fish island in the sky). If you’ve forgotten where it is, you can climb the floating island’s waterfall east of Mipha Court or glide east from the Water Temple.
How to Get the Zora Greaves
Last but not least, there’s the Zora Greaves, which can be found in the Ancient Zora Waterworks. We discuss this further in our A Token of Friendship guide.
Do it all, and the Zelda: Tears of the Kingdom Zora Armor Set should be yours in no time. Each item has a +3 armor rating. As an added benefit, wearing just one increases your swim speed and lets you climb up waterfalls. The full set itself just looks really cool. I suggest pairing it with the Lightscale Trident, the unique weapon you can get from this region. You can learn more in our Glory of the Zora/Lightscale Trident guide.
That’s how to get the Zora Armor set in The Legend of Zelda: Tears of the Kingdom. For more tips and walkthroughs, visit our Zelda: TotK guides hub.


Published: Aug 21, 2023 02:42 pm