Combat in Thymesia is fast, frantic, and brutal, but it’s also more complicated than other Souls-likes. Just dealing damage isn’t enough to defeat your foes, and bosses take much, much longer to take down if all you do is swing your Saber at them. You’ll need to inflict Wounds to speed things up.
The optimal combat strategy is to damage an enemy’s white health bar enough to reveal their glowing Wounds bar. Wounds are a separate damage type unique to Thymesia and are central to its combat, both from an offensive and defensive standpoint.
In this Thymesia guide, we’ll go over how Wounds work and how you can defeat enemies more easily by leveraging their effects.
Wounds Explained
At first glance, Wounds seem to take their cues from Sekiro‘s Posture system, as both lead to a deathblow state (Execution here) and require a concerted effort to apply properly. That comparison isn’t undue, but it is not how Wounds work in this Souls-like.
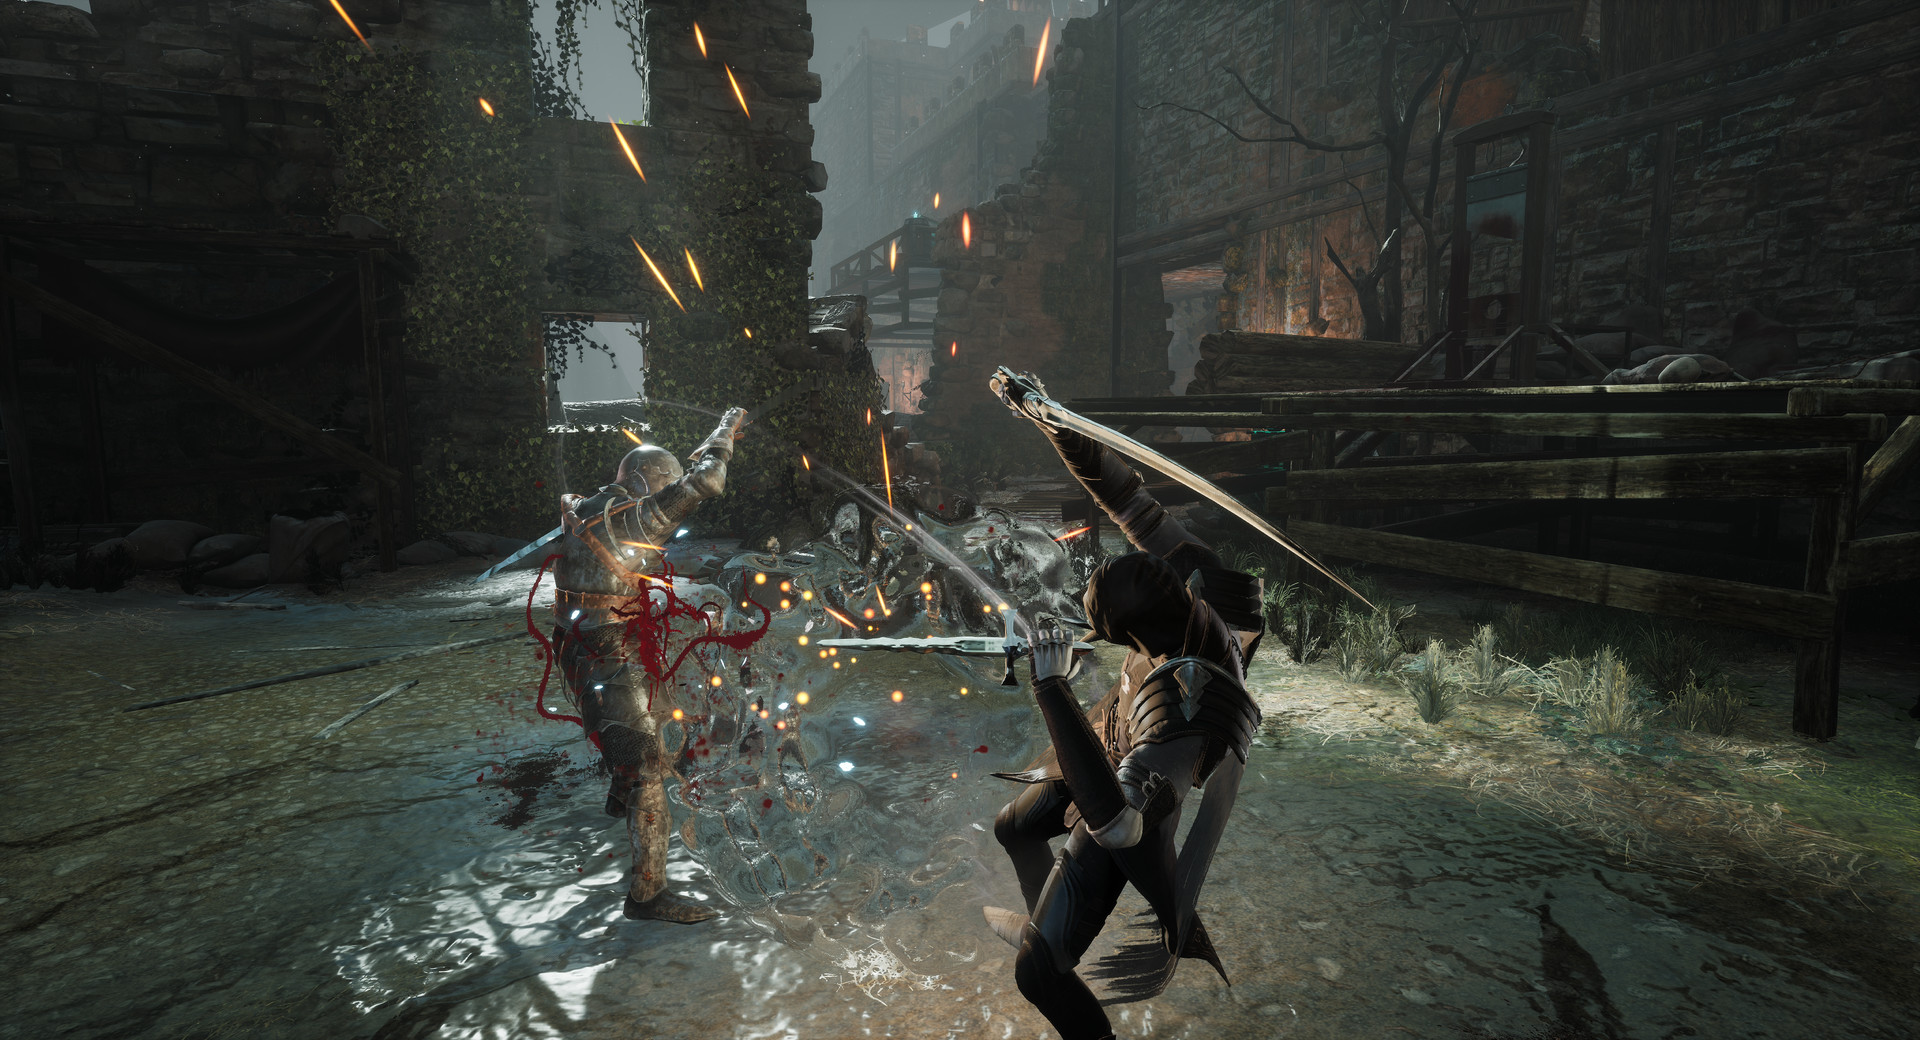
Instead, whenever you hit an enemy or successfully Deflect their attack, you will deplete their white Health bar, revealing a glowing green Wounds bar.
Wounds are an enemy’s “true” health; if you allow the Wounds to sit unaffected for several seconds, the white Health bar will begin to refill. Even if you reveal an enemy’s entire Wounds bar but do nothing to deplete it, your foe can be back to full strength in a matter of moments.
That’s where your Claw attacks come in. Bound to Right Trigger and coming in both a short and long variety, Claw attacks are your primary means of depleting Wounds bars. The strategy, then, is to deal as much damage as possible in a single attack combo, drain the Wounds bar, and return to attacking with your Saber.
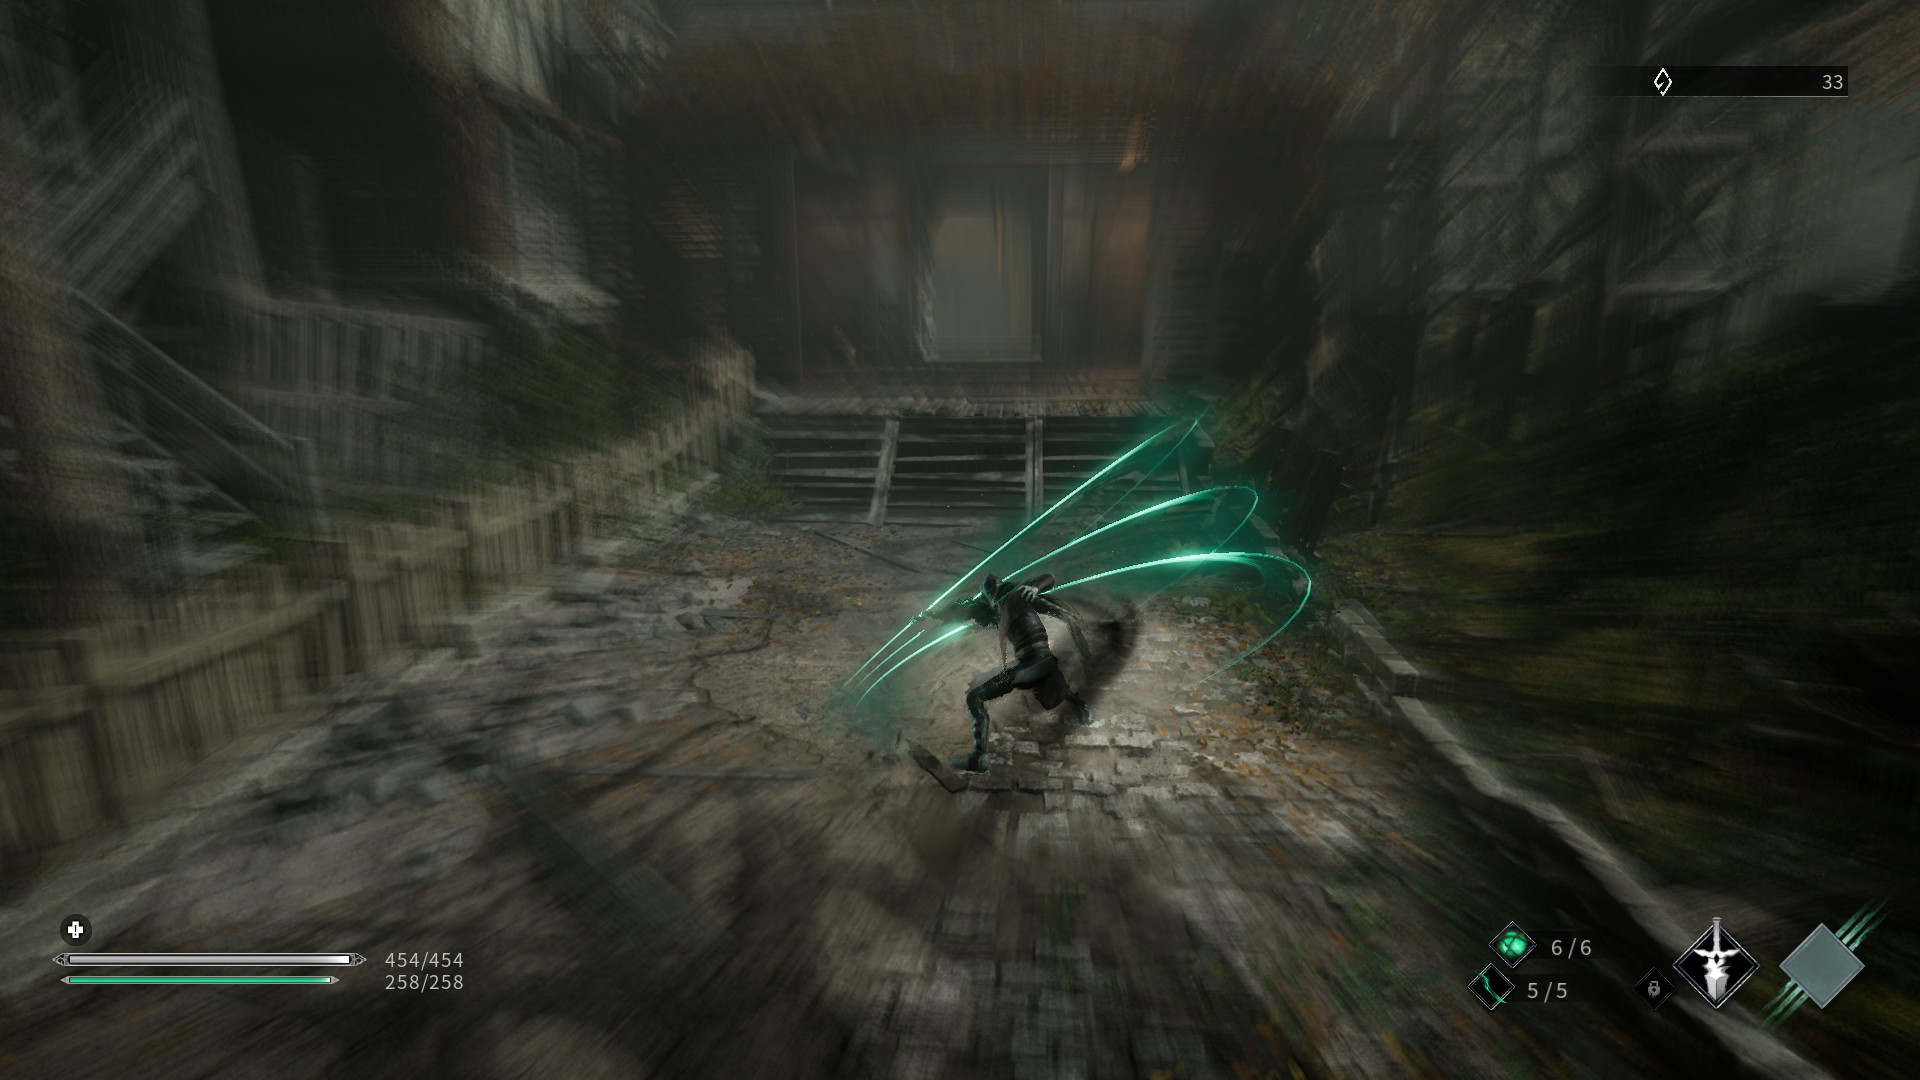
Your Claw damage is tied to your Plague stat, so the higher that is, the more you’ll deplete Wounds bars. Your Saber damage is linked to your Strength stat, as is the severity of Wounds you deal. You’ll likely prioritize one over the other as you level up, but try to put a few points into whichever you don’t choose to improve.
How to Deflect Enemy Attacks
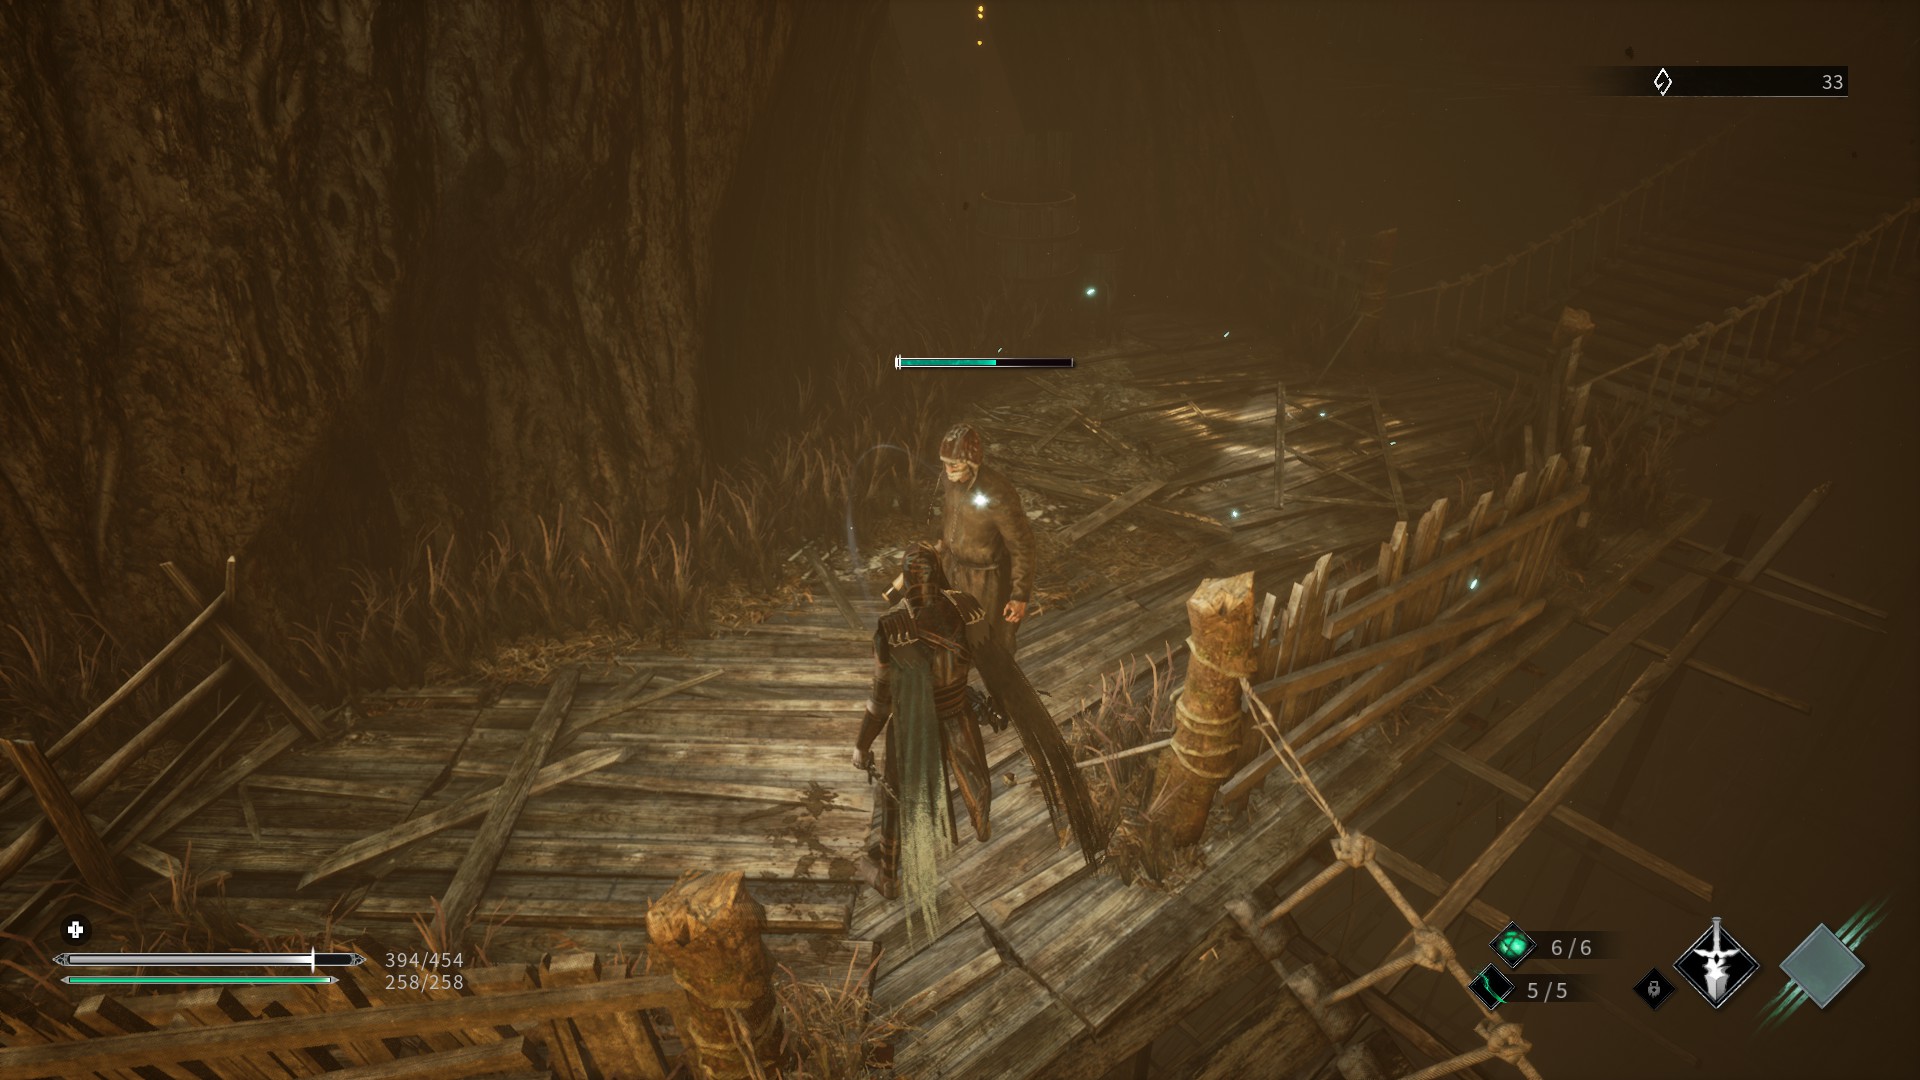
Thymesia‘s most direct Sekiro influence is its Deflect mechanic. Almost every enemy attack, except their red-colored Ultimates, can be Deflected. Pressing Left Trigger just as the enemy’s attack lands acts as a pseudo parry mechanic and will instead negate the damage you take and deal Health damage to your opponent. Deflecting does not put your foes into a stun state — it doesn’t even stop their onslaught. However, because it applies to all attacks except Ultimates, it allows you to keep up the pressure even when you’ve exhausted your Saber combo.
There’s also the Feather attack, which directly counters Critical Attacks. When an enemy flashes bright green, they’re charging a Critical. Just before the Critical would land, press Left Trigger to fling a Feather at them. This will put them into a stun state and deal significant Wounds damage, giving you a few seconds of free damage.
Depending on its speed and effects, you can also use this time to activate a Plague weapon. If your Plague weapon also applies stun, save it for times other than Critical punishing. Something like the Knife is a great option, as it deals increased Wounds damage.
Learning how to attack, Claw, Deflect, and Feather is to master everything about combat in Thymesia. Expect to die a few times as you learn the timing for each attack, but don’t be discouraged. Every enemy in the game is learnable from top to bottom, and the best players will be able to breeze through any fight without taking a single hit. For more content on Thymesia, check out our guide on how to level up fast, upgrade Potions, and get Forgotten Feathers. Our guides hub for Thymesia has even more.


Published: Aug 4, 2022 03:55 pm