The Blood of Lathander is a legendary mace that you can pick up near the end of Act 1. While there are multiple steps involved and plenty of traps to get through, the weapon is an upgrade worth the time needed to obtain it. In this guide, we’ll go over how to get the Blood of Lathander in Baldur’s Gate 3.
How to Get the Blood of Lathander in Baldur’s Gate 3
The Blood of Lathander can be reached two ways: by dealing with the Inquisitor in the Githyanki Crèche or by completing the ceremonial weapon puzzle. Having the Dawnmaster’s Crest will make the end portion easier.
Get the Dawnmaster’s Crest
First, you’ll want to get the Dawnmaster’s Crest by finding the Ceremonial Weapons and putting them on their proper pedestals while you’re in the Rosymorn Monastery. It isn’t required, but it’ll be useful later.
Face the Inquisitor and Rotate the Statues
The next step towards getting the Blood of Lathander is to continue the “Find the Githyanki Crèche” quest until you confront the Inquisitor. After the battle, head to the room on the left to find two statues. Interact with the statue on the right until it’s facing down. The statue on the left is jammed, so use Grease and turn it until it’s facing up. This opens a hidden door that you need to go through.

First Hidden Chamber
Head down the stairs and into the first chamber, where there’s a barrier blocking the path. To the left of the door, you’ll spot an energy source. Destroy it, and the barrier will vanish so you can move to the next room.
Second and Third Hidden Chambers
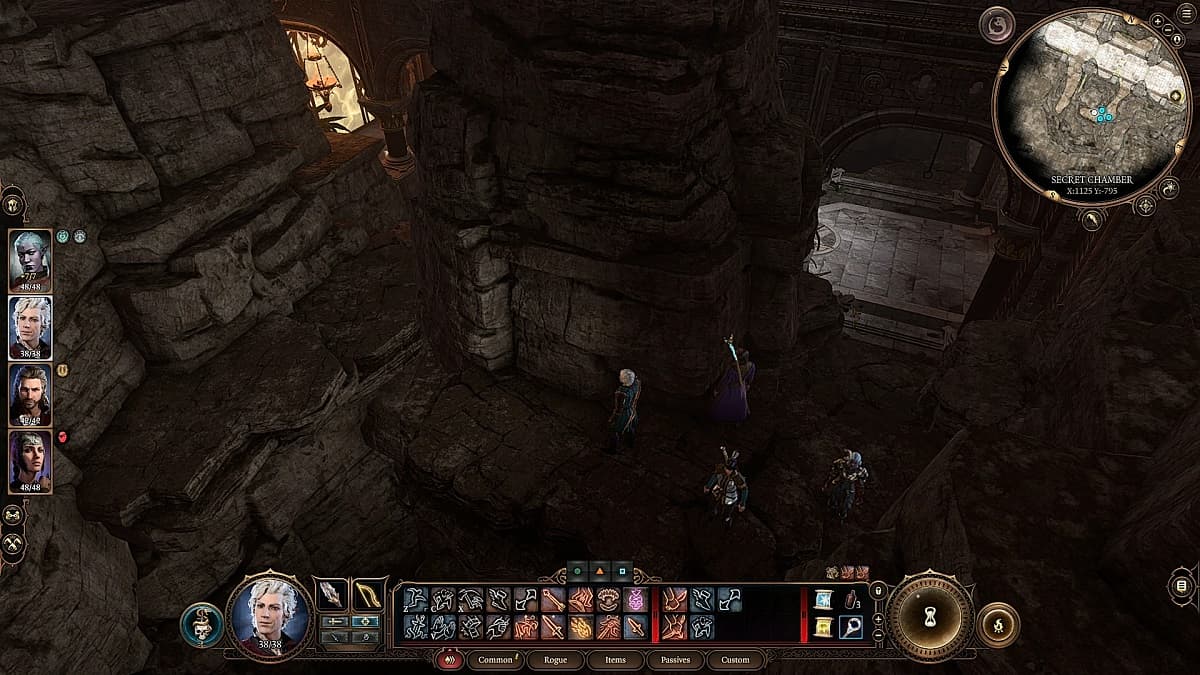
Send your stealthy party member who’s good at Sleight of Hand into the next chamber first. They can disarm the trap (DC 14) without triggering it and potentially killing the party. Then, head to the left of the trap to find a passage on the rocks that takes you to the next chamber. There isn’t an energy source to destroy for the barrier between the second and third chambers.

Disarming the trap is a bit easier because you’ll enter the chamber behind it. You can take care of that right away. Then, you’ll head across the chamber to the north side to find the energy source for the third barrier below on the cliffside. Hit it with ranged attacks, and you can enter the final room.
Insert the Crest and Take the Blood of Lathander
Head to the center of the room and interact with the Crest Panel to place the Dawnmaster’s Crest in it. You’ll see a cutscene and receive the Blood of Lathander. If you pick up the mace without the crest, you’ll have to deal with the defense system, which gives you a limited number of turns to destroy a set of crystals to escape with the weapon.
You’ll have four turns to destroy the crystals that power the device. It’s a tough task. At this point in the game, you’re likely not yet at Level 4 with your magic users.
- The best way to destroy the mechanism is to position yourself so two characters can reach one side and one character takes the other.
- Mind that your main character is locked inside the device, so they’re unusable.
- That means three characters need to take out four crystals in four turns. Saving mid-fight is heavily suggested (there’s no shame in doing so). Failing this segment leads to instant death via a cutscene, which, while cool to see, isn’t the outcome we are looking for.
Once you get your hands on the mace, it’s time to equip it to Shadowheart or, if you’re a cleric, equip it yourself.
Why You Need the Blood of Lathander
It’s an incredible weapon that will come in handy in Act 2 as you fight tons of undead. The reason The Blood of Lathander weapon becomes so important is due to its Lathander’s Light ability, which blinds all undead near the wielder.
Best of all, it has the Sunbeam spell. Although it’s only available after a long rest, Sunbeam dishes out 6-48 damage and is a devasting weapon against undead enemies that you will soon encounter in the cursed lands.
And that’s how to get the Blood of Lathander in Baldur’s Gate 3. It can be time-consuming to get this weapon, given the traps and having to grab the crest as well. But adding a legendary mace to your items when heading into Act 2 is useful. For more content, check our BG3 guide hub for topics like should you enter the Astral Prism and how to get the Spellsparkler.


Published: Oct 4, 2023 07:03 pm