
Throughout the Season of the Wish weekly quest story in Destiny 2, you’ll need to complete named missions to progress. Knowing how to complete Polysemy, the first such mission, will help you complete all the others to come.
How to Complete Polysemy in Destiny 2 Season of the Wish
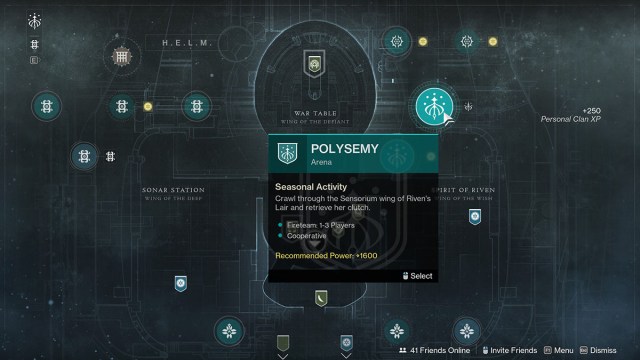
Before you can start Polysemy, you need to progress to step five of the Wishing All the Best weekly story mission. Then, you can launch the mission from the H.E.L.M. Director node. It will be on the right side of the map screen, above Riven’s Lair.
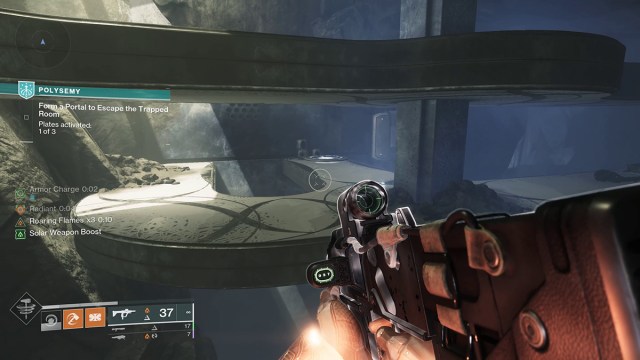
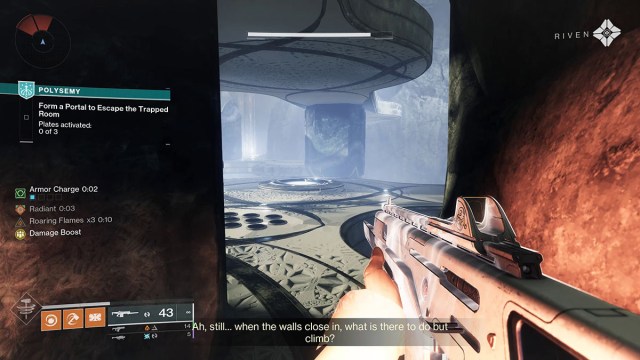
Once in Polysemy, take a left at Riven until you reach a room with three inactive portals and three plates. If you’re playing solo, you only need to step on one plate. If you have teammates, everyone must stand on a plate to activate the portal into the activity.
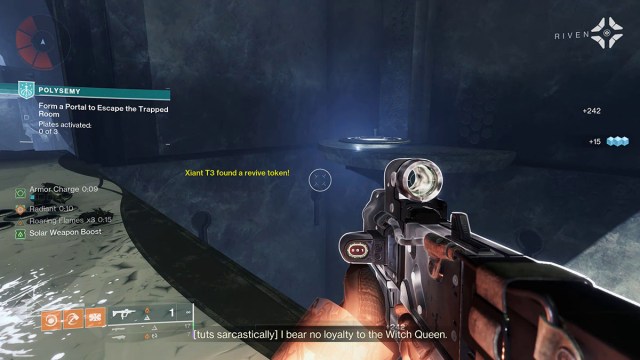
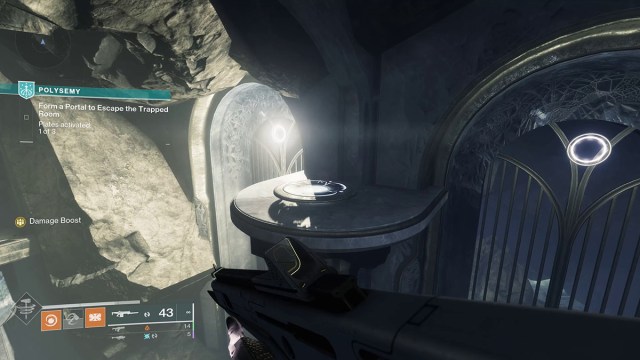
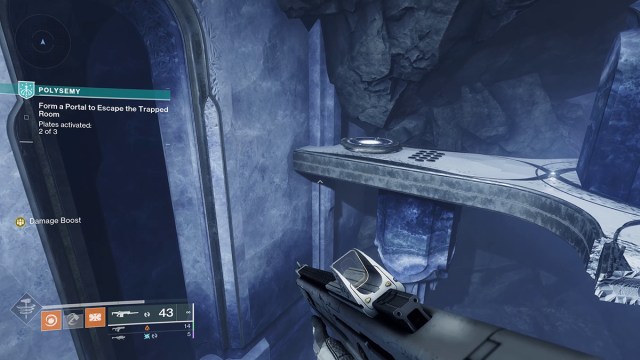
With Riven behind you, you’ll need to complete three pathways, each with a traversal challenge in between. Polysemy’s traversal is particularly annoying, as you’ll be forced to avoid tons of insta-death spikes. To open the portal at the end of each traversal section, you need to step on and activate three plates — the same kind you used to start the run.
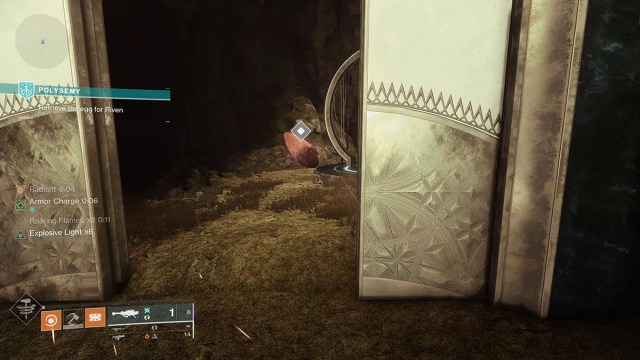
You’ll find the first set of plates at the following locations:
- At the far end of the room on the righthand wall. The plate is protected by a push hazard that will send you straight into a set of spikes if you let it.
- On the right of the opening leading to the second part of the traversal challenge. It’s at the far end of the room against the back wall. Beware the spike trap on the right side of the platform.

- In the second room, past the push wall and to the right of a pair of Hobgoblins, guarded by a spike trap.
With all three plates active, you can proceed to the first encounter.
How to Complete the First Encounter in Polysemy: Garden of Plenty
There are three steps to completing the first encounter in Polysemy. First, you’ll need to clear out all the Vex that spawn. None of them are particularly threatening, but there are a lot of them, so bring a subclass that can easily clear rooms. I went Solar Titan.
The second step requires you to defeat the glowing white Arc-Charged Minotaurs to make them drop Arc Craniums. The Arc Craniums allow you to shoot a laser that deals damage to the Vex cubes holding the central cage in place.
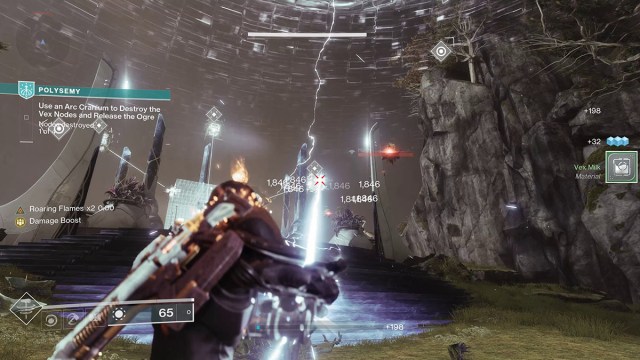
Each cube takes about 60% of a Cranium’s charge to destroy, so you’ll need three or four of them to destroy all the cubes.
The final step of this encounter is defeating the Taken Ogre boss the Vex was holding captive. I used a Burning Maul one-shot build to almost insta-kill it, but if you have an Ignition build with something like Dragon’s Break, a Strand Titan, Blade Barrage Hunter, or any other burst Super or abilities, the ogre should go down pretty quick.

Once the boss is dead, the portal behind it will activate, and you can proceed to the next traversal section. I have bad news: there are more spikes.
Here’s where to find the plates:
- The first plate is on the lower level just below the platform you enter the room from. There’s a spike trap directly in front of it.
- The second plate is on the far left side of the room on a high platform sticking out of the wall.
- The third plate is directly to the right of the entrance to the room. It’s safest to approach from the back of the area, as there are fewer spikes to deal with.
All three active plates will open the portal to the boss fight.
How to Beat the Boss in Polysemy
The boss fight for the Polysemy mission is an iteration of the previous encounter. The boss, a huge Vex Hydra, is protected by an immunity shield. Defeating the Arc-Charged Minotaurs once again makes them drop Arc Craniums, which you can use to deplete the boss’s shield.
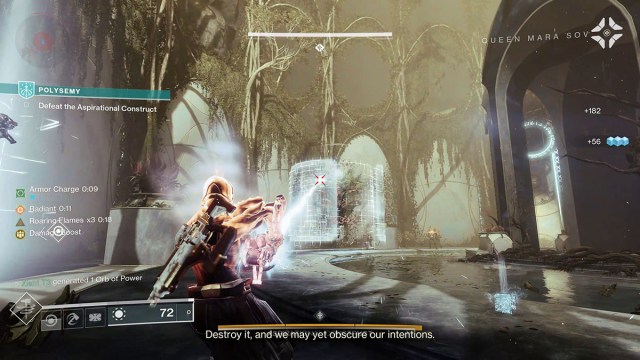
You’ll need to use at least two Craniums to crack the shield. Do that, and the boss will be vulnerable, letting you and your fireteam (if playing with one) do damage. Two wrinkles, though:
- With the boss’s shield down, mobs will start spawning infinitely, and they’ll rush at you wildly. Among the mobs are exploding Supplicant Harpies. You’ll know them by the beeping sound they make as they approach. Destroy them to give yourself some breathing room.
- The boss can Detain you, trapping you in an energy cage you need to shoot and destroy before you can continue the fight. There will be a five-second Imminent Detain countdown on the left side of the screen before the detain itself happens, letting you deal with any Supplicants and other adds, so they don’t kill you while detained.
Other than those two complications, do damage to the boss however you like, but I don’t recommend being too close to it unless you have some serious damage resistance or healing. It can use its ranged attacks up close and will slam the ground (somehow), which can easily chunk half of your health or more.
Defeating the boss opens the door to the alcove hiding Riven’s Egg. Collect it to complete the mission. You can leave immediately or listen to the lore if that’s your thing.
With Riven’s egg collected, you’ll have officially completed the Polysemy mission in Destiny 2 Season of the Wish. While future missions follow a similar structure, the paths and encounters will differ. For more on Destiny 2, including all the latest emblem codes, the best Hand Cannons, and more in our D2 guides hub.


Published: Dec 15, 2023 11:48 pm