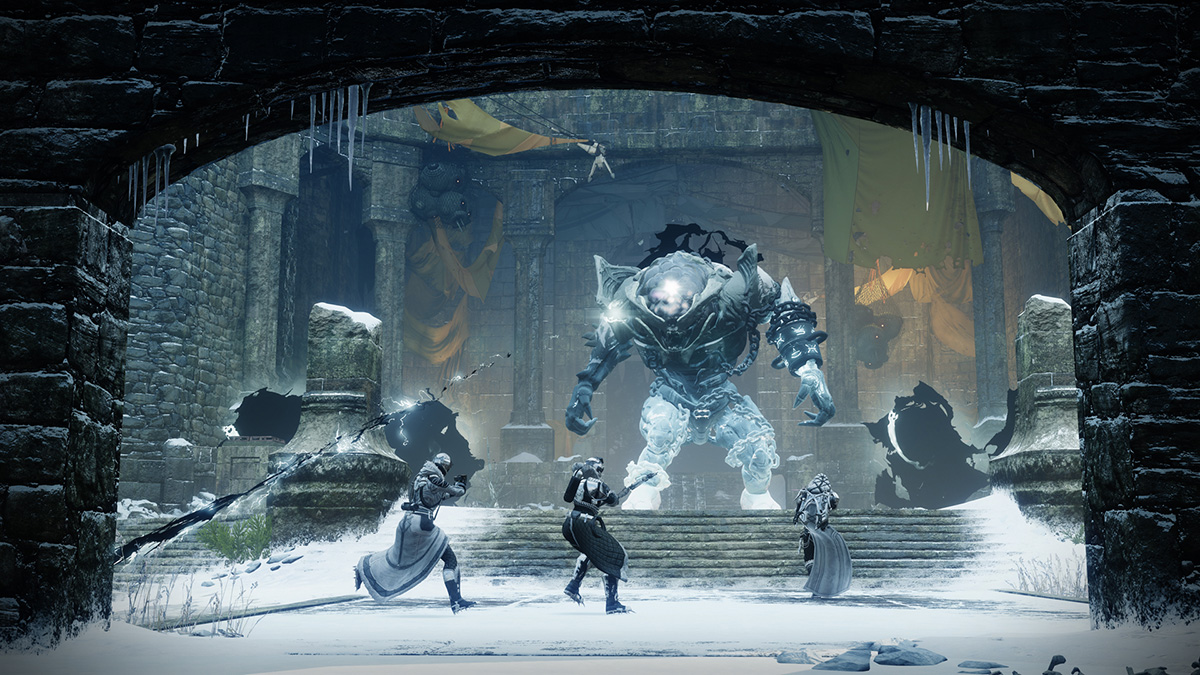
The second boss of the Warlord’s Ruin Dungeon is an expansion on the first in every way. Beating it will take everything you know about the activity’s mechanics as well as your ability to improvise and adapt. Here’s how to defeat the Locus of Wailing Grief in Destiny 2.
Best Way to Beat the Locus of Wailing Grief in Warlord’s Ruin
The fight’s basic structure for the Locus of Wailing Grief follows the first boss fight, Rathil. In fact, you need to kill a much weaker version of him to spawn the totems that enable the DPS phase. However, the Locus fight is an entirely different level of complexity compared to Rathil.
The additional complication isn’t the only hurdle. The Locus of Wailing Grief has a metric [removed on the advice of our lawyers] amount of health, at around 16 million. Yes, it’s possible to one-phase him, even as a solo player, but it takes a specialized build, some quick menuing, and a bit of good luck.
In most of the runs I’ve done with my group, all of whom have invested more hours than I have in the game, it still takes two or three DPS phases to clear the Locus. It’s not hard with multiple people, mind you, but it is chaotic.
As a final note, the Locus of Wailing Grief is a Taken Ogre, meaning its eye blasts have knockback, and one mistimed jump can easily send you sailing over the edge of the arena to your death. Ask me how I know.
As for actually killing the Ogre, Rocket Launchers are still the best DPS option in Destiny 2, especially with Solar builds running a Dragon’s Breath or the classic Gjallarhorn and two Legendaries. Pair a solid loadout with tons of ability usage, and you’ll take down the Locus of Wailing Greif easily.
How to DPS the Locus of Wailing Grief in Warlord’s Ruin
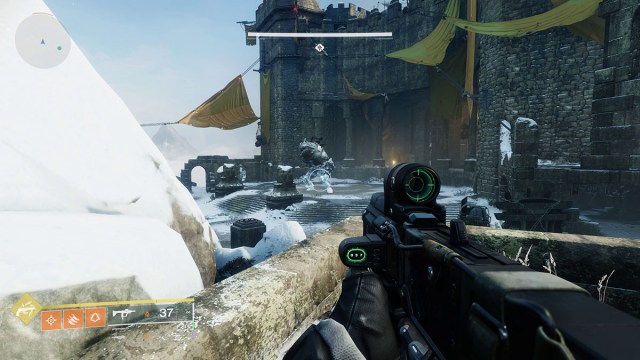
Starting DPS against the Locus of Wailing Grief has a few more steps than against Rathil. Shortly after the boss spawns, a group of six Blighted Eyes will appear in the air above him. Destroying all six will cause a message to appear in the bottom left corner of your screen: “Scorn rise to invoke their fortunes and your demise…” That message means two mini-bosses will appear on either side of the arena, both of which look like Rathil, and have names like Malaris, Second Broken Knight.

Activate the Taken Totems
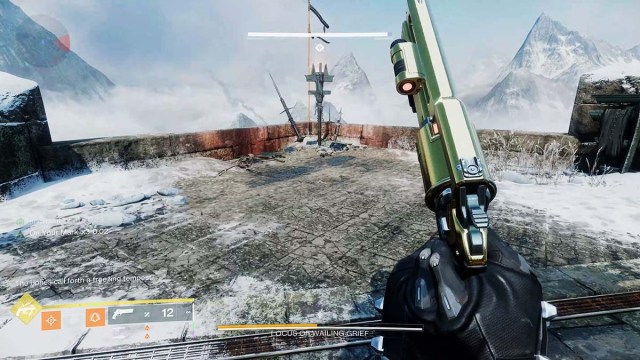
These mini-Rathils will also summon the Taken totems you need to activate by standing in the white circle around them. However, this time, your best strategy is to wait until they’ve summoned both so you easily activate them. Not only is there an Imminent Wish timer, but shortly after the mini-bosses appear, another message will appear: “The bones call forth a freezing tempest…”
The tempest picks up and causes you to gain the Biting Cold debuff. If that debuff reaches x9 stacks, you’ll freeze in place and likely die to the x10 stacks. To clear Biting Cold, stand near one of the Torches at the arena’s edge. Doing so grants the Shelter from the Storm buff, quickly reducing Biting Cold stacks and preventing others from appearing.
Carry Solar Charges
After you’ve activated any totems and the storm subsides, you’ll see the message: “A burning wish! Granted, O vengeance mine!” Depending on how many totems you managed to activate, one or more Solar Charges will appear in the braziers in the center of the upper platform. You carry these charges to the torch sconces that surround the boss.
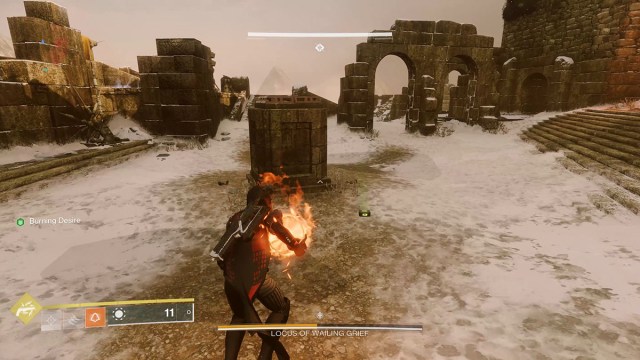
Each charge only lasts about twenty seconds once picked up, and when you deposit the fourth, the DPS phase begins. The blizzard will kick up again, and the torch sconces will provide Shelter from the Storm. They also grant Naeem’s Wish Empowerment buff, which you must have to damage the boss. Stepping out of the circle of Shelter will quickly remove Wish Empowerment, and when the timer runs out, the sconce will fade, forcing you to rotate to one of the other three until all four have been used up, or the Locus of Wailing Grief falls dead.
If you don’t one-phase the Locus of Wailing Grief, the whole process starts over. The storm fades, more Blighted Eyes spawn, and you need to activate totems and dunk charges again. This process repeats as many times as needed to either die or kill the boss. It can be especially painful solo because one miss-timed jump can mean death, as can a bad damage rotation with too many trash mobs about. I spent entirely too long trying to take down the Locus alone one night simply because I wasn’t careful enough.
In any case, that’s how you beat the Locus of Wailing Grief, the second boss in the Warlord’s Ruin Dungeon in Destiny 2. It’s a complex encounter, but even it pales in comparison to the final boss of the activity. For more Destiny 2 content, check out our guides on the best way to farm Enhancement Prisms, our ranking of the best Hand Cannons, and more in our D2 guides hub.


Published: Dec 10, 2023 03:39 pm