
Overthrow is the new destination specific to the Pale Heart in Destiny 2: The Final Shape, and it’s actually a fairly casual, chill experience with some serious rewards. The goal of the activity is simple: across four increasingly difficult waves, collect 1,000 points to spawn a boss wave. Getting those 1,000 points takes a bit of doing, though. Here’s how.
Overthrow Explained in Destiny 2: The Final Shape

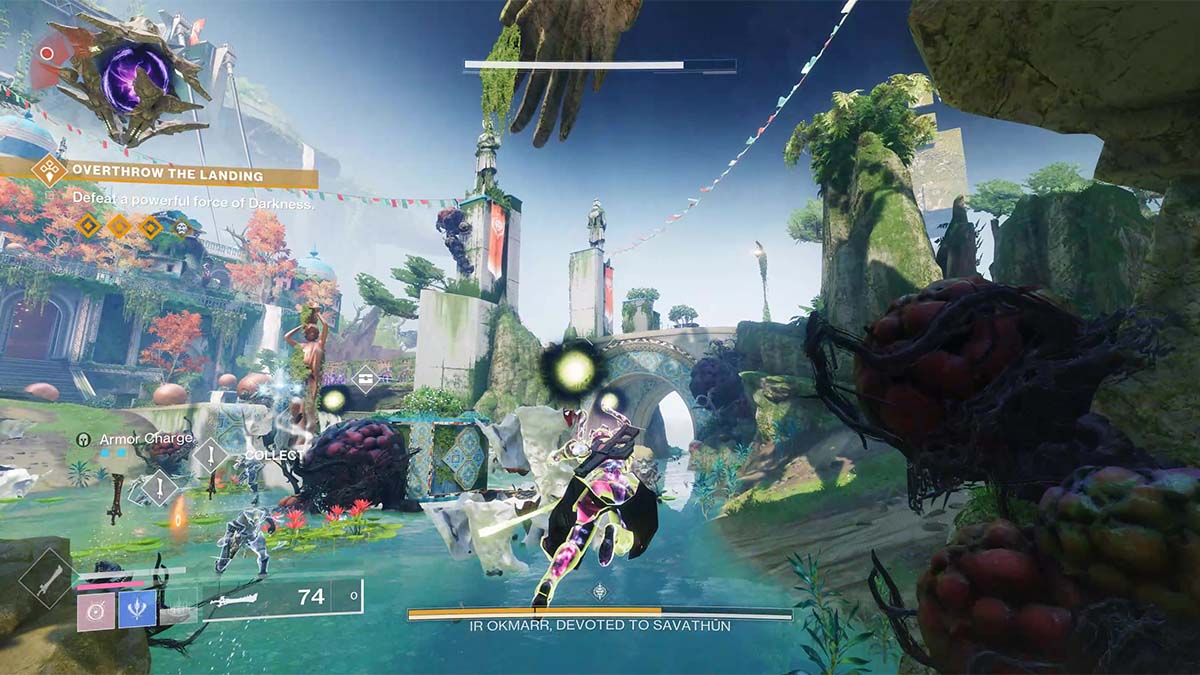
Before you can even access Overthrow, you need to complete the story campaign on any difficulty. Doing so unlocks free roam for the Pale Heart, with the Overthrow activity available in three of the zones: The Landing, the Blooming, and the Impasse. Each has a different set of encounters and a single boss fight at the end, and the featured zone rotates daily. You’ll know which is featured by it being added to matchmaking, one of the only ways to play multiplayer in the Pale Heart.
Once you unlock access to Overthrow, you can play it anywhere, and the activity technically starts as soon as you enter an active area, resetting when you leave. Your point meter will, therefore, always start at zero. Getting to 1,000 points is actually pretty easy. There are three main ways to get there: defeating enemies, completing encounters, and opening corrupted chests.
Defeating enemies is the most consistent source of points but not the most efficient. While you will be defeating enemies by the bucketload, even the toughest of them is only worth a tiny handful of points. Specifically:
- Red-bar mobs: 1 point.
- Orange-bar Elites: 2 points.
- Yellow-bar non-boss Ultras: 5-points.
- Bosses: 10 points.
The real way to advance Overthrow quickly is via encounters and corrupted chests.
- Overflow encounters: 450 points and a loot chest.
- Corrupted Chests: 250 points and a loot chest.
Each level of Overthrow has its own sets of encounters, though their point value never changes. Encounters are tied to the zone you’re currently in, as well, so don’t expect the same things everywhere you go.
All Encounters in The Landing
I’ve found seven encounter types in The Landing. They are:
Level 1
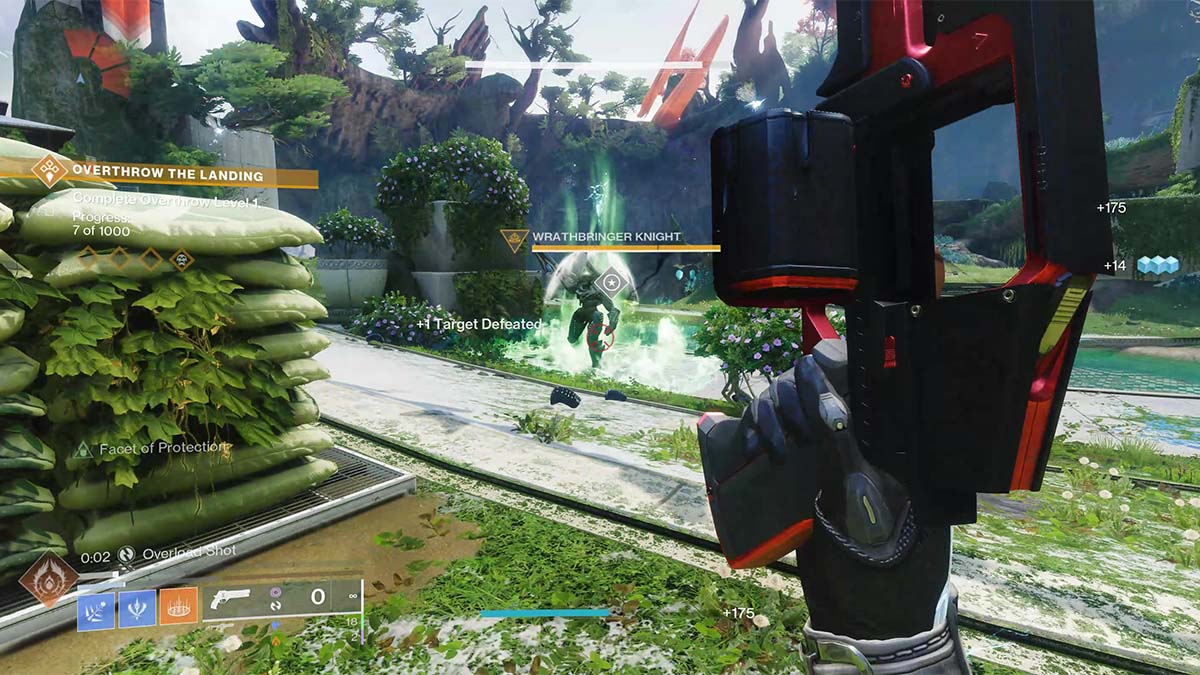
- Defeat the Wrathbringer Knight. A simple encounter. Simply stand in the pool of green goo that appears alongside the Knight and defeat it. You can’t damage the Knight’s shield while out of the goo, however.

Destroy crystals. Another simple encounter: three Hive Crystalbound Wizards will spawn, guarded by three purple crystals. Destroy the crystal to make the Wizard vulnerable, kill it, and repeat three times.
Level 2
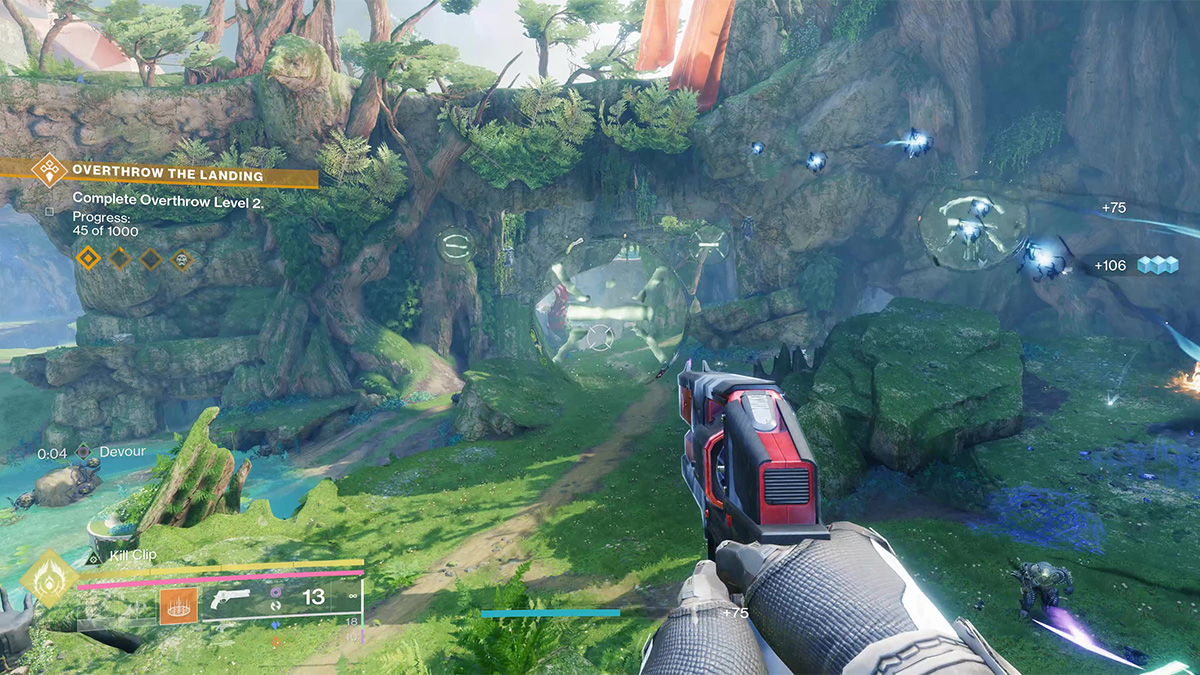
Solve a Hive Rune puzzle. This encounter starts in earnest when you defeat a Hive Rune Keeper Knight, which will cause four large, translucent Hive runes to appear in the air near where it fell. There will be red-bar Wizards near three, and the fourth central one tells you which Wizard is near the correct rune. Repeat the “Kill Knight, then rune Wizard” twice, then defeat two yellow-bar enemies to complete the encounter.
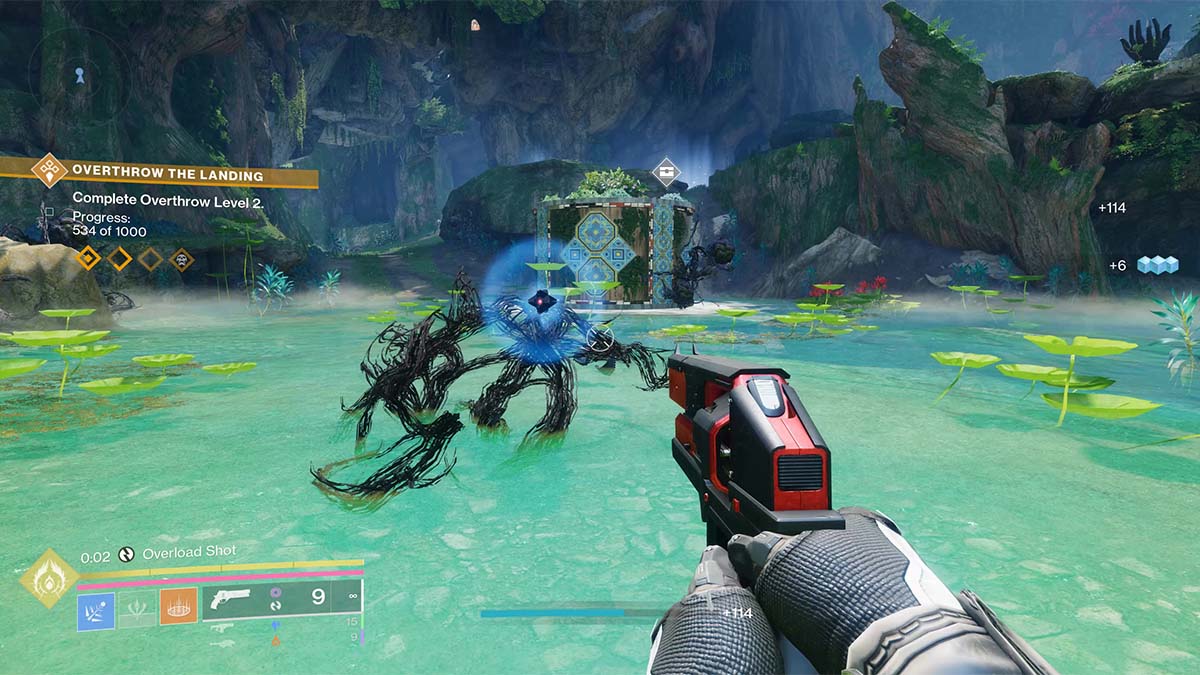
Protect a Ghost. For this encounter, you’ll find a lone Ghost out in the world. Interact with it, and it will begin floating toward a nearby Light rift in the ground, currently blocked by Witness goo. You need to protect the Ghost and defeat every enemy that appears to progress the encounter. Do so three times, and you’re done.
Level 3
A Rat Trap Powers Totems. The gimmick of this encounter is to trap the invulnerable, white-shielded enemies in a death cage at the center of three Hive totems. Once they’re inside the glyph on the ground, destroy the crystal above it to trap them (but hopefully not you) inside the circular shield that will promptly explode. Do so three times to power the three Totems. You’ll need one extra enemy for each additional trap, and when the boss spawns, you do the same thing to it: put it in a cage and watch it explode.

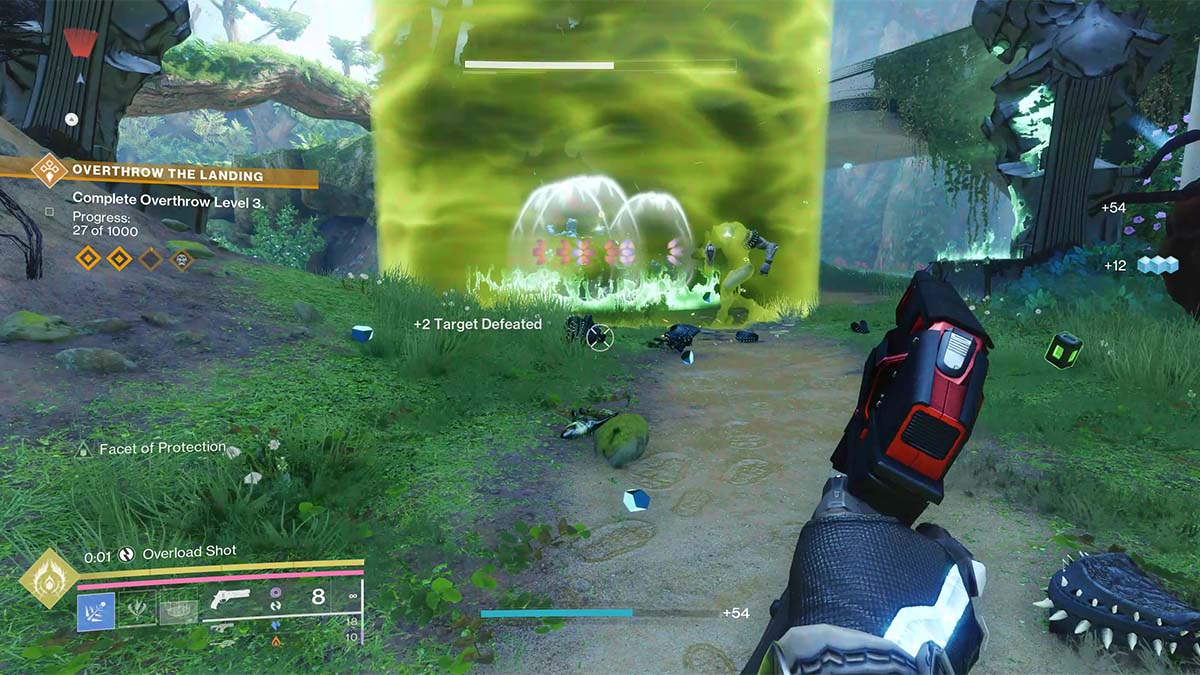
Survive the ambush. The simpler of the two level 3 encounters, all you need to do is survive a Hive ambush. They’ll put up a green dome around you and them, then swarm you in hopes of putting you down. Make it through three waves of enemies to have a Hive Guardian spawn. Kill it and its Ghost to complete the encounter.
Level 4
Boss Wave. For the fourth and final wave, you’ll be taking on a boss-level Hive Guardian Wizard. Its health bar has three segments, with an immune phase separating each. There will also be plentiful adds, two Shriekers per phase, and at least two Ogres as well. It’s chaos.
When you do manage to get the boss’s health down by a third, it will go immune, and three Hive Relic swords will spawn. To make the boss vulnerable, you need to pick up a Sword and use its alternate attack to send out a wave attack and destroy the six green Hive energy orbs surrounding the boss. Do so twice, and the boss will be at its last health bar. Defeat it, destroy its Ghost, and collect your rewards.
And just like that, you now know how to complete the Overthrow activity in The Landing by getting 1,000 points across three levels and taking out the final boss encounter. No, it’s not easy, but I found it much more manageable than some of the fights in the Legendary campaign.
For more on Destiny 2: The Final Shape and the game in general, check out Destiny 2 guides hub. We’ve got articles on the best weapons to use with Prismatic, among other pieces.


Published: Jun 7, 2024 03:42 am