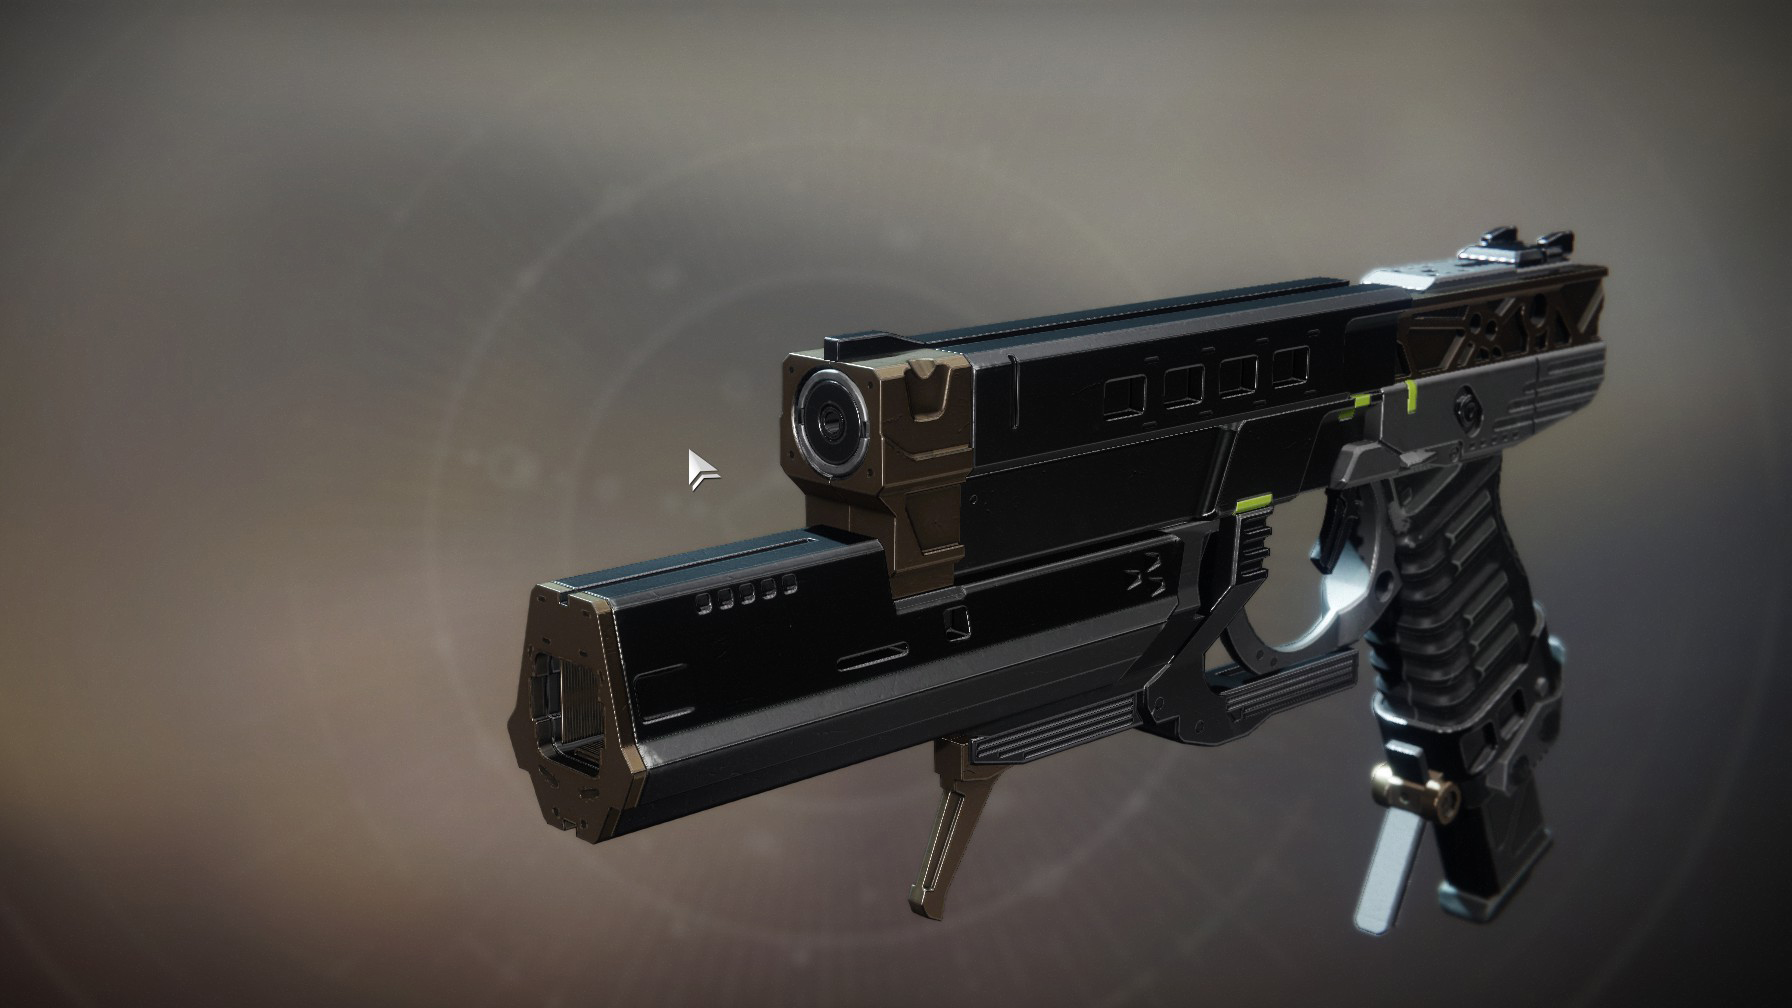
With a new Destiny 2 season comes new exotics, and the latest — the Devil’s Ruin exotic sidearm — comes from probably the fastest, easiest exotic quest in the Destiny franchise. If you take it slow and listen to all of the optional dialogue (and you should, it’s very meta), this exotic quest might only take you 15-20 minutes to complete.
Below are all the steps and hidden Timelost Fragments you need to find to get this incredibly fun exotic Sidearm.
How to Get Devil’s Ruin Exotic Sidearm in Destiny 2
Step 1: Complete a Run of the Sundial
Head to the Sundial on Mercury and complete a single run. As of writing, completing a single run is the only real step, even if the Sundial welcome message asks you to defeat Champion-level enemies.
Thankfully, there are plenty of Champions to kill in the Sundial — and you’ll want to defeat them so you can progress the activity.
Once you defeat the Psion Flayer and teleport back to the hub area to collect your loot, you should see the exotic quest at the top of the rewards screen.
Step 2: Visit Saint-14
With the A Moment In Time quest in hand, head back to the Tower and visit Saint-14 in the Hangar. In case this is your first visit to the legendary Titan, you’ll find him in the Hangar in the Tower.
Step 3: Complete the Parts Long Lost Mission
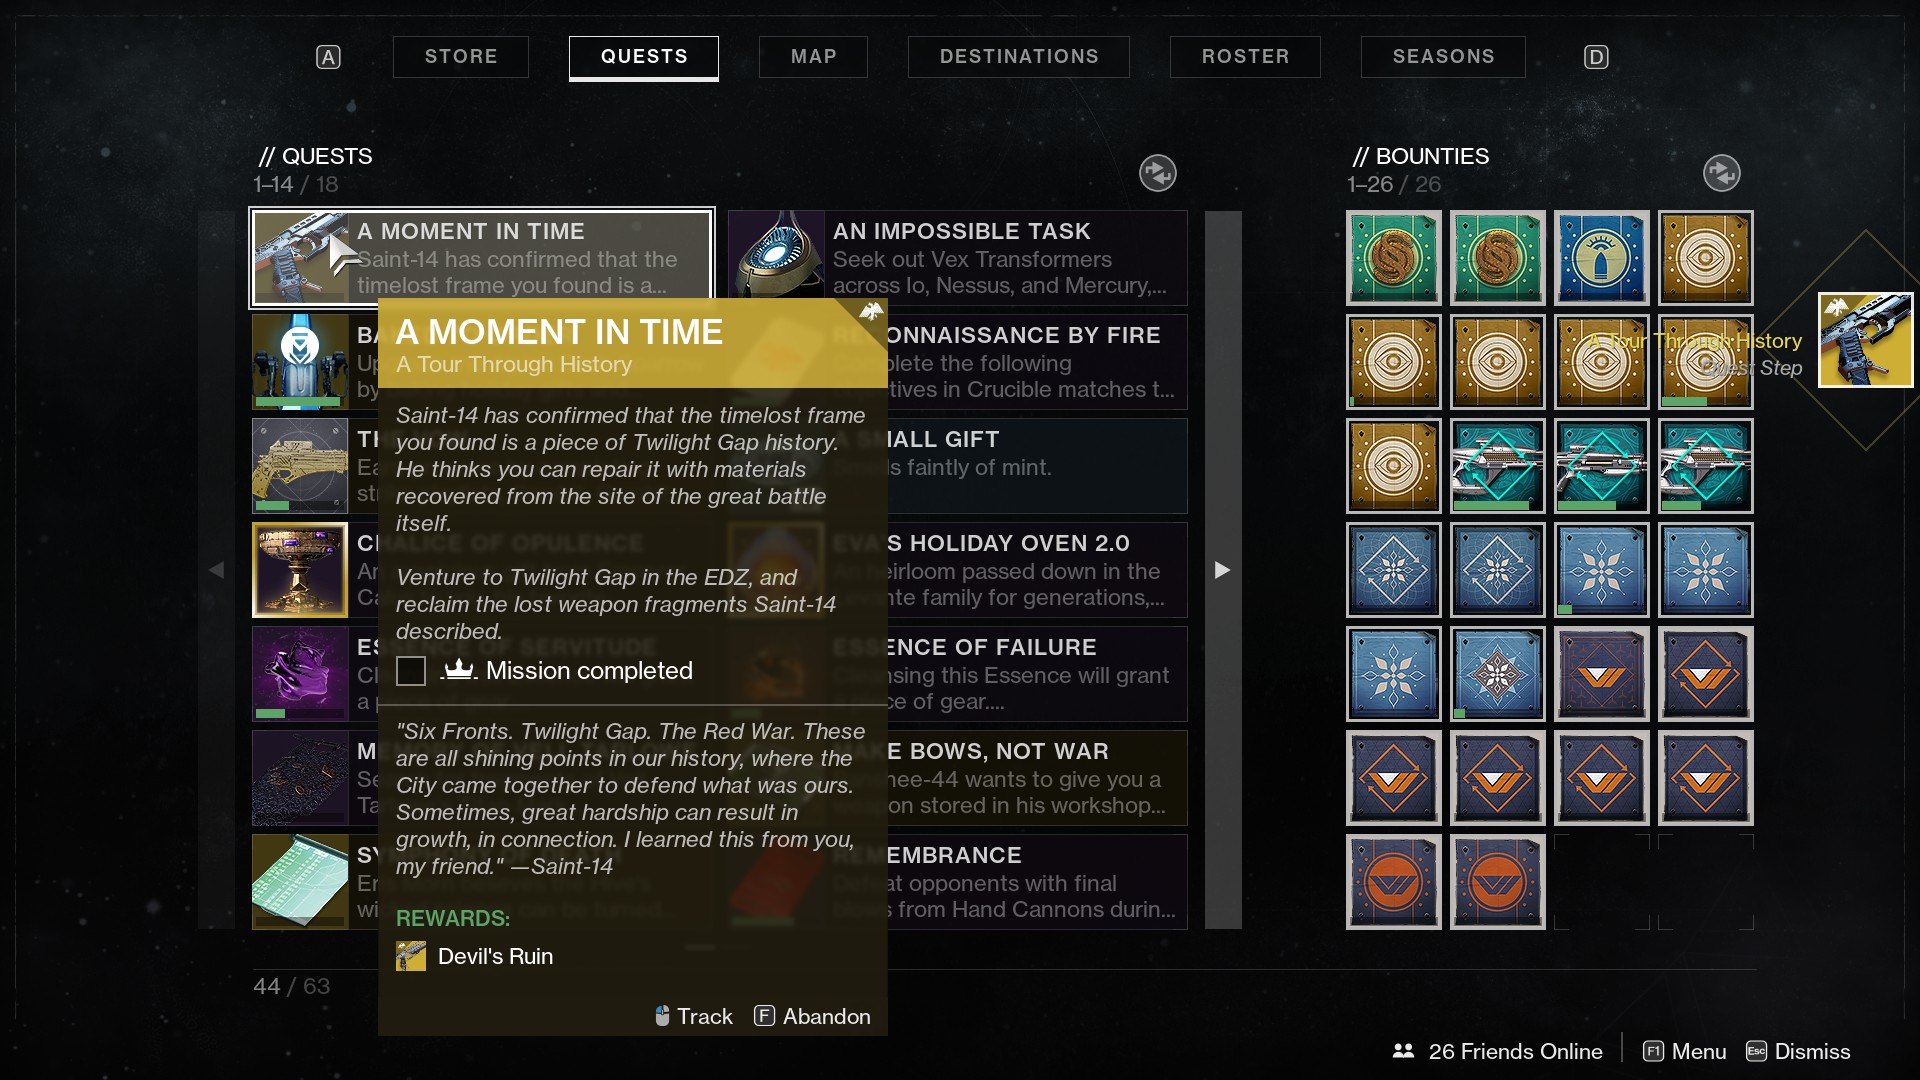
After visiting Saint-14, A Moment in Time will update to its second and final step, completing the Parts Long Lost mission. It should look like the below in your Quest inventory.
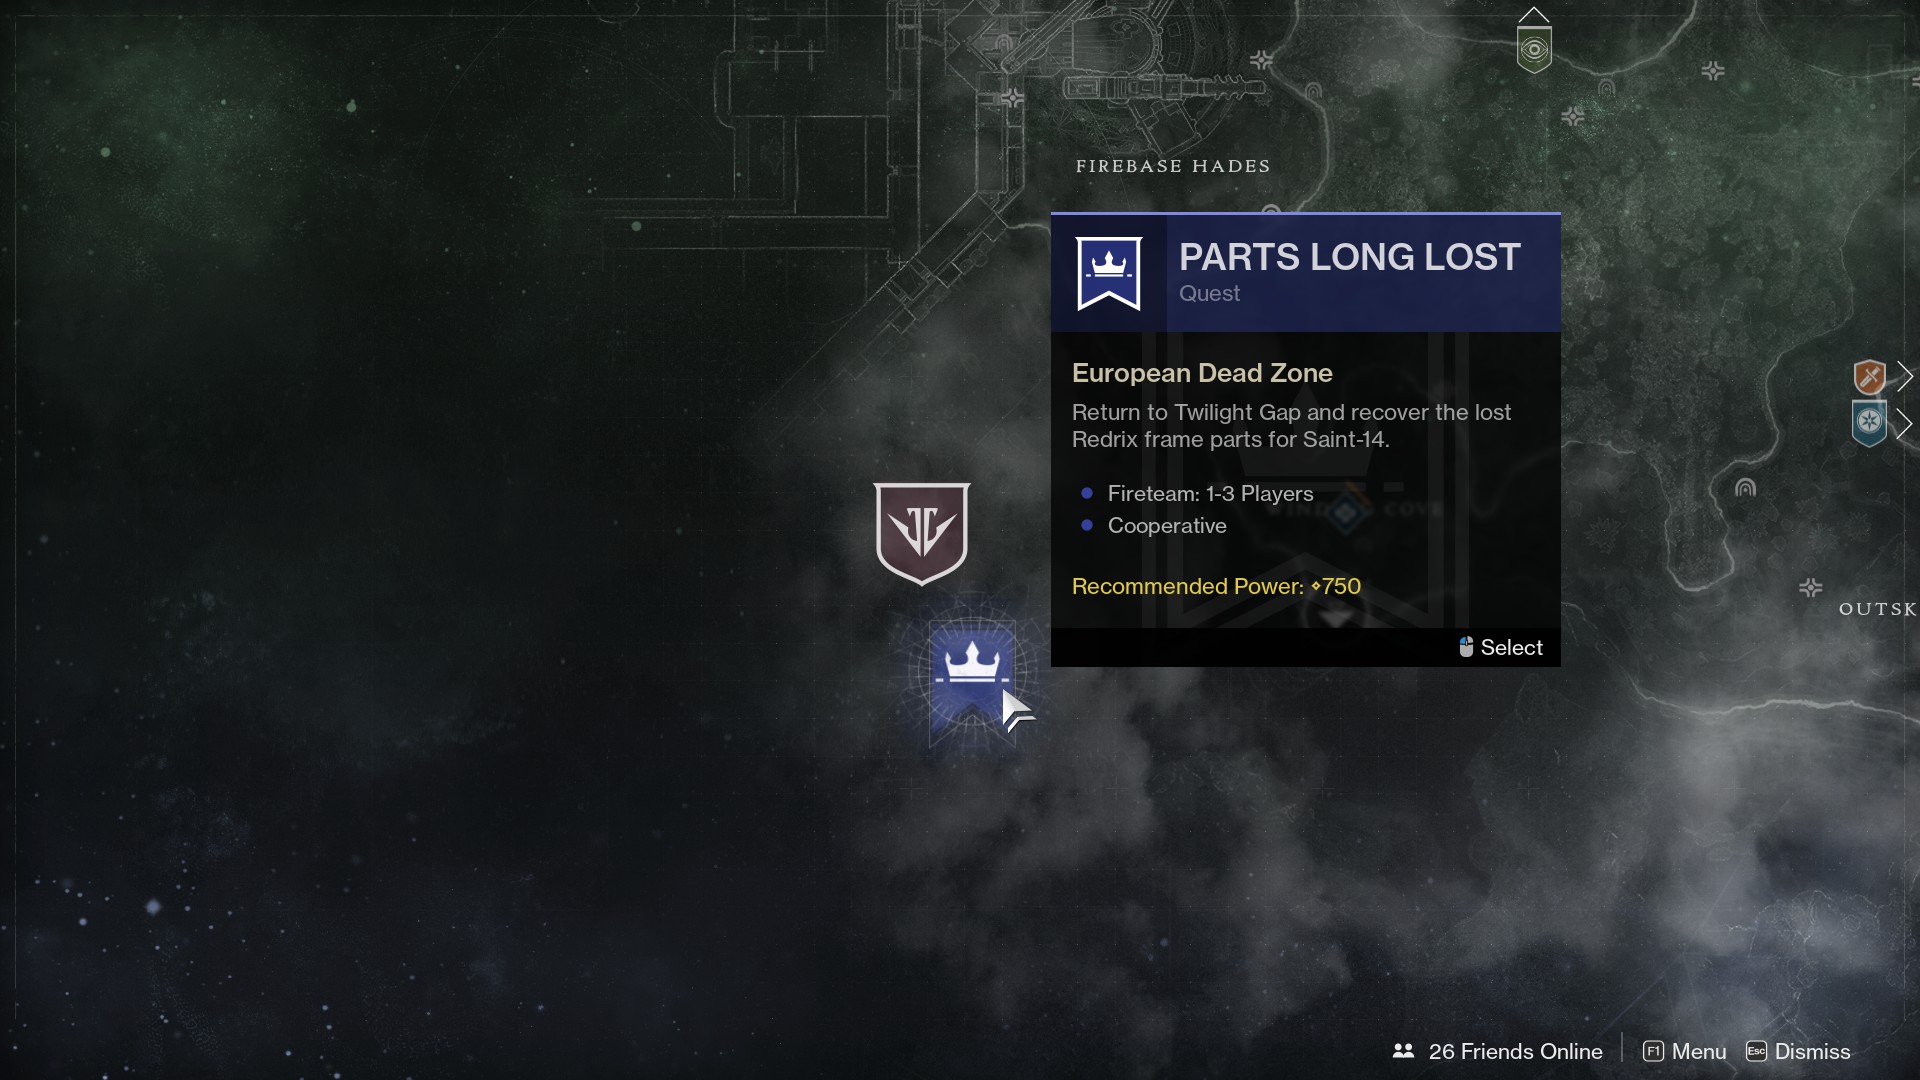
You’ll find the mission itself on the EDZ next to the Black Armory Forges playlist, as shown below.
Step 4: Collect Data from Redjacks on Twilight Gap (Timelost Fragments)
Once you launch the mission, you’ll load into a special non-PvP instance of the Twilight Gap Crucible map. Once there, you need to find 10 destroyed Redjack frames (Timelost Fragments) and interact with them.
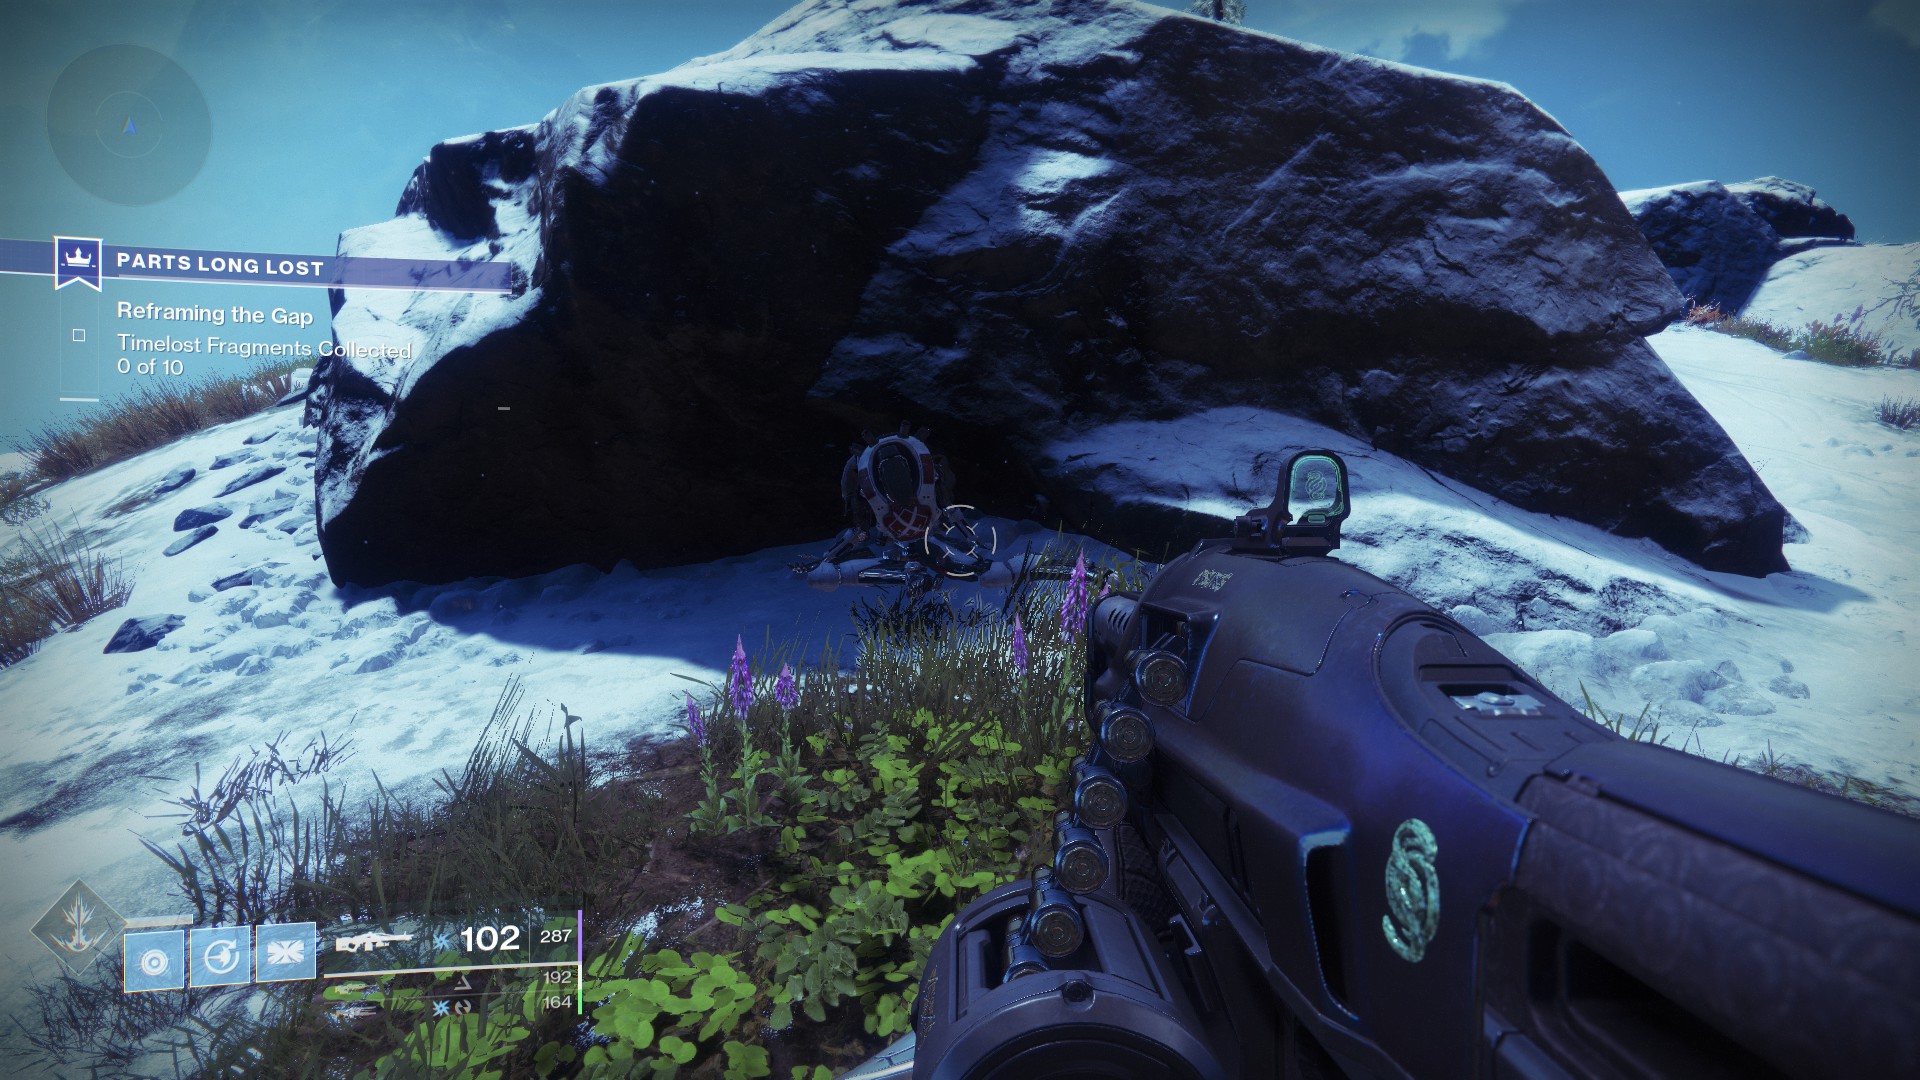
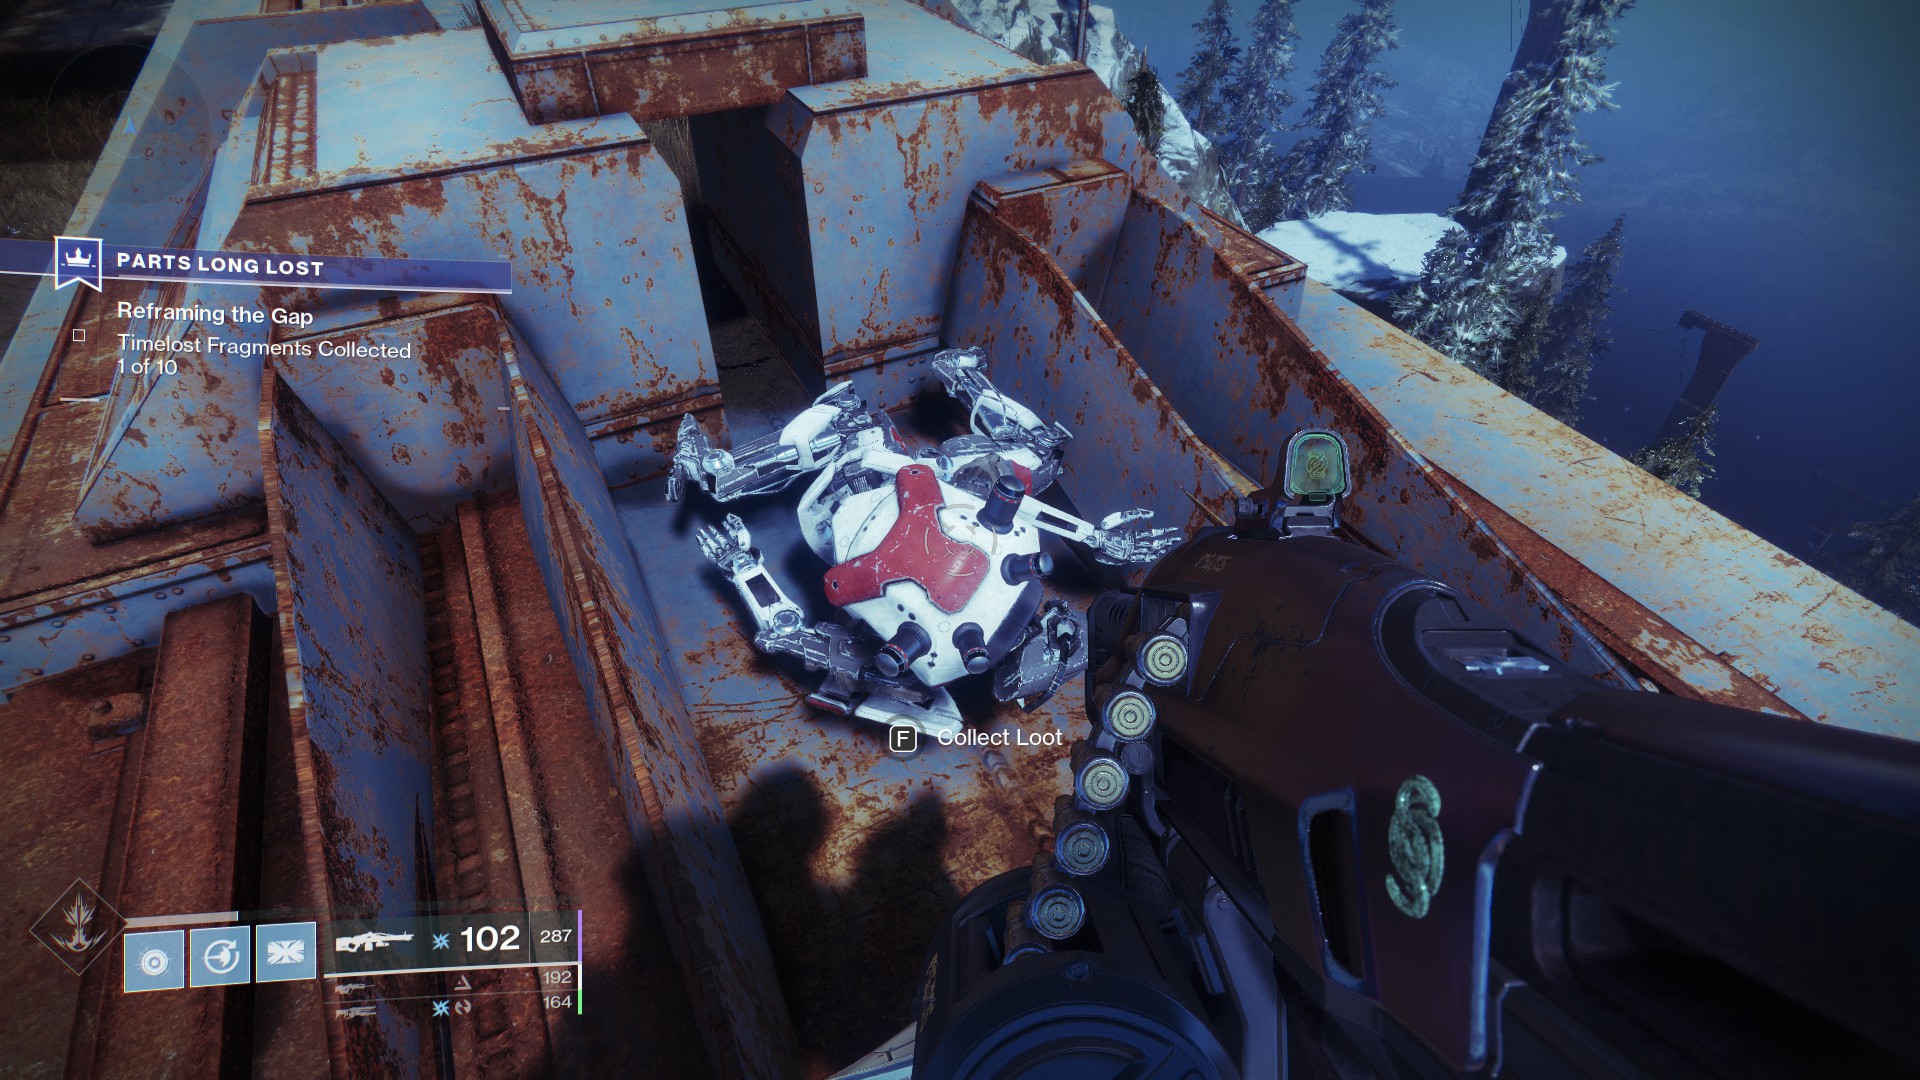
Frame 1
The first frame is near your spawn point. Turn towards the large rock to your right. It’s nestled in a crook in the boulder.
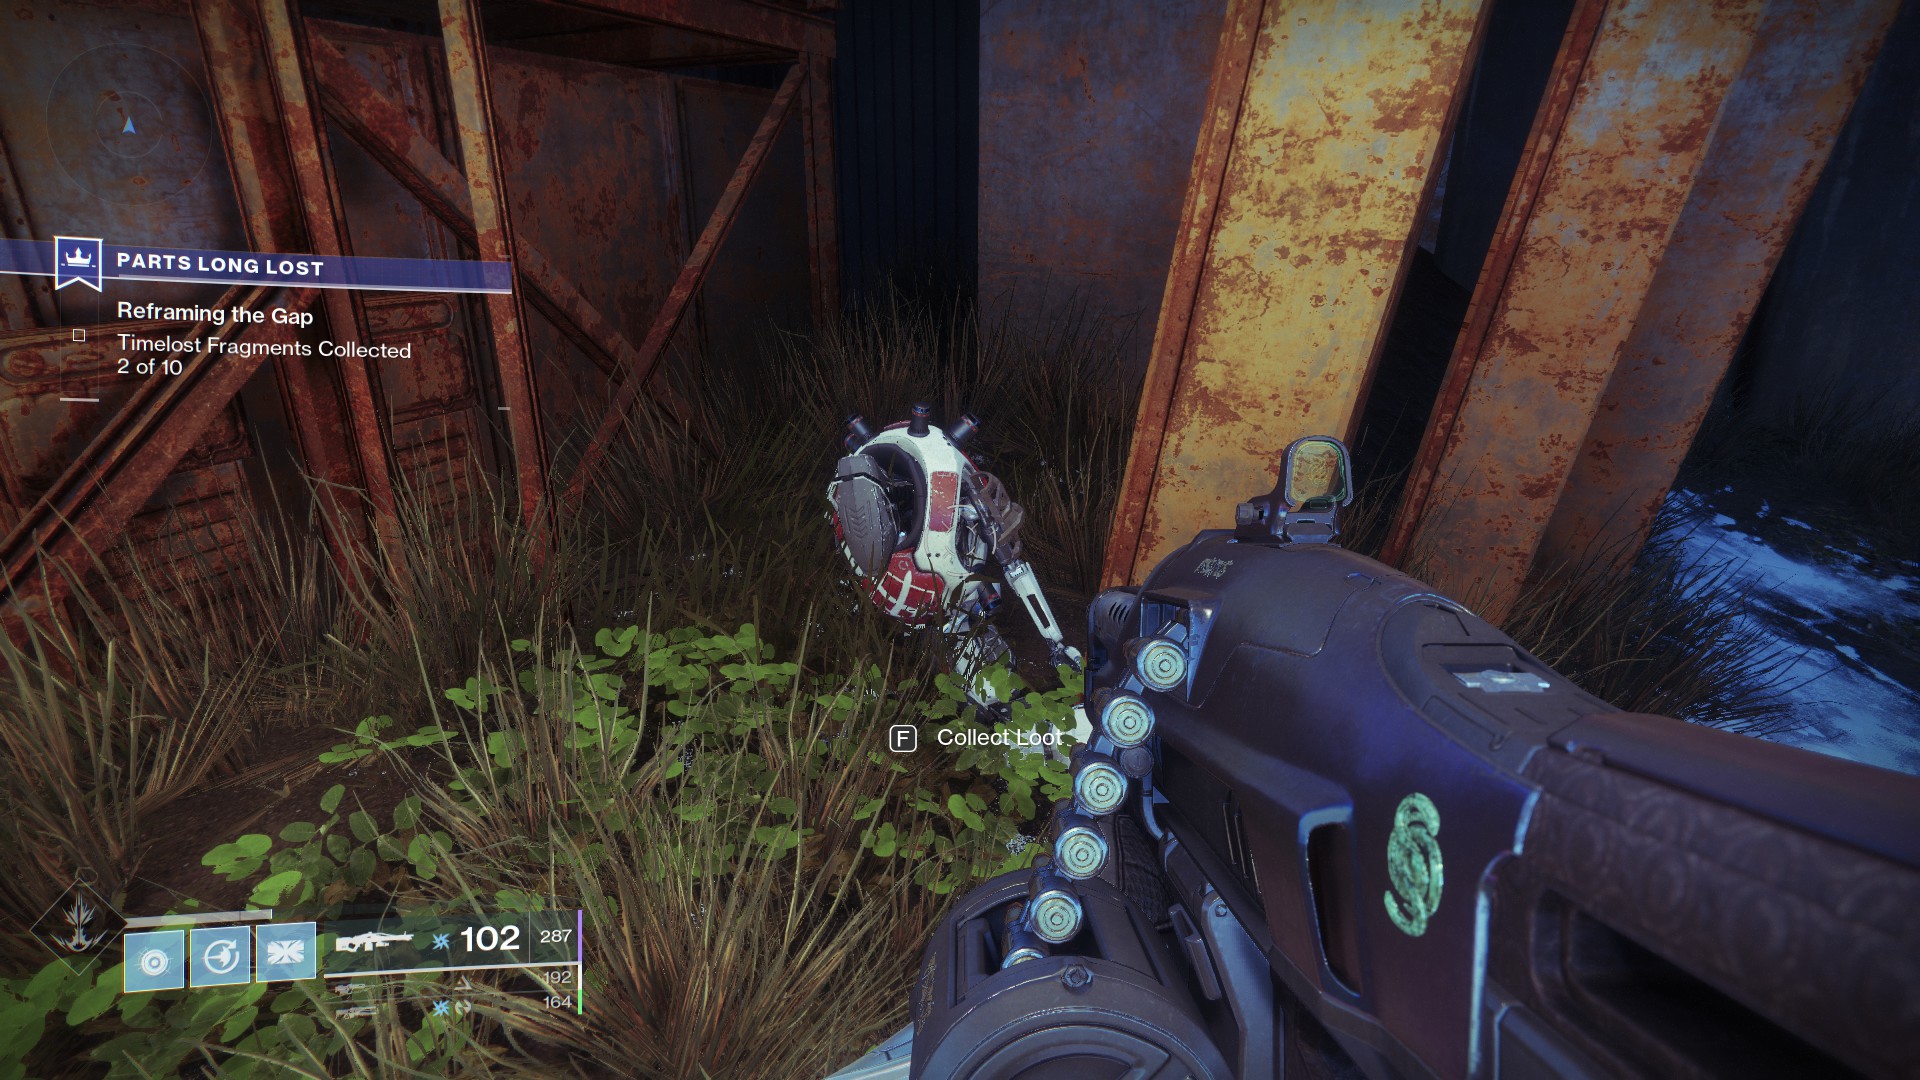
Frame 2
The second frame is nestled in the rusted machinery past the first frame. Simply head to the end of the bridge and hop into the crevice shown above.
Frame 3
The third frame is nearer to the center of the map. Jump down from the bridge and head through the opening just beneath the bridge. You’ll find your target in the far corner just outside the “A” flag.
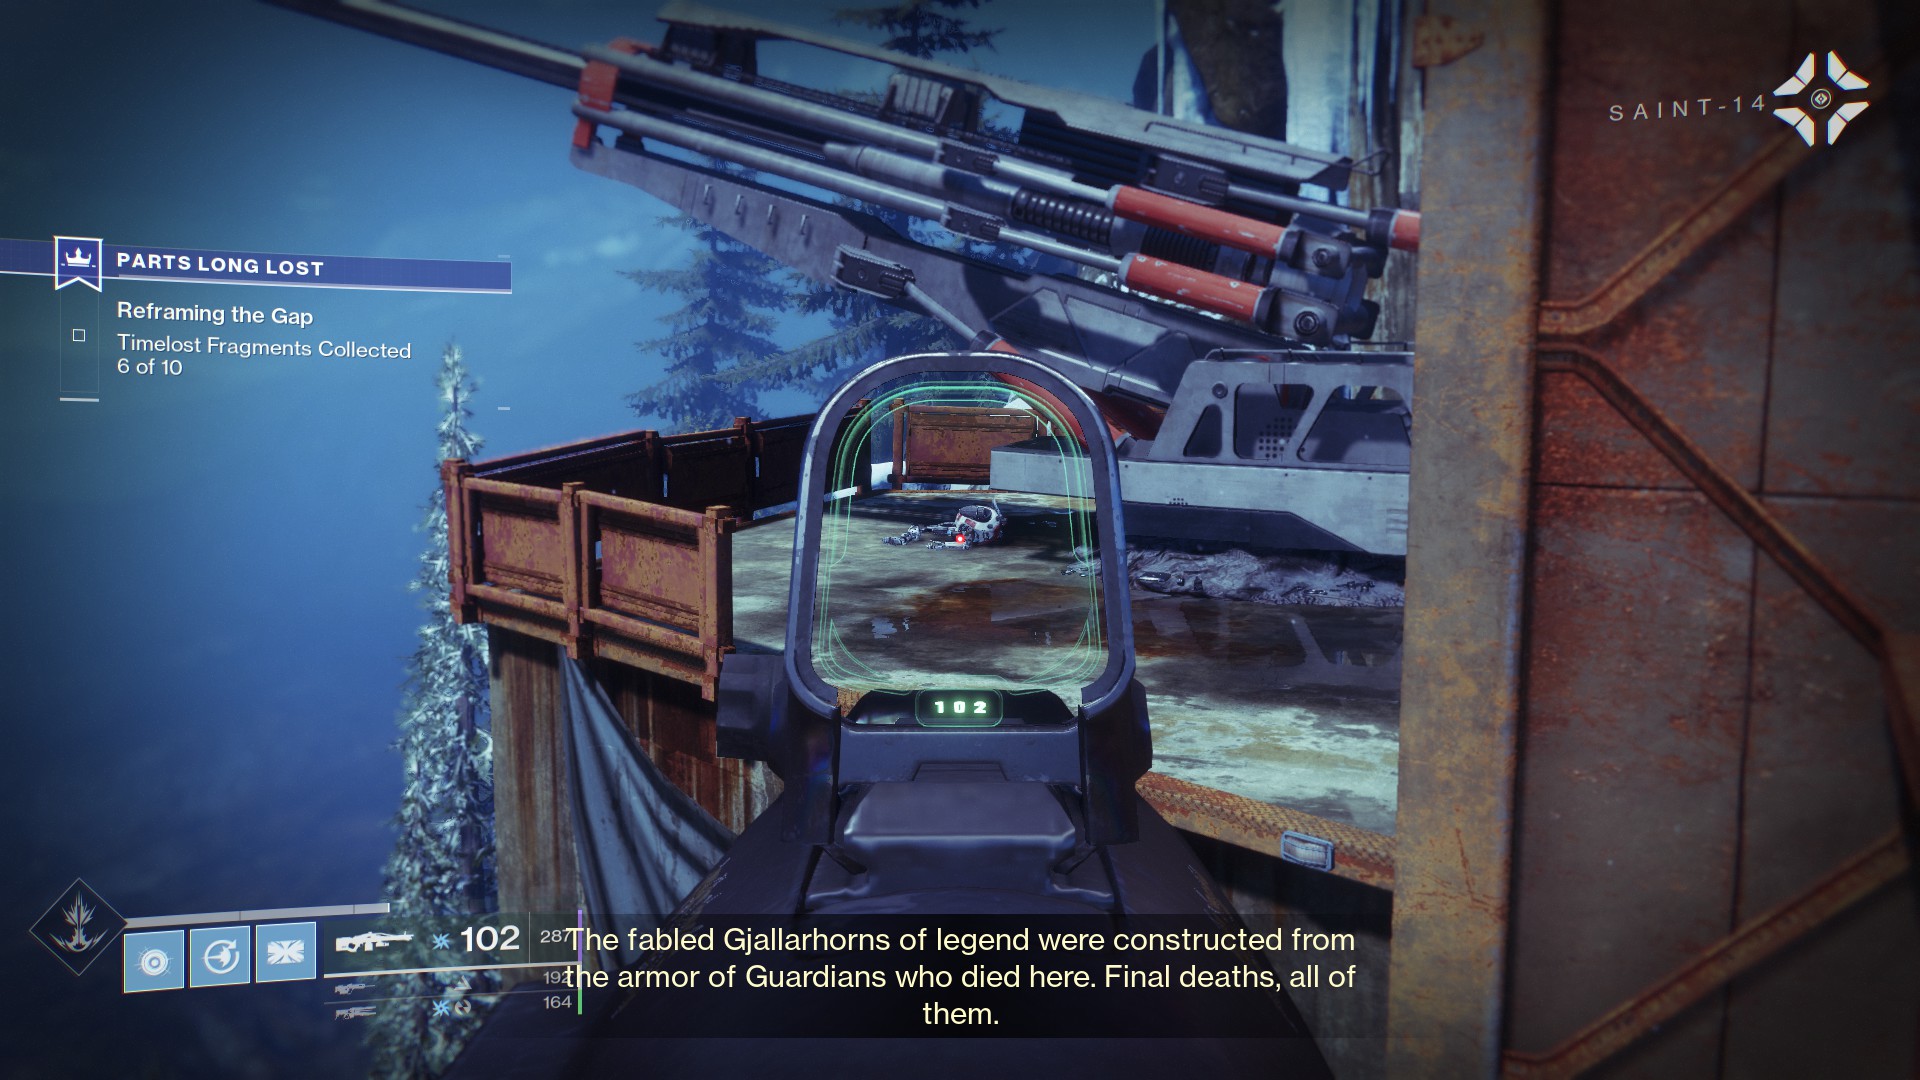
Frame 4
From frame three, go back into the “A” area and head to the platforms overlooking the cliffside. Jump to the middle one that juts out the most. The frame you’re looking for is under the anti-aircraft gun.
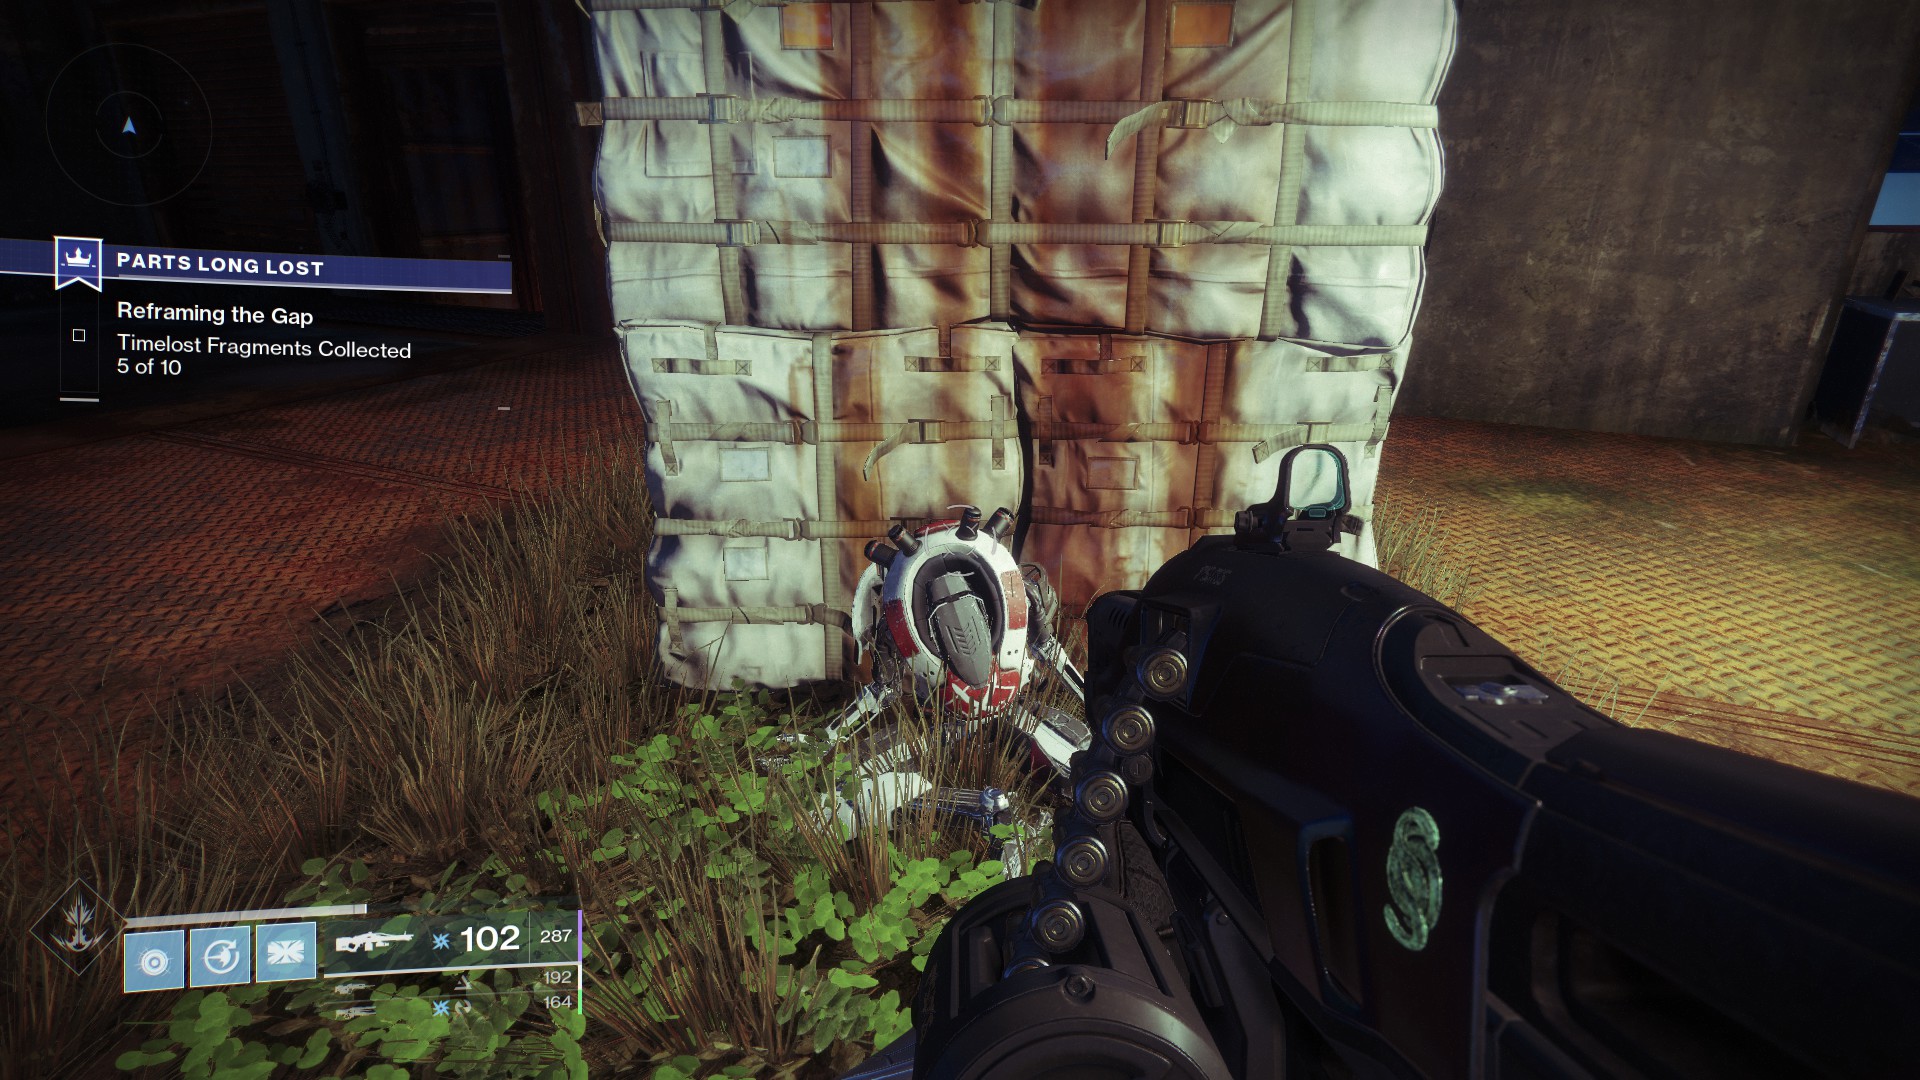
Frame 5
From the anti-aircraft gun, jump up onto the upper platform and head through the “A”-“C” connector. You’ll see this frame sitting against the packed pallette.
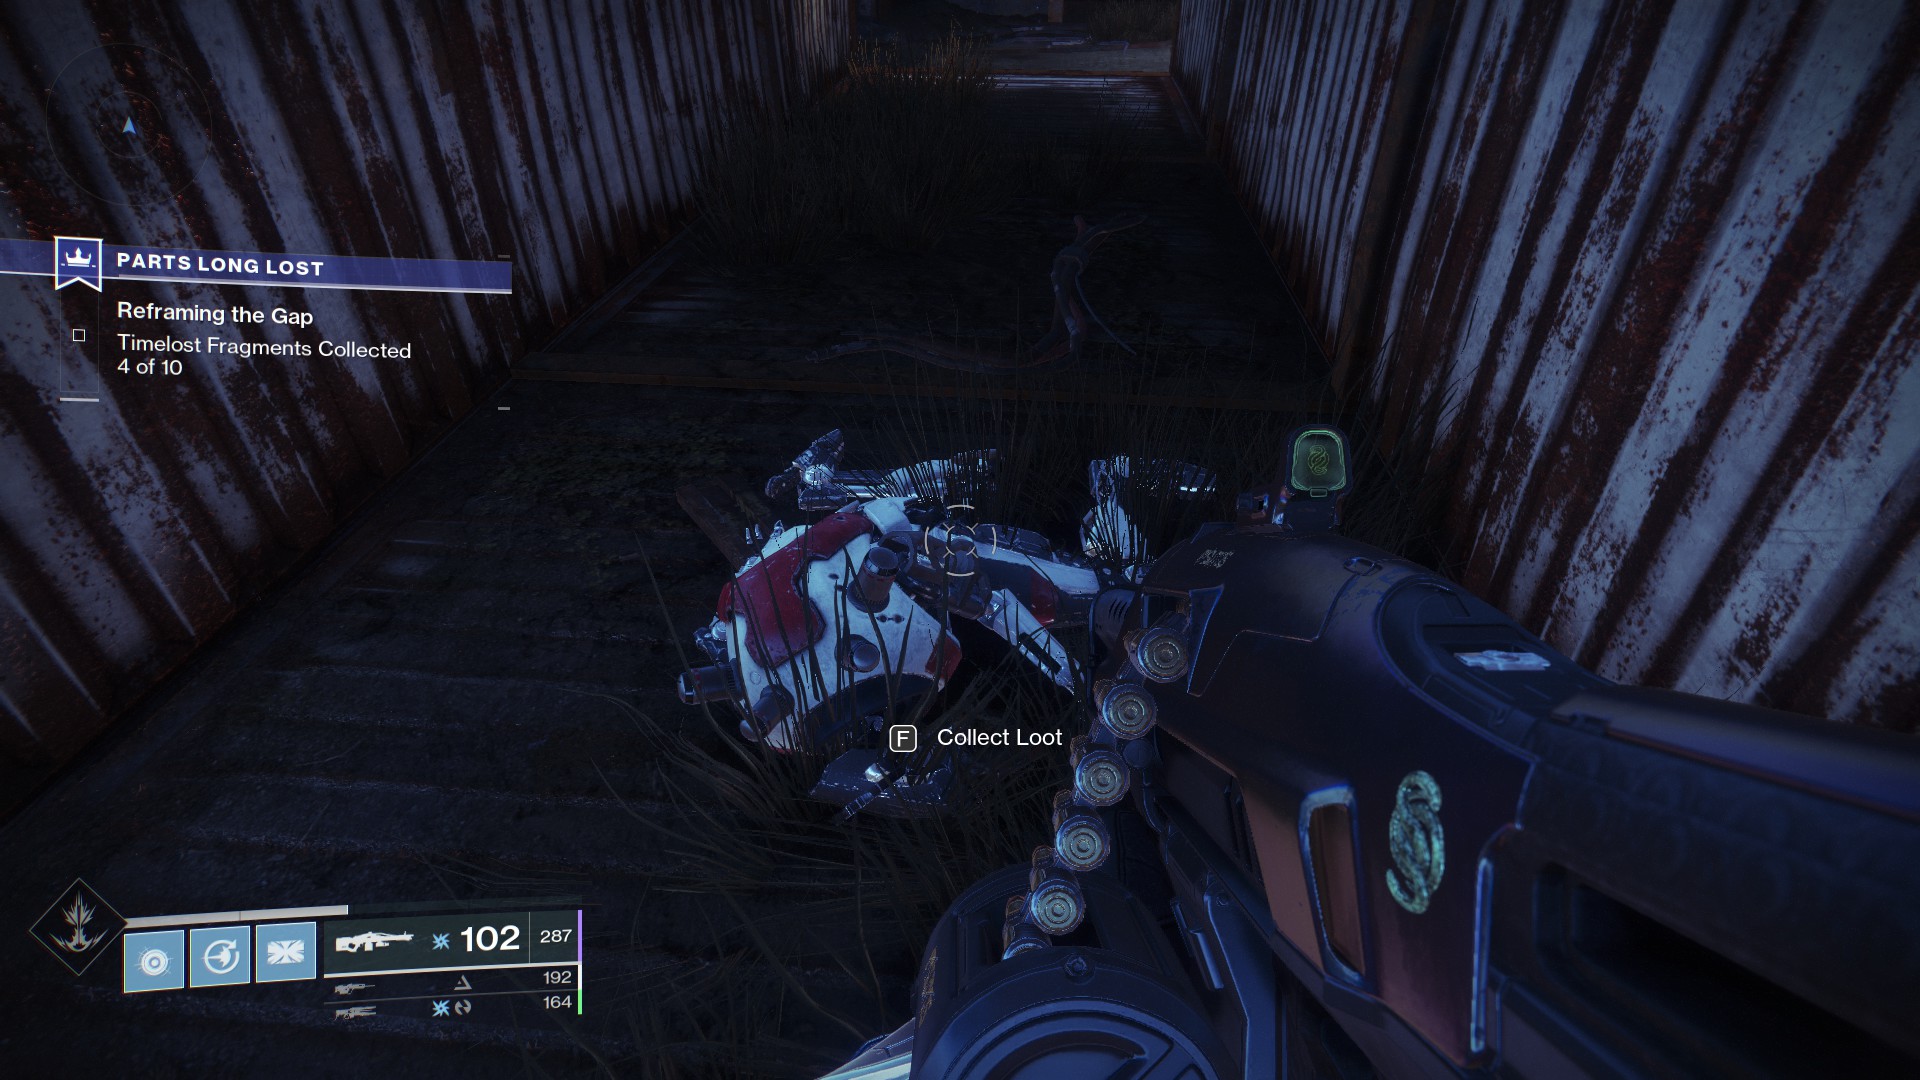
Frame 6
Head outside to the shipping container area to find the next frame. It’s lying in the container open at both ends.
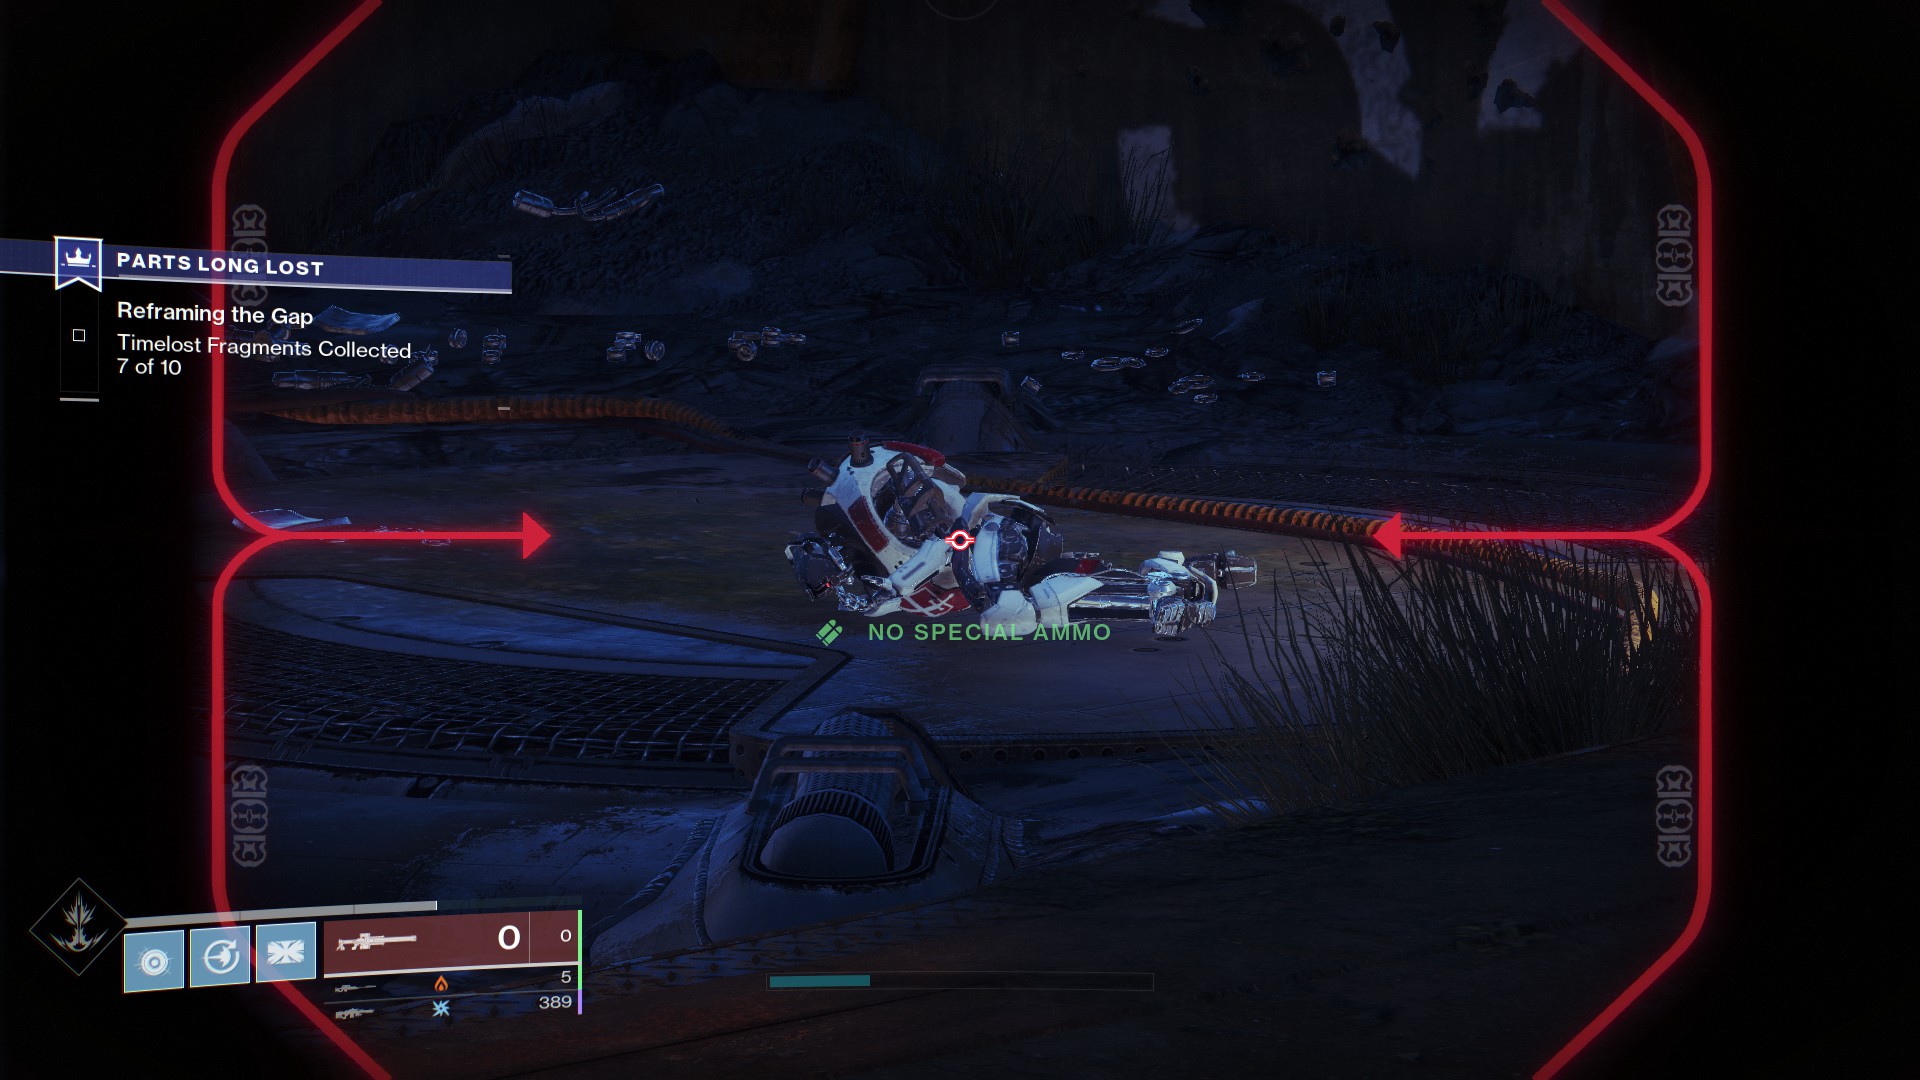
Frame 7
Your next target is near the “B” flag on the outskirts of the map. The frame slumped against a box just outside the main flag area.
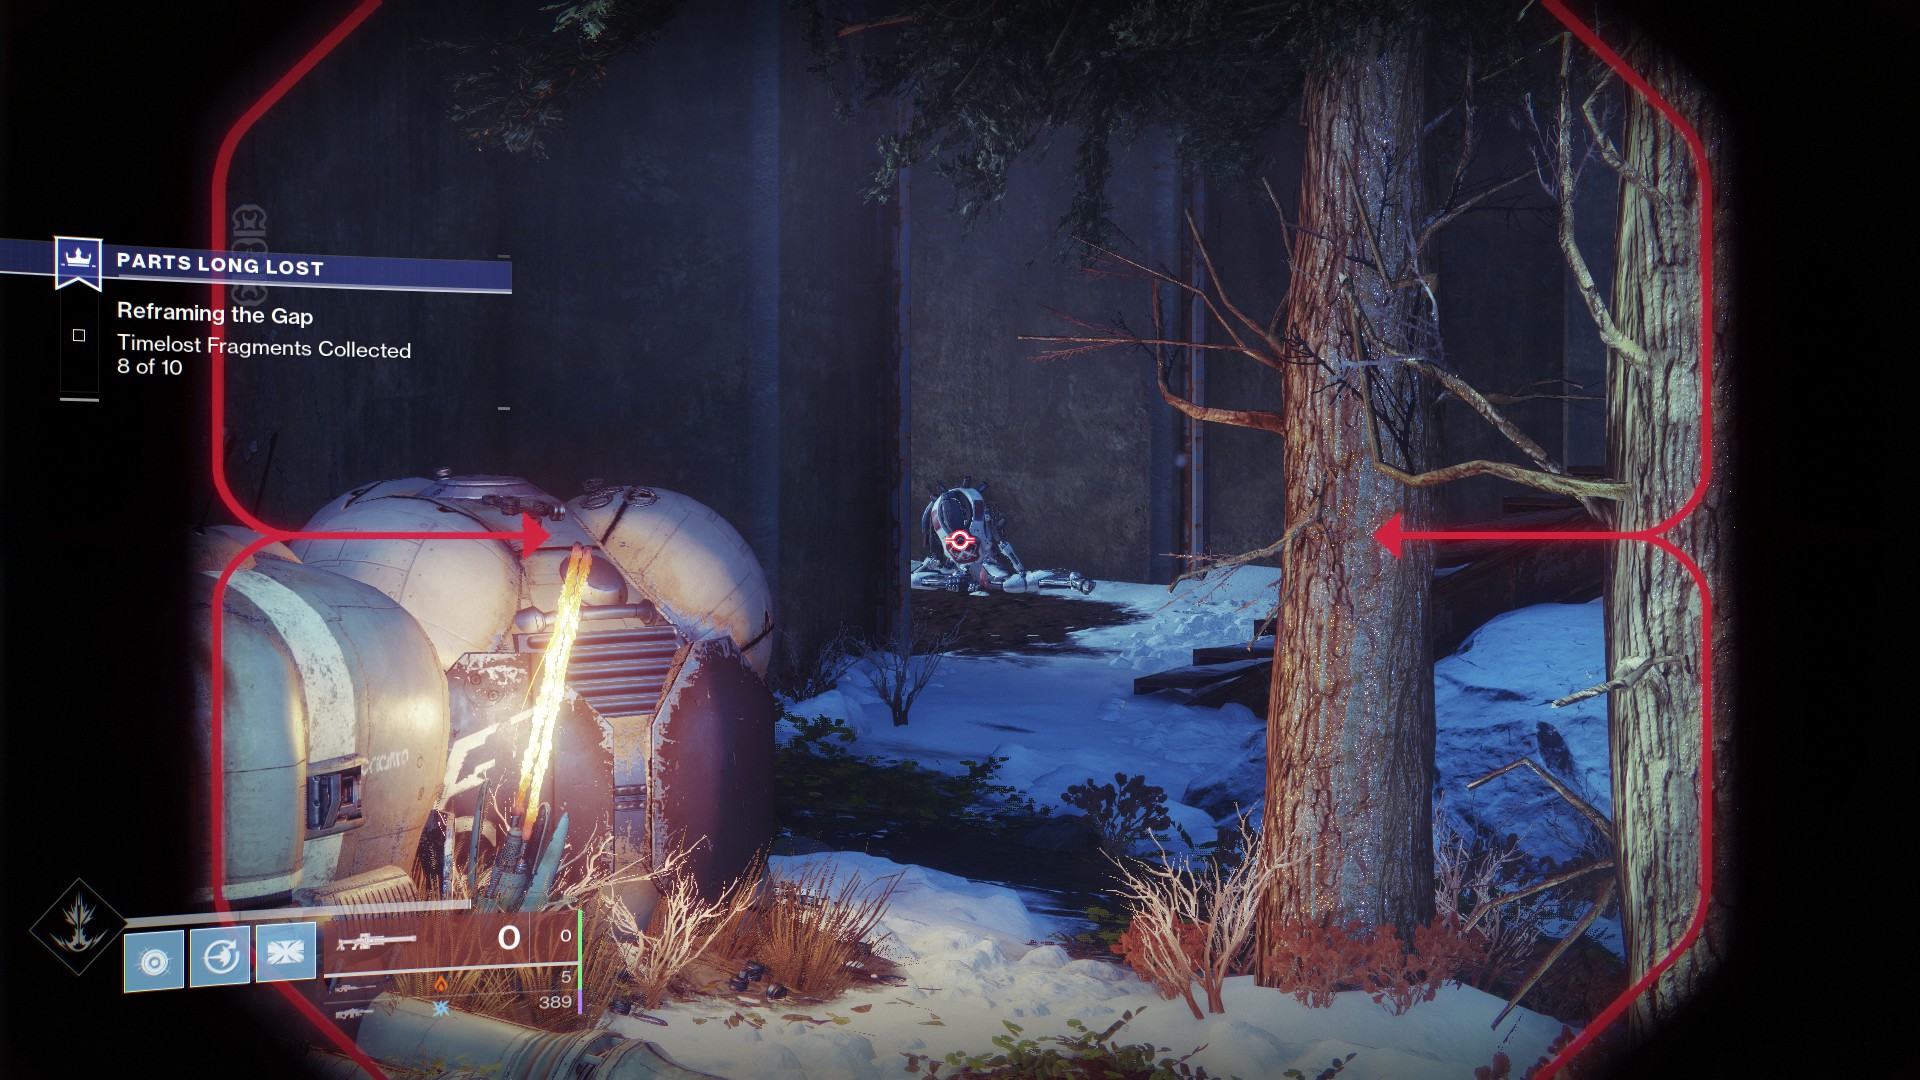
Frame 8
Frame 8 sits near the Heavy Ammo spawn if you’re playing Control. It’s the mostly circular room on the bottom level in the map’s center. The frame lies in the center of a plate in the middle of the room.
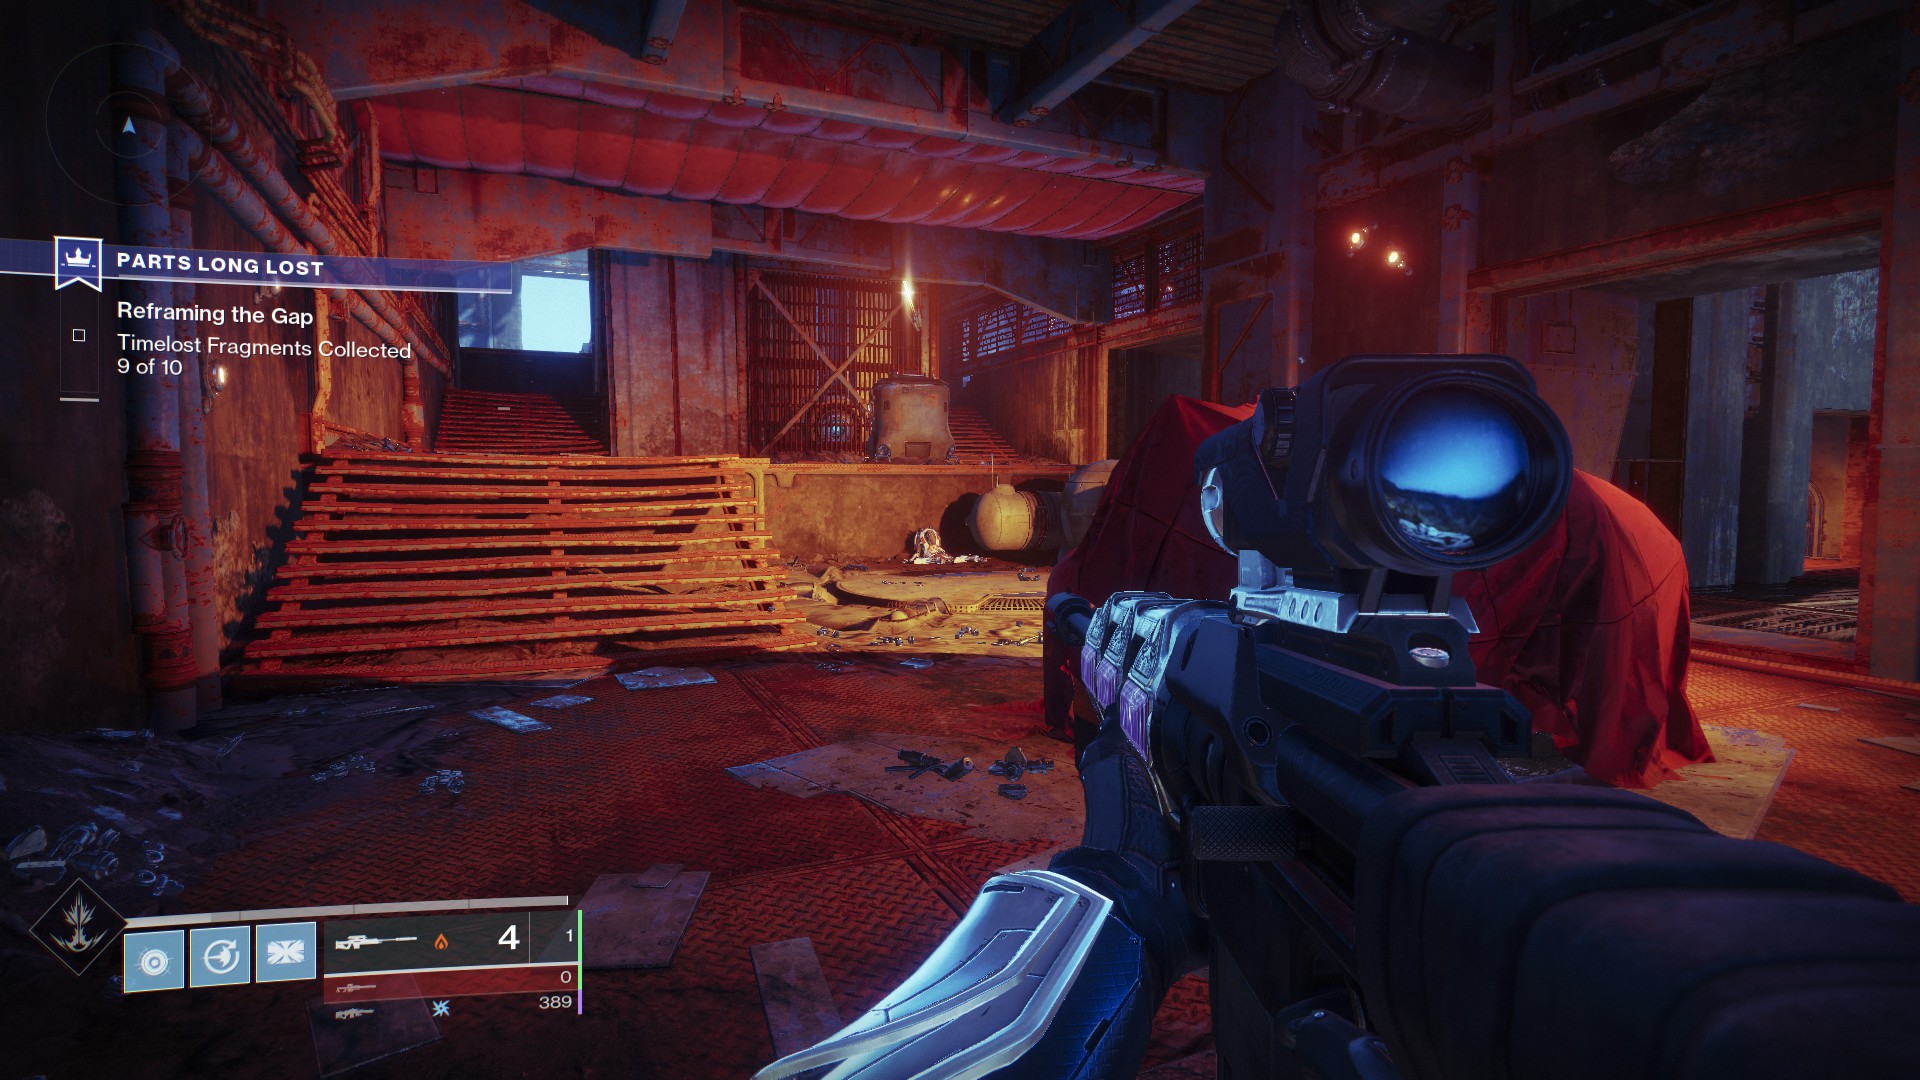
Frame 9
From the center room, head back out to the edge of the map near the open-air cliffside and look toward the “C” flag. You’ll see the frame tucked in the hallway leading toward the flag point.
Frame 10
The final frame sits underneath the “C” flag in the room lit by orange.
Step 5: Wait for the Dialogue
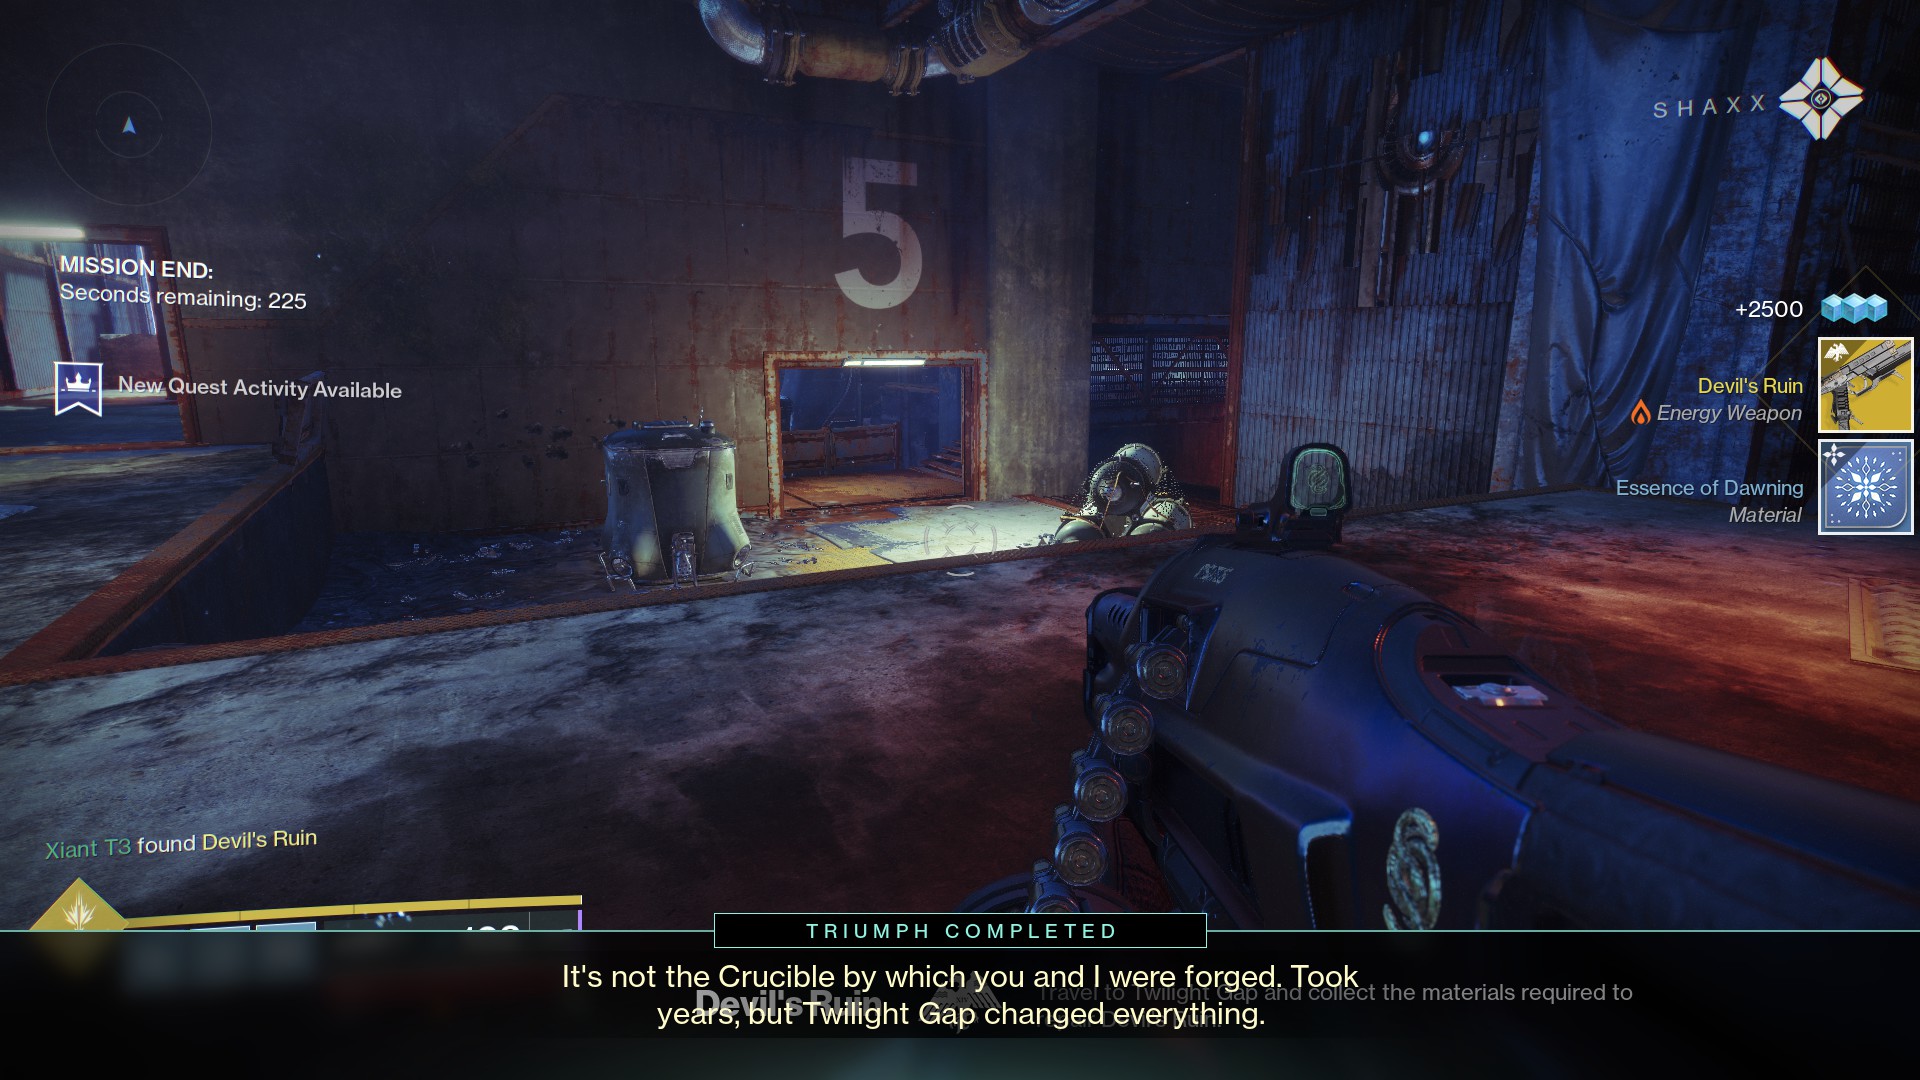
After finding all of the frames, you’ll need to listen to some short dialog. Once it’s over, you’ll receive the Devil’s Ruin Exotic Sidearm.
Step 6: Profit from the Devil’s Ruin Exotic Sidearm
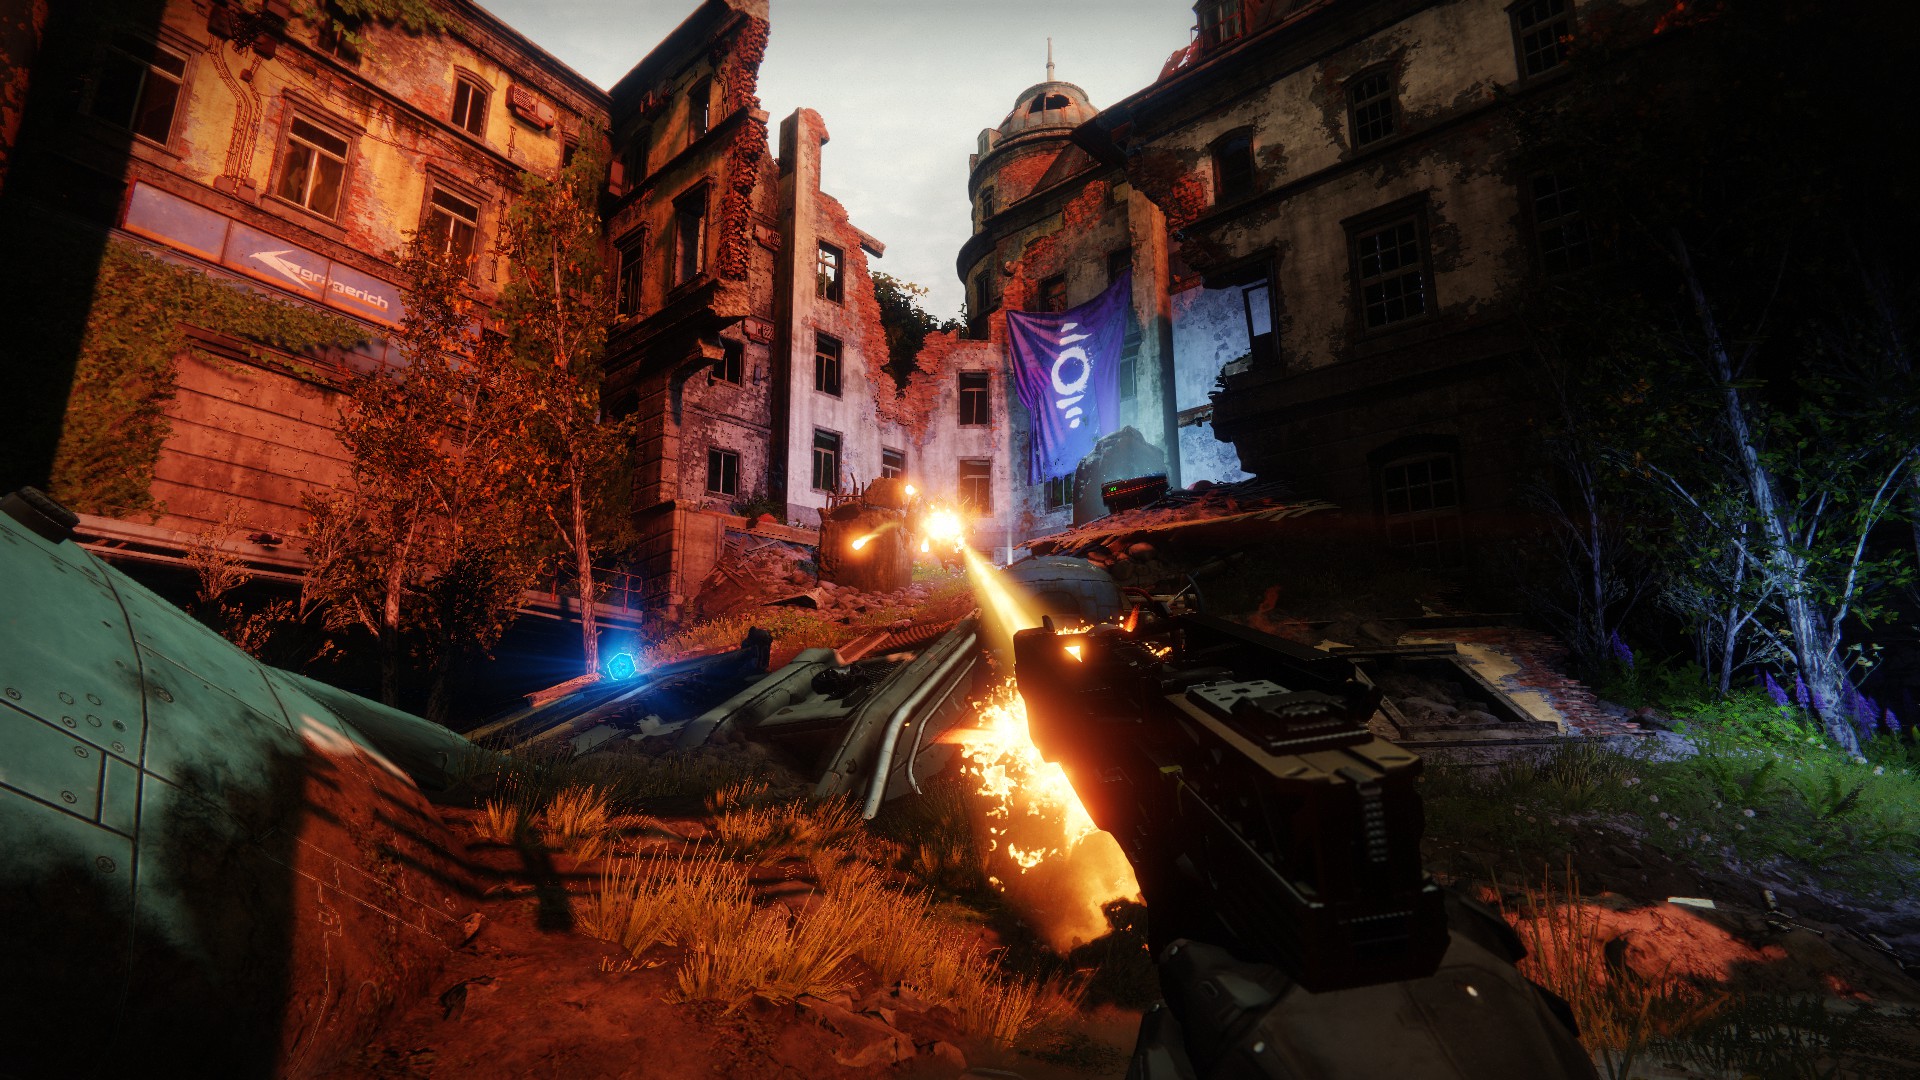
Now that you’ve got the new Exotic Sidearm, you’ll be able to zap anything and everything in sight. Just hold down the fire button and you’ll let loose a Solar-energy laser. It lasts about three seconds and deals quite a bit of damage.
The Devil’s Ruin exotic is something of a niche weapon, being a sidearm and all, but it’s kind of like a pocket Thousand Voices. It does good damage against both regular enemies and enemy Guardians. It also staggers, so it’s built to put the stop on Unstoppable Champions.
And that’s it! Enjoy the first of two quest exotics from Season of Dawn. Be sure to check out our other Destiny 2 articles:
- Destiny 2: Planetary Obelisks Locations and Weapons
- Destiny 2: How to Farm Essence of the Dawning
- How to Get the Dream Breaker Fusion Rifle in Destiny 2: Shadowkeep
- How to Complete the Luna’s Calling Quest in Destiny 2: Shadowkeep
- Stay tuned to our Destiny 2 guides hub for more.






Published: Jan 7, 2020 11:32 pm