Strange machines have popped up throughout the worlds of Destiny 2, specifically on the Tangled Shore, Mars, Nessus, and the EDZ on Earth. Obelisks have a set of requirements to unlock, but the rewards are well worth the effort.
You’ll get your hands on some of the best weapons and coolest looking armor in the game. Plus, you’ll be able to farm these weapons and armor endlessly, so whatever you want them to be able to do, you can ensure you get precisely the weapon you want.
Unlocking Destiny 2 Obelisks
Starting the Obelisk Questline: Mercury and the Tangled Shore
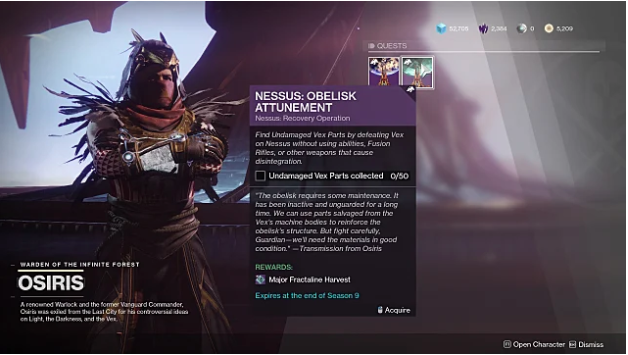
Your journey to unlocking the Obelisks begins at the Sundial on Mercury. Talk to Osiris (multiple times if he doesn’t have quests the first time you speak to him), and he’ll have the Obelisk Attunement quest available the Tangled Shore.
Step 1: Kill Cabal
Completing this quest is a simple matter: you’ll need to collect 50 items from killing Cabal enemies. The items are automatically tracked whenever they drop, so head to Sorik’s Cut — or any Cabal — and start shooting.
Be aware that tougher enemies have a chance to drop additional components, so go out of your way to farm these enemies whenever possible. Cabal Lost Sectors are a great way to gather these items quickly, as are Cabal public events. The Drill events at Artifact’s Edge on Nessus and the Winding Cove in the EDZ are perfect for this step of the quest.
Step 2: Super Kills
Once you’ve collected all of the Cabal components, you’ll need to kill enemies with your Super. Again, any public event is your best bet, and get to them early to rally to the flag for a free full Super. Events like the Summoning Ritual (the Hive event) on Titan or Mars are good choices, as are any of the Black Armory forges.
Use a roaming super like the Warlock’s Dawnblade, Titan’s Fist of Havoc, or Hunter’s Arc Staff for maximum efficiency.
Step 3: Link the Obelisk
Once you’ve killed enough enemies with your Super, you’ll need to go back to the Tangled Shore Obelisk and link it to the Sundial. You’ll use the terminal-looking part of the Obelisk to do so, and all you’ll need to do is walk around until you see the “Deposit Light” prompt.
With your Light deposited, the Obelisk is ready for use.
Step 4: Link the Other Obelisks
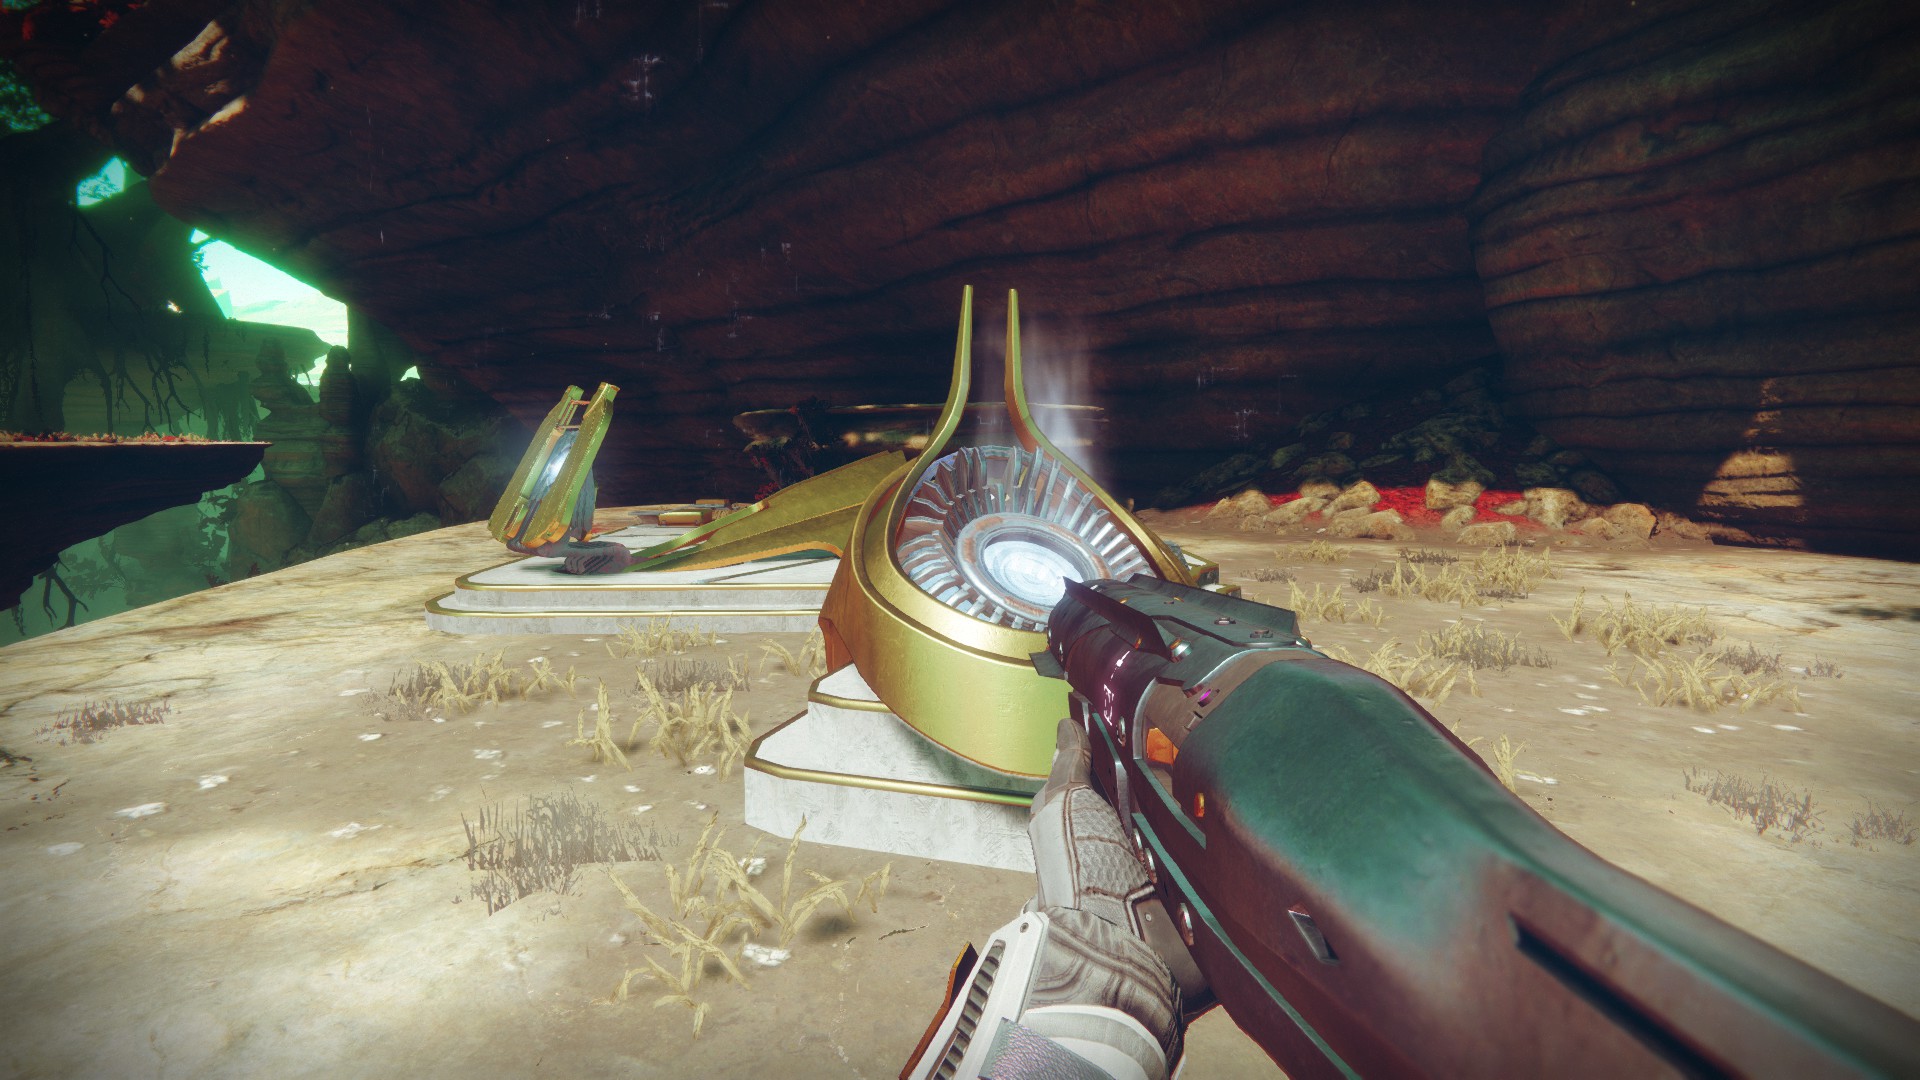
The three additional Obelisks — Mars, Nessus, and the EDZ — go through similar unlocking steps. You’ll head to Osiris, collect a quest, and complete its steps. These new quests are functionally identical to the Tangled Shore ones, but instead of Cabal, you’ll be killing Vex, Hive, and Fallen.
Now you’re all set to start spending Fractaline, the Season of Dawn upgrade material to upgrade each Obelisk, and begin grinding out perfect rolls on each Obelisk’s weapons. Each new weapon comes from a dedicated bounty — called Timelost Bounties — that requires you to complete a random, easy-but-grindy objective.
Upon completion, each Timelost Bounty rewards a specific randomly rolled weapon.
Upgrading the Obelisks
Each Obelisk has a particular upgrade path that rewards new weapon bounties, material farming assisters, and Season of the Dawn armor mods. Each Obelisk also increases your ability to farm Fractaline from a specific activity.
And you’ll need all the Fractaline you can get your hands on because a single Obelisk upgrade tier costs 200 of the things.
Thankfully, there are two weekly bounties per Obelisk that each reward 100 Fractaline each, as well as a hefty amount of Season Pass experience. These bounties are especially grind-heavy, but completing them is relatively mindless. Most are “Kill So Many of These Enemies” or “Get Kills with This Weapon or Energy Type.”
Each time you level up an Obelisk, you’ll be rewarded with either standard or Season of the Dawn armor and a Seasonal Shader. You’ll need to upgrade each Obelisk to Level 5 to unlock all the weapon bounties available at that Obelisk.
Link the Tower Obelisk
Though not necessary to acquire any of the new Obelisk weapons or other gear, the Tower Obelisk is nonetheless a worthwhile addition to your collection. From it, you’ll be able to pick up weapon bounties without having to visit the various planets.
Be mindful that upgrading Obelisks is impossible from the Tower. However, there are three Timelost Bounties available only at the Tower: the Season Pass weapons (the Rocket Launcher and Sniper Rifle) and the Perfect Paradox shotgun.
Step 1: Talk to Saint-14 in the Hanger
Everyone’s favorite wholesome Titan has taken up shop in the Tower Hanger near Amanda Holliday, and talking to him nets you a cool cutscene and some new quests.
To unlock the Tower Obelisk, you’ll want to pick up the Some Assembly Required quest. To complete it, you’ll need to collect 10 Crucial Components from Fallen, Vex, and Cabal boss enemies — those with a bright yellow health bar.
Step 2: Some Assembly Required
There are a few methods to farm these materials, but probably the best are Lost Sectors on Nessus and the EDZ.
- Head to Trostland for Fallen, and complete any of the Lost Sectors there.
- For Cabal, seek out The Pit Lost Sector in Firebase Hades and Skydock IV in the Sunken Isles in the EDZ.
- For Vex, head to the only Lost Sector in Artifact’s Edge on Nessus.
When you’ve collected all the required components, head back to Saint-14. Speak to him, and you’ll unlock access to the Tower Obelisk proper. You aren’t done, though.
Step 3: Stabilize the Time Stream
Before you can make full use of the Tower Obelisk, you’ll need to head to each of the planetary versions and complete a single Timelost Weapon bounty. Remember, you can only hold two Timelost bounties at a time, so be as efficient as you can at completing their objectives.
Once you’ve crafted four Timelost weapons, head back to the Tower Obelisk and activate the four terminals highlighted around it. With that done, you’ll have total access to every Obelisk in Destiny 2 and the ability to farm some of the best weapons in the game.
—
That’s all you need to know about Obelisks, Timelost bounties, and the weapons you get in Destiny 2. For more Destiny 2 guides, check out the list below.
- How to Get the Devil’s Ruin Exotic
- Destiny 2 Guide: Pit of Heresy Dungeon
- How to Complete the Make Bows, Not War Quest in Destiny 2: Shadowkeep
- How to Complete the Luna’s Calling Quest in Destiny 2: Shadowkeep
- Destiny 2 Shadowkeep: How to Start the Story
- Check out our Destiny 2 guides hub for more


Published: Dec 23, 2019 12:32 am