The Final Shape is still a long way off, but there are still things to do in Destiny 2. You can now start and complete Riven’s Wishes for six weeks running, earning rewards for completing tasks in the Dreaming City. I’ll tell you how to start and complete these challenges.
How to Start Riven’s Wishes in Destiny 2 and How the Event Works
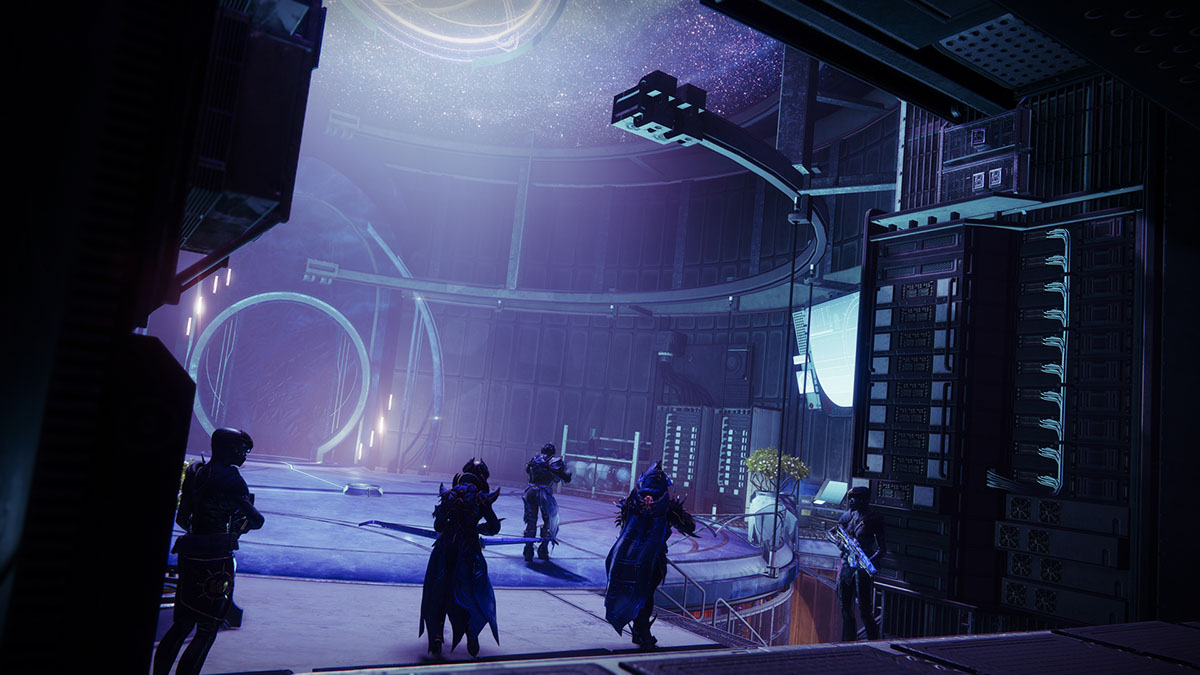
Visit Mara Sov in the H.E.L.M. to start Riven’s Wishes. To my knowledge, you don’t need to complete the Wishing All the Best seasonal quest to unlock Wishes, though I have. Some of Riven’s Wishes are available to all players, but some activities like Raids and Dungeons are tied to purchases.

You always start with Riven’s Wishes 1, regardless of when you start the quest. You have until The Final Shape releases on June 4, 2024, to complete the full sequence of six quests.
You can also progress Wishes on alternate characters if you choose. Visit Mara and pick up the Riven’s Wishes quest from her Abandoned Quests selection. Wishes are account-bound, not character-bound, so completing them on one character completes them everywhere else. You can’t get more than one Wish Token reward per week.
How to Complete Riven’s Wishes 1 Challenges
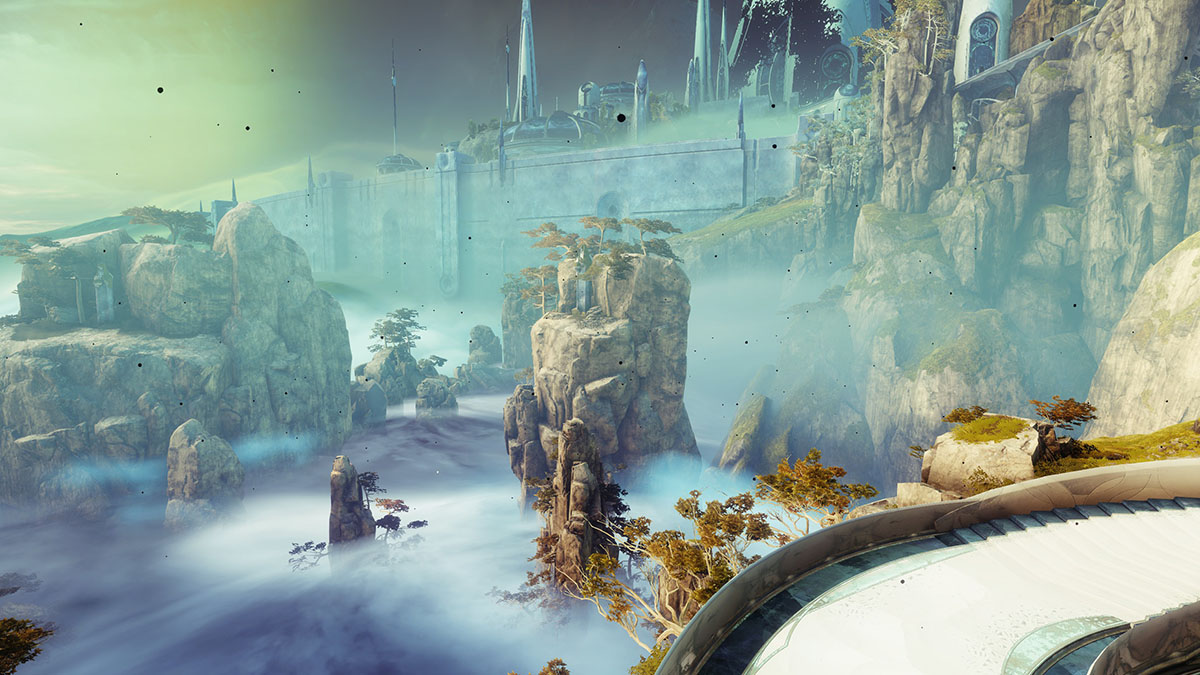
Riven’s Wishes 1 is a simple enough set of challenges. Complete three instances of the Rift Generator Public Event in the Strand section of the Dreaming City. If the event is up, it’ll be the flag not far from the entrance to the area. You also need to complete difficult activities of any kind in the Dreaming City.
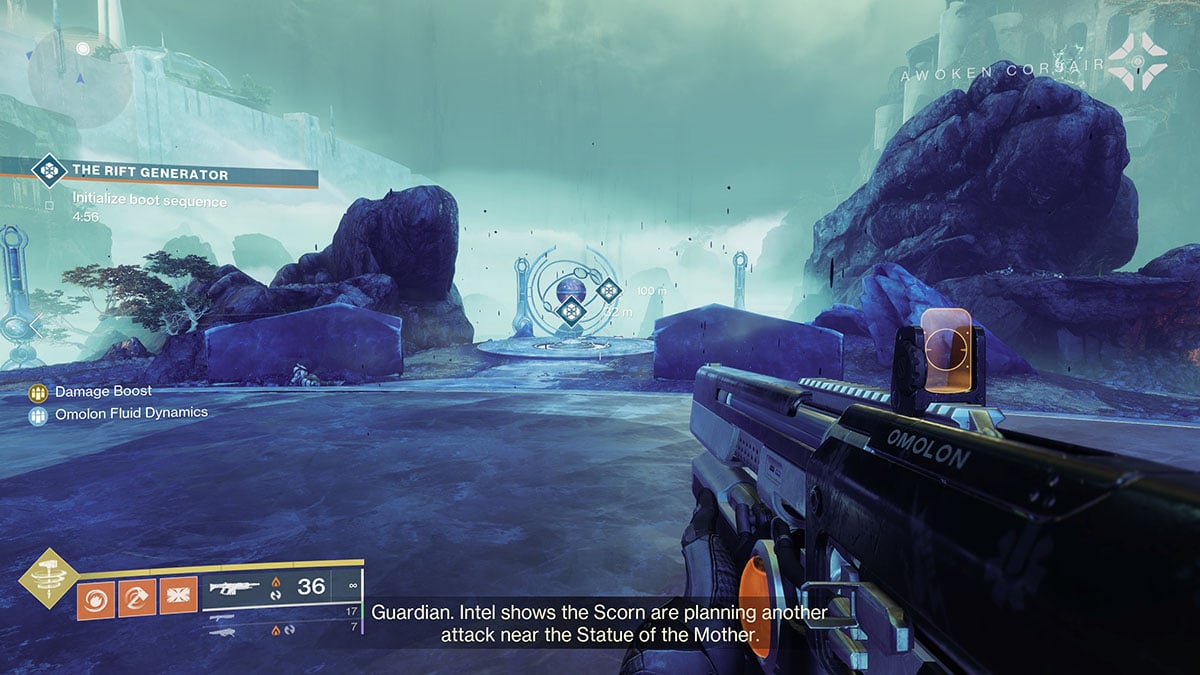
Completing a single Heroic version of Rift Generator counts as three completions for the purposes of Riven’s Wishes 1. Doing so is actually quicker than doing the standard version. Kill the Abomination that appears, deposit the orb it drops, and destroy the Taken Blight. Complete this step with the other two sides of the event, then defeat the Taken Wizards that spawn. Defeat the boss with six more wizards in the Ascendant Plane.
The second part of Riven’s Wishes 1 asks you to complete any high-difficulty activity in the Dreaming City. Of the options available, Blind Well is the easiest. Stock up on Charged With Light III and Unstable Charges of Light, then launch into a Blind Well.
Complete all five waves of Tier III Blind Well and the heroic boss for 20% progress toward Riven’s Wishes 1. If you spawn into a Tier III in progress, stick around. In my testing, I only needed six Blind Well completions to fill the progress bar, and it took about 45 minutes to do so. If there’s a Legend Lost Sector up, or you can run the Last Wish Raid or Shattered Throne Dungeon quickly, those are probably better options.
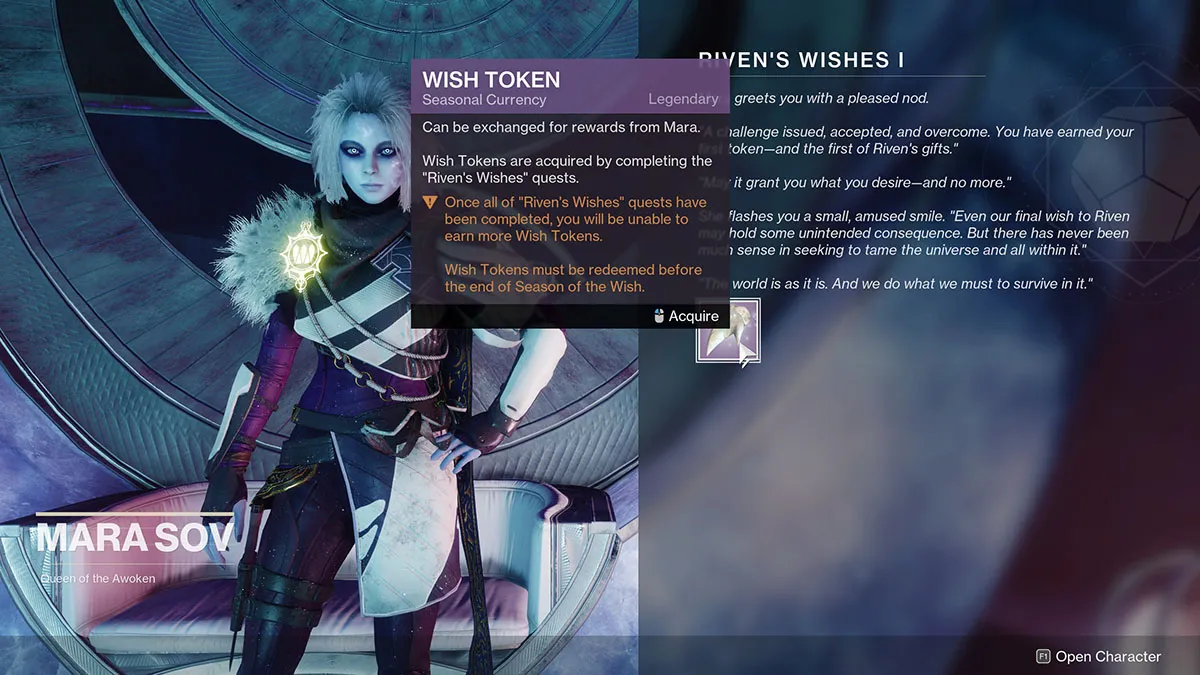
The last two steps of Riven’s Wishes 1 are far easier than the first. Return to Mara to receive the Wish Token. Then spend it.
How to Complete Riven’s Wishes 2 Challenges

Riven’s Wishes Week 2 is much more involved than Week 1. This time around, you must find seven of the 10 Ascendant Chests currently available during the weekly Dreaming City curse. The other step is collecting your Wish Token from Mara once find the seven Chests.
Thankfully, we’ve got a guide going over the location of all of the currently available Ascendant Chests for week one. Check it out to make this part of Riven’s Wishes a bit easier.
How to Complete Riven’s Wishes 3 Challenges
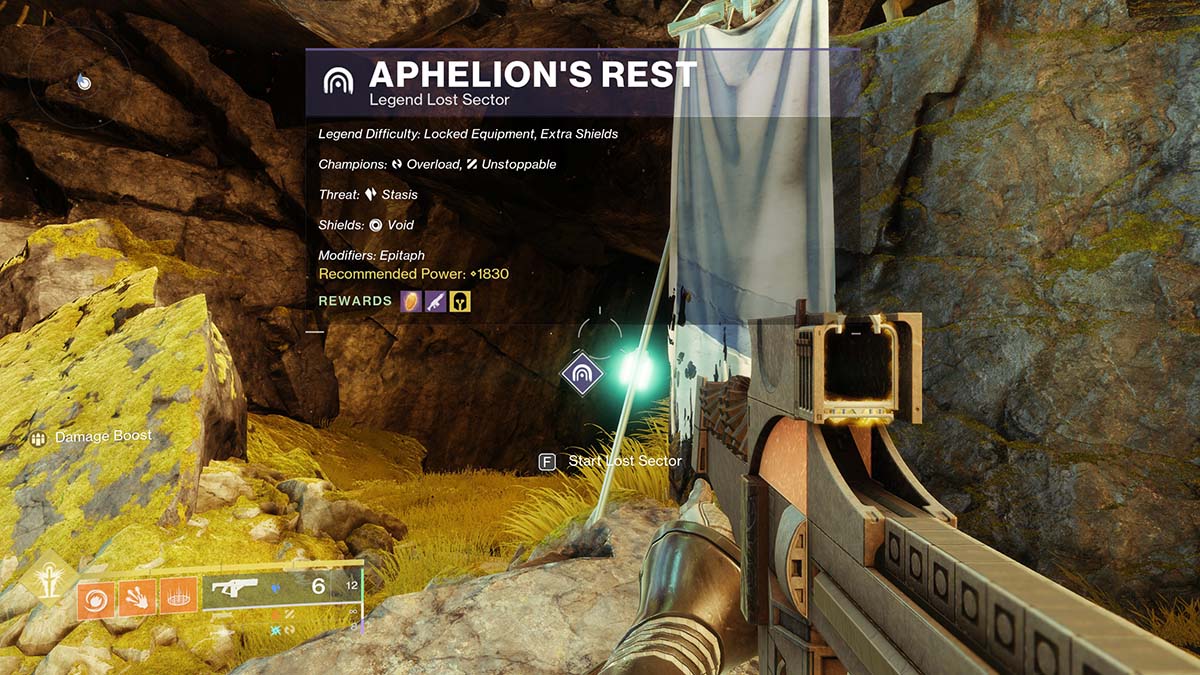
Depending on your perspective, completing Riven’s Wishes Week 3 challenges in Destiny 2 doesn’t take much. The only ask is to defeat enemies in Legend or Master-difficulty Lost Sectors. You even get an additional 1% progress per enemy for doing the challenge in Dreaming City Sectors. You need 100 defeats in Aphelion’s Rest, Bay of Drowned Wishes, or the Chamber of Starlight. Better still, both Aphelion’s and Chamber are relatively easy to beat and it rarely takes me more than three minutes or so on Legend.
The kicker is you must be at least at 1815 Power to make Legend Lost Sector farming comfortable. Enemies at that difficulty are 1830 Power. And because of the difficulty scaling system in Destiny 2, that means if you’re much lower than 1815, you’ll have trouble even dealing damage to the enemies.
You also want a few semi-viable endgame builds for at least several subclasses. At a minimum, you need a powerful Exotic like the Dragon’s Breath, Witherhoard, or Gjallarhorn. Lacking a solid DPS weapon makes dealing with Champions much more difficult. And yes, there are tons of Champions in high-difficulty Lost Sectors, so come equipped with anti-Champion weapons and abilities.
My last piece of advice is to frequent Lost Sectors with lots of weak enemies up front. Aphelion’s Rest in the Dreaming City fits that bill perfectly, as there are almost 30 Taken Thrall and Psions in the opening corridor, and you can simply launch the Lost Sector, kill them, leave, and repeat until you complete the Wish. Once you do complete the first step of Riven’s Wishes 3, all you need to do is return to Mara in the H.E.L.M. to claim your Wish Token.
How to Complete Riven’s Wishes 4 Challenges
Week 4 of Riven’s Wishes is probably the easiest to complete out of all those we’ve had so far. Just defeat a few hundred enemies in Blind Well activities and complete at least one Tier III version. In my testing, a single Tier III and the Heroic upgrade got me 28% progress, so three or four Blind Well completions will fill the bar.
If you don’t want to work quite as hard for Riven’s Wishes 4, I recommend only running Tier I Blind Well activities, preferably with as few other Guardians around as possible. With the Blind Well now a launchable matchmade activity, finding a group who want to play a lower-difficulty might be tough, though you might be able to make folks leave if you start a Tier I and actually start doing it. More enemies for you, if so.
When you do finally finish farming the Blind Well completions you need, all that’s left is to return to Mara Sov in the H.E.L.M. for your Wish Token. Well and easily earned, Guardian.
How to Complete Riven’s Wishes 5 Challenges
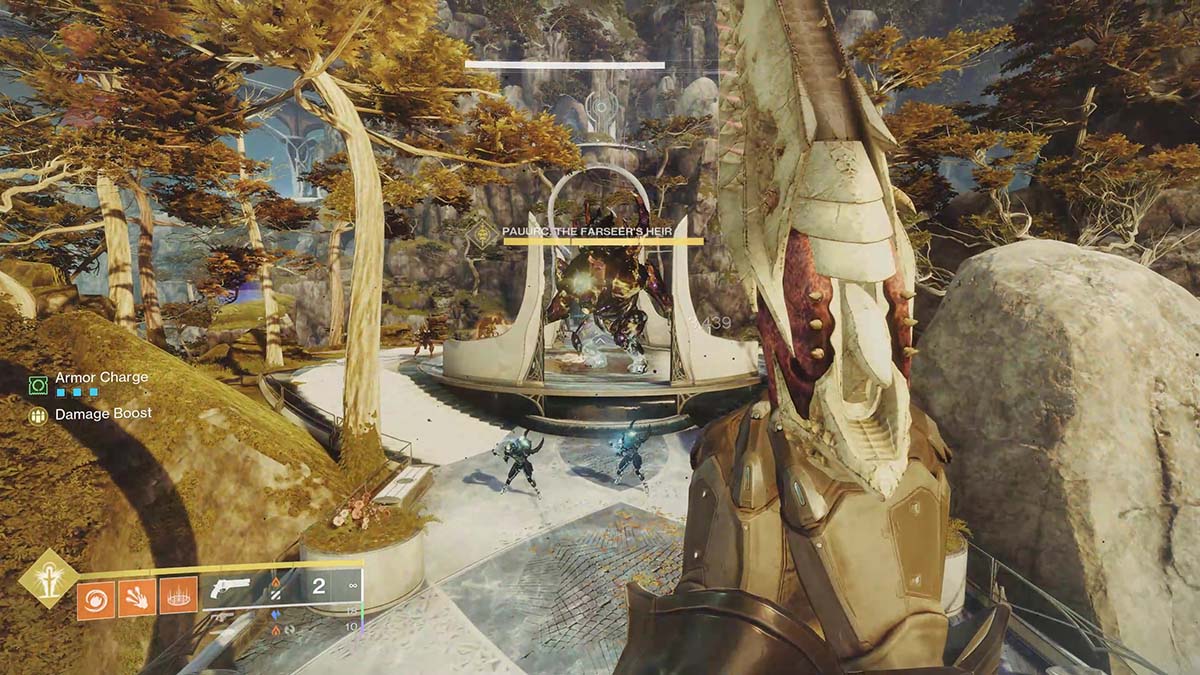
Riven’s Wishes 5 is one of the most involved (and patience-testing) quest steps in the chain. Here, you need to either defeat several dozen Taken bosses or defeat the special boss, Pauurc, The Farseer’s Heir. Both tasks need to take place in the Rheasilvia. Here’s how to accomplish both tasks:
Defeat Taken Bosses
While you can wait for Taken Public Events and kill the bosses that spawn, the more efficient method is to wait for a message reading, “The enemy is moving against one another…” at the bottom left of your screen. This means the Scorn and Taken will start spawning for several minutes, growing in power over that time. The enemy groups will be on the upper level leading to the Harbinger’s Seclude, the large tower at Rheasilvia’s Edge. You’ll need two of these world events to defeat enough bosses to progress the quest, but none of the enemies are very powerful, making the whole thing a breeze.
Defeat Pauurc, The Farseer’s Heir
For this step, you need to summon Pauurc, a special Taken Ogre boss. The process has a few oddly complicated steps, and the boss fight is much tougher than simply taking out tons of weak enemies. However, it can be faster if you have a good build or a Fireteam to play with. Here’s how.
First, you need an enemy called the Farseer’s Sabatuer to spawn. You’ll know it’s about when you see the message “A Saboteur wanders the Dreaming City” in the bottom left corner of your screen. The Saboteur, a boss-level Taken, will appear in one of three places: directly in front of the tower at Rheasilvia’s northernmost point, on the upper level looking down on the walkway leading to the tower where the enemies move against one another, or a short ways west of that platform.
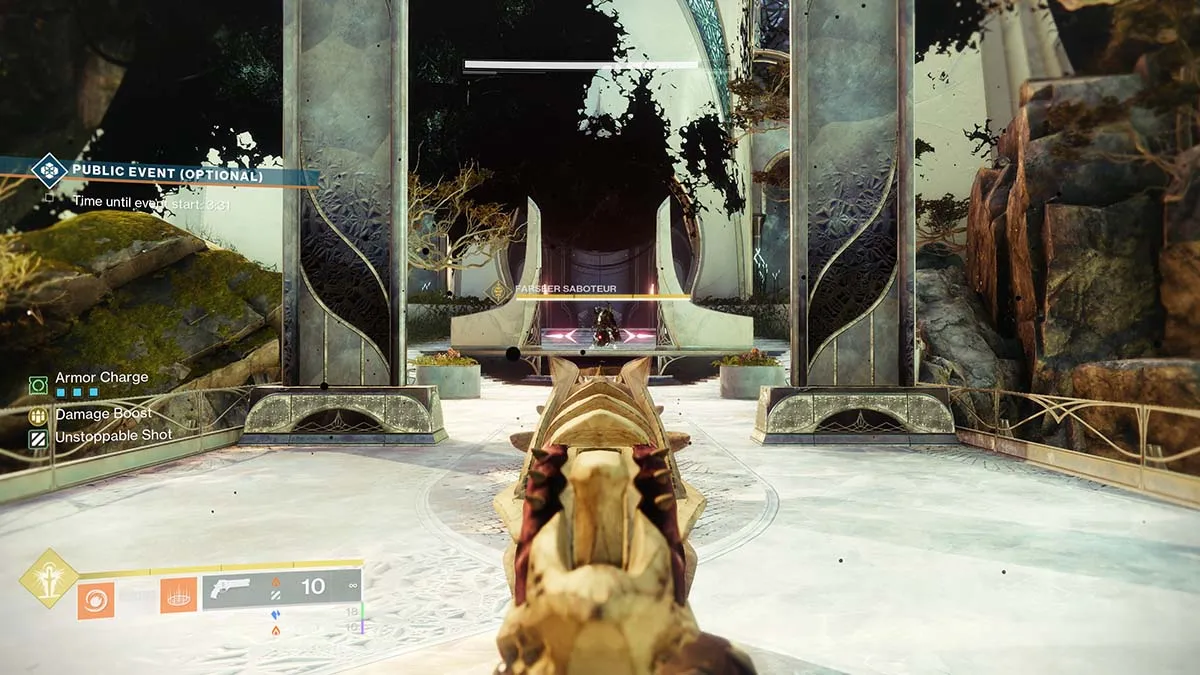
Defeat the Saboteur, then pick up the Awoken Charge it drops. Initially, you’ll be Exhausted and unable to use your jump ability. You need to step in one of the glowing purple pools scattered about the zone to clear the debuff.
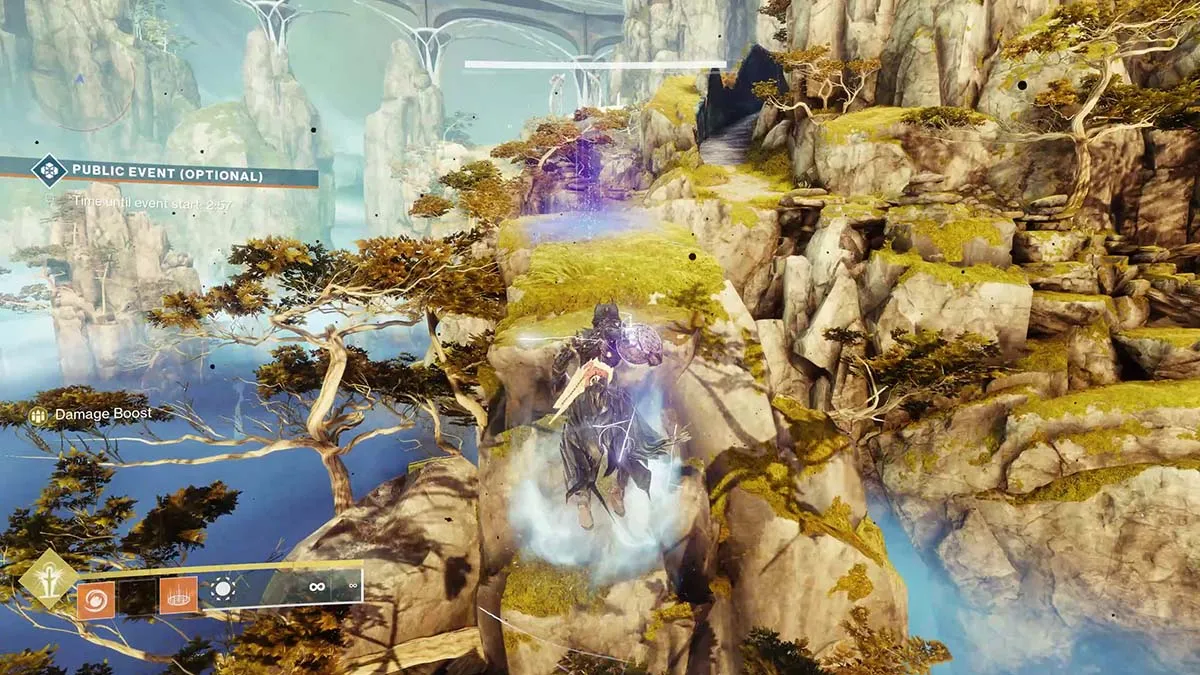
Once you get rid of the Exhausted status, you’re headed to an island east of Rheasilvia—specifically, the farther, smaller island in the distance with the Awoken statue in the middle of it. Don’t go to the island with the statue nearest the tower; you want the one farther out.
On the island is a small set of metal rings in the ground where you can deposit the orb.
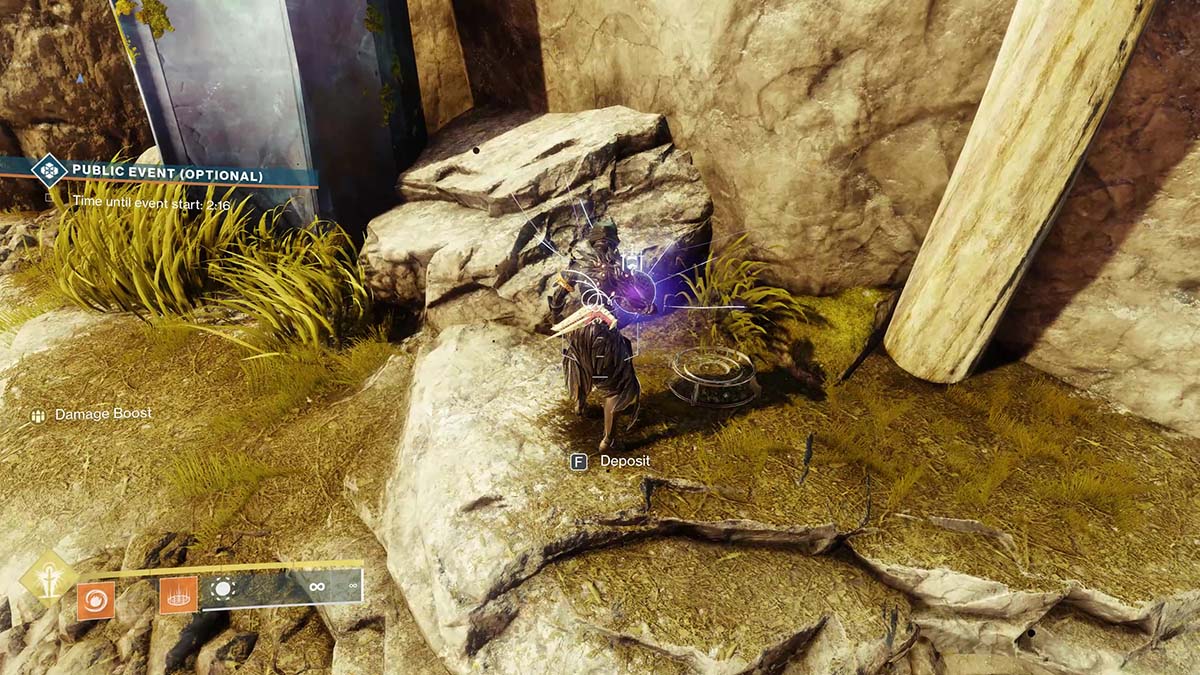
Go on and slam, and two messages will appear in quick succession: “A good deed is rewarded,” and Pauurc, the Farseer’s Heir, has come to collect…” Head back to the rotunda just outside the northern tower. Pauurc, the large Taken Ogre boss, will be looking at you.
To drop Pauurc’s shield, you need to defeat the orange bar enemies that wander around its feet and throw the orbs they drop at the boss. You’ll want to carry the orbs back to the purple energy pool near the tower to charge them, as this makes them deal much more damage to this shield.
Pauurc is a tough enough fight once its shield goes down, as miniboss enemies will continue to spawn, and the boss itself will continually attack you with its eye beams. Pauurc also has a pretty beefy health pool, so bring friends or a powerful build to chunk its HP down to zero. Once the Ogre falls, you’ll complete the step, provided you haven’t already defeated enough Taken bosses to progress.
From there, head back to see Mara for your Wish Token.
How to Complete Riven’s Wishes 6 Challenges
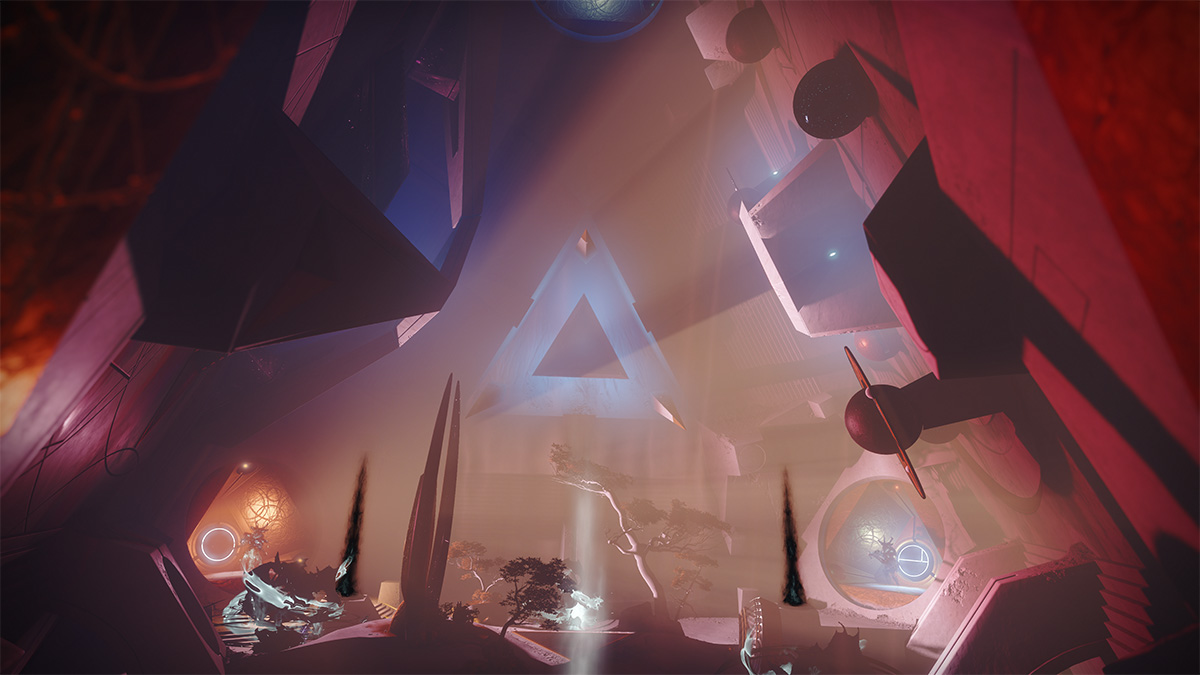
If you were waiting for a real challenge out of Riven’s Wishes, the sixth and final of them provides, especially if you don’t normally do endgame activities. The task is as simple as it can be difficult: all you need to do is defeat all the bosses in the Prophecy Dungeon. Granted, you don’t need to defeat them in a single run, but the whole thing takes less than 45 minutes with even a distracted team. Heck, you can probably do it in around an hour or so on your own if you know what you’re doing.
Once all three bosses lie beaten at your feet, return to Mara in the H.E.L.M. for your final Wish Token.
What You Should Buy with Your Wish Token in Destiny 2
As to what you should spend your Wish Token on, I’d get either a crafted Apex Predator Rocket Launcher from Last Wish Resonance or any Exotic you don’t already have. The Lost and Dawning Mementos from the Miscellany aren’t worth it, though the Lost one is nice if you want a completely black-crafted weapon. Exotic Ciphers, Ascendant Shards, and Alloys are easier to farm elsewhere and have less intrinsic value as a singular reward when only six Wishes are available.
That’s how to start Riven’s Wishes and complete all of the Riven’s Wishes challenges from Week 1 to Week 3. Back to grinding, Guardian! For more Destiny 2 content, check out our D2 guides hub.


Published: Mar 7, 2024 03:27 am